Did you know that September is International Milkshake Month? There is nothing better than a good milkshake and my personal favourite is a salted caramel with loads of cream and caramel drizzle – YUM! I am so glad that the Share a Milkshake bundle carried over to the Annual Catalogue as it’s the cutest bundle and I had a play with it over on my Facebook page to celebrate the other day! I had loads of fun having everyone that was watching help me put together this fun card and I think the show stopper was when I pulled out the embossing paste to make my own whipped cream! It looks good enough to eat! There are lots of layered textures on this card which is probably one of my favourite things to do on a handmade card, mixing textures, colours and different elements is always loads of fun!
I decided to put together a FREE PDF download which includes both imperial (letter sized) and metric measurements for the project and a link to the Facebook live replay.
Click here to download the FREE PDF tutorial
the finished milkshake card and all those milkshake layers!
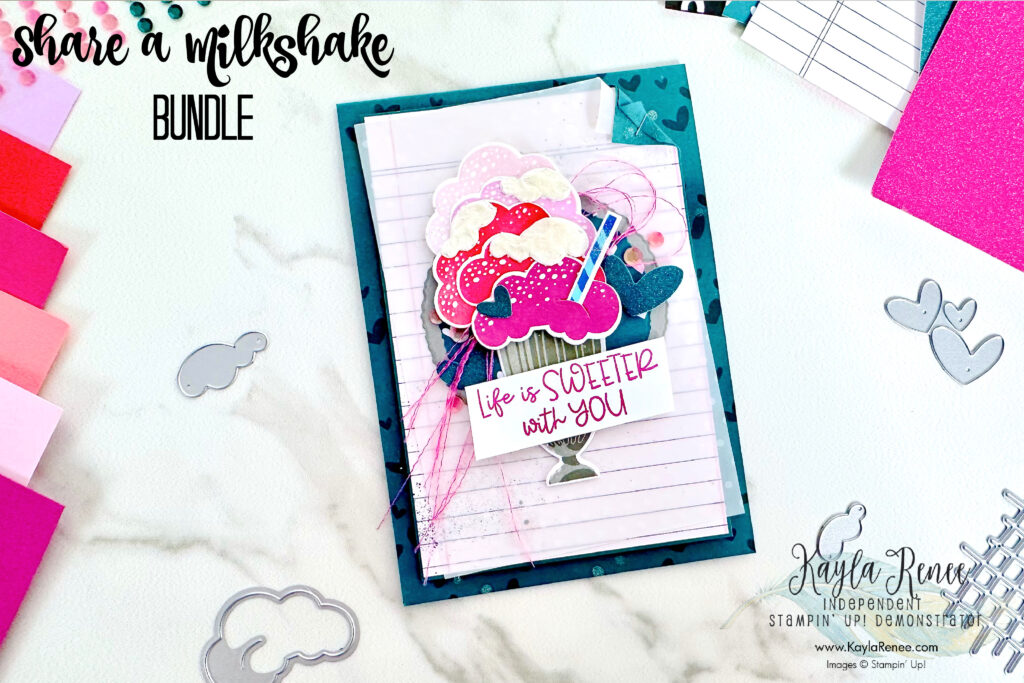
Here is a look at the finished card! If I got a milkshake this big with this many layers and that much cream I think I would have to do a lot of exercise for the week – haha!
I am all about the cream when it comes to a milkshake so I loved that I could use the embossing paste to make the cream look realistic. Using a palette knife I dabbed some of the paste onto the die cut pieces using a silicone mat and set them aside to let them dry.
I created quite a layered look to my card with the Delightfully Eclectic Designer Series Paper forming the basis for my layering with the Pretty Peacock and notebook design both taken from this collection. I love layered textures with the cardstock, designer papers and vellum combining three different cardstocks, papers and vellums to mix up the styles.
To add a base for my focal point I used the brand new Deckled Circles dies to ground my milkshake.
the colour palette that inspired my design


a close up look at the finished card

I actually wasn’t going to add any ribbon. It wasn’t until I was live that I blame I think it was Megan *wink* she talked me into it but as it adds another layer and and I really love how it looks especially as it was originally white. The Herringbone Ribbon looks fantastic coloured with Stampin’ Blends! It is super easy to colour and you can make it match any card you want! Layering textures with the ribbon in between the circles and the milkshake gives it an extra element or design that really gives the card some extra dimension and layered texture.
Lastly I added some sequins and some die cut shimmer hearts in Pretty Peacock to finish the card off. I loved tucking the hearts in and behind the milkshake, as well as a little heart on top of the milk shake.
This helps with height and dimension by adhering some down lower, and some higher as well as in different varying places around the card.
I find that adding them in odd numbers on the card as well as on the differing layers is where the idea of layered textures really comes naturally. I love the look of it on a card.
a look at the inside of the card

To embellish the inside of the card I layered some Designer Series Paper and Soft Shimmer Paper with some blending of Berry Burst ink with some Spritzing of some Berry Burst Stampin’ Write Marker and some left over die cut hearts to a layer of Pretty Peacock cardstock. The addition of the Designer Series Paper strips helps to add some layered texture to the inside of the card.
I kept this layer pretty simple without anymore stamping, although subtle it was still quite bold and bright.
I hope that you were able to get some inspiration from my little project share today all about my love of layered textures which I am sure if you follow my work or my blog you already know that I love dearly!
Don’t forget to download your FREE pdf tutorial
Until next time, crafty hugs. xx

SHOP WITH ME & GET A FREE GIFT & TUTORIAL
PLEASE NOTE: Regardless of when you are viewing this post, this is automatically updated so the information and links listed here are current.
Shop with me in June 2026 to receive a FREE gift, tutorial and handmade card from me to thank you for your order.


Don’t live in Australia but still want to purchase the tutorial? You can purchase it through my tutorial store for $22AUD for instant PDF download. CLICK HERE to purchase.
HAPPENING NOW
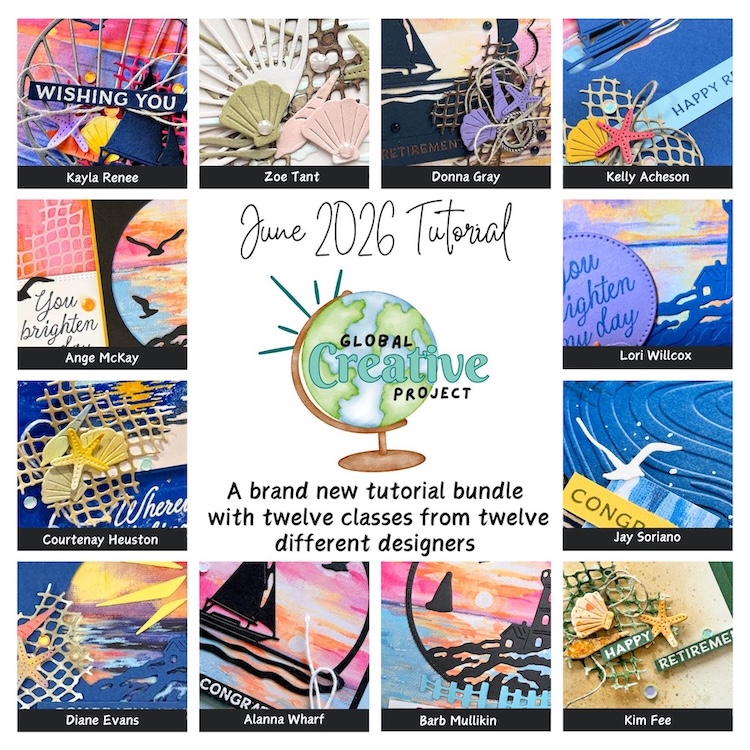

The brand new June Global Creative Project tutorial is now out. Earn for free from me for placing an order in my online store or head to my tutorial store and purchase the PDF tutorial.
New Creativity Kits have been released in my online store. Head here to check them out.
Our new Product of the Month promotion is now in full swing. Get an exclusive product for just $9 when you spend over $125 in my online store. Learn more about this new program here.
upcoming events + KITS

I have so much fun at The Stamping Lounge which is run by myself, Maheswari Rajaguru and Rochelle Laird-Smith.
We not only have a monthly membership full of amazing content but we also run regular classes.
The Waterside Retreat Monthly Class is coming up on the 20th of June.
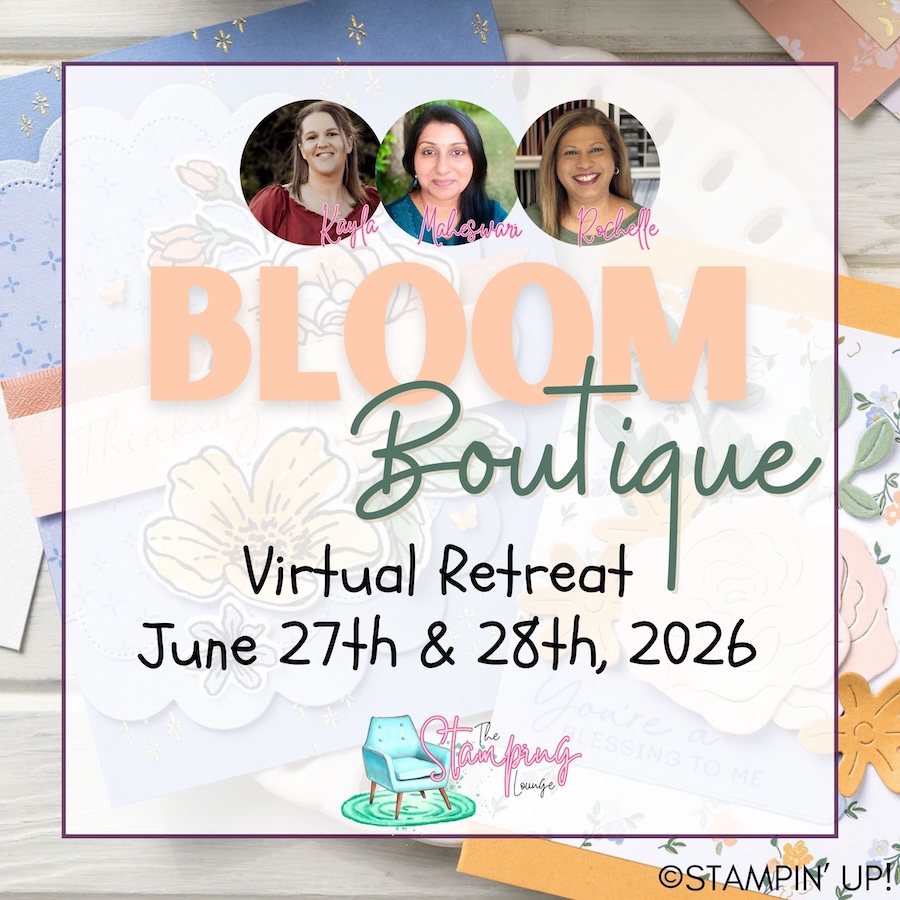
Also coming up in June but open for registration NOW is our next fan favourite virtual retreat. You can find out all the details here.
Click the images or links to find out more and enrol OR sign up to The Stamping Lounge membership to get access to monthly classes and more which are included in the membership (retreats are sold separately)
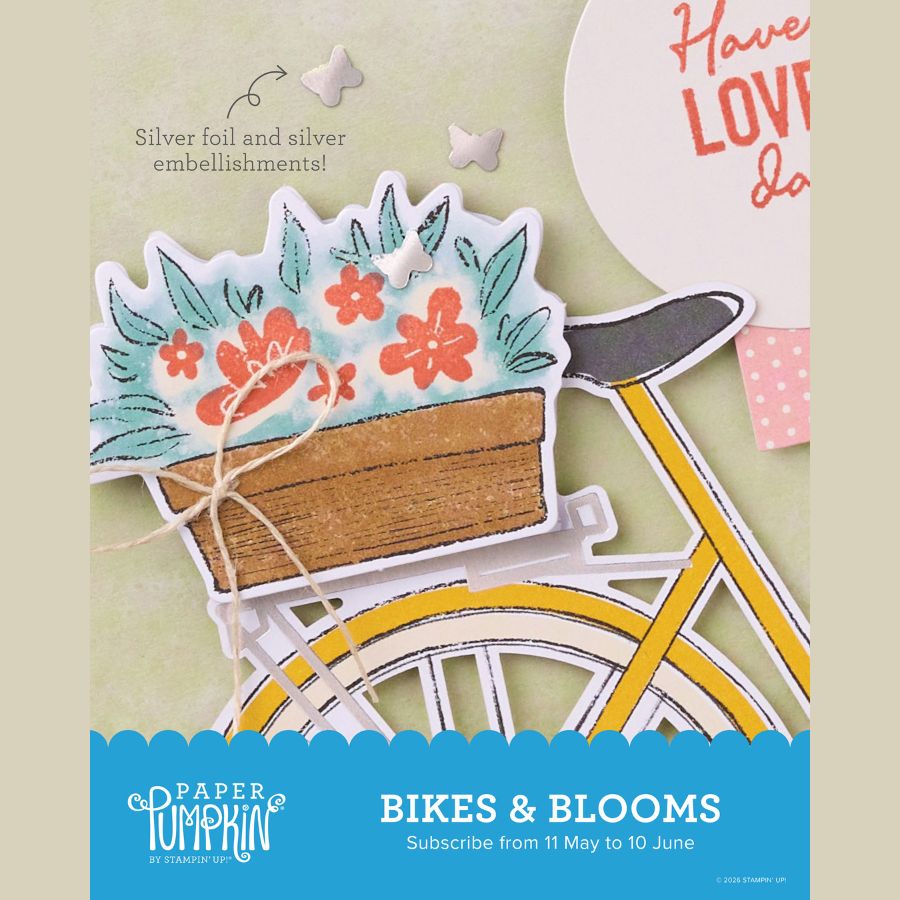
New Paper Pumpkin Kit coming in June – subscribe by the 10th of June to receive the Bikes & Blooms Kit
PLUS – subscribe to Paper Pumpkin with me and get TWO alternative PDF tutorials with a total of 20 tutorials for projects using this kit. Click here to subscribe with me.
BRAND NEW SKETCH BOX
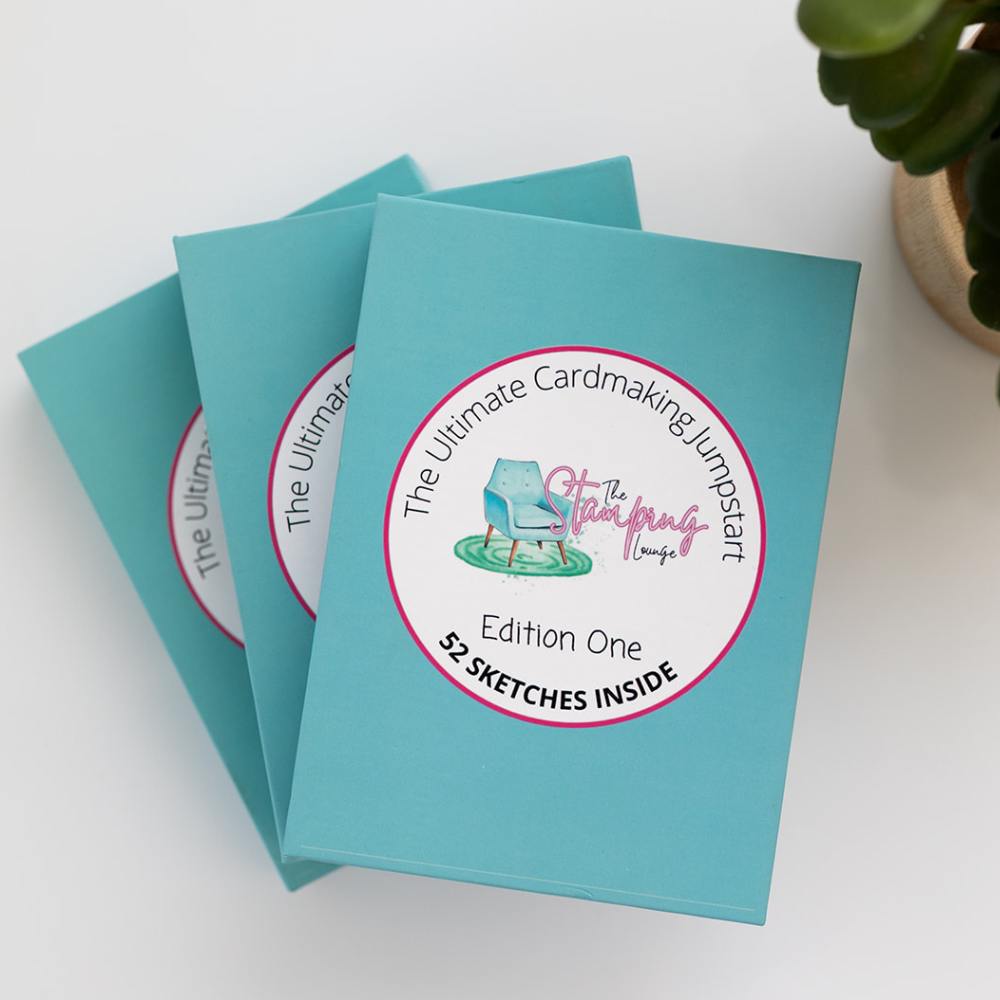
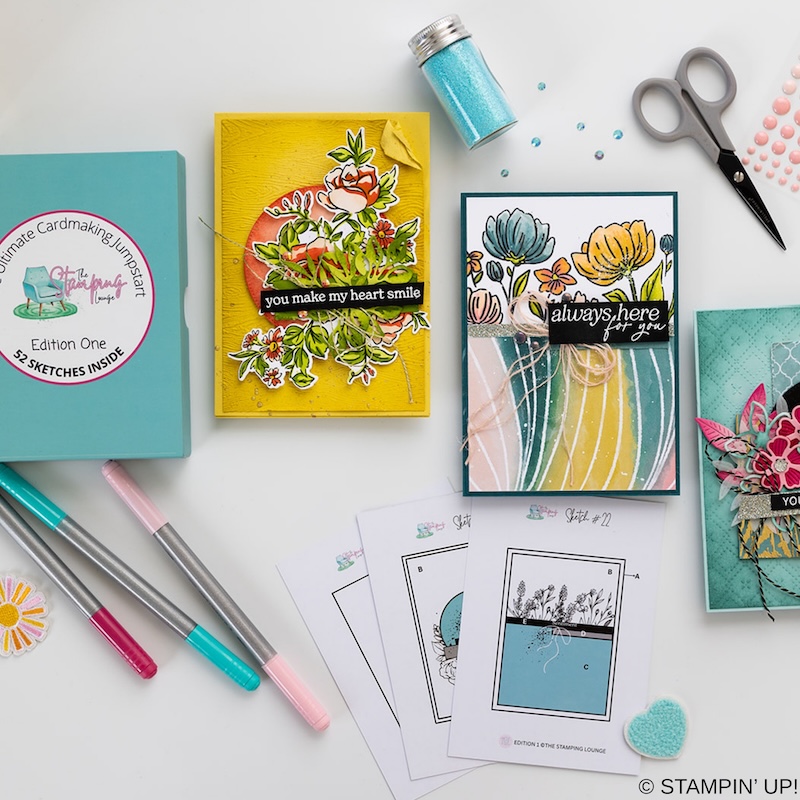
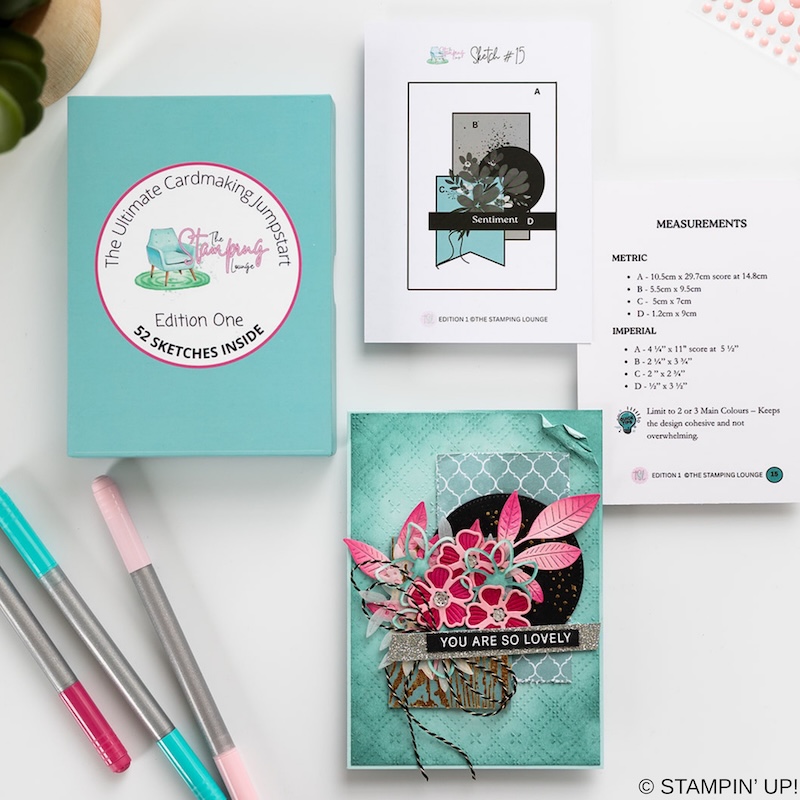
We have a brand new product at The Stamping Lounge and you won’t want to miss this one. Get your sketch box complete with 52 sketch cards that include measurements and crafting tips! This is a tool you need in your crafting tool box that you can use again and again. Available now and shipping internationally. Get yours here.
Product List
 |  | |||
 Herringbone Ribbon") |  |  | ||
 |  |  |  |  |
 |  |  |  |  |
 |  |  |  |
")
 Designer Series Paper")
 Specialty Designer Series Paper")
 Specialty Paper")


Leave a Reply