I had an absolute blast last night on my Friday night Facebook Live making a super fun stadium card with everyone. When I saw the Trusty Toolbox Designer Series Paper, I had absolutely no idea what I was going to use it for because to be honest, masculine themed products totally stump me! As I shared in my video, I grew up in a household of all girls. However when the idea popped in my head for this stadium card and I thought of all these tools popping up as the card opened, the idea was set! I actually don’t have the coordinating bundle, I took a pair of scissors and fussy cut all these images out from the Designer Series Paper, but there is a coordinating bundle available in the Mini Catalogue and if you purchase the bundle you can get this Trusty Toolbox Designer Series Paper FREE!!
This card is inspired by the lovely Lesley Kilby from the UK and you can find her here. She does have some measurements for the imperial size of this card on her blog post here as I have only provided metric sized measurements. Thanks Lesley for the inspiration.
don’t miss out on your free paper!
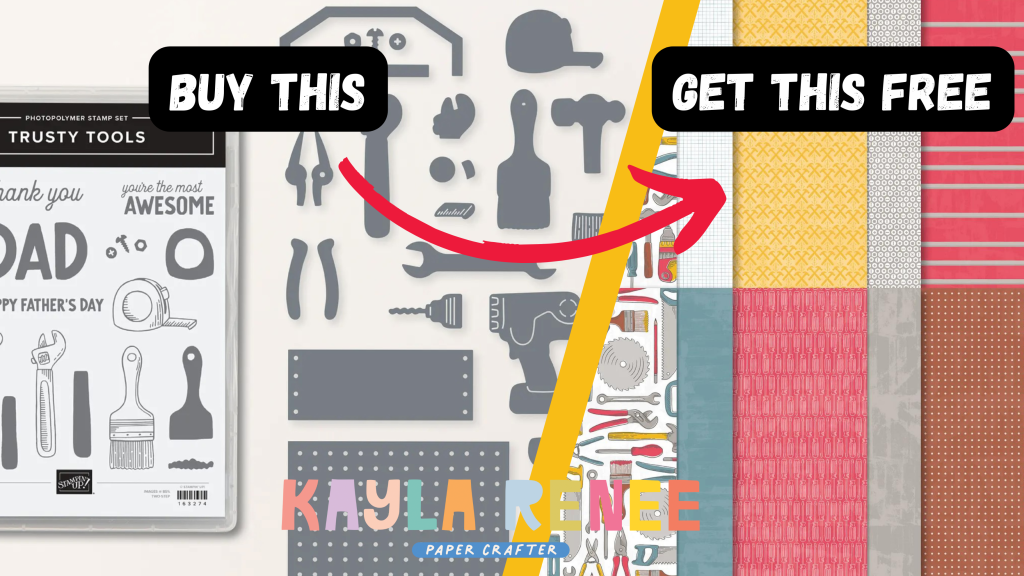
For the month of January and February only you can get the Trusty Toolbox Designer Series Paper FREE – that is actually the only way you can get this paper, you can’t purchase it! It is an exclusive Sale-a-Bration product! The cool thing is…if you wanted the matching bundle that is $96.25 it puts you at the $90 threshold for a $90 Sale-a-Bration spend – so buy the bundle and you could get the paper FREE! You can find it in my store here.
Scroll down below to see all the details and download the free PDF tutorial!
the finished stadium card with the belly band
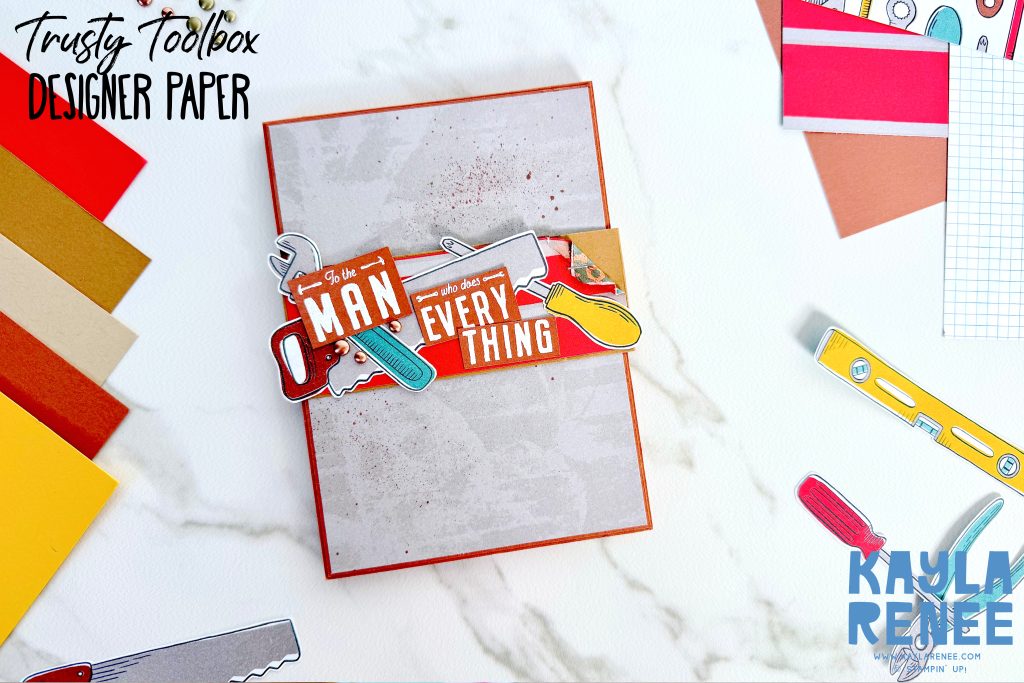
Here is a look at the finished Stadium Card all done up with the belly band attached. I decided because I didn’t have the coordinating Trusty Toolbox Bundle to bring in a coordinating stamp set from my stash, the He’s All That stamp which had a sentiment that went along nicely with the masculine theme. Using heat embossing in white on some Pecan Pie and then cutting it in strips is what I decided on would match with the theme on theme of the card.
I kept the belly band simple with a strip of the Trusty Toolbox Designer Series Paper slightly distressed in the corner, some leftover fussy cut tools and the simple embossed sentiment with a few of the copper Brushed Metallic Adhesive Backed dots.
a close up look at the details of the belly band!
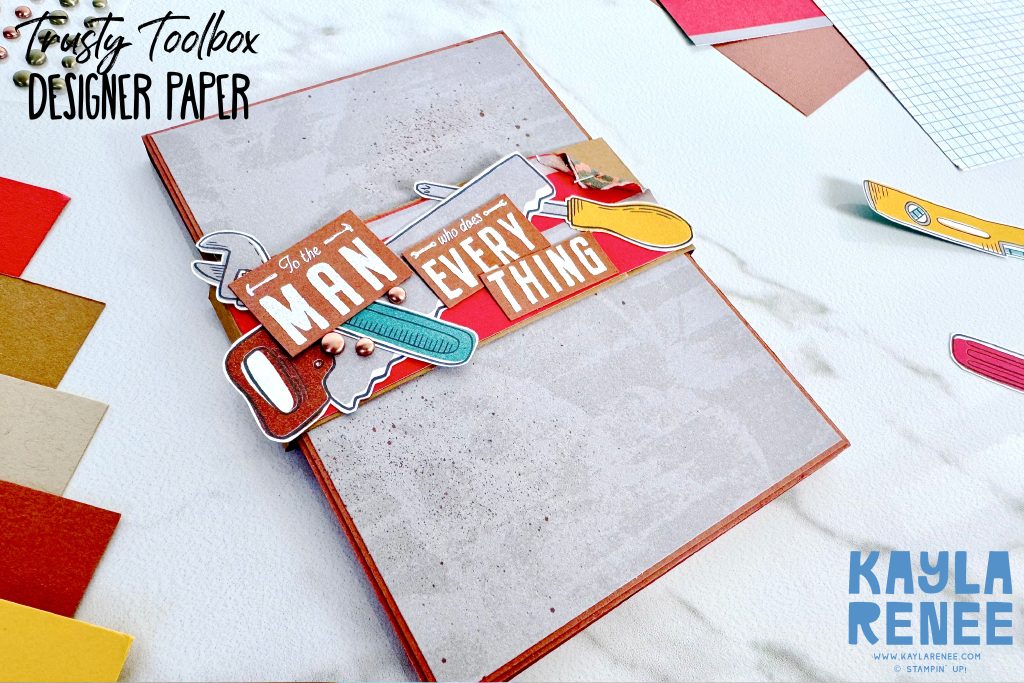
Here is a close up look at the details on the belly band. I loved the look of the Brushed Metallic dots. I went for these because I thought they gave the vibe of something that you would find in the tool shed, a bit like a nail or some kind of fixture – a very shiny one at least! These also come in gold or an antique brass. There is another product that would look pretty cool and that is the Rustic Metallic Adhesive Backed Dots. It was a hard decision!
slip off the belly band and…
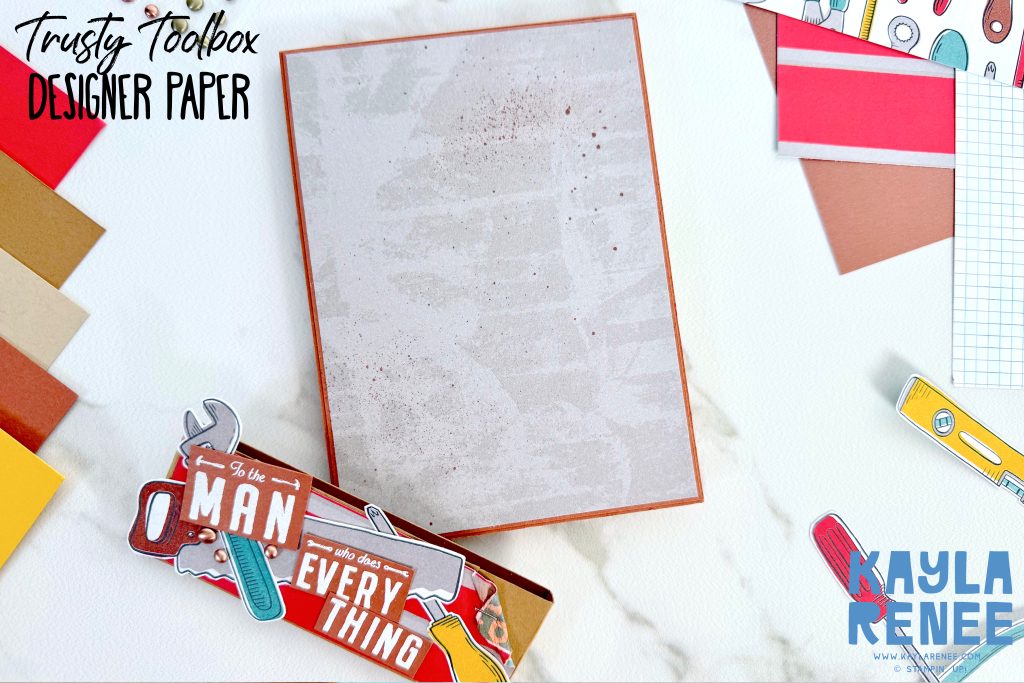
The belly band does just slip off the card pretty easily as I did not make it too tight. I was pretty purposeful with how I made the belly band to ensure this and I have written this in my instructions. I do like a pretty neat and tidy belly band (yes I know – I am fussy) I made a belly band with a bit of a spine like the top edge of the card, as this card is quite thick due to the mechanism. You could get away without having a belly band and just decorate the front of the card, but I quite like the look of the belly band. I would be interested in making another card without a band however – stay tuned!
the stadium card pops open
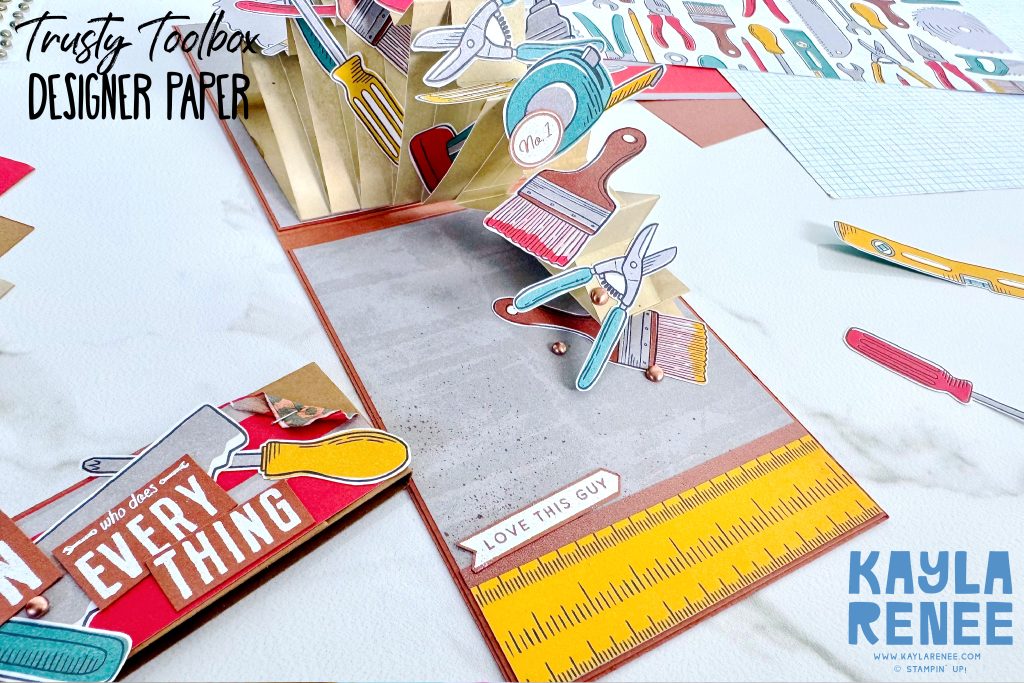
Here is where the magic happens! This is where the name “stadium card” comes from. It pops open and the stadium appears. I fussy cut all the tools from the Trusty Toolbox Designer Series Paper and have purposely placed them on the mechanism created from the cardstock (which I have used the normal weight Basic White and coloured with some Crumb Cake Ink with a Blending Brush to keep the weight down). I added a whole variety of different tools from paintbrushes to measuring tapes, screwdrivers, drills, pliers etc…
The one tip with this card is when you are placing the tools is to make sure as you go, make sure when closing the card they will not pop out the sides or top, so you need to do a bit of a placement check before you adhere.
I added a strip of the gorgeous measuring tape style Designer Series Paper and also decided to add some of the beautiful Copper Clay In Colour Luster Specialty Paper just above this. This added just a touch of some delightful metal shine.
I added a touch of spritzing with a Copper Clay Stampin’ Write Marker to add a little bit of colour and bring in some more of my Copper Clay.
a close up look at the trusy toolbox tools in the stadium card
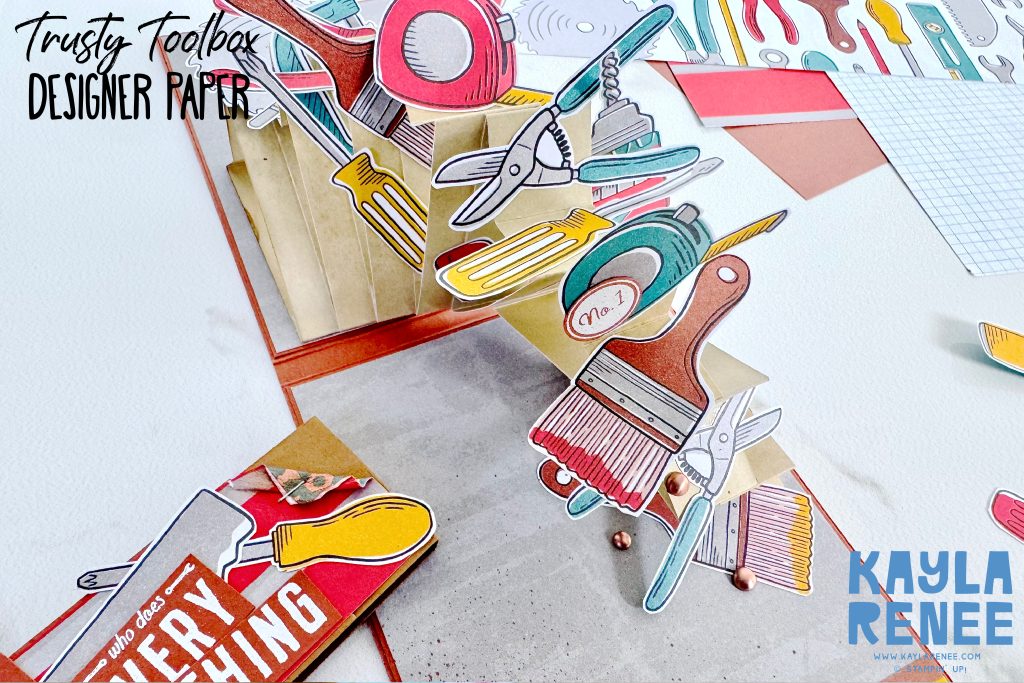
Here is another close up look at the tools and the effect of the Stadium Card fun fold. Isn’t it fun? It’s so much easier than it appears! I’ve added such a variety of different size and shapes of tools. I’m sure so many guys or builders would love this card!
I decorated further by adding a couple of different elements from the He’s All That Stamp including the “Love This Guy” stamp in the bottom left corner and “No. 1” circle on the measuring tape on my stadium card feature. I also finished it off by adding more of the Brushed Metallic Adhesive dots along the whole mechanism. Because the card actually features a spine, it was able to take some ‘dimensional’ embellishments on the inside which is so cool!
I had so much fun making this card and I can’t wait to try this stadium card with some different bundles and stamp sets because I am loving this stadium card fun fold and think the effect and “wow” effect is so much fun and the delight the recipient will get when opening it is just so much fun.
This card is slightly on the “thicker” side and so it will require some extra postage. In Australia it can fit into a standard sized envelope – but it is a tight squeeze because of the thickness so it could be fun to make your own envelope.
Personally, I love Jacque Williams envelope tutorial here.
download a free pdf tutorial…
Please note: If you are a Stampin’ Up! demonstrator – make sure you are signed out of your Stampin’ Up! back office when clicking the download link otherwise it will divert you to your back office.
I have created these tutorials as a free download, but please use for personal use only. xx
Until next time, crafty hugs, xx

SHOP WITH ME & GET A FREE GIFT & TUTORIAL
PLEASE NOTE: Regardless of when you are viewing this post, this is automatically updated so the information and links listed here are current.
Shop with me in January 2026 to receive a FREE gift, tutorial and handmade card from me to thank you for your order.


Don’t live in Australia but still want to purchase the tutorial? You can purchase it through my tutorial store for $22AUD for instant PDF download. CLICK HERE to purchase.
HAPPENING NOW


The brand new January Global Creative Project tutorial is now out. Earn for free from me for placing an order in my online store or head to my tutorial store and purchase the PDF tutorial.
New Creativity Kits have been released in my online store. Head here to check them out.
Our new Product of the Month promotion is now in full swing. Get an exclusive product for just $9 when you spend over $125 in my online store. Learn more about this new program here.
Events coming soon


These are two upcoming amazing events with The Stamping Lounge run by myself, Maheswari Rajaguru and Rochelle Laird-Smith. Our Mini Catalogue Launch party is happening on the 11th of January – come and see all the new products, be part of the community, play games and take part in nine card classes!
We also have our upcoming Cute as a Bug Virtual retreat which is open no matter where you are in the world! Take part in eighteen classes using the Cute as a Bug suite and get lifetime access! Click the images or links to find out more and enrol OR sign up to The Stamping Lounge membership to get access to to the mini catalogue launch party and more which are included in the membership (retreat sold separately)
Product List


This card is incredible! I really love it. I will try to make one with your tutorial. Thank you so much for this detailed pdf! That is so generous :-))
Thanks so much Ursina for your lovely comment, enjoy. xx