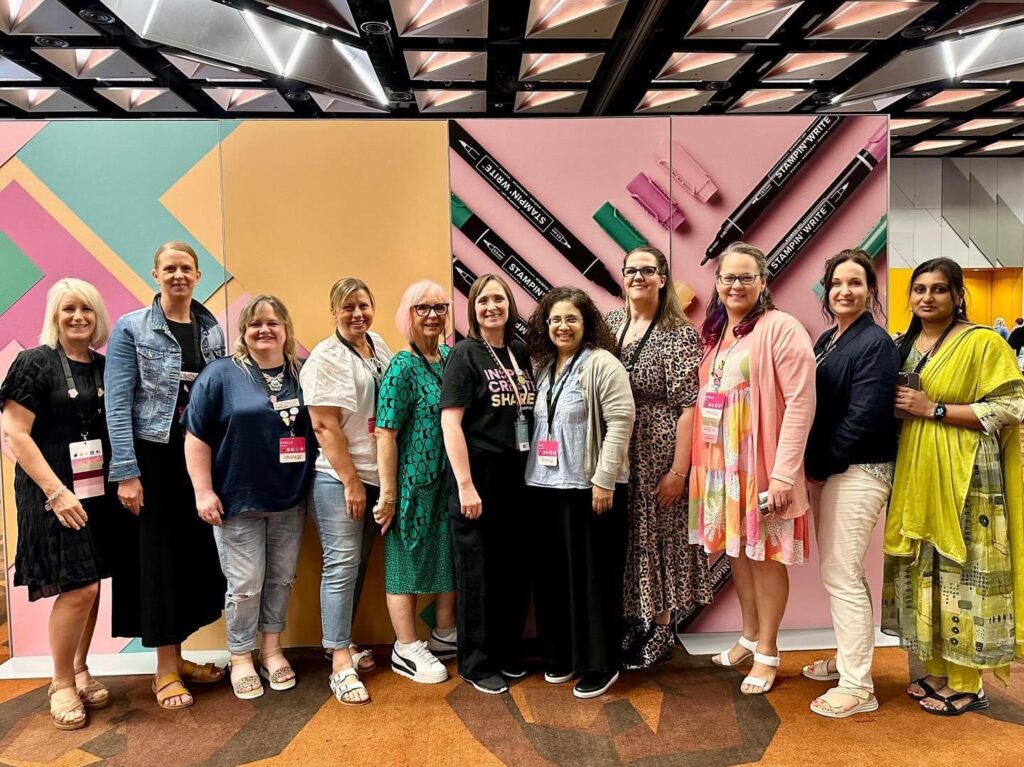
My cup is full and I am full of bright energy after the beautiful Stampin’ Up! Onstage conference that I attended in Melbourne, Australia this past weekend. I was so lucky to gather with so many likeminded creative Stampin’ Up! demonstrators from all over the South Pacific (and world). As part of this gathering I got to catch up in person with some past and current Artisan Design Team members with the lovely Cindy Schuster from the concept art team. We made each other some fun swaps and I had fun making a project with the gorgeous new Magnolia Mood Bundle from the Online Exclusives having fun creating a textured background and using some fun layering techniques.
the group photo of us gathered together
the finished pop up slider card
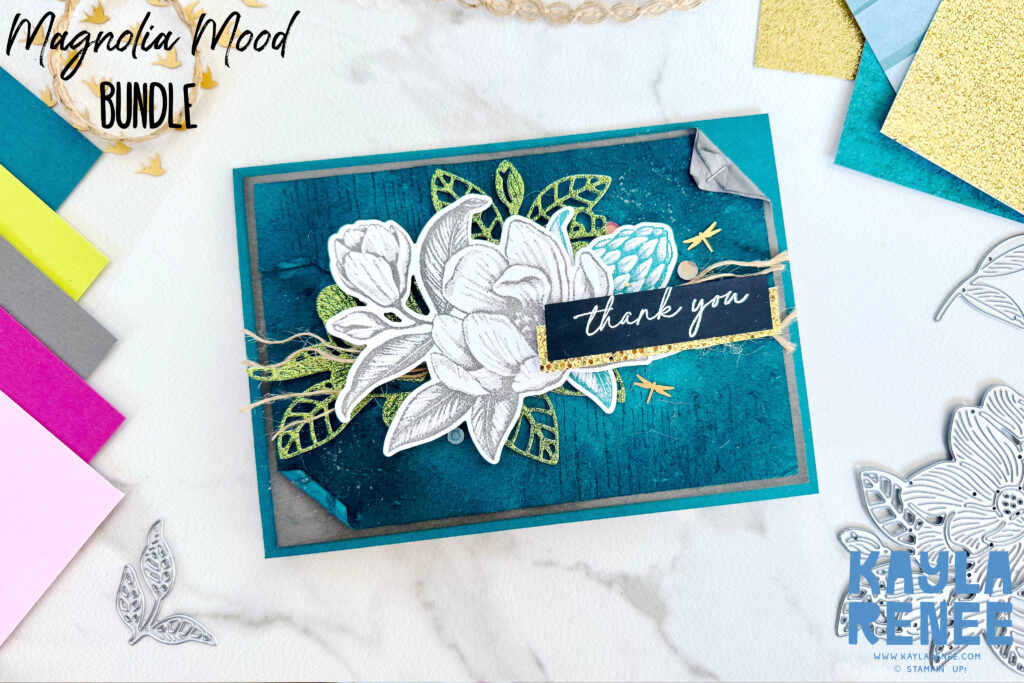
Here is a look at the finished card and how it came together.
I have to say that the beautiful Magnolia Mood bundle is just everything gorgeous! I love that the bundle comes with some gorgeous stamps that are perfect to colour, or just stamp and leave as is and some stand alone detailed dies. This set is perfect to layer!
I combined a lot of colours, textures and papers to my card front to come up with something that felt very tactile. Creating a textured background was my idea from the start and so to achieve this I simply spritzed a layer of Pretty Peacock cardstock with a fine mist of water using a Stampin’ Spritzer and then carefully broke the fibres with a Bone Folder and tore the layers of the cardstock apart. This reveals a suede like texture which is so cool for a textured background.
To further accent the textured look, I added some sponged detail to the edges with a Blending Brush and some Pretty Peacock Ink and then added some ‘line art’ like stamping using the Textured Timber stamp set from the Online Exclusives. Even touching this textured background it feels like suede!
a close up look at the textured background
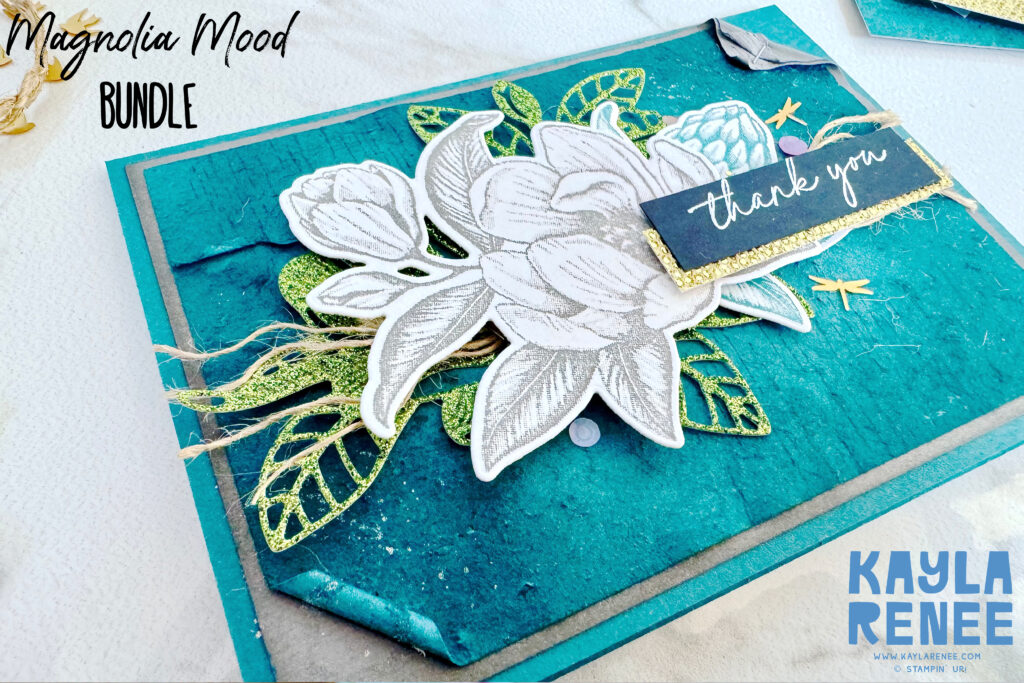
Here is a close up look at some of that detail. To add some more texture I did fold down both the top right and bottom left corners and distress these a little bit. I love the detail and texture doing this adds.
I added quite the variety on these cards and mixed it up with distress, vintage and then GLITTERY GLAM! It’s quite the unexpected! I kept the detailed magnolia quite simple as the stamp is just so detailed and simply stamped this in Gray Granite.
I have embellished the card with some Wavy Trim which doesn’t look too recognisable as I have frayed this trim and added it to the card with the threads torn apart. This is one of my favourite ribbon techniques. Lastly I added some of the beautiful Adhesive Backed Dragonflies & Birds which are a bit of a forgotten about embellishment as they are still featured on our Online Exclusives!
the fun pop up slider card surprise!
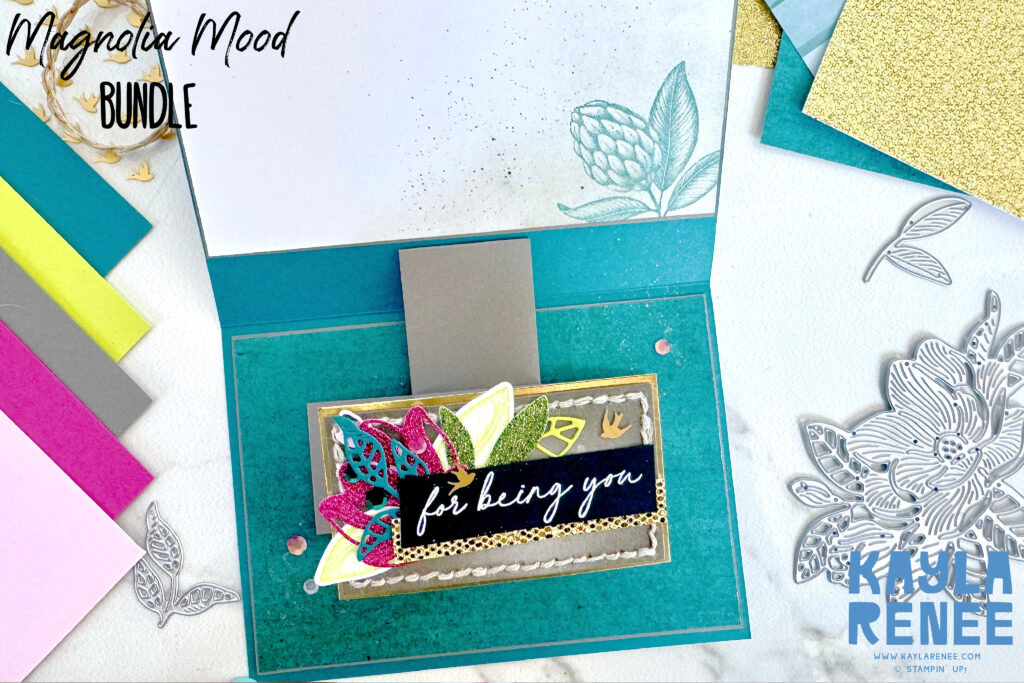
I made one of these style cards on a recent Facebook Live and I just had to make them again for this fun swap – and yep – I made fourteen of this card…I know I am crazy!
It is actually a lot more simple than it looks. Make sure you scroll down below for a link to the tutorial where I show you just how to make these pop up slider cards.
I love that the recipient sees all that beautiful magnolia fun and textured background on the outside and opens the card to this fun pop up surprise!
a close up of that pop up detail
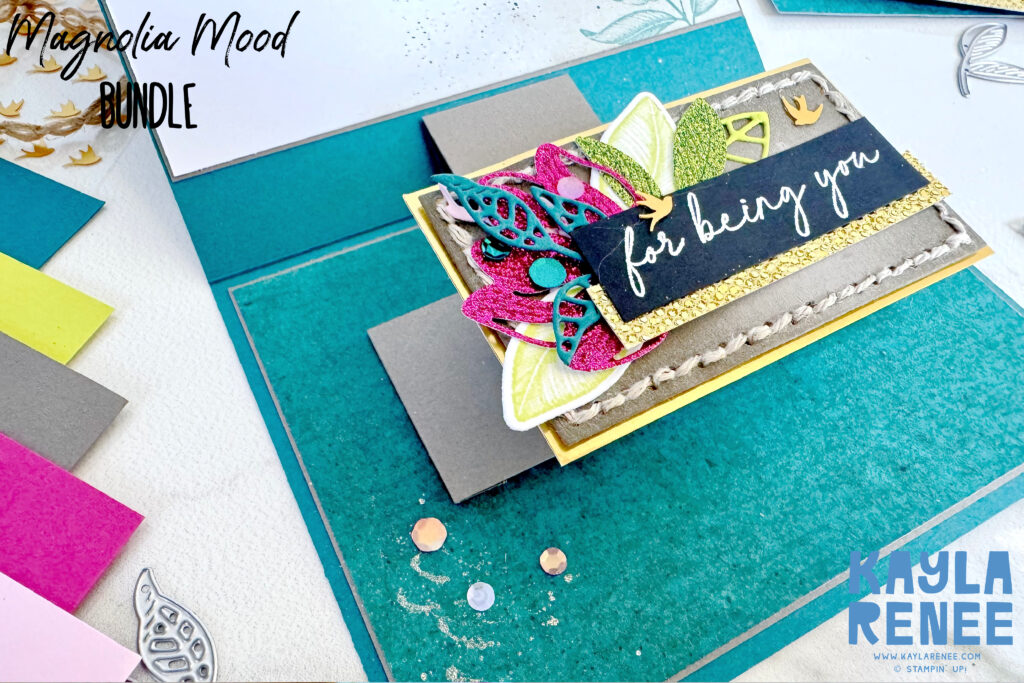
I have been a little bit obsessed with the Everyday Details Dies lately and particularly on my Onstage Swaps as I did it for every single swap (including the other fifty I made!) I used the gorgeous rectangle die on this fun swap and used some of the Essentials Baker’s Twine to stitch in this holes. This is my new favourite thing to do!
See that cute Designer Series Paper on the back of that card? That is from the Earthen Elegance Suite…doesn’t it match perfectly? I also made some with the Bright & Beautiful Designer Series Paper.
I added some fun stamps and die cut details repeated from the design on the card front. That beautiful pink & green glimmer is actually Berry Burst and Old Olive Glimmer Paper and is ADORABLE. It comes from the latest release available in the Online Exclusives section of my store.
one last look at the fun pop up dimension of this card…
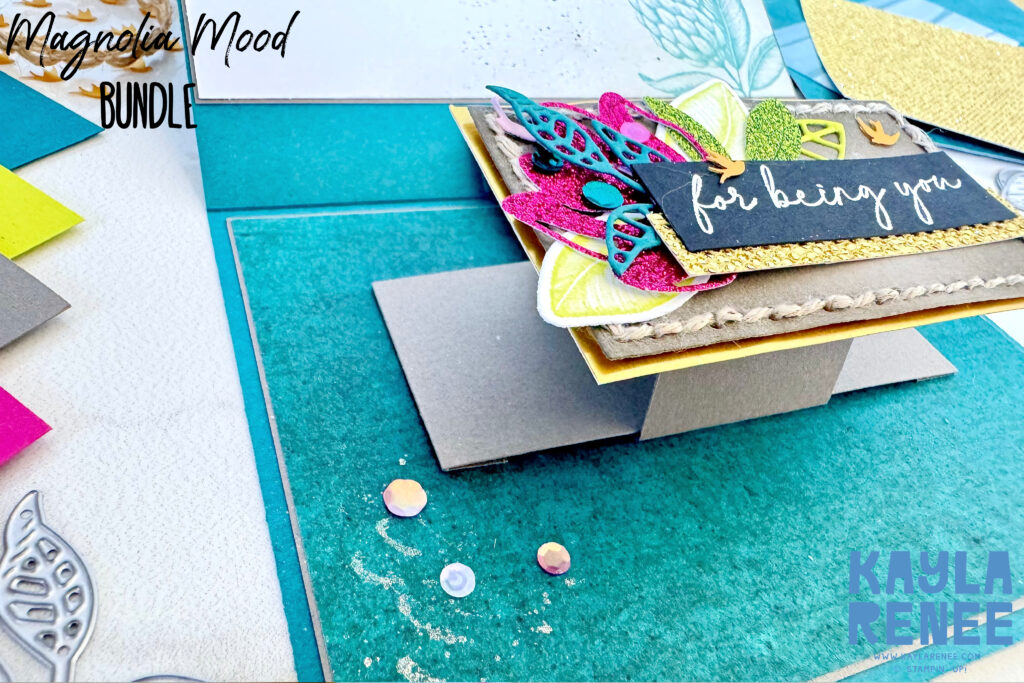
Here is one last look at the dimension that comes along with creating these fun pop up slider cards. Aren’t these fun? Better still….it folds completely flat!
I love how much fun and excitement comes from these cards. Every time I make one I still get WOW’d every time.
I hope that you enjoyed this post sharing the fun swaps that I made for the Artisan past & current team that I shared at Onstage. I actually have another version that I made for the lovely Cindy to share with you hopefully in the coming days so stay tuned. xx
Happy crafting. xx

SHOP WITH ME & GET A FREE GIFT & TUTORIAL
PLEASE NOTE: Regardless of when you are viewing this post, this is automatically updated so the information and links listed here are current.
Shop with me in January 2026 to receive a FREE gift, tutorial and handmade card from me to thank you for your order.


Don’t live in Australia but still want to purchase the tutorial? You can purchase it through my tutorial store for $22AUD for instant PDF download. CLICK HERE to purchase.
HAPPENING NOW
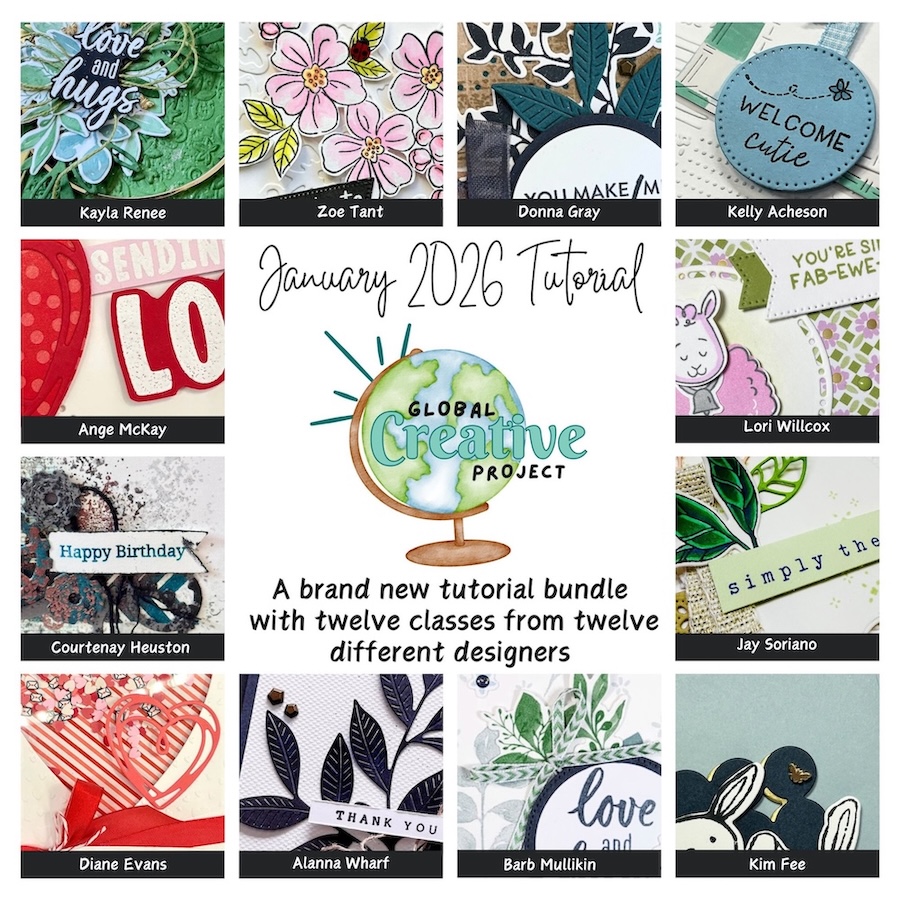
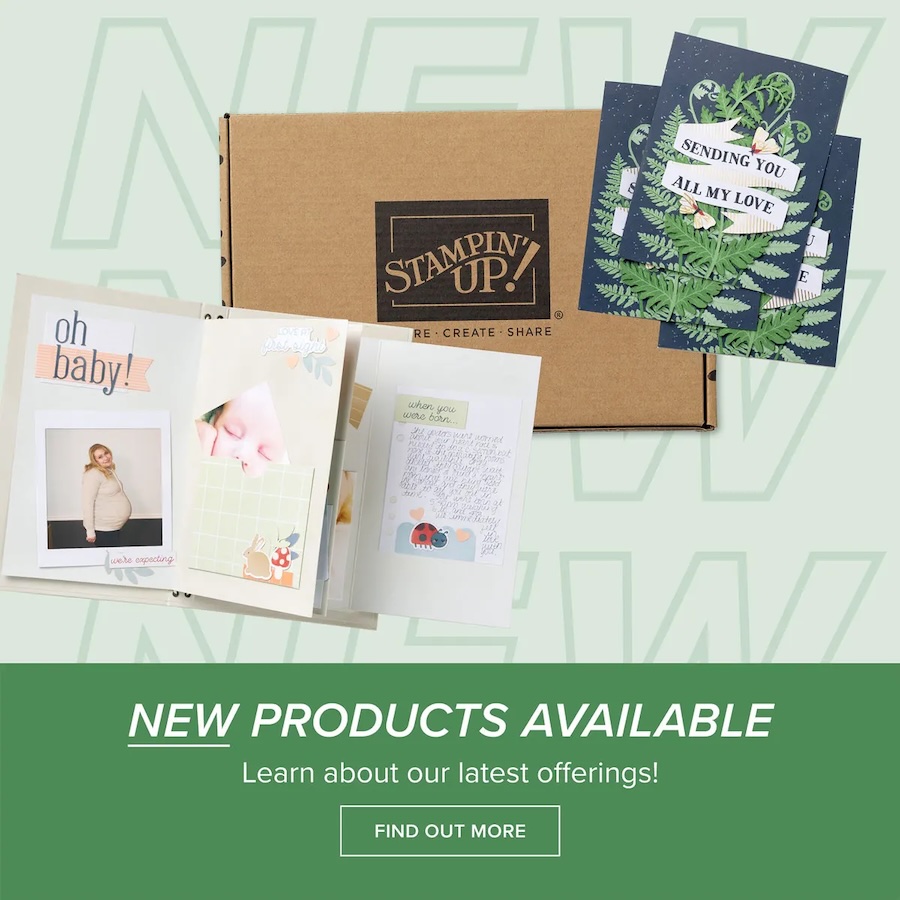
The brand new January Global Creative Project tutorial is now out. Earn for free from me for placing an order in my online store or head to my tutorial store and purchase the PDF tutorial.
New Creativity Kits have been released in my online store. Head here to check them out.
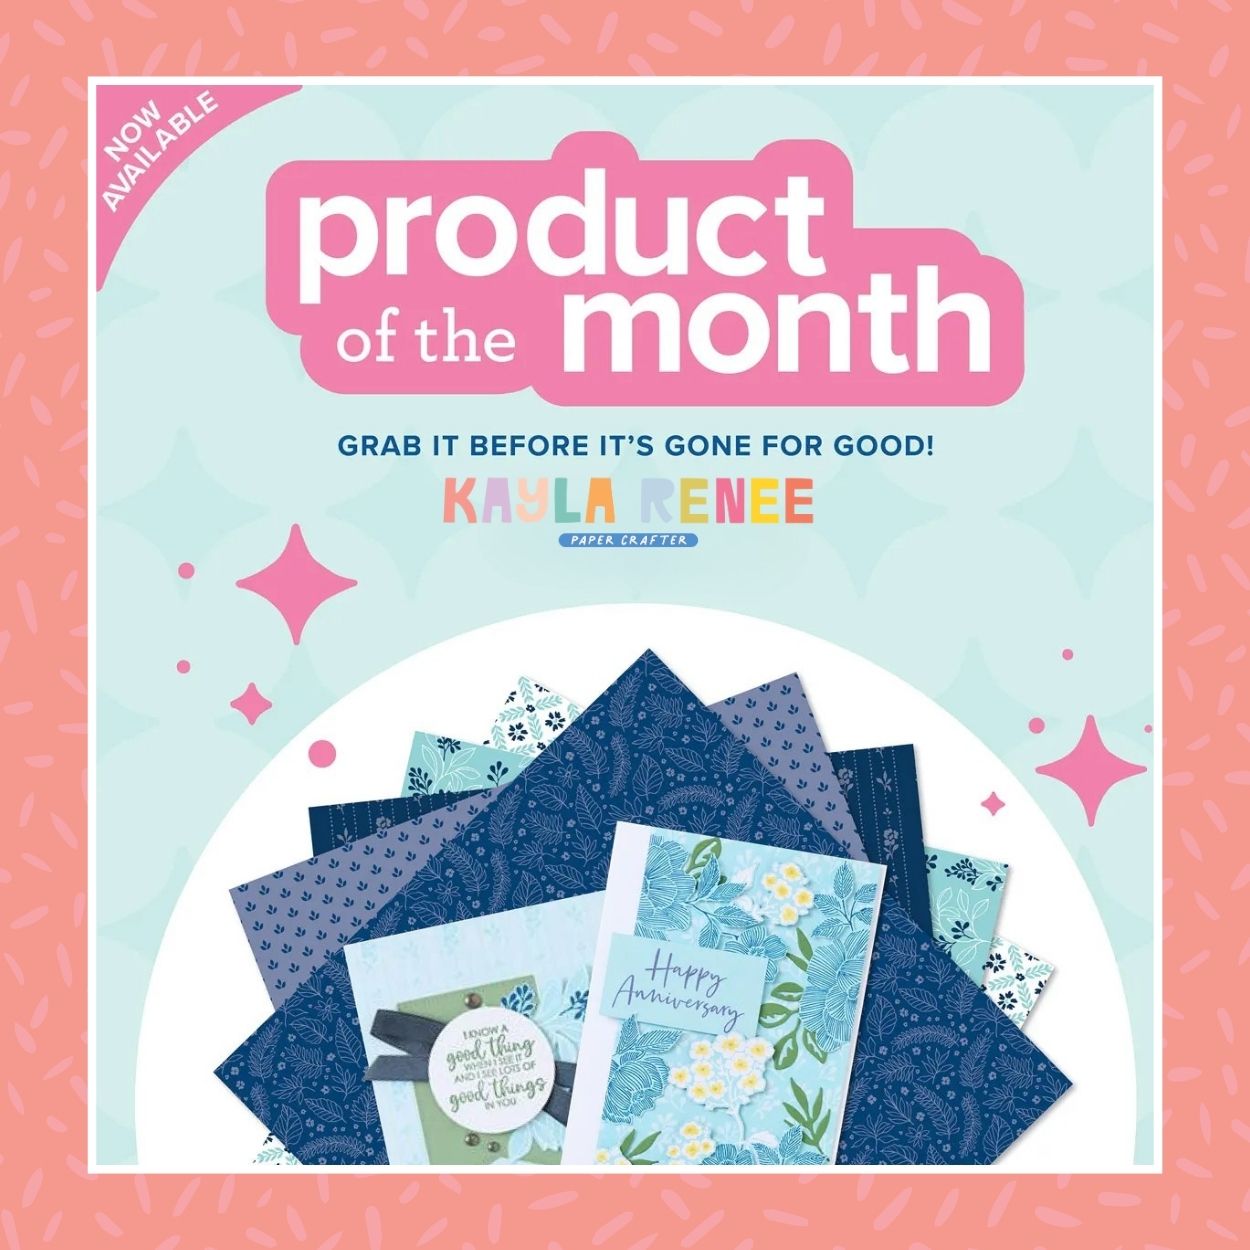
Our new Product of the Month promotion is now in full swing. Get an exclusive product for just $9 when you spend over $125 in my online store. Learn more about this new program here.
Events coming soon

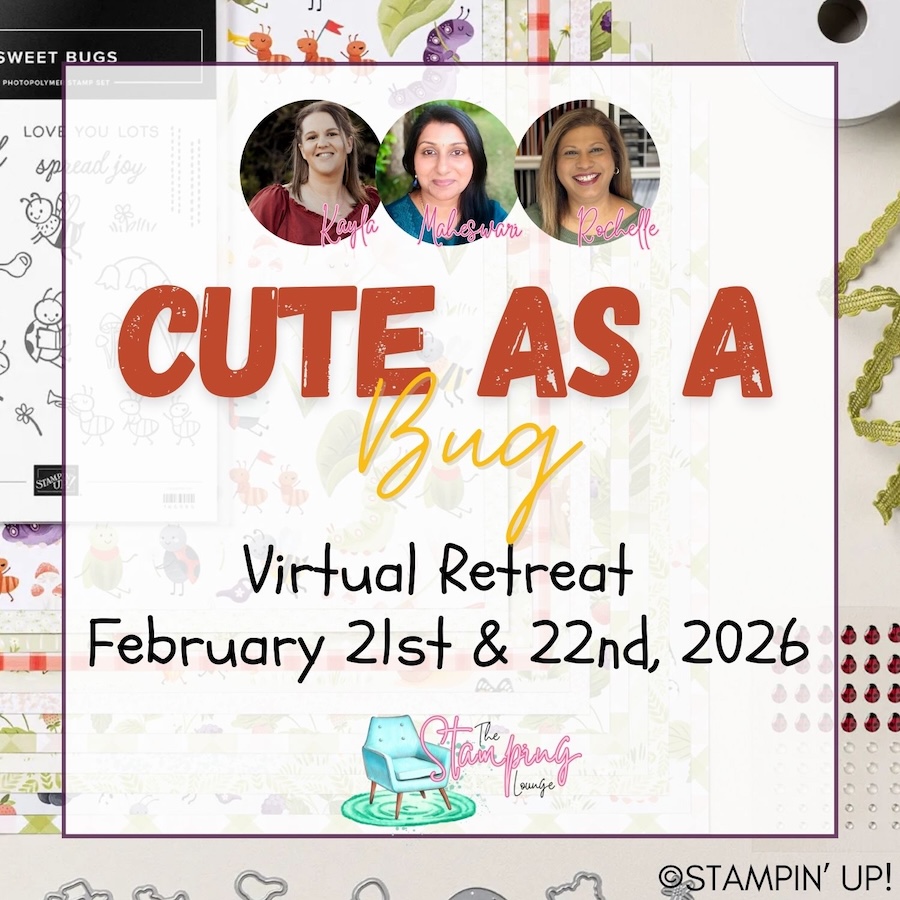
These are two upcoming amazing events with The Stamping Lounge run by myself, Maheswari Rajaguru and Rochelle Laird-Smith. Our Mini Catalogue Launch party is happening on the 11th of January – come and see all the new products, be part of the community, play games and take part in nine card classes!
We also have our upcoming Cute as a Bug Virtual retreat which is open no matter where you are in the world! Take part in eighteen classes using the Cute as a Bug suite and get lifetime access! Click the images or links to find out more and enrol OR sign up to The Stamping Lounge membership to get access to to the mini catalogue launch party and more which are included in the membership (retreat sold separately)


Leave a Reply