It’s time for another week and another beautiful Global Design Project challenge.
This week it is a gorgeous colour challenge with a gorgeous combination of three colours. Pretty Peacock and Lost Lagoon are two of my favourite colours but I would never have thought of throwing the Petal Pink in there, but it does look beautiful. I decided to use the Darling Details bundle for my project this week and I was inspired to have a go at creating die cut frames. The dies in this bundle are so detailed and stunning and have a lace type detail. Creating die cut frames is a great way to create a design that is really ‘centred’, adds visual interest but most of all highlights the focal point of the card. Read on for further tips on how you can enhance your card making by creating die cut frames and using them on your next card making project.
global design project #gdp417 colour challenge
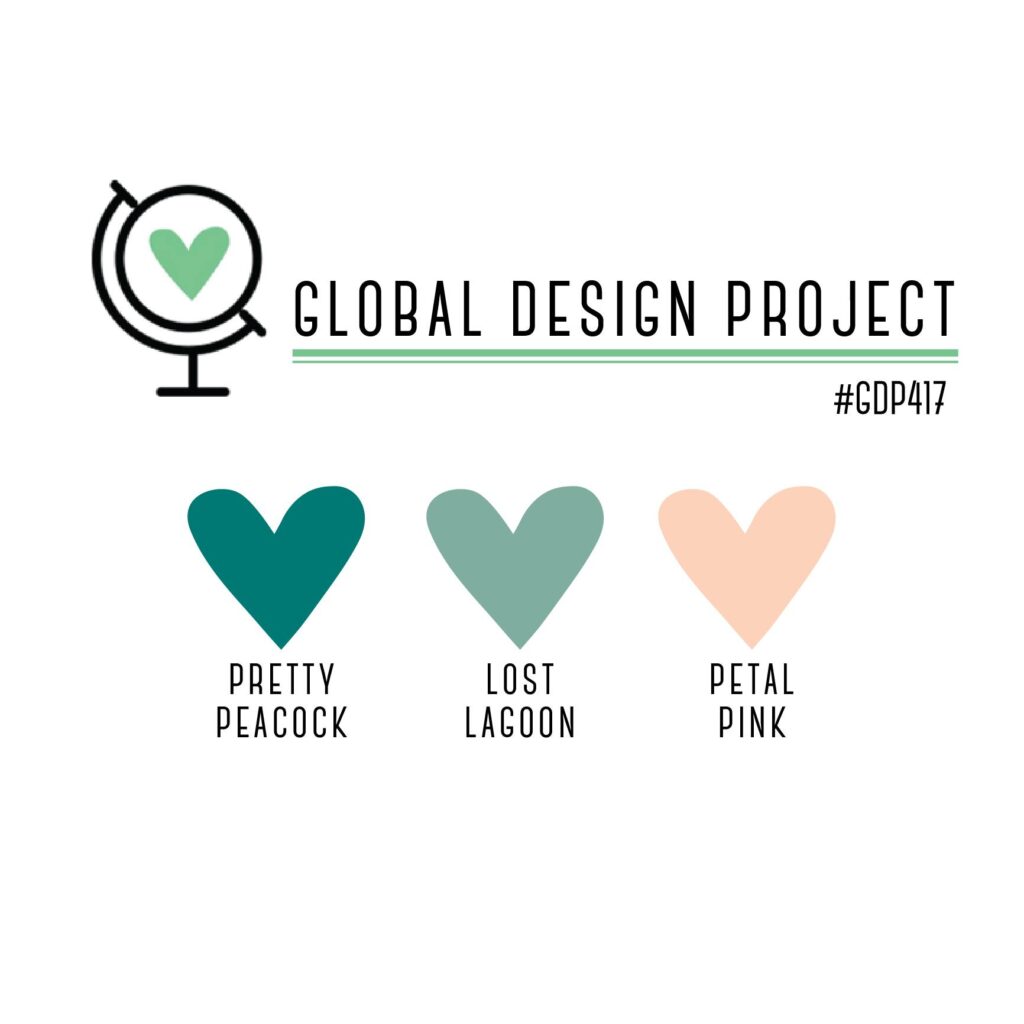
This week’s fun challenge with the colour combo; Pretty Peacock, Lost Lagoon & Petal Pink.
Head here to check out the challenge and the rest of the Global Design Project’s amazing designs & join in the challenge.
the finished card

Here is a look at the finished card, I love how rich and deep the colours turned out on this card. I used the beautiful Hello Irresistible Designer Series Paper for this card and the beautiful watercolored style background gives this card a dreamy styled background look.
One of the things I love about creating die cut frames is that they can be used in multiple ways but something that I do love to do is raise them up for some dimension. I created a two layer effect and raised my frame up to create a bit of a shadow box style frame. This allowed me to stamp and die cut my elements and tuck them in and behind my frame.
a close up look at the finer details
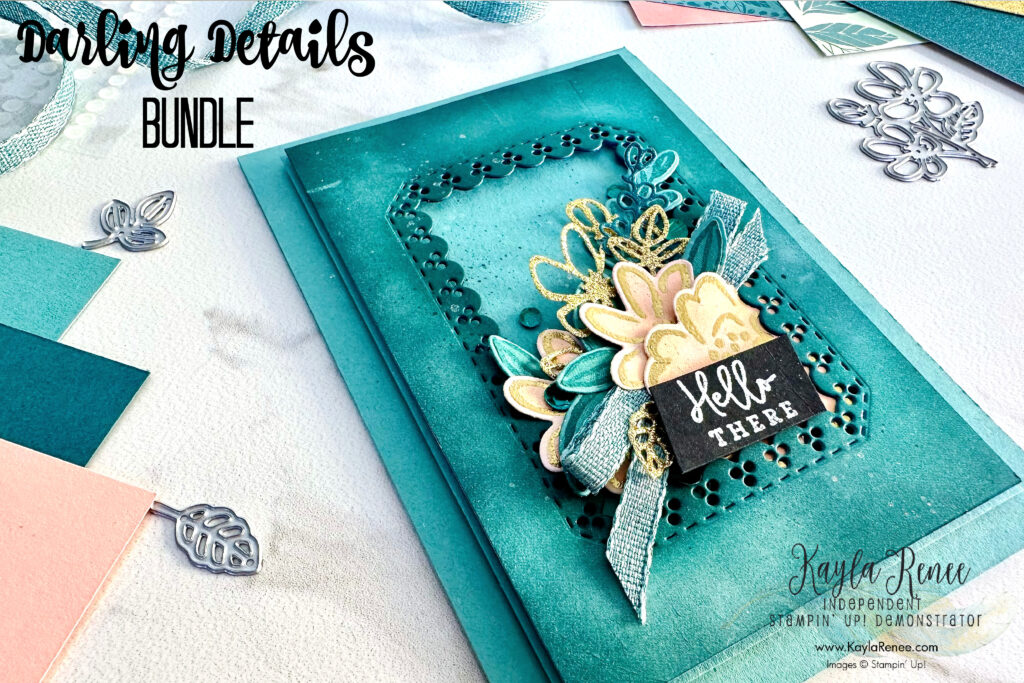
I used quite a few different elements and textures on my card including the beautiful Adhesive Backed Gold Glimmer paper with the dies and some of the Soft Shimmer paper in Pretty Peacock.
I have stamped on both Lost Lagoon Cardstock and directly on some of the beautiful Hello Irresistible Designer Series Paper. Mixing the textures and the colours allows for lots of visual interest and excitement.
I added some blending in the Pretty Peacock around the edges of both the frame and the edges of the layer to really help deepen and add depth to this layer.
a little look at the inside of the card

Here is a look at the inside layer where I have added some simple strips of the Hello Irresistible Designer Series Paper and a tiny strip of the Pretty Peacock Soft Shimmer Specialty Paper.
With some leftover stamped and die cut elements from my card front, I adhered them to the bottom right hand side of the inside layer.
I decided to add a simple stamped ‘friend’ to the inside which was nice to follow up with the ‘hello there’ that was the feature of the card front. I love creating “just because” card as they fit well with my favourite style of RAK (random act of kindness) themed cards to send.
my top tips for creating with die cut frames
- Frame dies are very versatile and can be used across many projects and themes and even beyond card making! You can also layer frames of different sizes! I suggest investing in a good basic frame die set!
- Die cut frames can help to add depth and dimension to your cards and help to provide both visual interest and frame the focal point.
- Experiment with adding texture, colours or extra embellishment to die cut frames – or if they are like this one and are a negative die cut you can see you can add extra dimension with Blending Brush and adding some ink.
See three more options for Stampin’ Up! dies that have frame dies here. There are loads more options for creating die cut frames in my Stampin’ Up! online store.

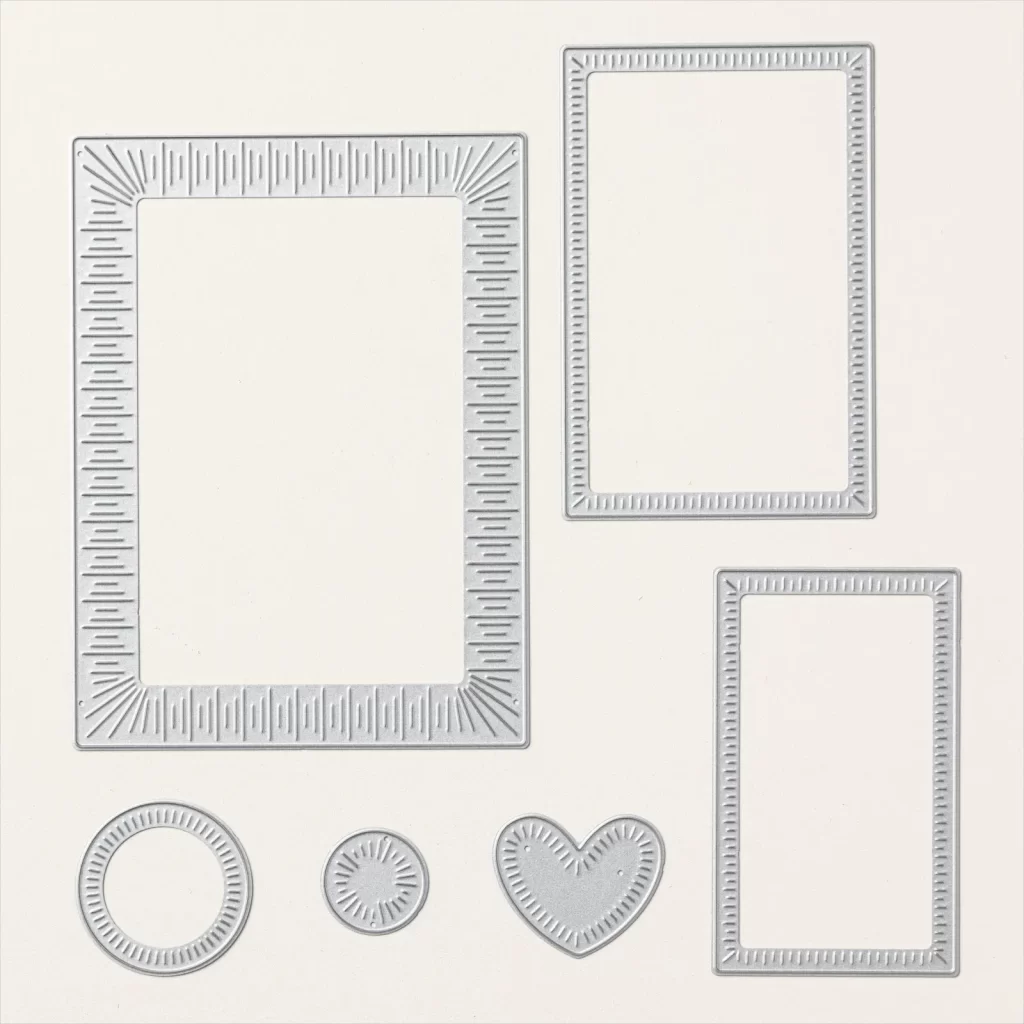

I hope that you will try out using some die cut frames on a card making project soon or maybe you already have and enjoy it as much as I do!
Until next time, crafty hugs! x
Don’t forget to head here and check out this week’s challenge and join in!

SHOP WITH ME & GET A FREE GIFT & TUTORIAL
PLEASE NOTE: Regardless of when you are viewing this post, this is automatically updated so the information and links listed here are current.
Shop with me in February 2026 to receive a FREE gift, tutorial and handmade card from me to thank you for your order.


Don’t live in Australia but still want to purchase the tutorial? You can purchase it through my tutorial store for $22AUD for instant PDF download. CLICK HERE to purchase.
HAPPENING NOW
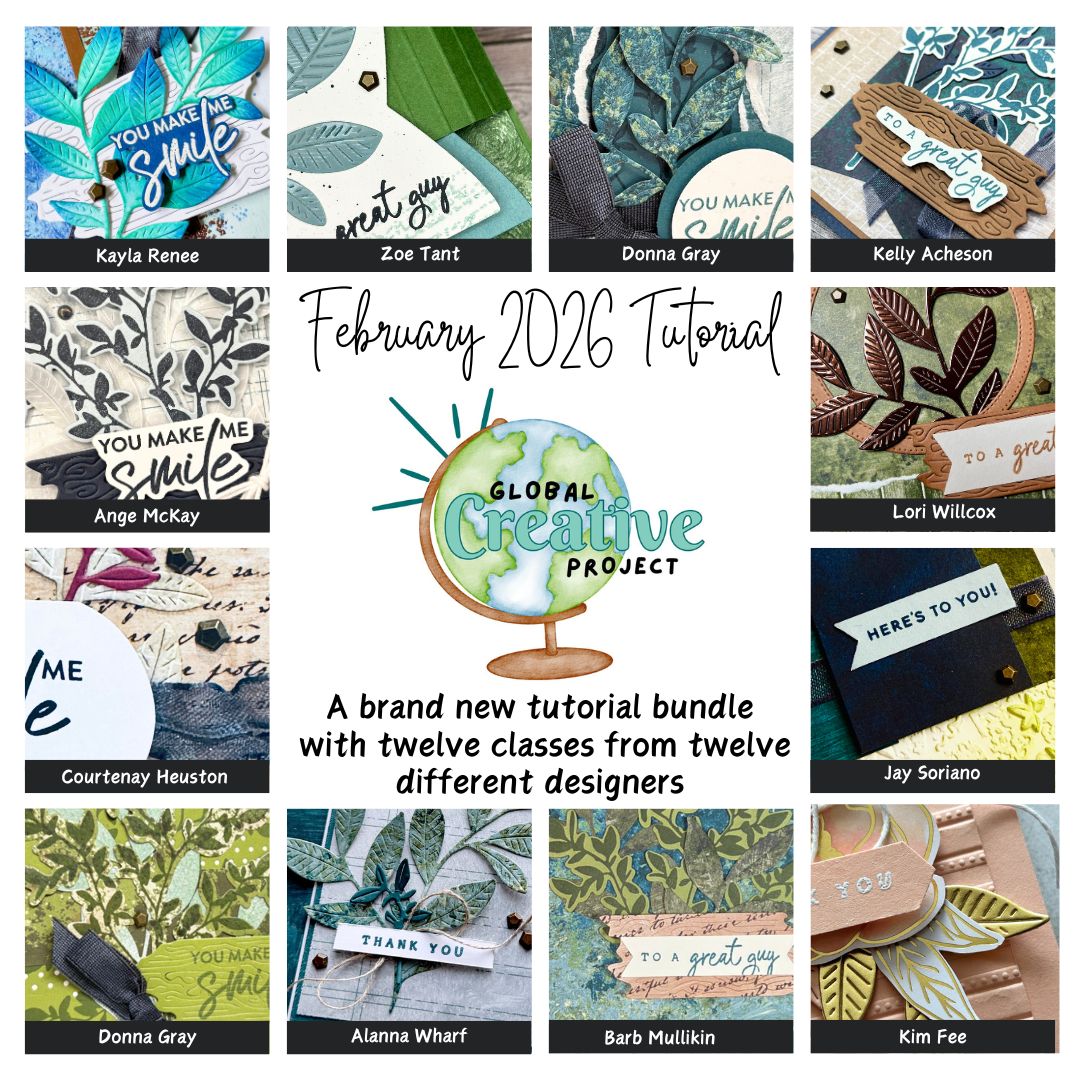


The brand new February Global Creative Project tutorial is now out. Earn for free from me for placing an order in my online store or head to my tutorial store and purchase the PDF tutorial.
New Creativity Kits have been released in my online store. Head here to check them out.
Our new Product of the Month promotion is now in full swing. Get an exclusive product for just $9 when you spend over $125 in my online store. Learn more about this new program here.
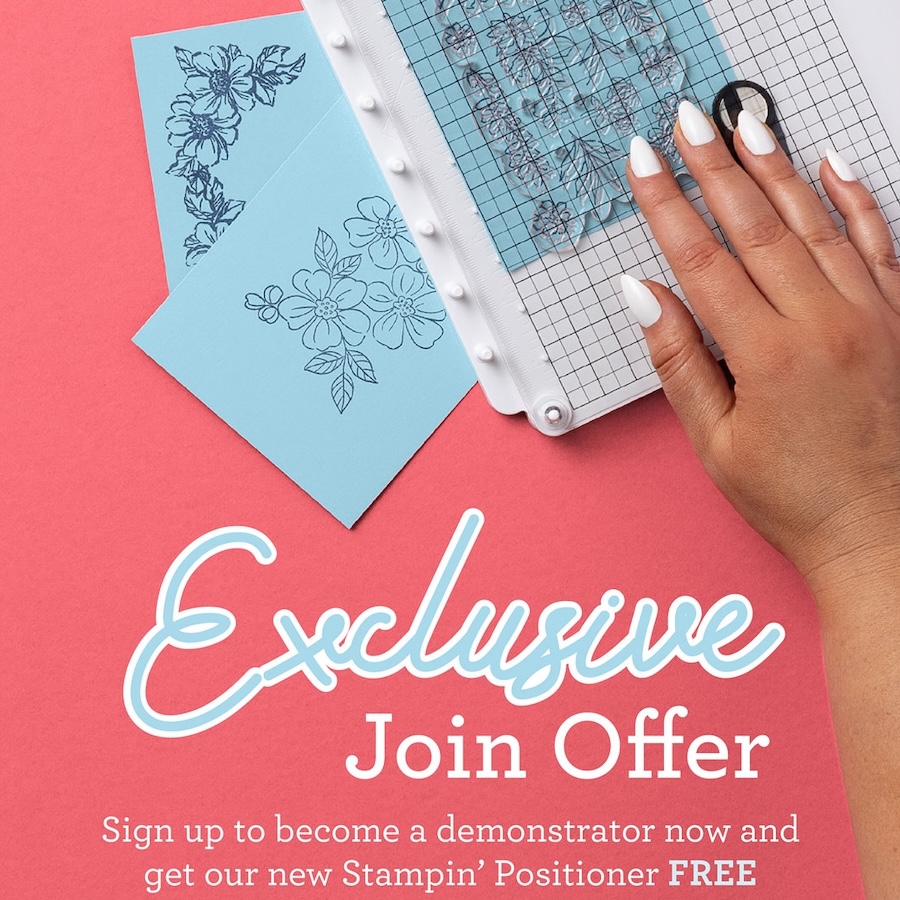
EXCLUSIVE JOIN OFFER – Join my Golden Scissor Craft Club team in February and get the BRAND NEW Stampin’ Positioner FREE! Want to learn more about this fabulous tool and why you will want one? Click here.
Last Chance SALE! – The last chance products list has been updated. See what’s leaving us and score a bargain. Click here.
Events coming soon
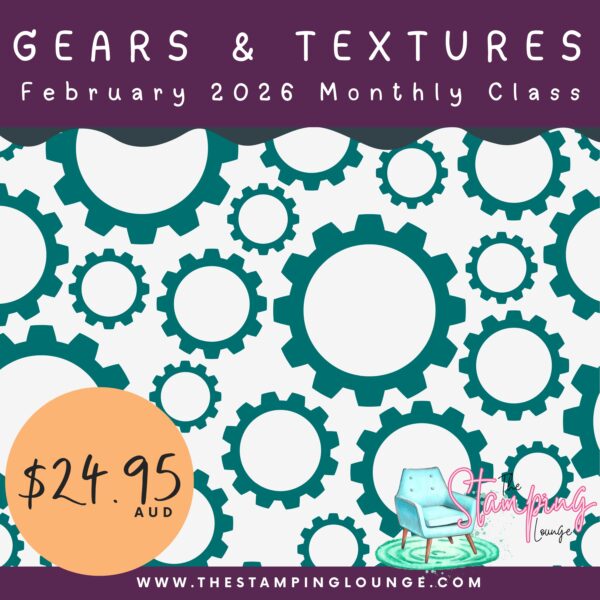
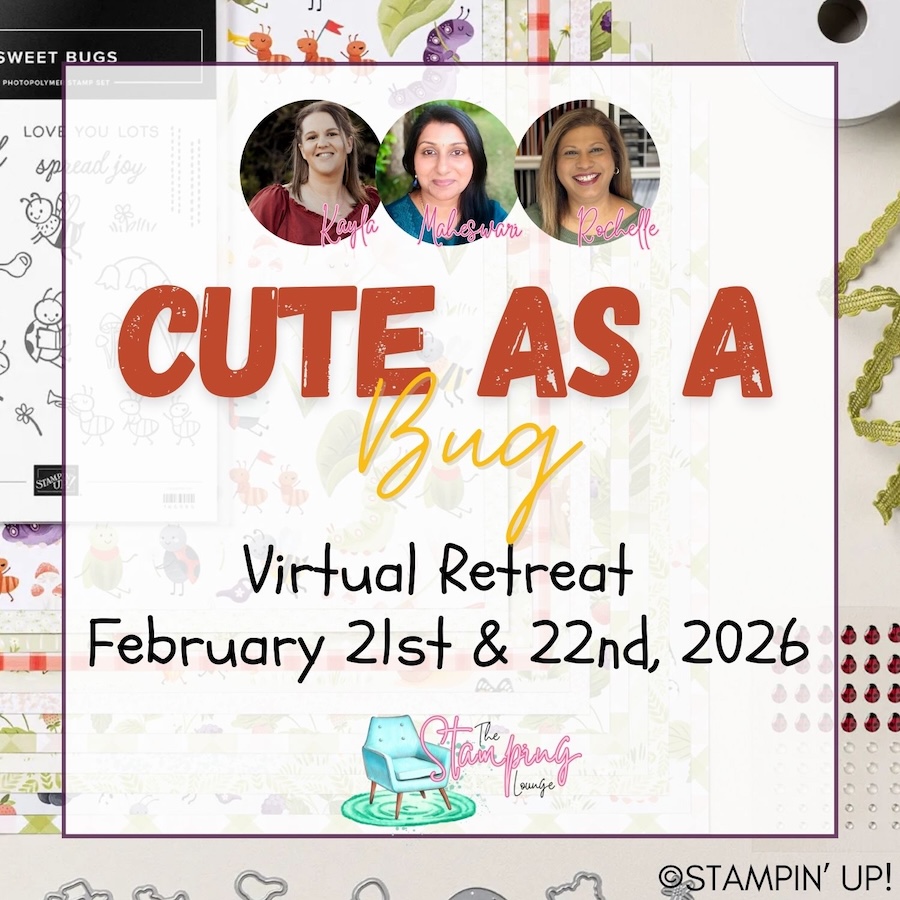
These are two upcoming amazing events with The Stamping Lounge run by myself, Maheswari Rajaguru and Rochelle Laird-Smith.
The Gears & Textures Monthly Class is coming up on the 14th of February,
We also have our upcoming Cute as a Bug Virtual retreat which is open no matter where you are in the world! Take part in eighteen classes using the Cute as a Bug suite and get lifetime access!
Click the images or links to find out more and enrol OR sign up to The Stamping Lounge membership to get access to monthly classes and more which are included in the membership (retreat sold separately)
Product List


Leave a Reply