Do you want to make a masculine card? I know masculine cards can be a bit intimidating and sometimes we think that the more simple the better but I wanted to do something a bit out there, a bit more than simple and add a bit of sparkle, a bit of colour and WOW factor. I decided to add watercolour and go all out there and make a fun fold easel card.
This card was part of this month’s Stampin’ Fancy Friday projects which all feature masculine projects. You can see all the different projects featured throughout the month on the page here.
the finished easel card – level complete – personalised card
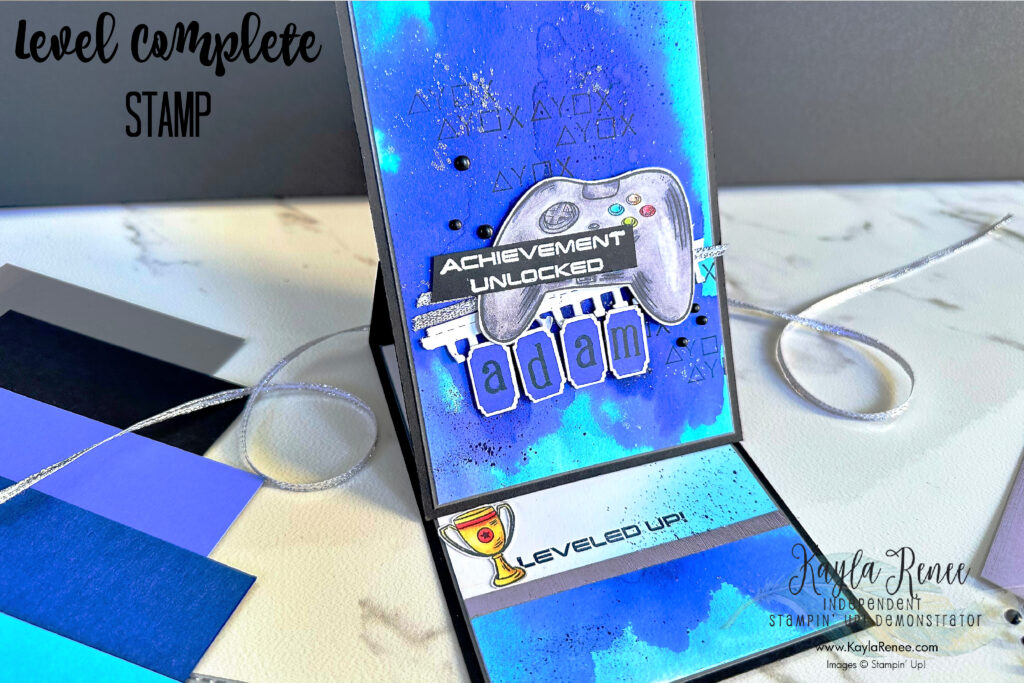
Even better – I made this a personalised card. We have a really cool bundle called the Alphabest Bundle. It comes with some cool alphabet stamps and a matching punch to make these adorable little letters! I was able to personalise this card with the recipients nam, which is pretty cool if you ask me!
This card is perfect for any gamer, teenager or younger boy!
To make an easel card it is really easy! It is simply a normal card size base. You simply cut another layer the same size as your card front, for example in metric sizing…
Card base: 10.5cm x 29.7cm (scored at 14.9cm) – score card front in half again at 7.45cm
Easel layer: 10.5cm x 14.9cm – place adhesive on bottom scored section of card base and adhere this piece
You will need something for this to sit up on (on mine the trophy is actually what hold the easel up)
To make the background I have used some Fluid 100 paper and some Tahitian Tide, Starry Sky and Orchid Oasis Ink with some Water Painters to achieve a beautiful watercolour background. Orchid Oasis was the surprise colour! I don’t usually use this colour but I loved the throw in look it created! I heat set the colours when I was happy, however you can set it aside to dry naturally (I just love the harsher lines that heat setting creates)
Once the background was dry I did stamp the background with the triangle, Y, square, X stamp with Starry Sky. This added some extra texture and interest to the background. I also flicked some Starry Sky Stampin’ Write marker and Wink of Stella over my background.
the colours that inspired the easel card
close up of the finished easel card and those beautiful details
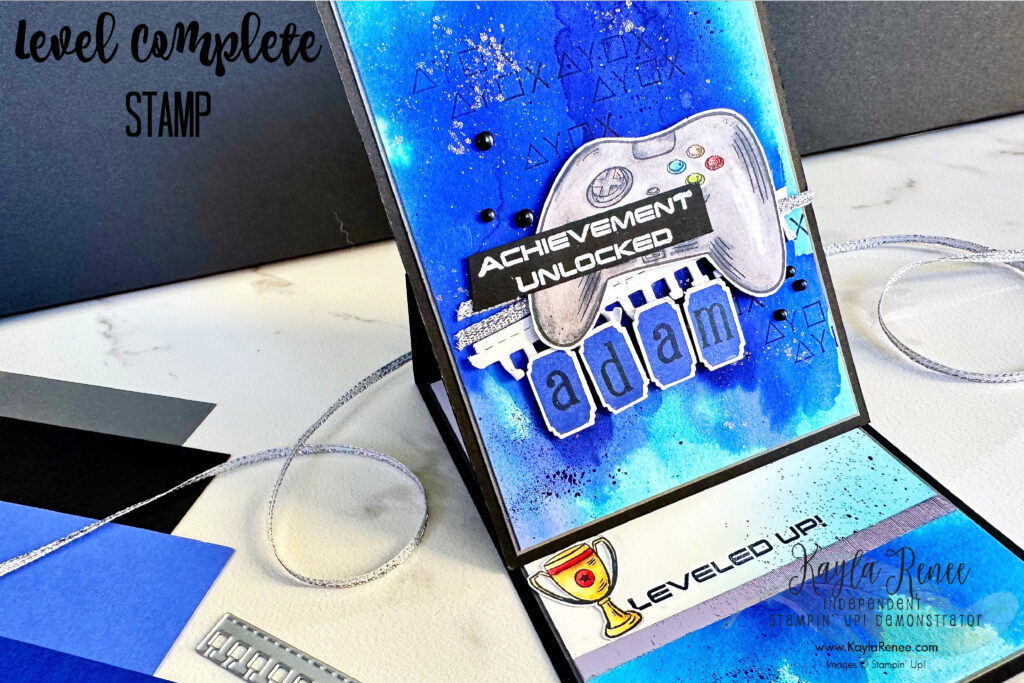
The Xbox controller was coloured with a mixture of Stampin’ Blends including; Smoky Slate, Basic Black, Poppy Parade, Tahitian Tide, Daffodil Delight, Poppy Parade and Pumpkin Pie. I also added one of the little trophies to add as an accent to the inside layer which is visible when the easel feature is open.
As an added accent I used the notebook edge die which is taken from the Gorgeously Made dies. I LOVE this die and use it lots! It works so well across so many different genres of cards and projects!
I have accented the card with some of the Silver Trim from the Online Exclusives and added some of the Classic Matte Dots in black.
close up of the inside of the easel card
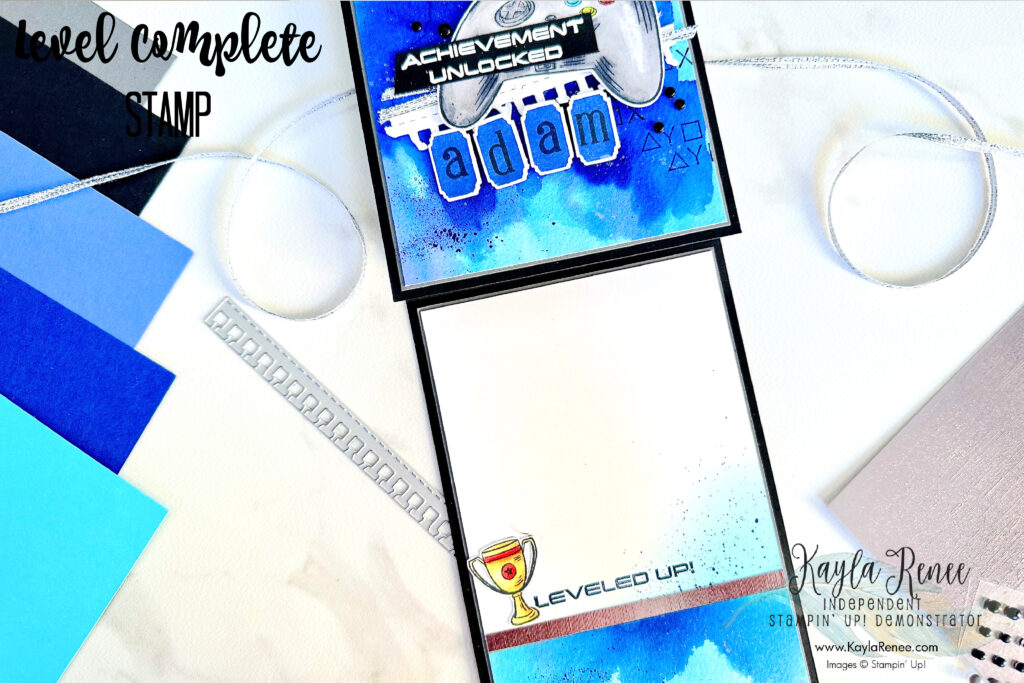
The inside of the card is super easy and the same as any of my other cards I make! I have simply used a left over piece from my watercolored layer I had left over from my card front which I really think followed through my design! The only thing that you have to keep in mind when creating an easel card is that you will need something to hold up the easel component.
In the case of my card – the little trophy was enough to hold up my easel layer!
You can create a little ‘shelf’ by having a little layer like you can see with my watercolour piece and layer of silver foil and this will hold up the easel but I just loved my easel to sit up a bit higher which is why I preferred it to sit on top of the trophy.
I added another additional sentiment stamped in Memento Black and some more blending in Tahitian Tide. Using a Stampin’ Write Marker I then spritzed some ink to finish my card. I love how my card turned out and it was the perfect masculine card to give to my partner.
I hope that you were able to get some inspiration from my post today for both a fun fold idea and creating a masculine card that has a bit more wow factor.
Until next time, crafty hugs! xx

SHOP WITH ME & GET A FREE GIFT & TUTORIAL
PLEASE NOTE: Regardless of when you are viewing this post, this is automatically updated so the information and links listed here are current.
Shop with me in February 2026 to receive a FREE gift, tutorial and handmade card from me to thank you for your order.


Don’t live in Australia but still want to purchase the tutorial? You can purchase it through my tutorial store for $22AUD for instant PDF download. CLICK HERE to purchase.
HAPPENING NOW
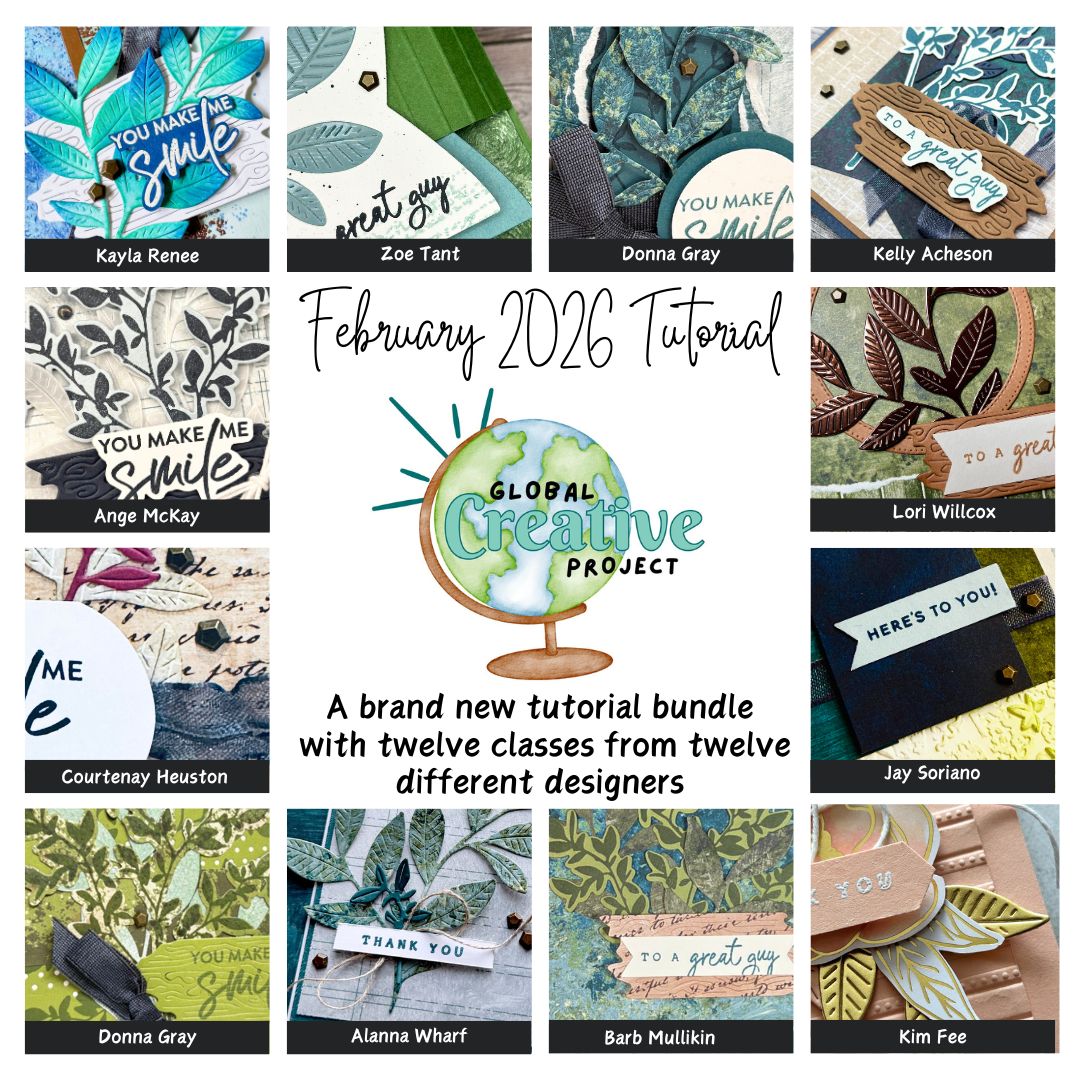


The brand new February Global Creative Project tutorial is now out. Earn for free from me for placing an order in my online store or head to my tutorial store and purchase the PDF tutorial.
New Creativity Kits have been released in my online store. Head here to check them out.
Our new Product of the Month promotion is now in full swing. Get an exclusive product for just $9 when you spend over $125 in my online store. Learn more about this new program here.
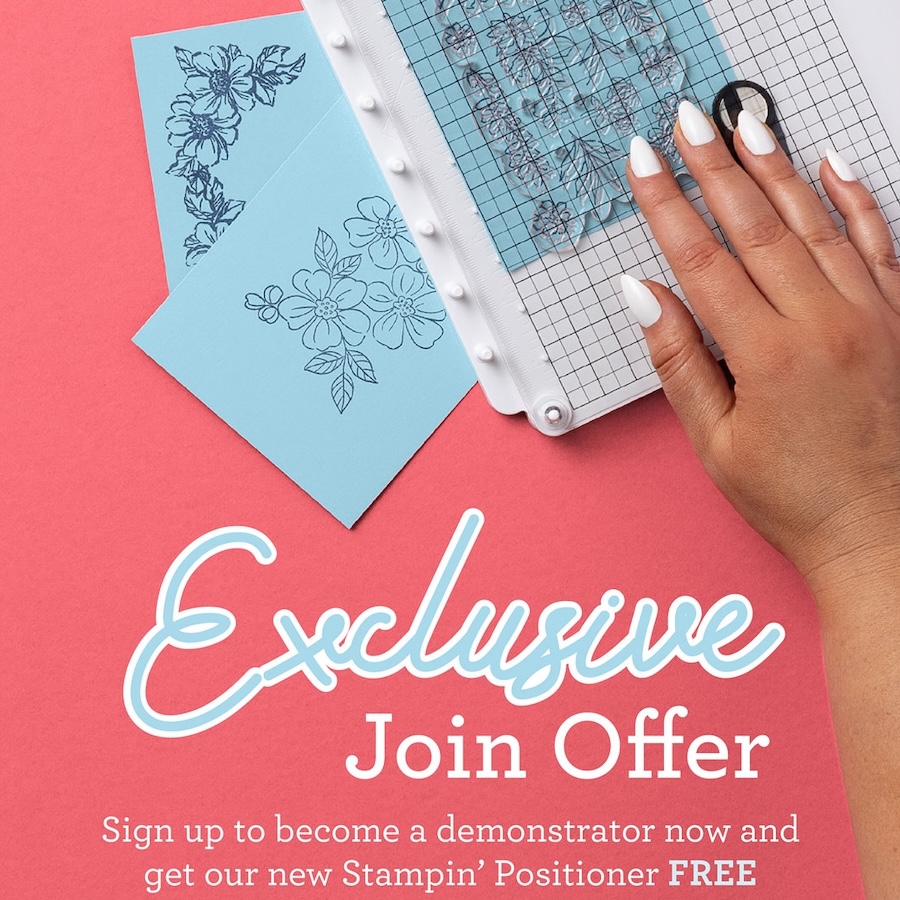
EXCLUSIVE JOIN OFFER – Join my Golden Scissor Craft Club team in February and get the BRAND NEW Stampin’ Positioner FREE! Want to learn more about this fabulous tool and why you will want one? Click here.
Last Chance SALE! – The last chance products list has been updated. See what’s leaving us and score a bargain. Click here.
Events coming soon
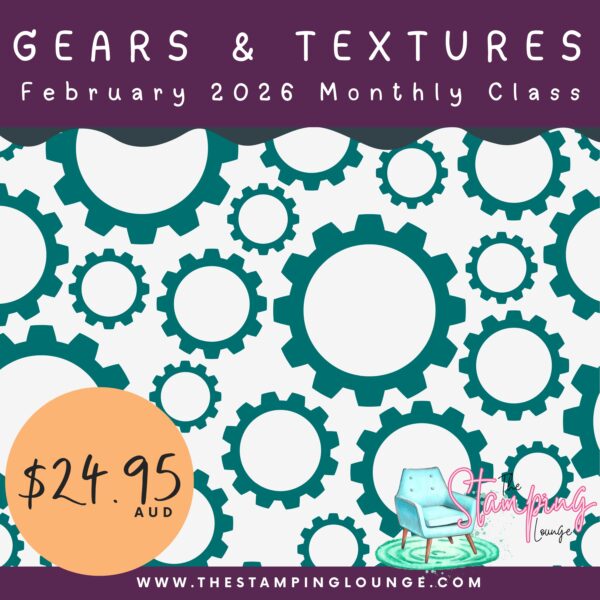
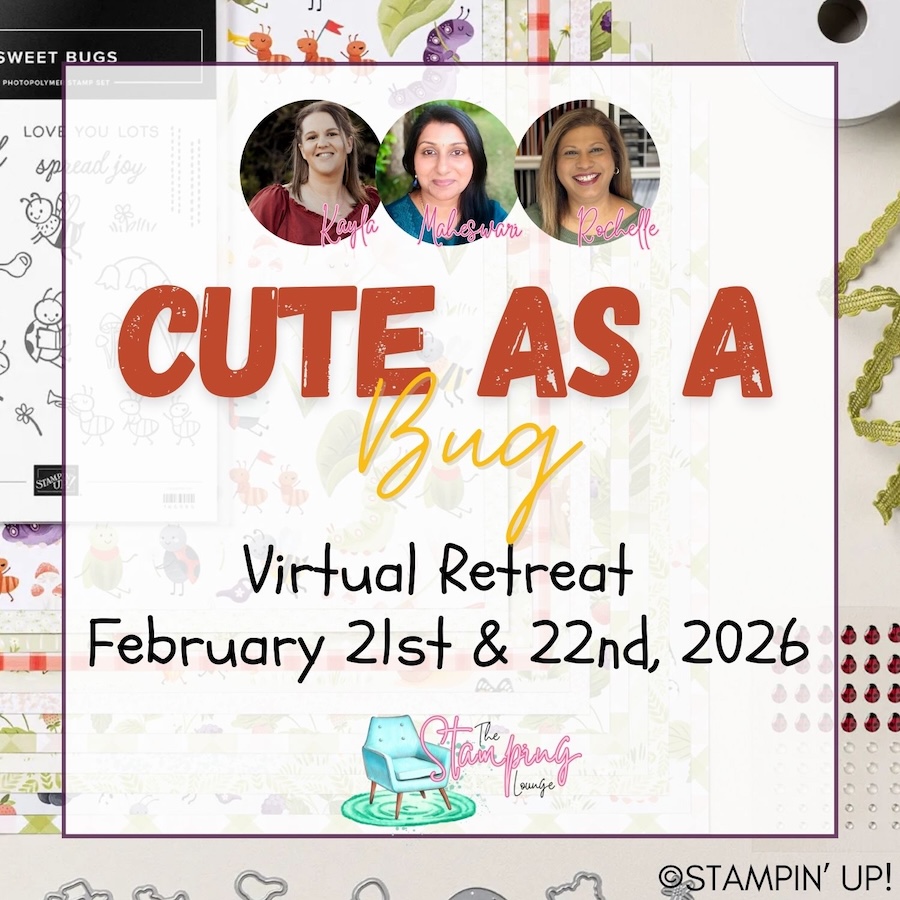
These are two upcoming amazing events with The Stamping Lounge run by myself, Maheswari Rajaguru and Rochelle Laird-Smith.
The Gears & Textures Monthly Class is coming up on the 14th of February,
We also have our upcoming Cute as a Bug Virtual retreat which is open no matter where you are in the world! Take part in eighteen classes using the Cute as a Bug suite and get lifetime access!
Click the images or links to find out more and enrol OR sign up to The Stamping Lounge membership to get access to monthly classes and more which are included in the membership (retreat sold separately)
Product List


Leave a Reply