Recently back in March I attended the fabulous Stampin’ Up! Onstage event in Melbourne, Australia. I have shared lots about my trip over my social medias since my travels. If you want to check some of it out – head over to my Instagram. However I had not shared the fun cards that I made at the “after hours” event that I chose to participate in at Onstage. I came home with the cards to create as creating in loud spaces with lots of people was a bit challenging for me, but I I did have a ball connecting with others. I did want to however share what we were given to make and show you how I chose to make them. The instructional booklets for our projects were provided with easy card sketches which are fantastic for creating designs time and time again.
I have shared the card sketches down below so you can see the sketches and then see how the finished project turns out. It’s a pretty cool process.
the easy card sketches provided at the after hours event


Here you can see the three easy card sketches. You will note that in sketch one it shows circular elements however in the finished card these elements are actually square. This is the beauty of a sketch…you go where the creativity takes you. A sketch is merely a guide!
taking a look at the finished projects
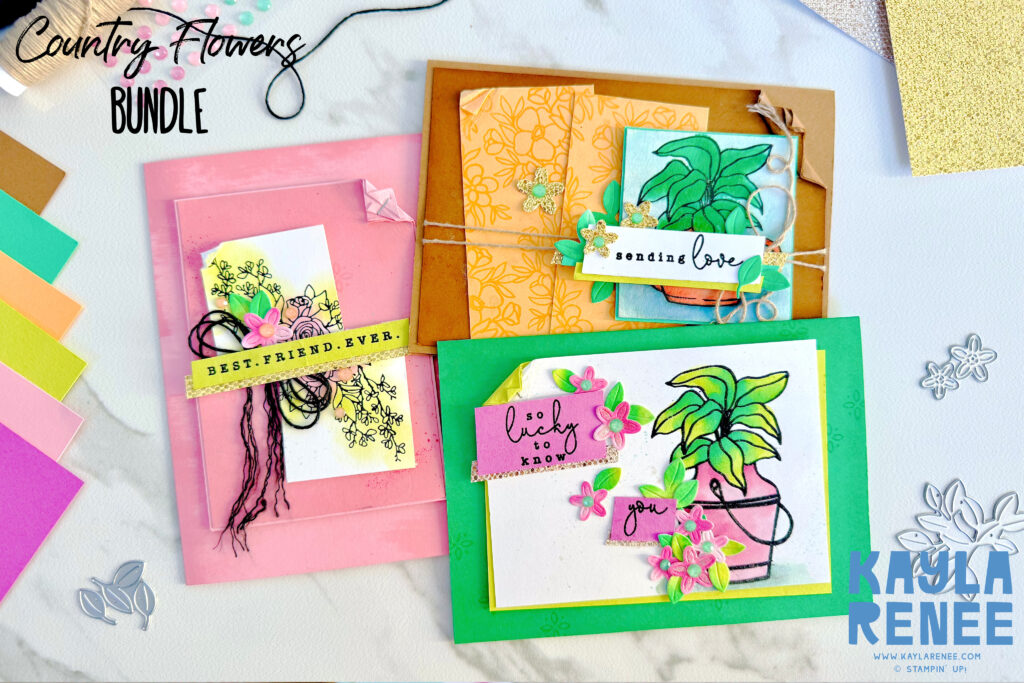
Here is a look at the finished projects as an overview. Don’t those colours look stunning together. Not only did we get to play with some easy card sketches but we also got to play with NEW products and NEW colours. Before attending we chose from three different bundles and as part of the fee we were also provided with a selection of products including the brand colours! If you haven’t by chance seen the new colours yet, here is a look…

a close up look at all that gorgeous texture
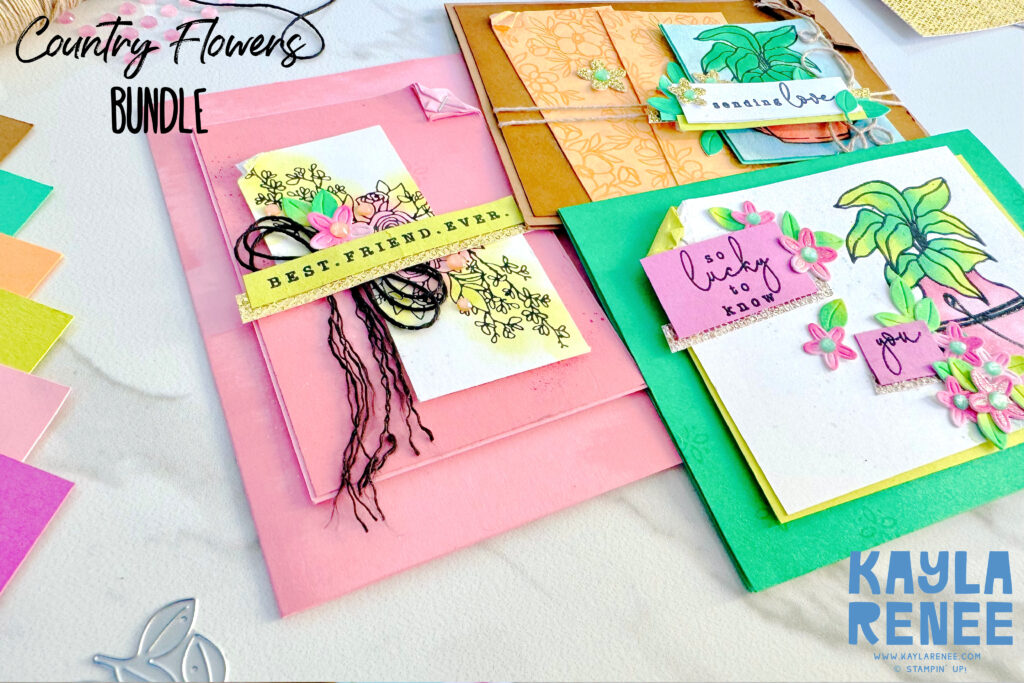
I changed up the look of my finished cards to what the guide/instructions stated. For those that know me or have watched my videos before will know that I am pretty bad at following the guidelines and instructions.
The cards didn’t actually have any die cuts or die cutting on them due to that being a little impossible with a room with hundreds of crafters. This was one of the reasons I did enjoy doing them in my own time and being able to add these extra “Kayla” touches.
easy card sketches – card one
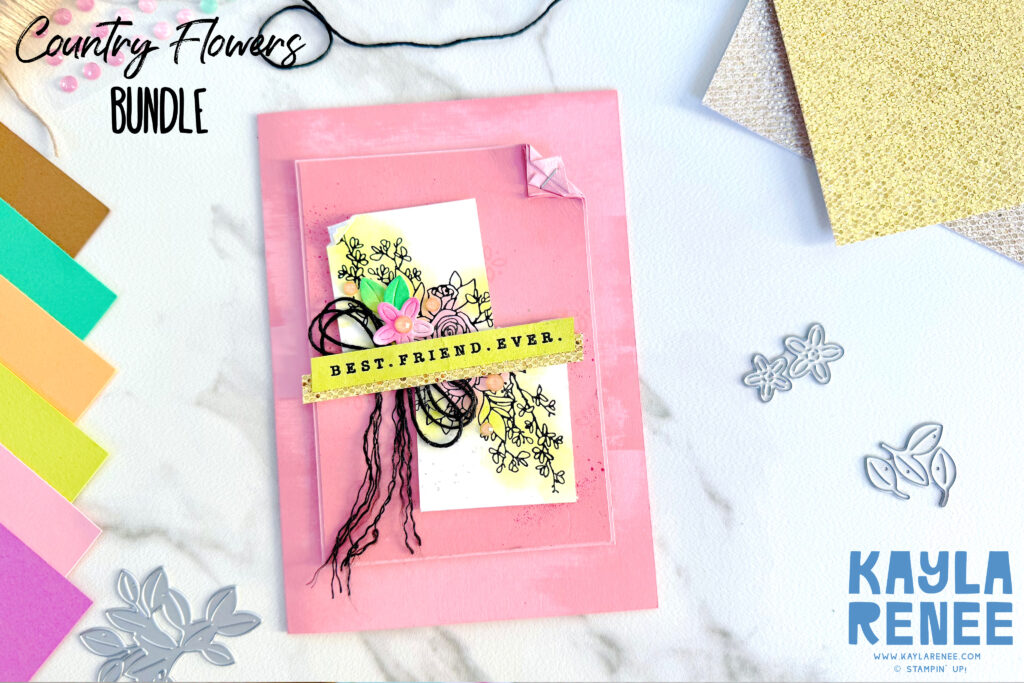
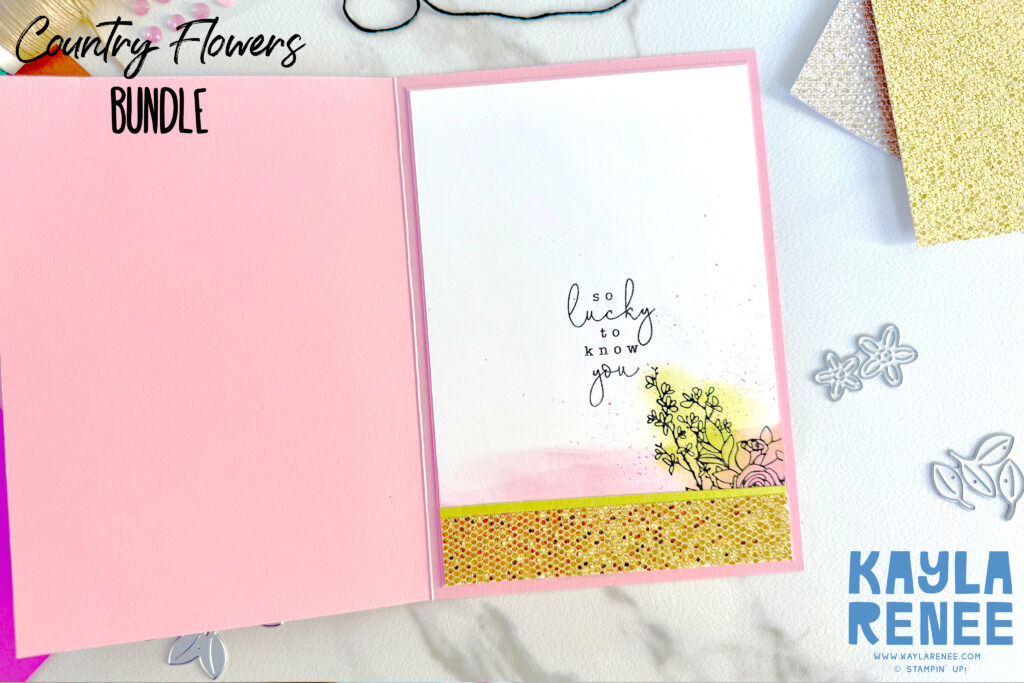
Here is a look at the first card from sketch one. I will be the first to admit that I am NOT a pink person. I don’t openly gravitate towards it but this beautiful Pretty in Pink is a bit cute!
This sketch shows two circular images slightly overlapped, however this design has a geometric image (square) so still follows the same design principle.
I loved adding some extra texture to the design by swiping the Pretty in Pink ink pad directly across the cardstock and using quite a bit of tone on tone colour on this design! I adding some Stampin’ Write Marker spritzing and Pretty in Pink stamping directly on my PIP cardstock. So many subtle effects that make for a lot of texture and depth on this card.
I used a technique also that I had not really done before on this card thanks to the inspiration from Stampin’ Up! and that is to stamp the image in black and then using a Small Blending Brush to lightly blend the ink over the top. This allows for quick colouring! You don’t have to stay in the lines, just use a gentle hand!
a close up look of card one
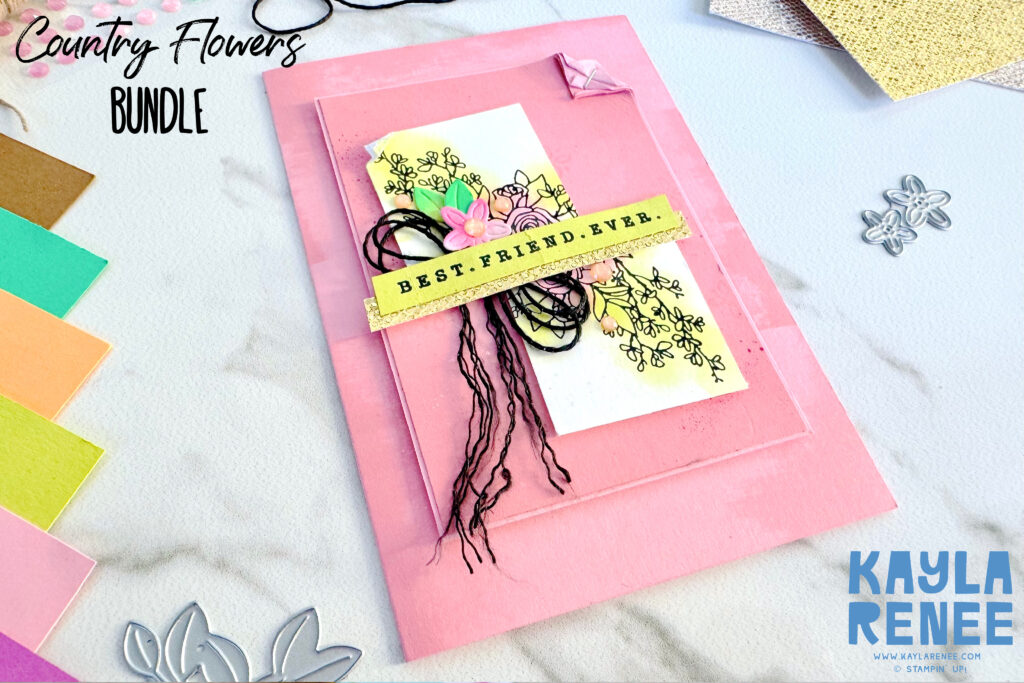
Here you can see some more of that texture. I chose to fray the ends of my bow that I have tied with the black Everyday Essentials Baker’s Twine. I love the extra bit of pizzazz this gave the card.
P.S. I have used a soon to be retired product on my card here (and all of the cards) and that is the More Dazzle Specialty Paper – I will mourn it’s loss soon!
easy card sketches – card two
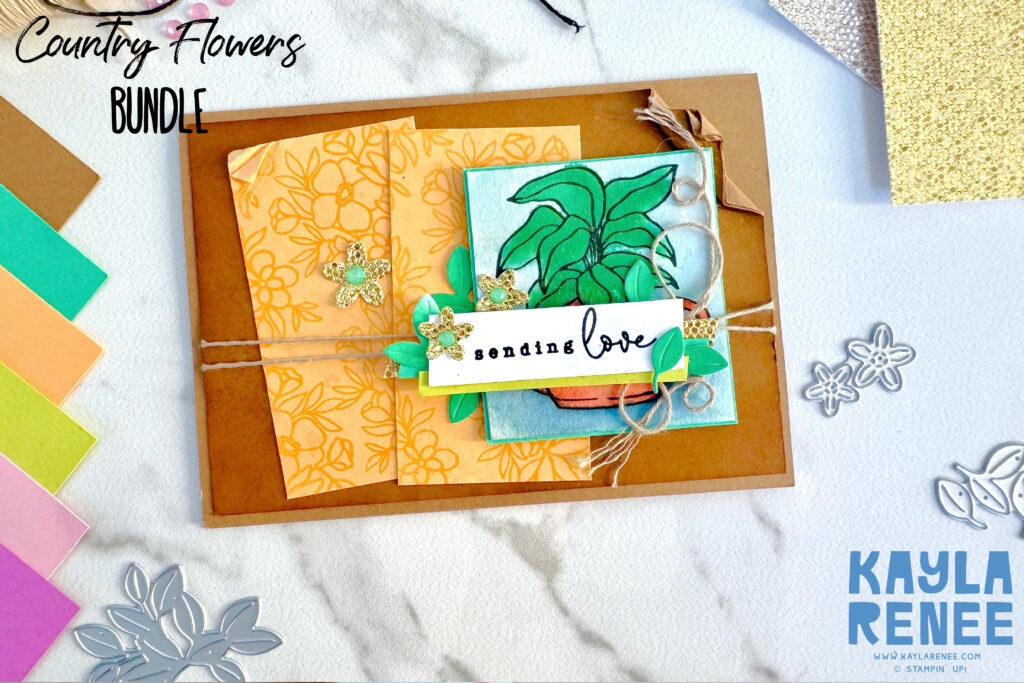
Card number two brought in a colour combination that steered away from the pinks/purples and combined that new Summer Splash, Shy Shamrock and Peach Pie with the beautiful Pecan Pie. I love this combination together. The sketch itself that you can see above calls for three vertical rectangles, however in this particular card design it only features two rectangles to the left and the last rectangle instead features the focal point of the design which is the gorgeous pot with leaves which has been watercolored from the brand new Country Flowers Bundle.
a close up look of card two
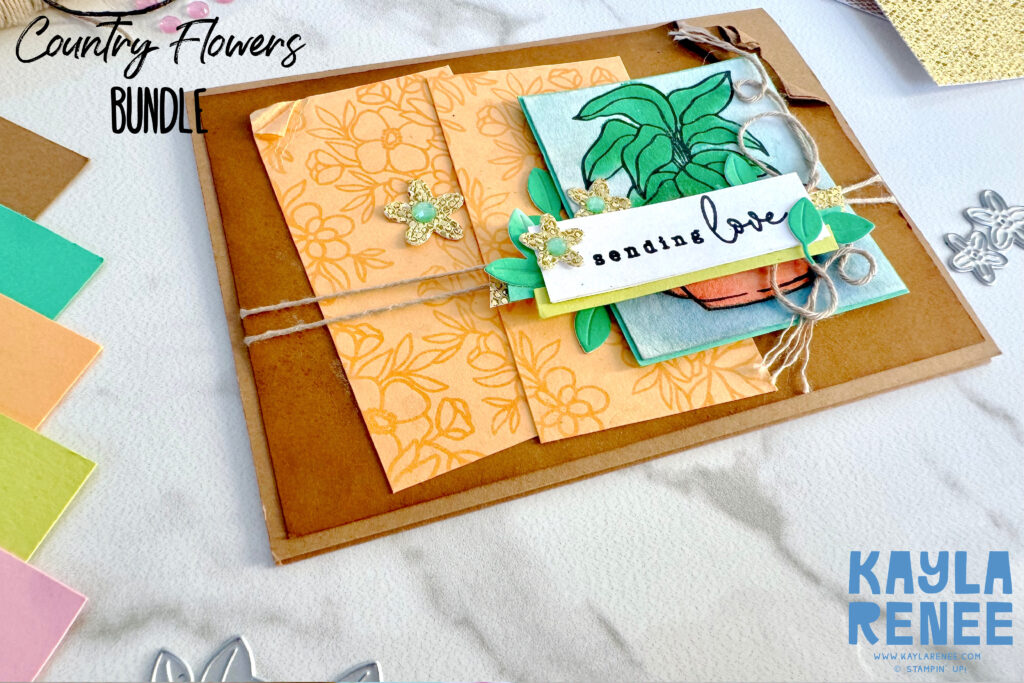
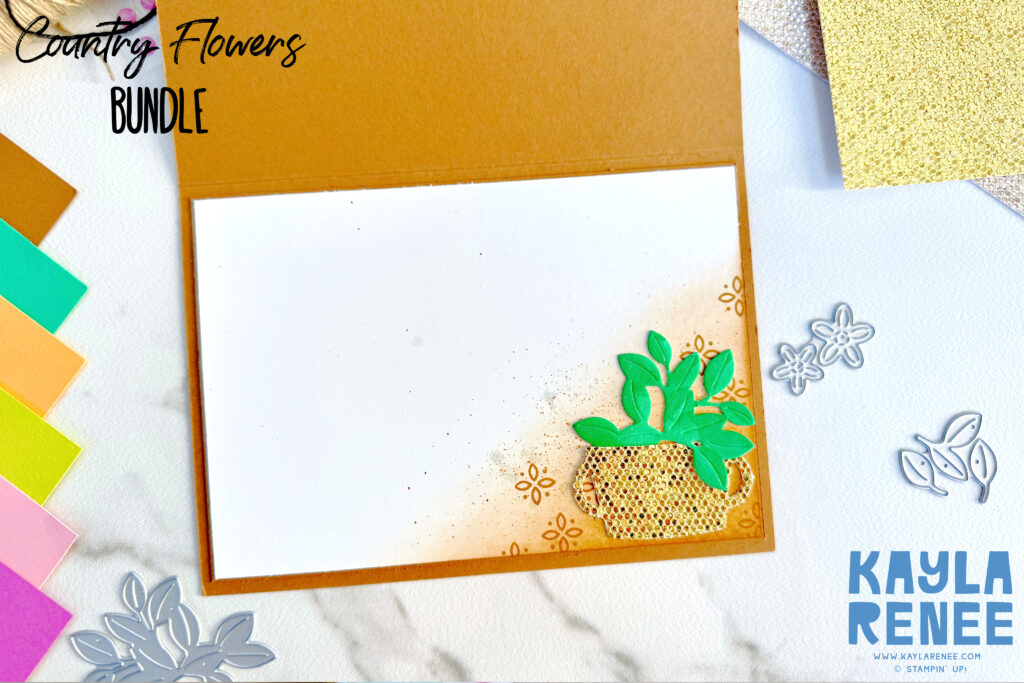
Here you can see some of the detail. It is so easy to make your own Designer Series Paper or patterned designs by stamping straight on the cardstock. I have done just that on these Peach Pie cardstock panels with one of the floral stamps and it looks fantastic. The flowers are actually stamped in Versamark ink and I have heat embossed them in clear embossing powder for a fun textured look.
I added some extra detail with die cut flowers cut from the More Dazzle Specialty Paper and decorated these with the In Colour Shimmer Gems. These gems are a must have as they really make a card shine!
easy card sketches – card three
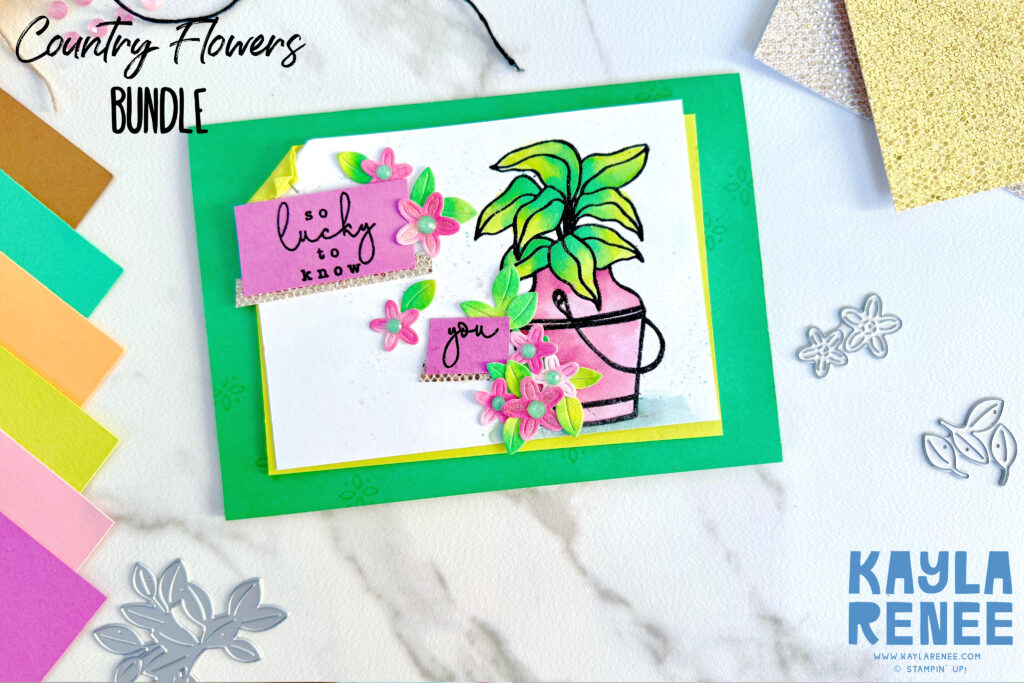
This card is probably my favourite! The Shy Shamrock combined with Lemon Lime Twist, Petunia Pop and Pretty in Pink is a colour combination made in heaven! The brightness of this card is just gorgeous! I have heat embossed my pot and leaves on some Basic White Thick cardstock and watercolored my design in a mixture of the greens and pinks blending them together.
To make the card base a little bit fun, I used one of the small stamps to stamp randomly across the base and then added some light blending on the edges with some Shy Shamrock Ink. This adds some extra depth to the card!
a close up look of card three
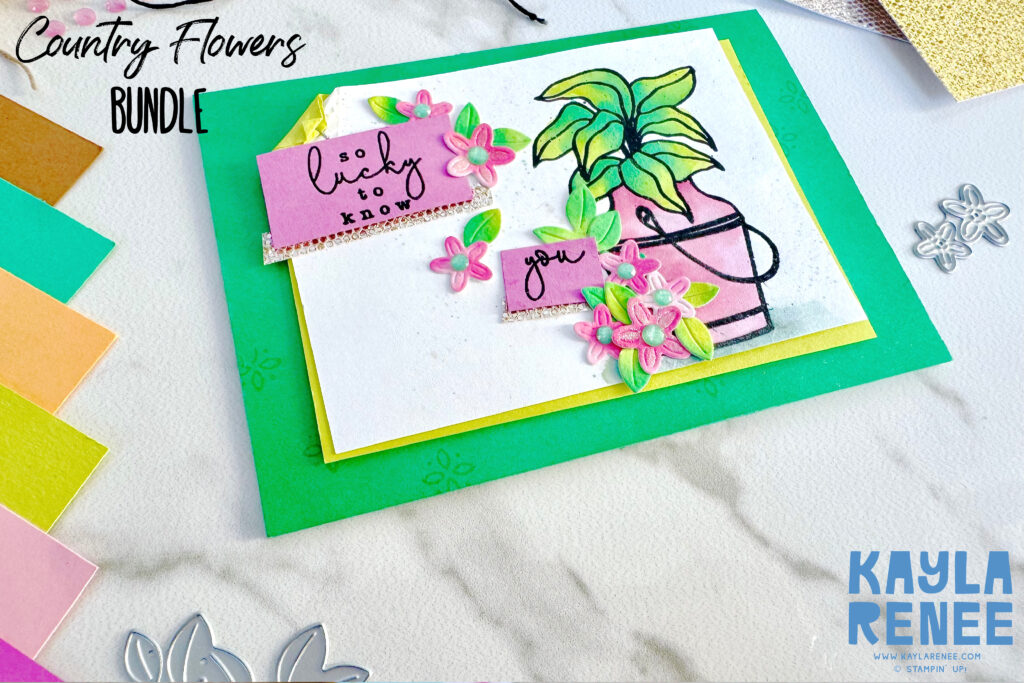
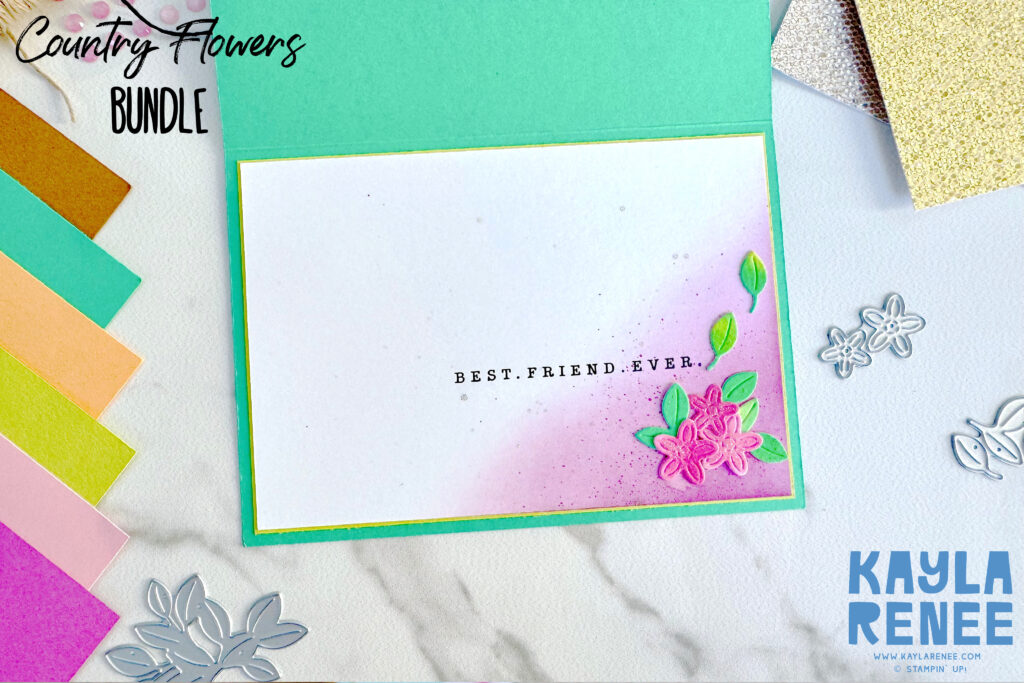
The clusters of flowers were just adorable on this card and this was my ‘Kayla’ touch as the originals had no die cutting. I used some Fluid 100 watercolour paper to add a mixture of my pinks and greens and then die cut out a mixture of the flowers and leaves. These looked gorgeous scattered over my card.
The sentiment was heat embossed in black on some Petunia Pop Cardstock and I have cut this in two for a bit of a fun look!
I hope that you enjoyed seeing my versions of the cards made using some easy card sketches from the Onstage After Hours experience. It really is fun to use sketches in card making and the best thing about it is you can change them up and go where the creativity takes you. Think outside the box – flip them, a circle doesn’t have to be a circle – the sentiment can be moved. They are just a starting point! Use these easy card sketches I have shown today – or head over to Pinterest and start browsing!
Until next time, crafty hugs. xx

SHOP WITH ME & GET A FREE GIFT & TUTORIAL
PLEASE NOTE: Regardless of when you are viewing this post, this is automatically updated so the information and links listed here are current.
Shop with me in January 2026 to receive a FREE gift, tutorial and handmade card from me to thank you for your order.


Don’t live in Australia but still want to purchase the tutorial? You can purchase it through my tutorial store for $22AUD for instant PDF download. CLICK HERE to purchase.
HAPPENING NOW
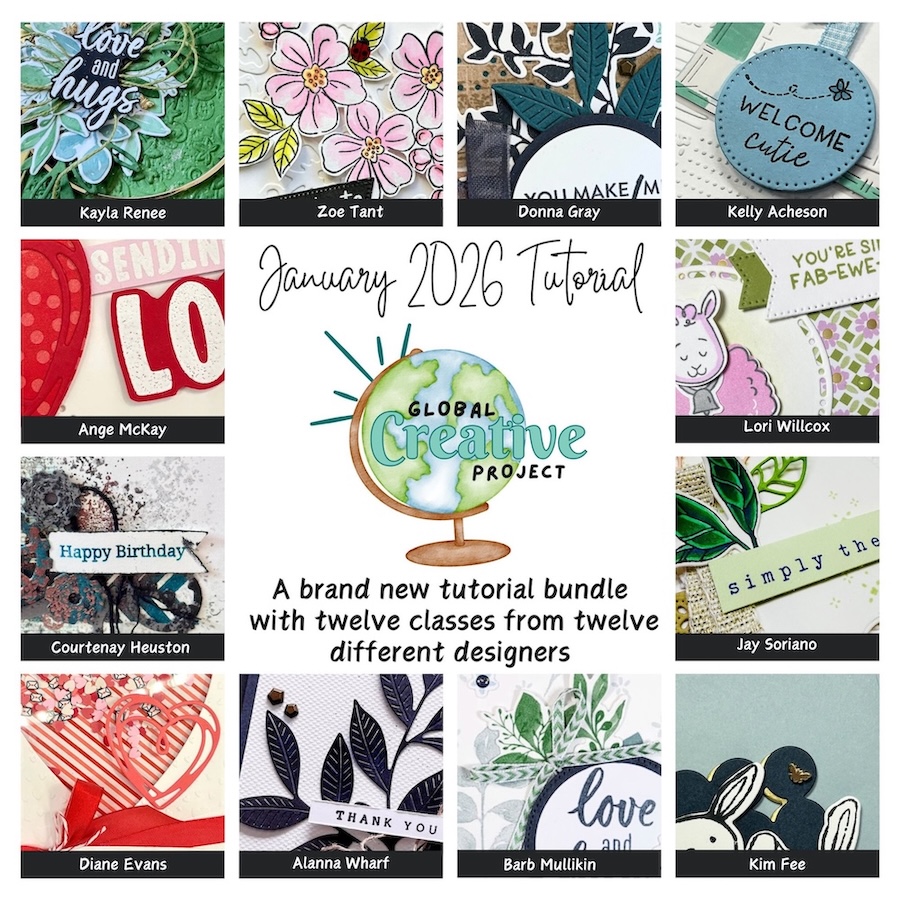
The brand new January Global Creative Project tutorial is now out. Earn for free from me for placing an order in my online store or head to my tutorial store and purchase the PDF tutorial.
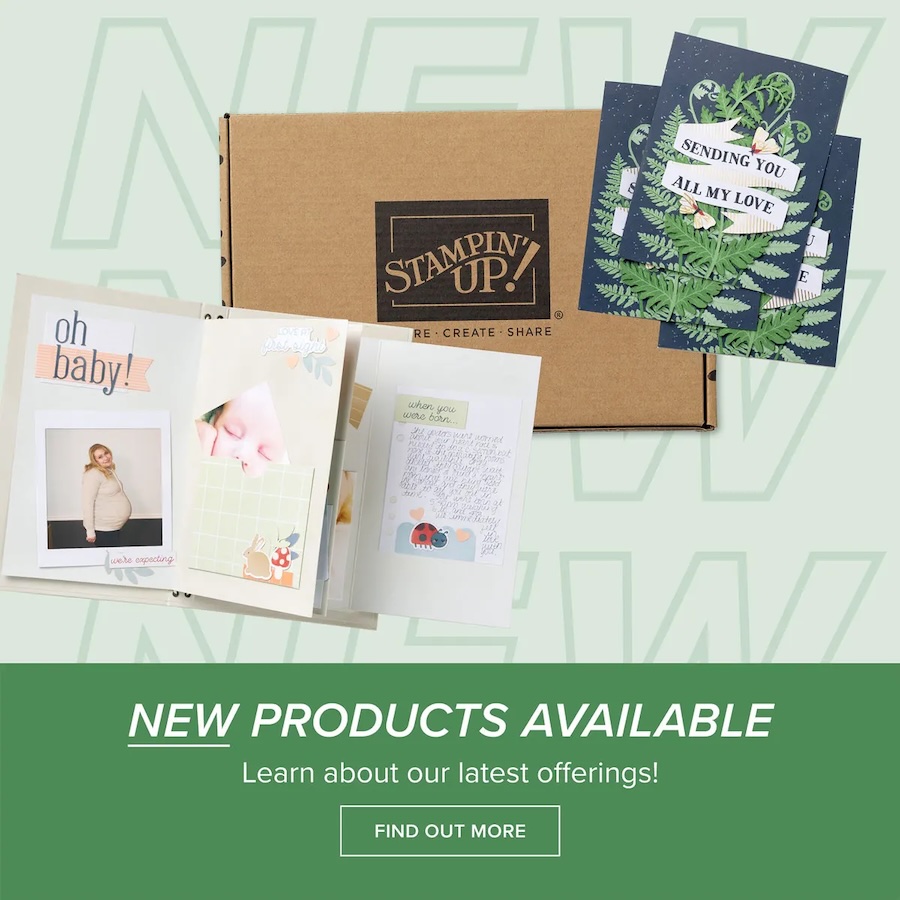
New Creativity Kits have been released in my online store. Head here to check them out.
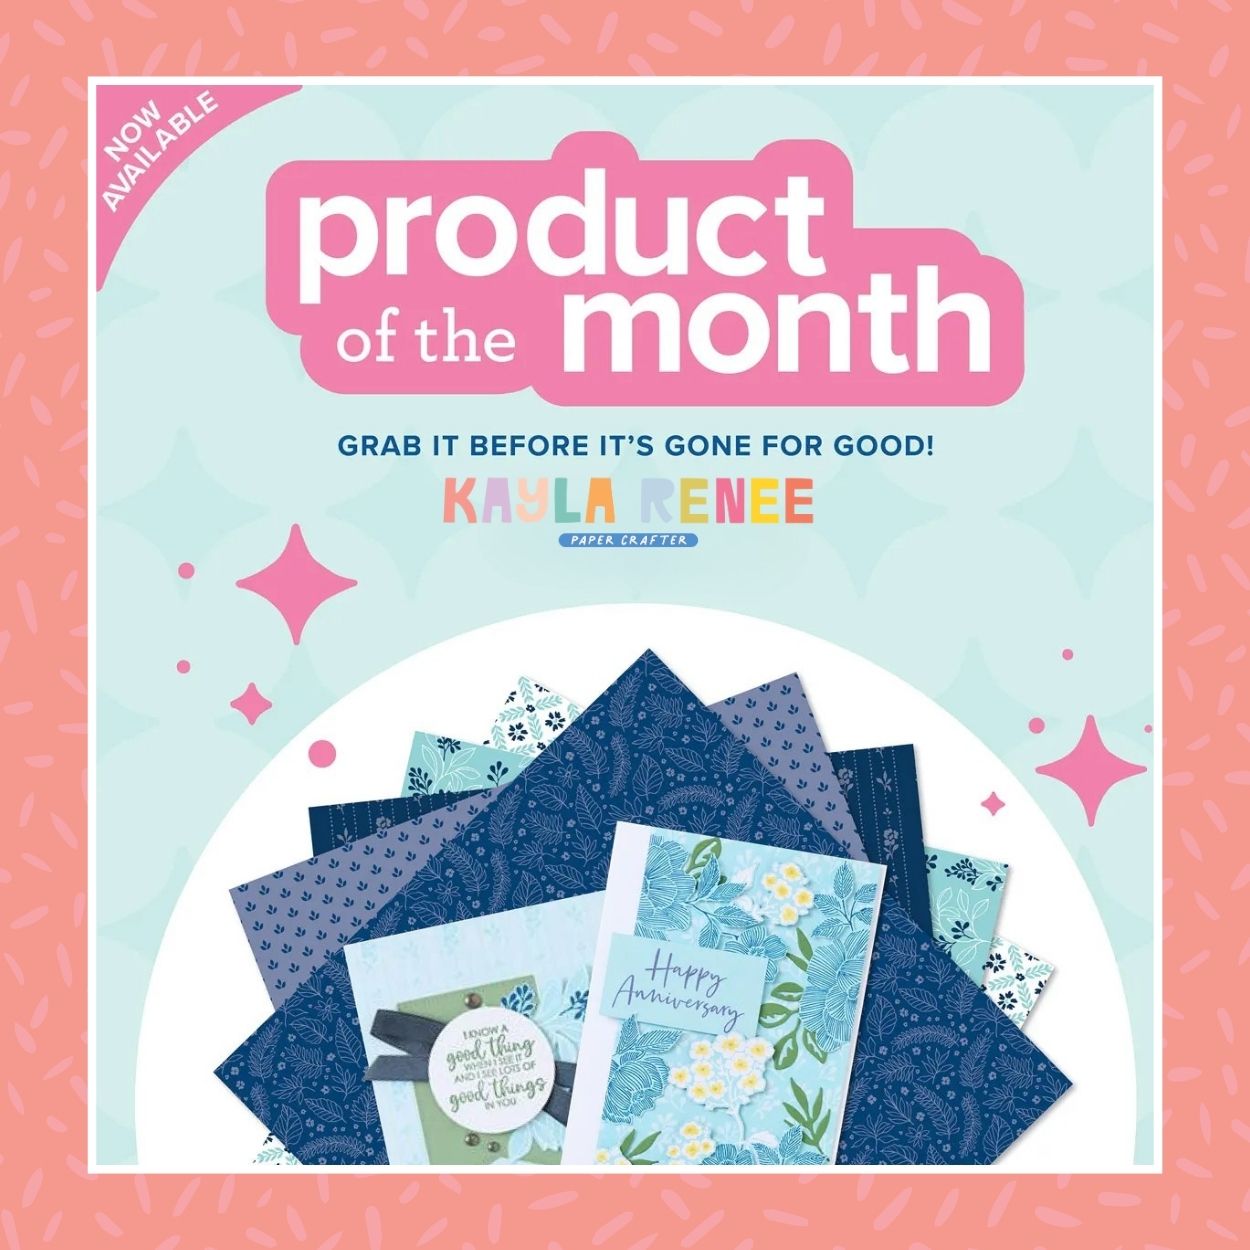
Our new Product of the Month promotion is now in full swing. Get an exclusive product for just $9 when you spend over $125 in my online store. Learn more about this new program here.
Events coming soon

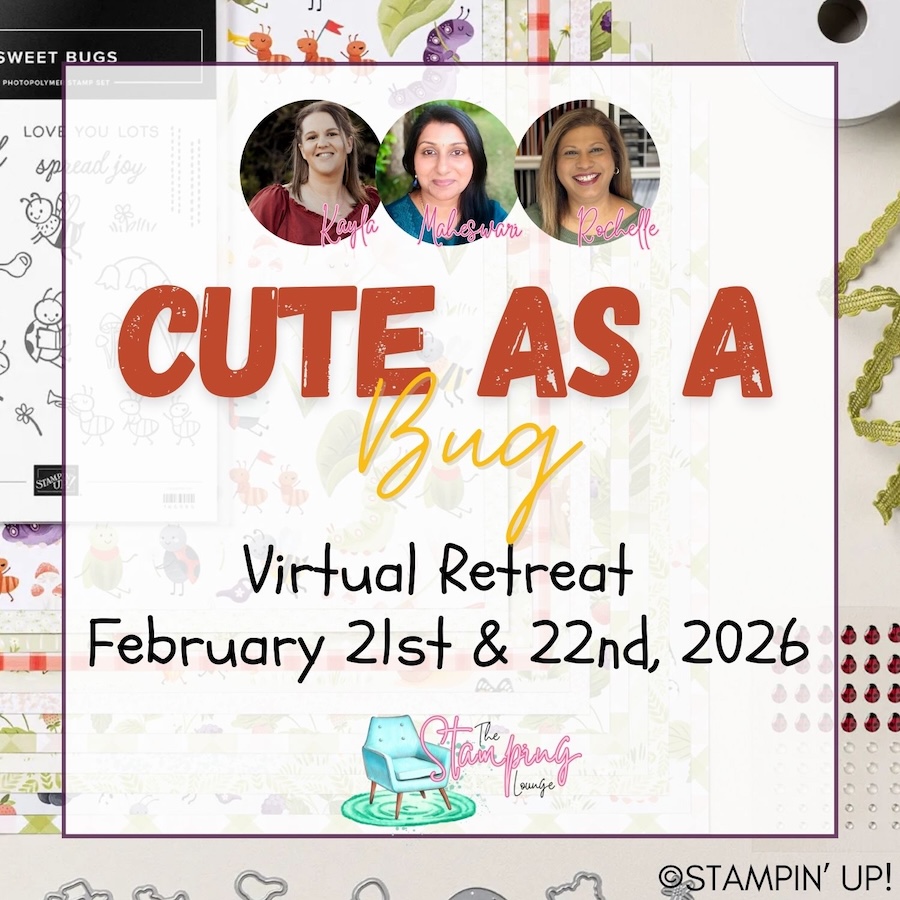
These are two upcoming amazing events with The Stamping Lounge run by myself, Maheswari Rajaguru and Rochelle Laird-Smith. Our Mini Catalogue Launch party is happening on the 11th of January – come and see all the new products, be part of the community, play games and take part in nine card classes!
We also have our upcoming Cute as a Bug Virtual retreat which is open no matter where you are in the world! Take part in eighteen classes using the Cute as a Bug suite and get lifetime access! Click the images or links to find out more and enrol OR sign up to The Stamping Lounge membership to get access to to the mini catalogue launch party and more which are included in the membership (retreat sold separately)
supply list
These items are not available until the new Annual Catalogue starts on May 2nd, 2024
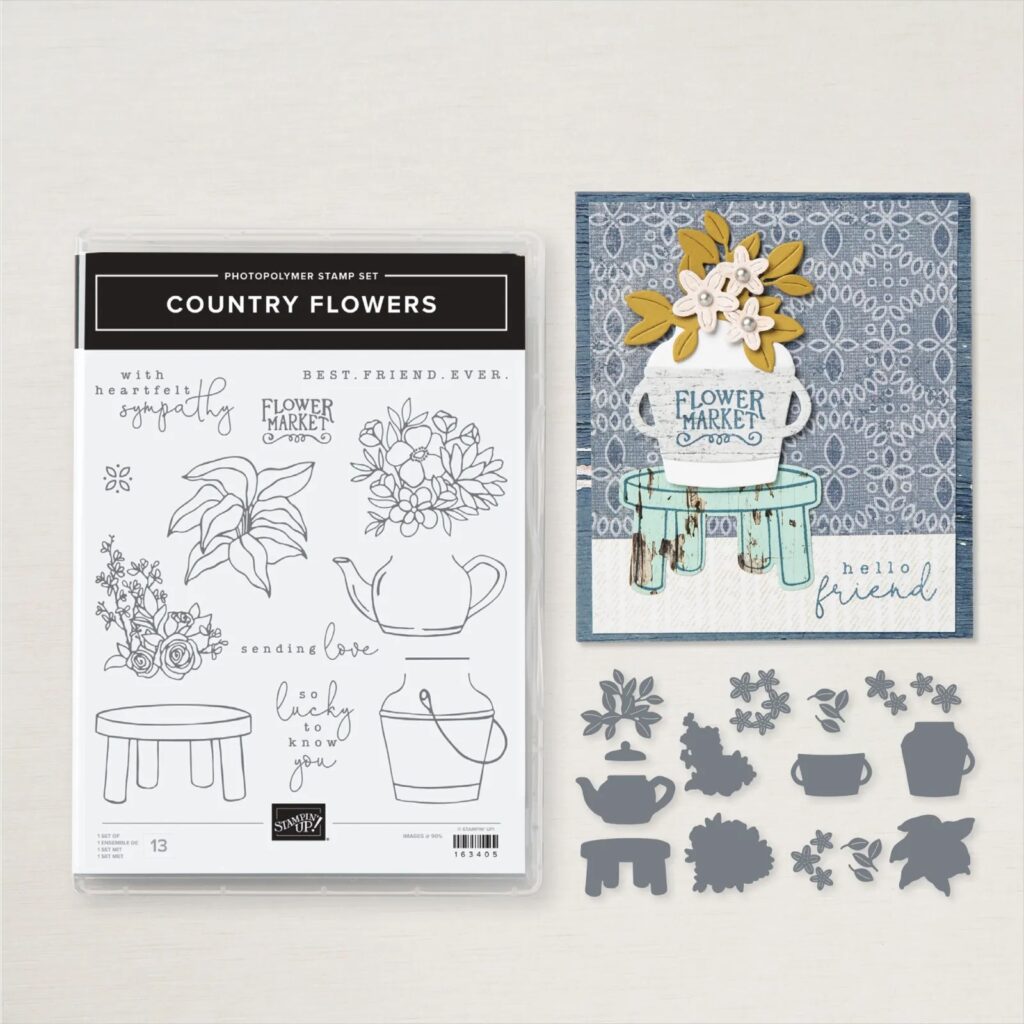
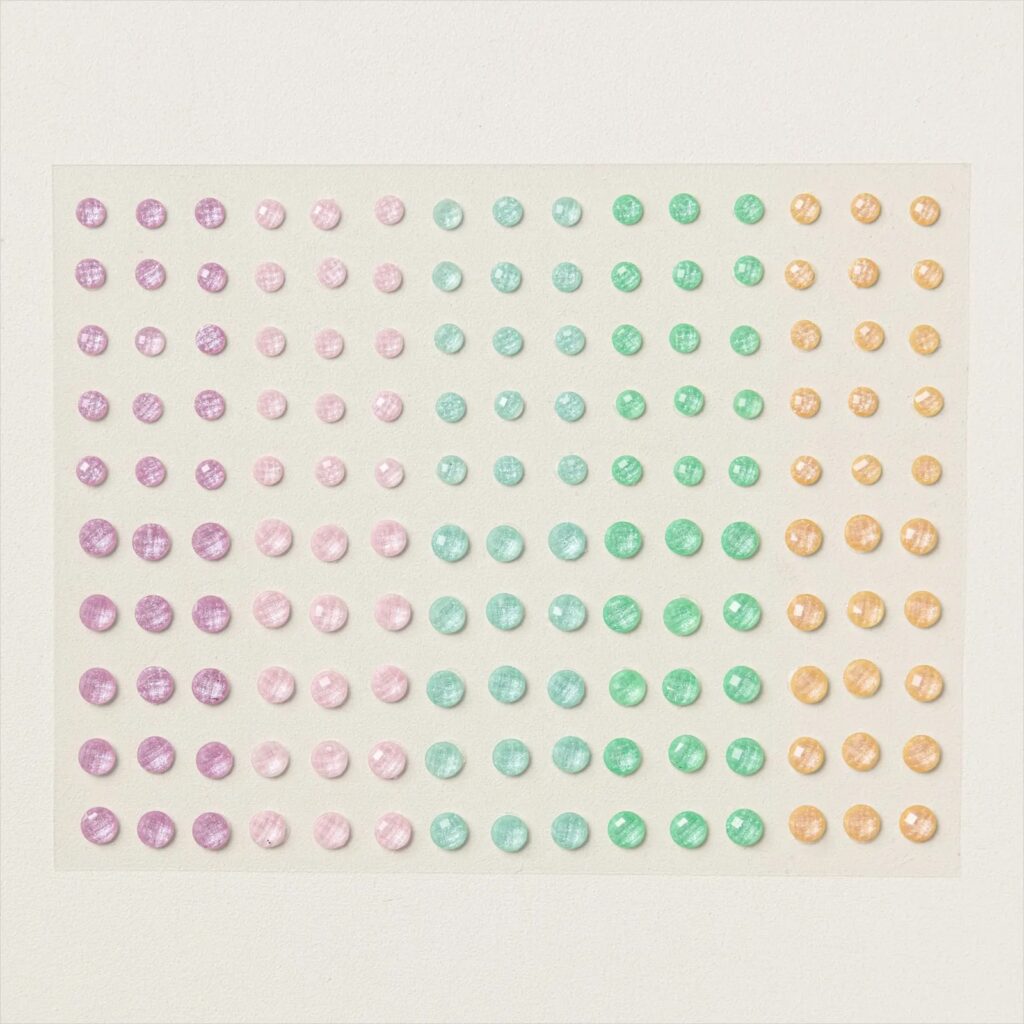
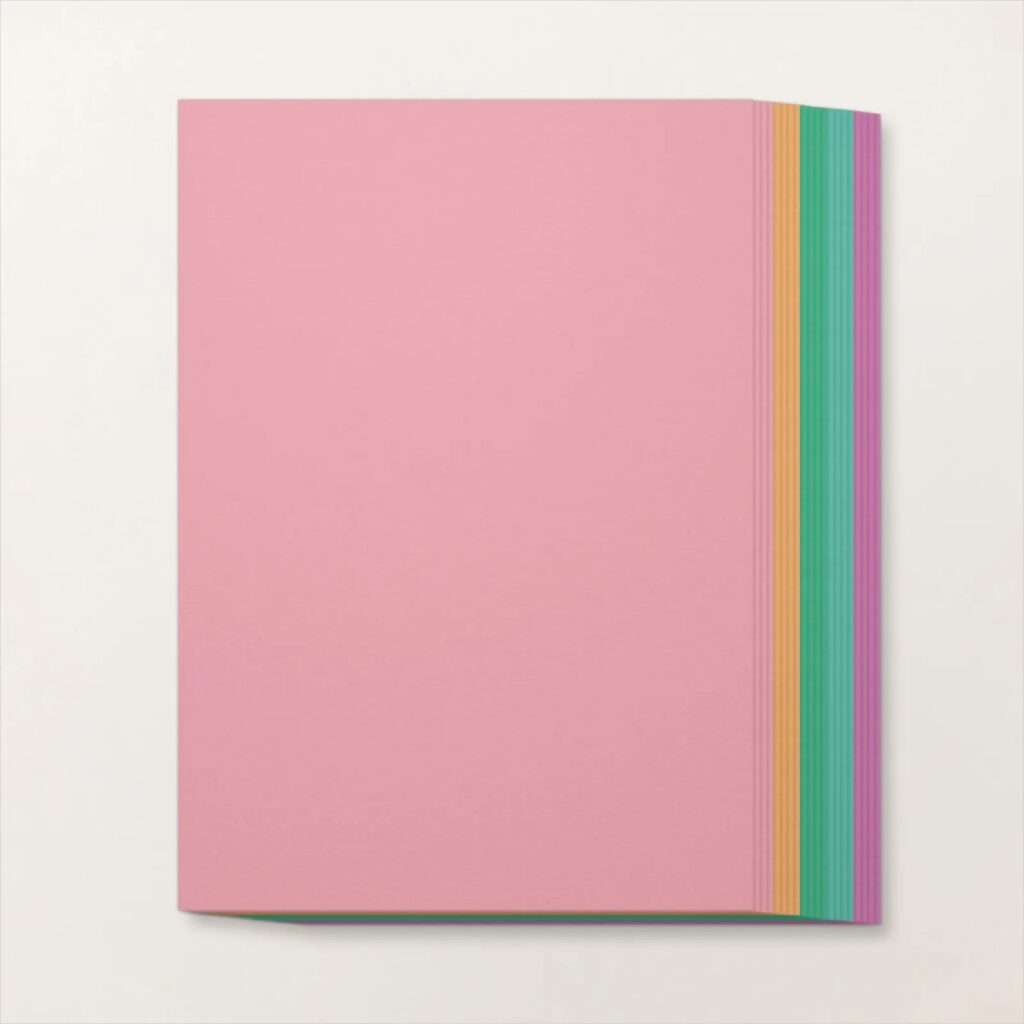
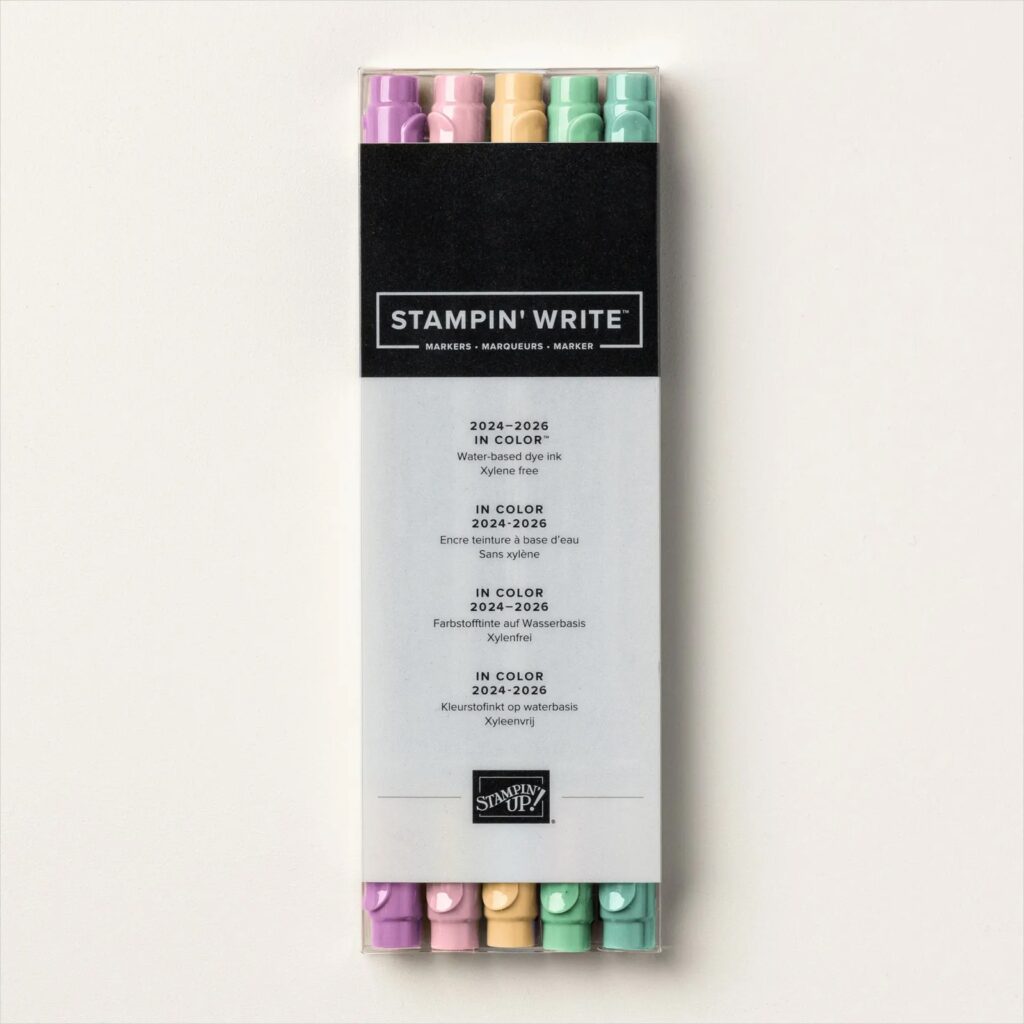
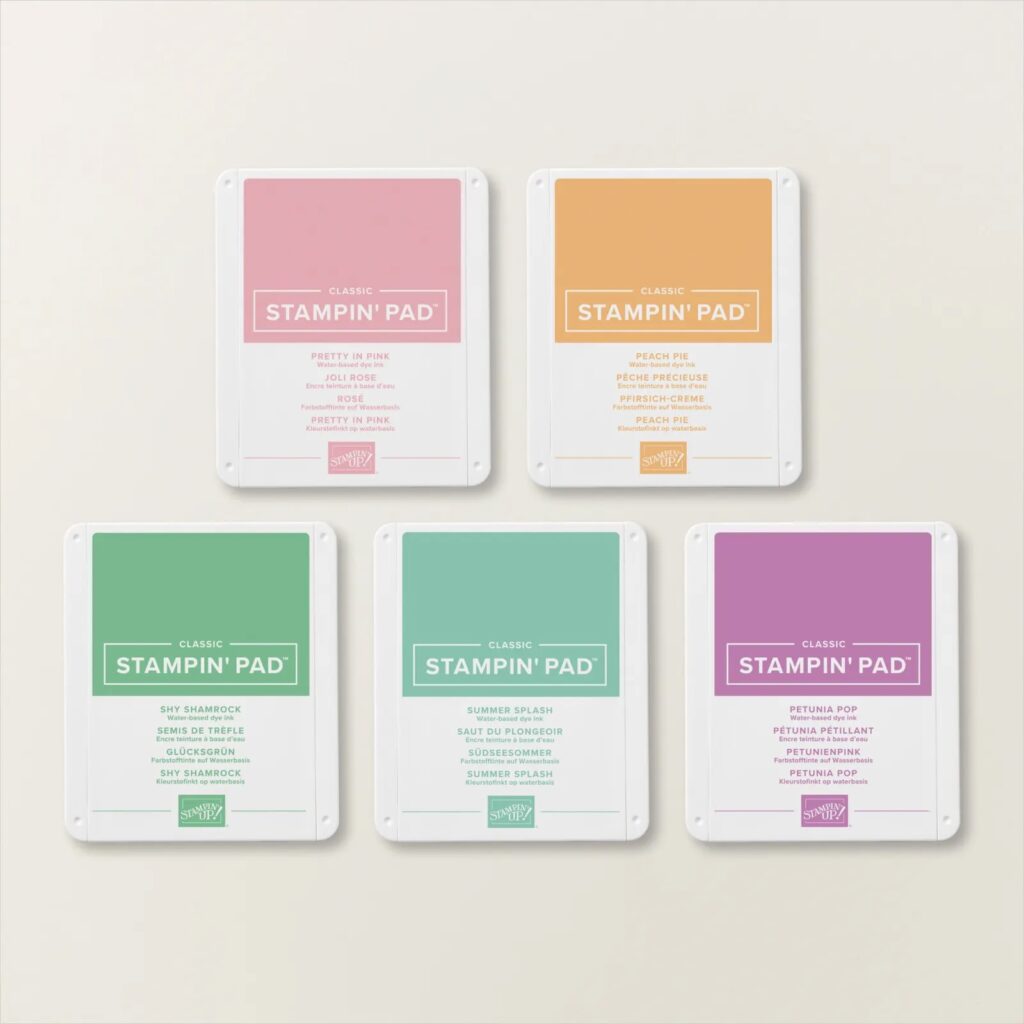
Here is a complete list of the items I have used that will be available as a customer in my online store on May 1st. Alternatively you can join my team now and add any of these items to a starter kit. Click here to learn more.
Country Flowers Bundle [163314]
Classic Stampin’ Pads 2024-2026 In Colour [165058]
A4 Cardstock Assortment 2024-2026 In Colour [163804]
Stampin’ Write Markers 2024-2026 In Colour Pack [163829]
In Colour Shimmer Gems 2024-2026 [163781]


Leave a Reply