This month at Stampin’ Fancy Friday it’s all about the colour BLUE and at Stampin’ Up! we have the most amazing variety of gorgeous blues in our colour range. I couldn’t really decide which ones to feature because I am in indecisive and I love them all. To be honest, blue and green are my favourite colours. I am torn between the two! I decided to do a mash up and include a mix of quite a lot of blue, with an embossing paste technique on my background. This allowed me to mix quite a lot of blue into one gorgeous eye catching background which was bold and bright and looked fantastic with the beautiful Hot Air Balloon bundle from the Mini Catalogue as a bit of an enchanting ‘sky’.
Stampin’ Up! blue toned colour range
Here is a look at all the blues that we currently have in our colour range. Aren’t they beautiful? Coastal Cabana is my all my favourite!
retiring colours – get them soon!
Both Starry Sky and Tahitian Tide are retiring at the end of April to make way for new colours! So if you do love these blues I suggest stocking up on these ones soon. I am sad because Starry Sky has been one of my absolute favourites! You can find this range on In Colours in my store here.
the finished card and finished embossing paste technique
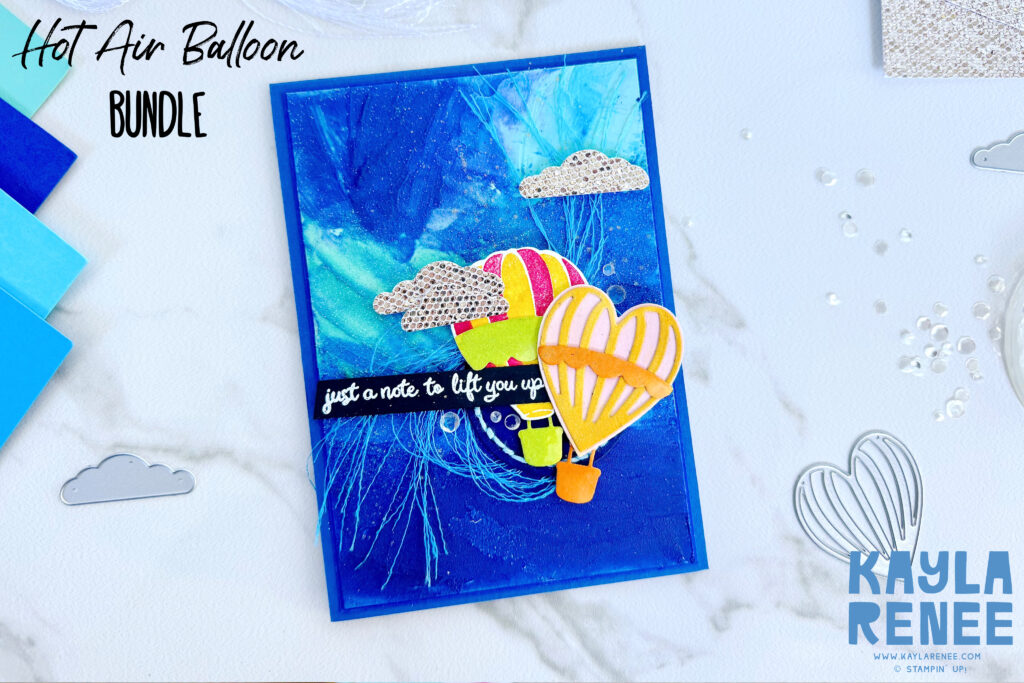
Here is a look at the finished card. Doesn’t that textured background look magical? I love the texture that this embossing paste adds! I actually mixed it up on the card and used the standard paste and the shimmery white. So cool!
I added the Hot Air Balloons with bright pops of colour so they really popped out on this moody blue background. It’s hard to tell but they are actually watercoloured die cut pieces on Fluid 100 Watercolour Paper. So cool! I used a mixture of; Daffodil Delight, Pumpkin Pie, Bubble Bath, Lemon Lime Twist and Melon Mambo for my Balloons.
what do you need for the embossing paste technique?
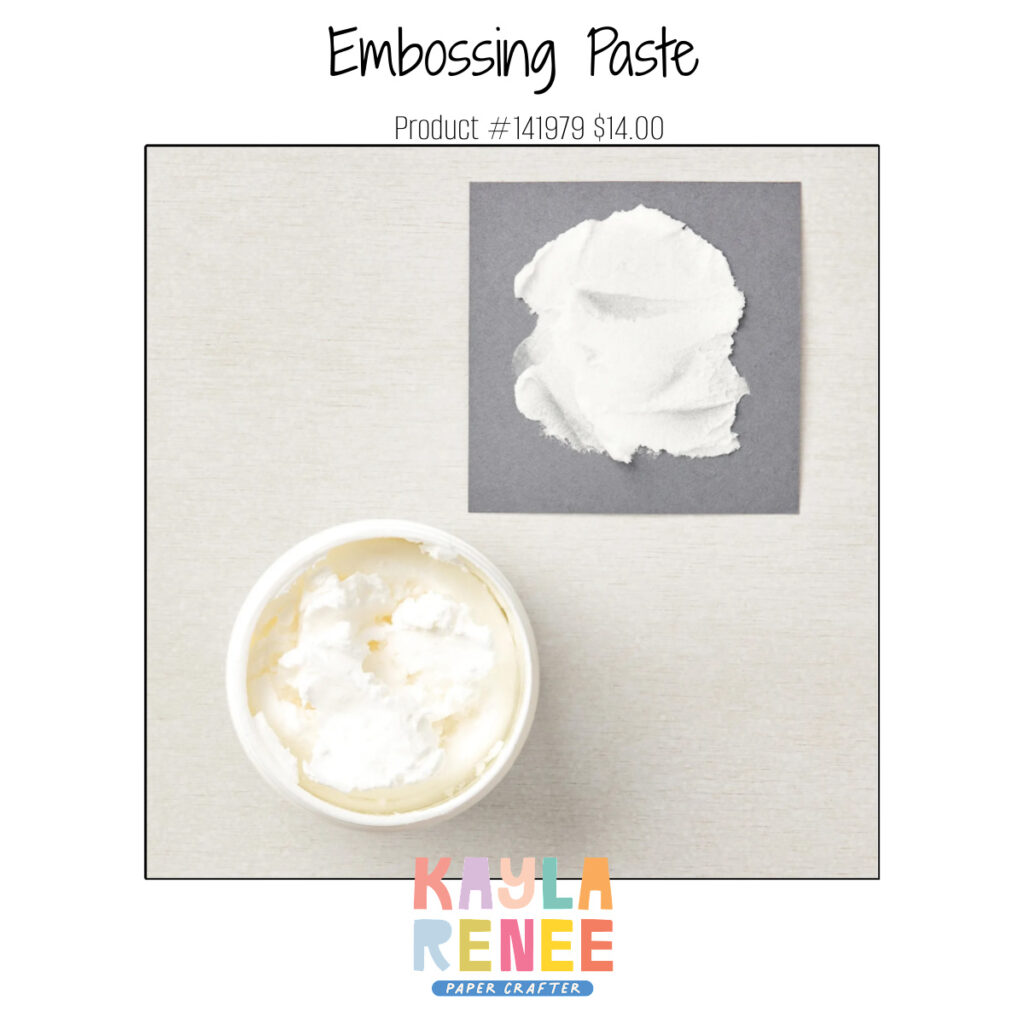
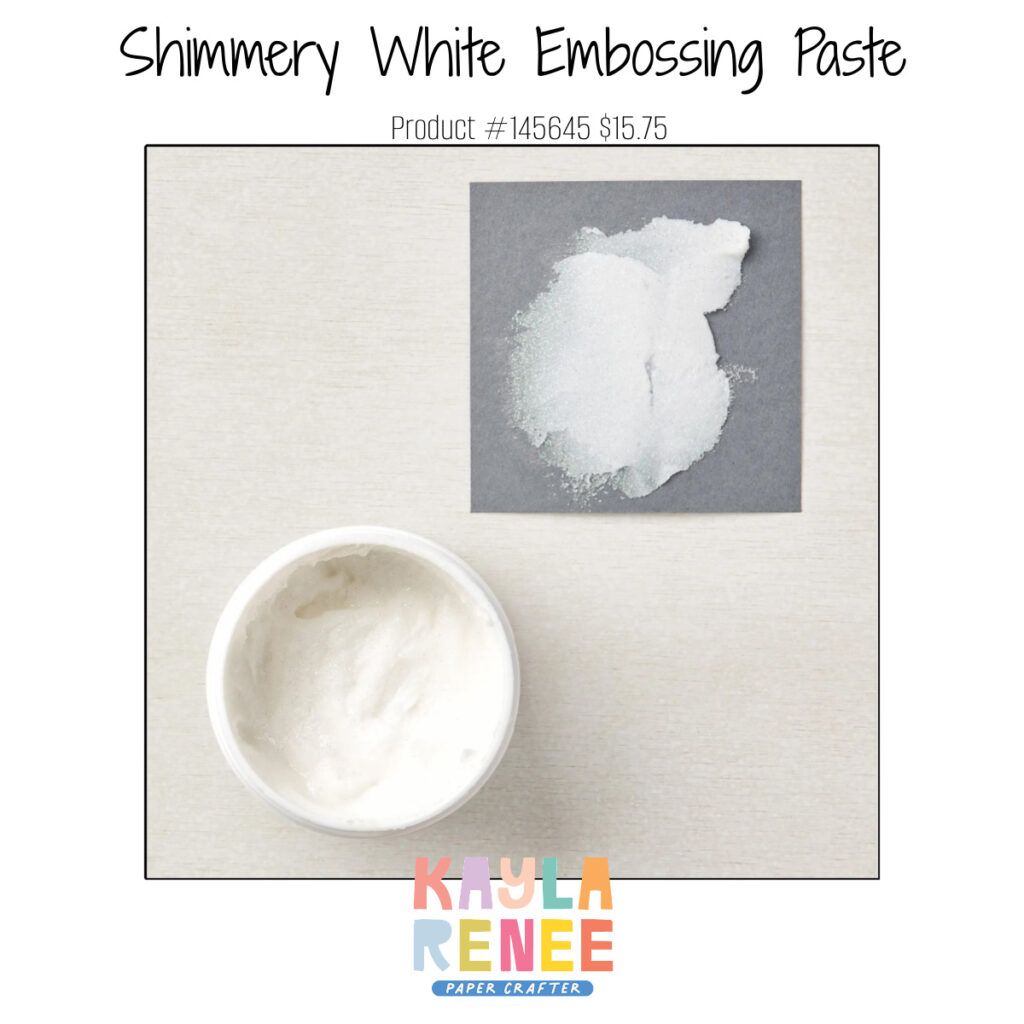
Stampin’ Up! stock two types of Embossing Paste. I actually used both on my card. You can get away with just using the standard Embossing Paste and adding glitter but you can also purchase the Shimmery White Embossing Paste and the work is already done for you! These are such cool products and you will have a blast!
some tips for using Stampin’ Up! embossing paste with different embossing paste technique ideas
TIP ONE: You want to make sure you don’t leave the lids open for too long as these will dry out if left exposed to air for too long. Also I recommend keeping the little bit of styrofoam that comes with it to put over the top and putting some extra cling film over the top once opened and screwing the lid over the top. Even popping it back in the plastic bag all helps it being exposed to air. This stuff does not do well exposed to the elements and will dry out over time
TIP TWO: Clean up your tools and masks immediately after use as they are much harder when they have dried onto tools. I find it good to use warm soapy water.
TIP THREE: Start with a small amount of Embossing Paste with your project. It is easy to add some more, you would be surprised how far this stuff goes and it also helps you control how thick it spreads particularly when using it with masks. Check out the different range of masks we have to experiment different embossing paste technique ideas with.
TIP FOUR: You can try adding things like pressing sequins or embellishments into the paste while still wet for a cool and interesting look, this will give it a different look. Experiment and try new things!
TIP FIVE: Make sure you allow the paste to dry completely before touching it or working with it! It will take a varying amount of time to dry depending on how thick or thin it is applied.
TIP SIX: Having one of the Silicone Craft Sheets is really handy when working with this stuff as it makes it so much easier to clean up!
a close up look at the background embossing paste technique
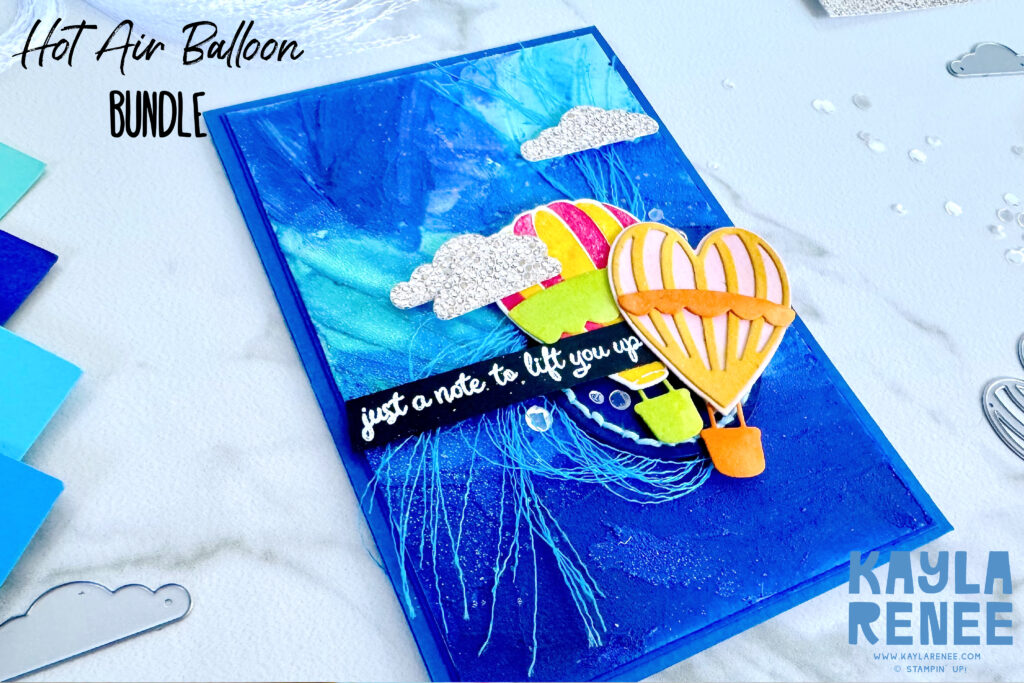
It’s hard to tell but there are lots of little details on this fun card. I have placed a cute little stitched circle from the Everyday Details Dies using Starry Sky and some of the Baker’s Twine from the Lighter Than Air Suite. It was a great base for those balloons!
I added the cute die cut clouds cut from the More Dazzle Specialty Paper – gosh that stuff in my FAVE!
Finishing off my details with some Loose Silver Sequins and some frayed threads from the Herringbone Ribbon which I have coloured using a Tahitian Tide Stampin’ Blend.
a look at the inside of the card
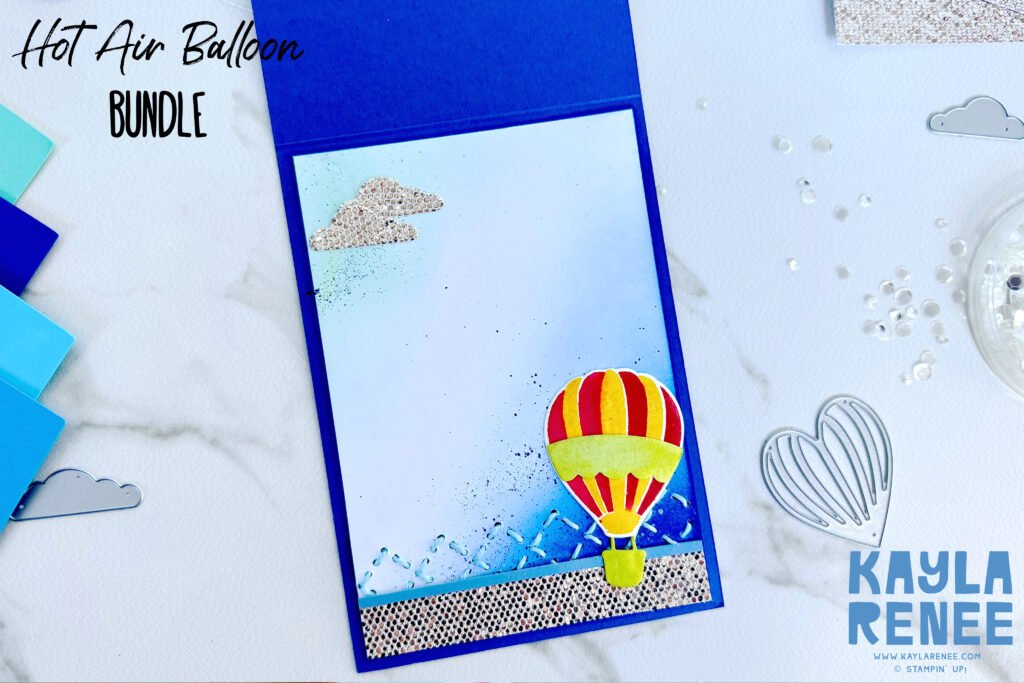
Of course I had to decorate the inside of the card! I added lots more blue with some rich blending with some blues in the right hand corner and another stamped and die cut hot air balloon.
The Everyday Details Dies include this beautiful border die that creates this beautiful diamond stitching pattern that looks great when hand stitched. This is what I have done here with the same Baker’s Twine I used on the card front.
I finished the inside of the card with some More Dazzle Specialty Paper and some spritzing using a Starry Sky Stampin’ Write Marker.

SHOP WITH ME & GET A FREE GIFT & TUTORIAL
PLEASE NOTE: Regardless of when you are viewing this post, this is automatically updated so the information and links listed here are current.
Shop with me in February 2026 to receive a FREE gift, tutorial and handmade card from me to thank you for your order.


Don’t live in Australia but still want to purchase the tutorial? You can purchase it through my tutorial store for $22AUD for instant PDF download. CLICK HERE to purchase.
HAPPENING NOW
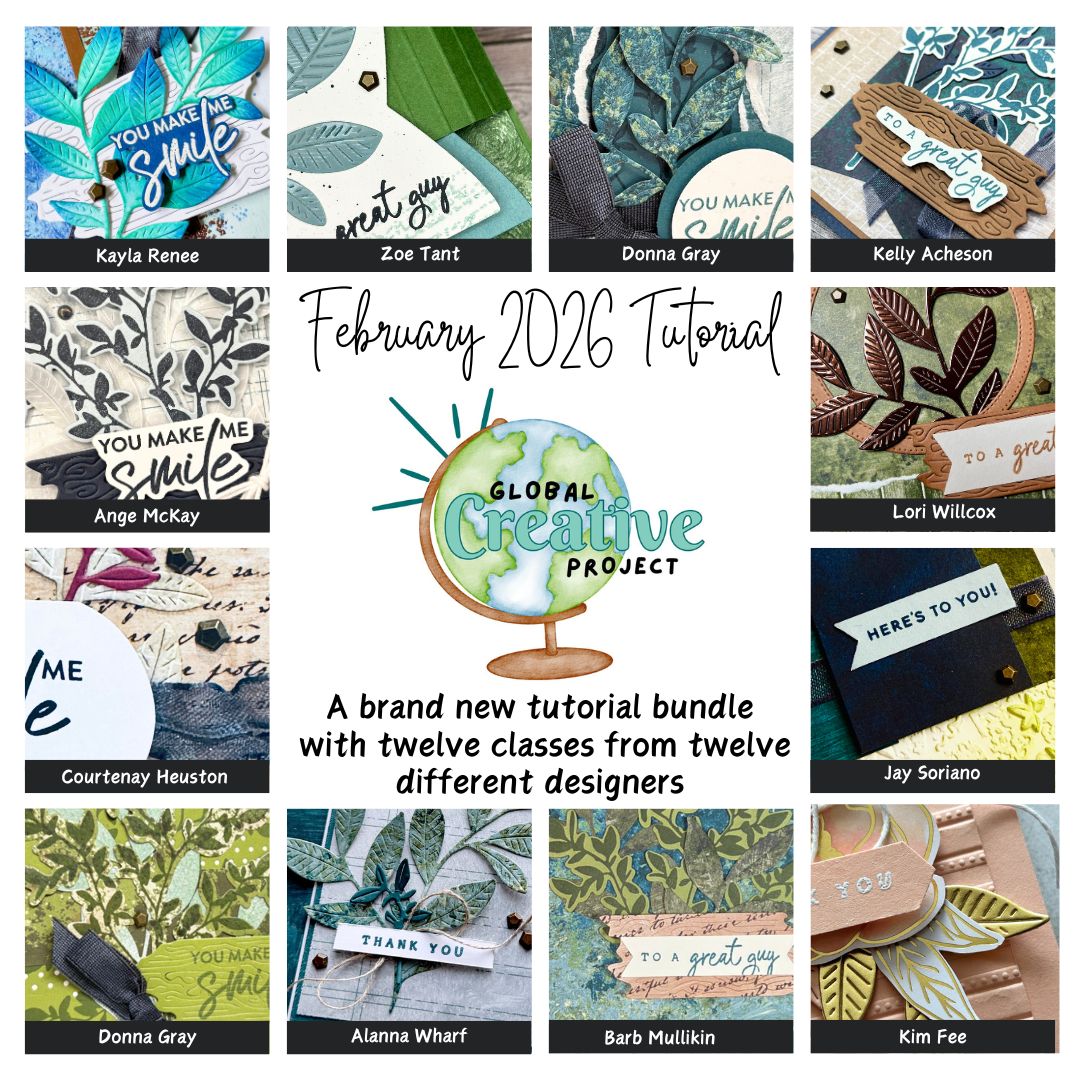


The brand new February Global Creative Project tutorial is now out. Earn for free from me for placing an order in my online store or head to my tutorial store and purchase the PDF tutorial.
New Creativity Kits have been released in my online store. Head here to check them out.
Our new Product of the Month promotion is now in full swing. Get an exclusive product for just $9 when you spend over $125 in my online store. Learn more about this new program here.
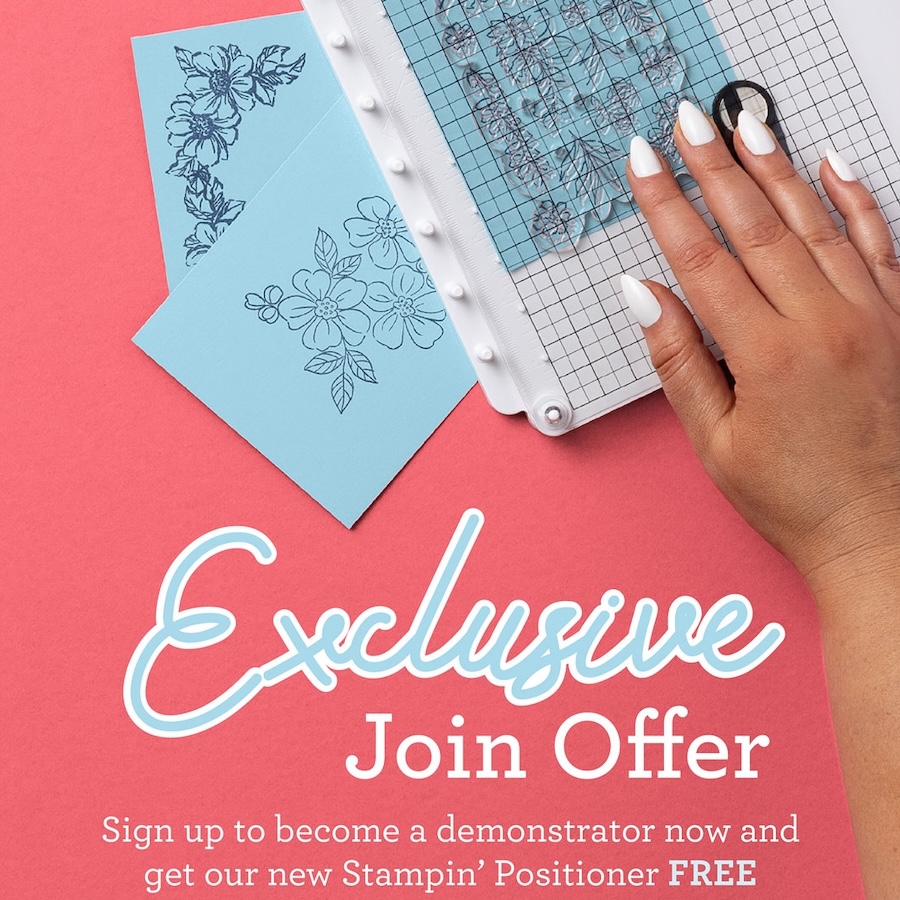
EXCLUSIVE JOIN OFFER – Join my Golden Scissor Craft Club team in February and get the BRAND NEW Stampin’ Positioner FREE! Want to learn more about this fabulous tool and why you will want one? Click here.
Last Chance SALE! – The last chance products list has been updated. See what’s leaving us and score a bargain. Click here.
Events coming soon
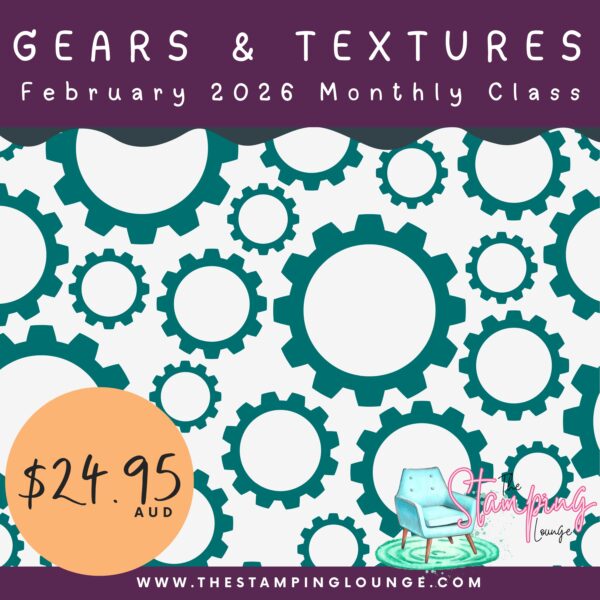
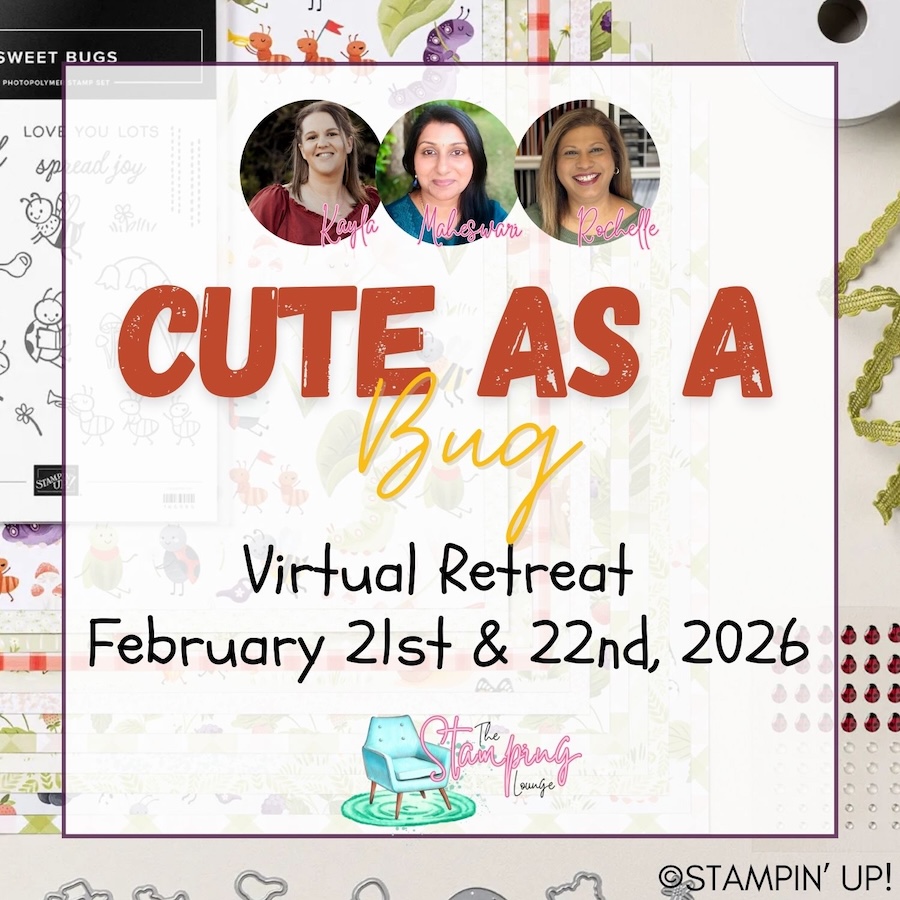
These are two upcoming amazing events with The Stamping Lounge run by myself, Maheswari Rajaguru and Rochelle Laird-Smith.
The Gears & Textures Monthly Class is coming up on the 14th of February,
We also have our upcoming Cute as a Bug Virtual retreat which is open no matter where you are in the world! Take part in eighteen classes using the Cute as a Bug suite and get lifetime access!
Click the images or links to find out more and enrol OR sign up to The Stamping Lounge membership to get access to monthly classes and more which are included in the membership (retreat sold separately)


Leave a Reply