Welcome to part nine of the chain card swap series that I am sharing. Did you miss part eight? Head on over here and check it out. I will be sharing eleven posts in this series and today is part nine.
What is a chain card swap? A group of people participate and it is similar to Chinese whispers where each of the participants designed a card which was then sent off to another of the participants which then CASE’d the card and sent it on so that when it gets sent back to the original creator it may look completely different to the original – how fun is that?
Today I am sharing a fun card using the Stampin’ Up! Paper Florist Dies and some of the gorgeous Stampin’ Up! Masterfully Made Designer Series Paper with the More Dazzle Speciality Paper to create this gorgeous flower bouquet inspired/cluster with flower dies.
For this ninth blog hop, we are all sharing our cards that we CASE’d for Nancy Hoetker’s card. See below for a list of all the blogs and the beautiful projects where you can hop along and see where the card started and how it progressed as it moved along the chain. It is very cool to see the progression of a card along one of these chain card swap series.
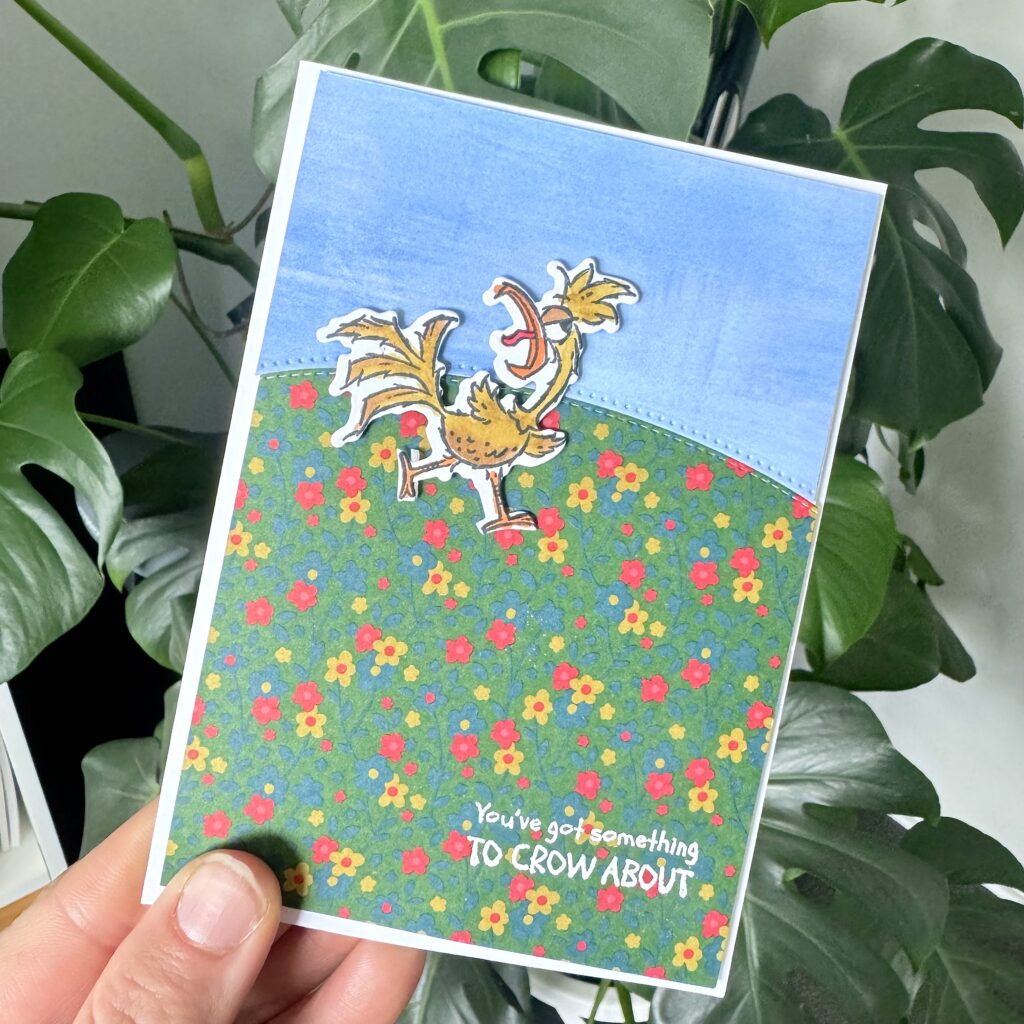
cheryl hurst’s card that i case’d for round three
my finished card using the paper florist flower dies
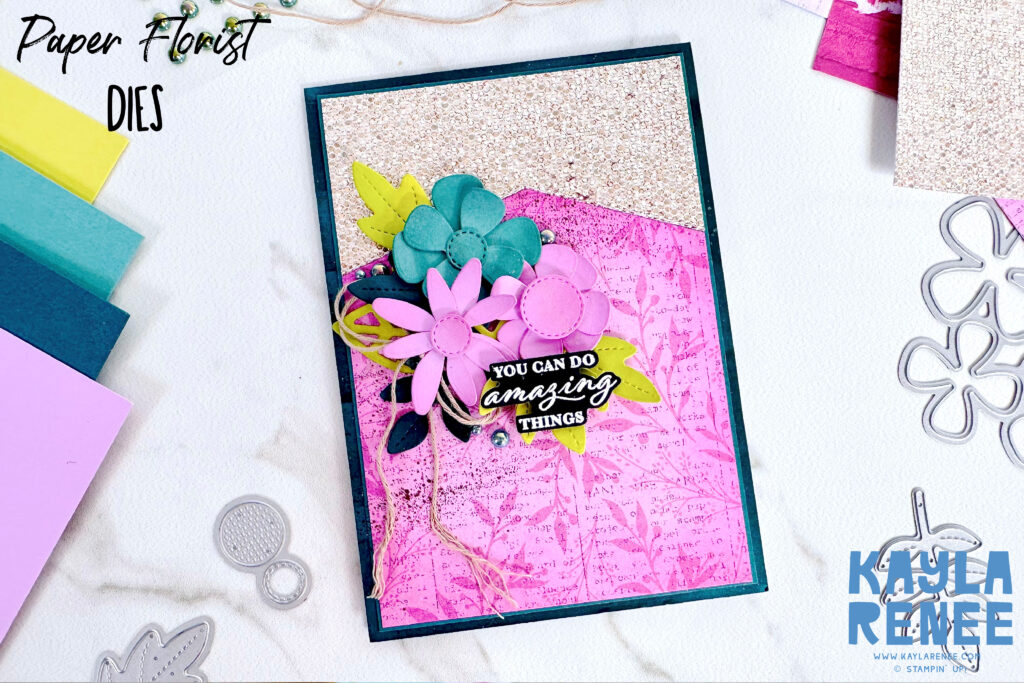
I loved the design of the card that Cheryl sent to me and the idea of splitting the layer into two with the addition of the Basics Borders Dies (p.s. these are retiring this month and are currently on sale) I chose to split my design by using some of the gorgeous Masterfully Made Designer Series Paper with some More Dazzle Specialty Paper. This really set the scene for a gorgeous card.
I changed the colours up a little bit by adding some Blackberry Bliss Stampin’ Write Marker spritzed across my background piece which added a nice darker highlight onto this layer. This helped tie in my Pretty Peacock Card base. I knew that I wanted to add some darker colours to help balance out the flower dies that I was going to use in my focal point so it was nice to add this balance.
Here is a look at the colour palette I chose for my card…
my colour palette
tips for using flower dies
- Experiment with different sizes and shapes of flower dies and mix them together to create variety and interest.
- Try different die cutting/embossing techniques with your flowers. How about die cutting and then embossing your die cut flowers for an extra detailed look?
- Layer and add dimension to your flowers by stacking them and adding foam dimension between your layers. Use a bone folder to curl then add dimension to the petals and leaves.
- Colour your flower dies with ink pads using techniques like watercolours, direct to paper ink pad techniques or colouring with Stampin’ Blends after die cutting them from plain white cardstock. You don’t have to just die cut the flower dies from coloured cardstock.
- Try cutting your flower dies from textured patterns, Designer Series Paper or specialty paper.
- Create a bouquet of flowers by clustering your die cut flowers together or create a floral frame or floral wreath. Use your circle or rectangle/square dies to help layer and line these up.
- Like I have done on my card example in this post, add some light blending tone on tone to the edges of your petals or leaves in the same colour. This helps to lift and add extra depth and dimension to your piece.
a close up of the pretty flower dies for the focal point
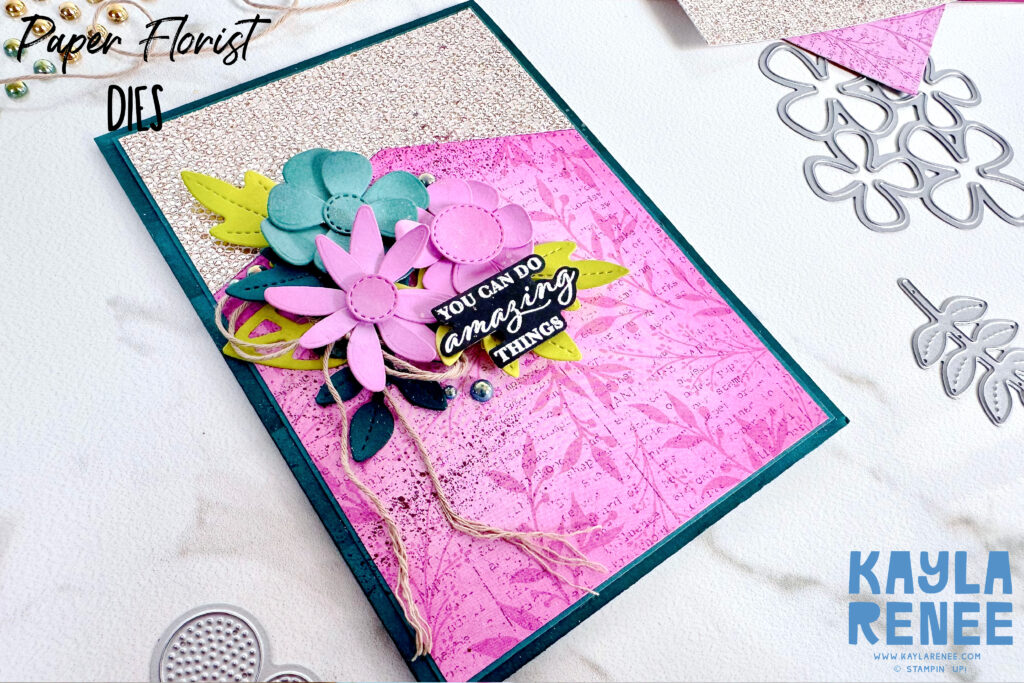
The beautiful Paper Florist Dies are adorable and make such stunning statements on paper craft projects. These flower dies can be a bit overwhelming at first due to the sheer number of dies that come in the set but once you work out the order of how they piece together and that the dies are designed to cut multiple petals at once, it makes creating flower bouquets and flowers a breeze.
I chose to create my flowers in a beautiful combination of Fresh Freesia and Lost Lagoon and then add some leaves in Pretty Peacock and Lemon Lime Twist. To add some dimension to my flowers I used a Blending Brush and tone on tone ink to add a little bit of ink blending around the edges.
To embellish I added a tiny bit of the Essentials Baker’s Twine and some of the gorgeous Blooming Pearls. I took a sentiment from the Wonderful Thoughts bundle which I did forget to link below but it makes for stunning card sentiments!
a bit of pretty for the inside
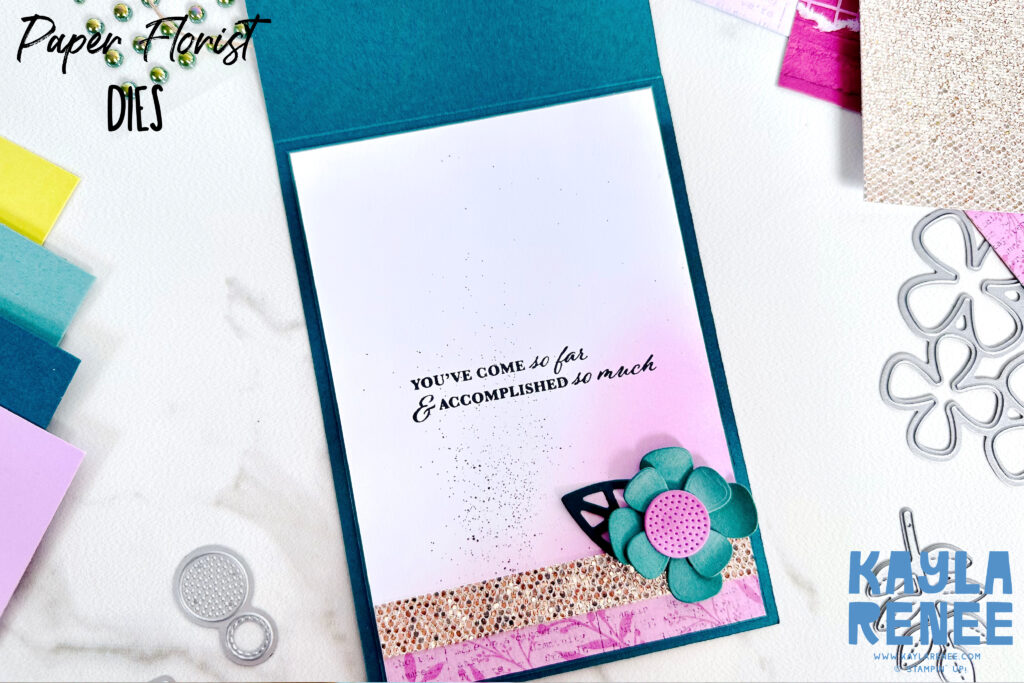
Here is a look at my inside where I added some leftover Designer Series Paper and More Dazzle specialty paper and a little bit of Fresh Freesia ink blending and spritzing with a Stampin’ Write Marker. I added an additional flower die leftover from the card front to help carry through the card front design to the inside of my card.
I had so much fun CASE’ing Cheryl’s card for Nancy’s card chain. Be sure to hop along the blog below to see how the card started and changed during the chain card swap! It is best to start at the first blog and move your way along, so if you have started here you should head to Genna’s post next.
blog hop list
Until next time, stay tuned for part ten of the chain card swap series. Happy crafting. xx

SHOP WITH ME & GET A FREE GIFT & TUTORIAL
PLEASE NOTE: Regardless of when you are viewing this post, this is automatically updated so the information and links listed here are current.
Shop with me in January 2026 to receive a FREE gift, tutorial and handmade card from me to thank you for your order.


Don’t live in Australia but still want to purchase the tutorial? You can purchase it through my tutorial store for $22AUD for instant PDF download. CLICK HERE to purchase.
HAPPENING NOW
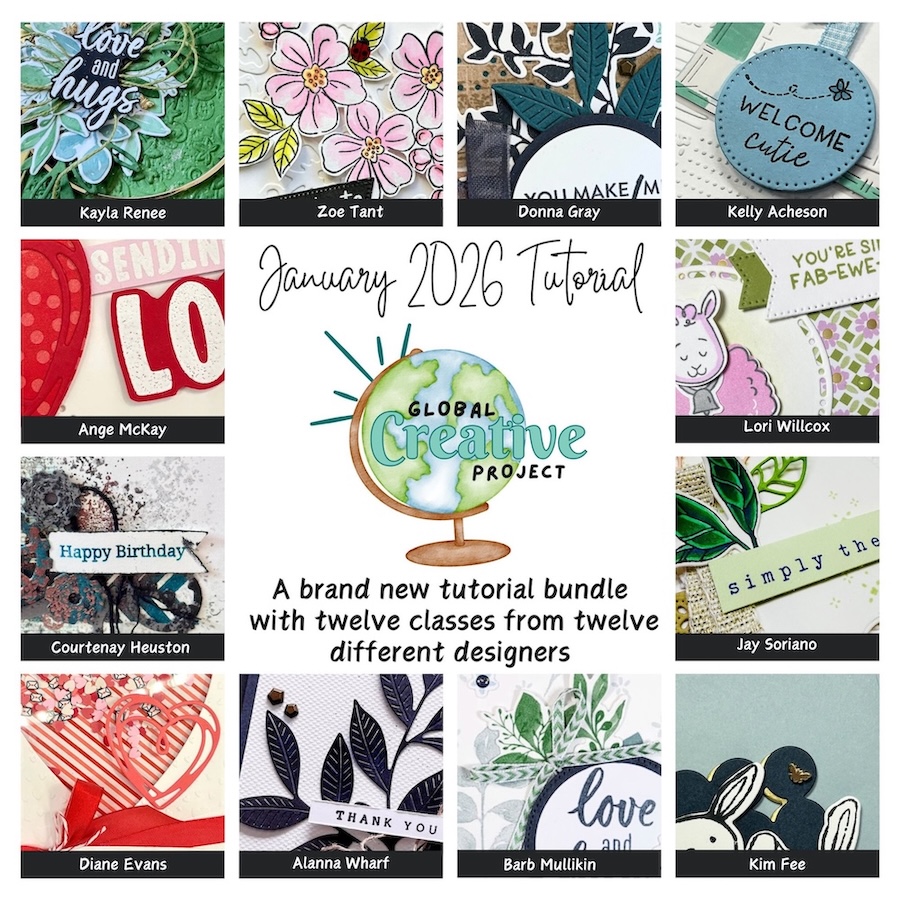


The brand new January Global Creative Project tutorial is now out. Earn for free from me for placing an order in my online store or head to my tutorial store and purchase the PDF tutorial.
New Creativity Kits have been released in my online store. Head here to check them out.
Our new Product of the Month promotion is now in full swing. Get an exclusive product for just $9 when you spend over $125 in my online store. Learn more about this new program here.
Events coming soon

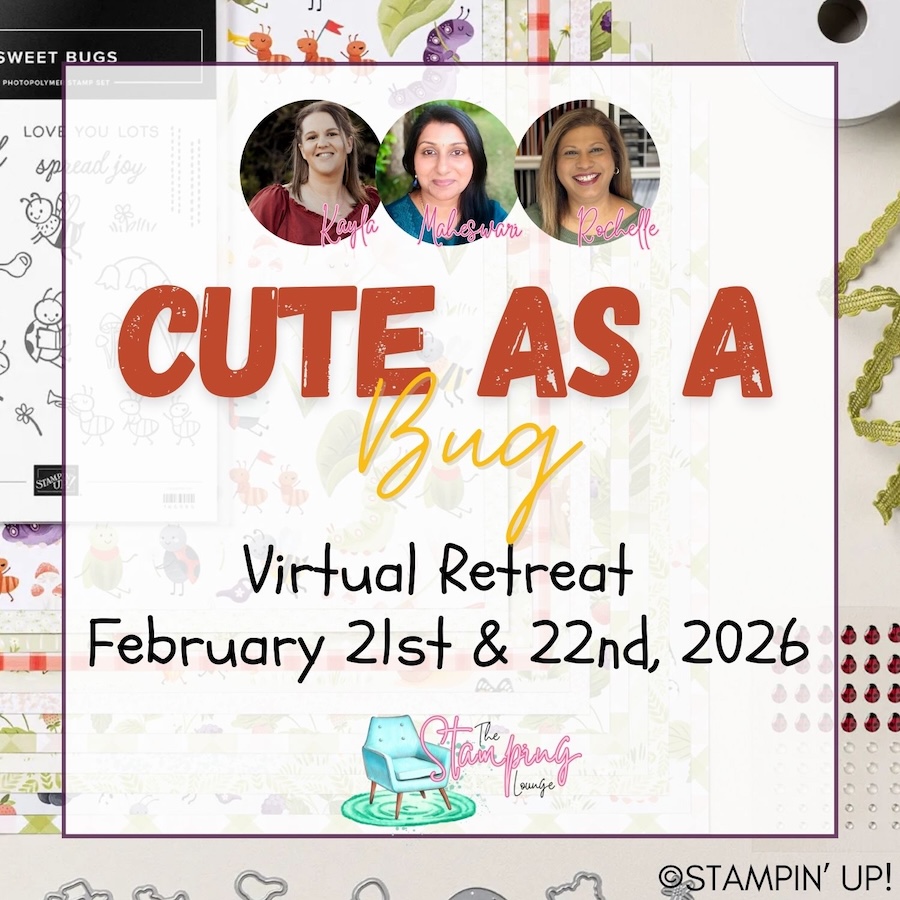
These are two upcoming amazing events with The Stamping Lounge run by myself, Maheswari Rajaguru and Rochelle Laird-Smith. Our Mini Catalogue Launch party is happening on the 11th of January – come and see all the new products, be part of the community, play games and take part in nine card classes!
We also have our upcoming Cute as a Bug Virtual retreat which is open no matter where you are in the world! Take part in eighteen classes using the Cute as a Bug suite and get lifetime access! Click the images or links to find out more and enrol OR sign up to The Stamping Lounge membership to get access to to the mini catalogue launch party and more which are included in the membership (retreat sold separately)
Product List


I love how you’ve kept the basic design but made it really bright and cheerful. Love your list of tips too!
Wow! What an awesome way to step up a simple design! I loved receiving this card Kayla.
Love the sentiments and the way you’ve run with the layout to create asuch a vibrant and beautiful card.