I have another card to share with you from the Online Stamping Retreat and it’s a fun card that I had to share before Sale-a-Bration ends because it uses that simply adorable Most Adored Sale-a-Bration paper that is FREE with a $90 order. That paper is just all things adorable with its gold foiled delightfulness and combined with the Ice Cream Swirl Bundle it is just gorgeous. This card from Gina’s class from the OSR retreat focused on creating a single bridge card and I chose to stick with the same supplies that Gina used because I just loved the combination of supplies! I added a few ‘Kayla’ touches but Gina’s whimsical style always inspires me!
There is another retreat happening in May and I am so excited! You can see all the details and add your name to the waitlist here.

the finished single bridge card
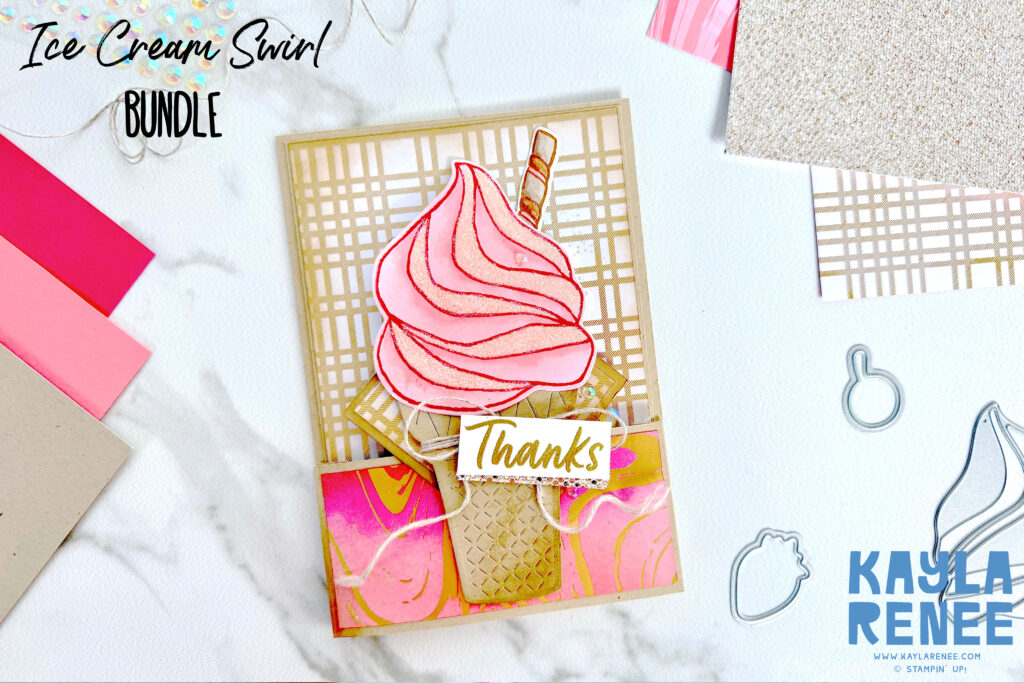
Here is a look at the finished card, isn’t that ice cream cone just adorable? I wasn’t sure about this bundle when I first saw it because I thought WOW, that ice cream is huge – but it makes a ‘wow’ statement and sometimes that is what a card needs! I love that with the Ice Cream Swirl bundle it also comes with dies that make this ice cream into a pretty cool tag as well! Adding it to this single bridge card makes it into a really cool dimensional card which makes this ice cream look even more life like.
On the front of the card I used the gold foiled side of the Designer Series Paper but I actually used a Blending Brush to colour the front. I love using this technique on foiled paper as the foil sections resist the colour. I chose to add an ombre technique and colour my paper with a mixture of Melon Mambo and Flirty Flamingo Inks. Combined with Pecan Pie and Crumb Cake colours this colour palette just reminds me of fairy floss!
the colour palette
a close up of that dimension on the single bridge card design!
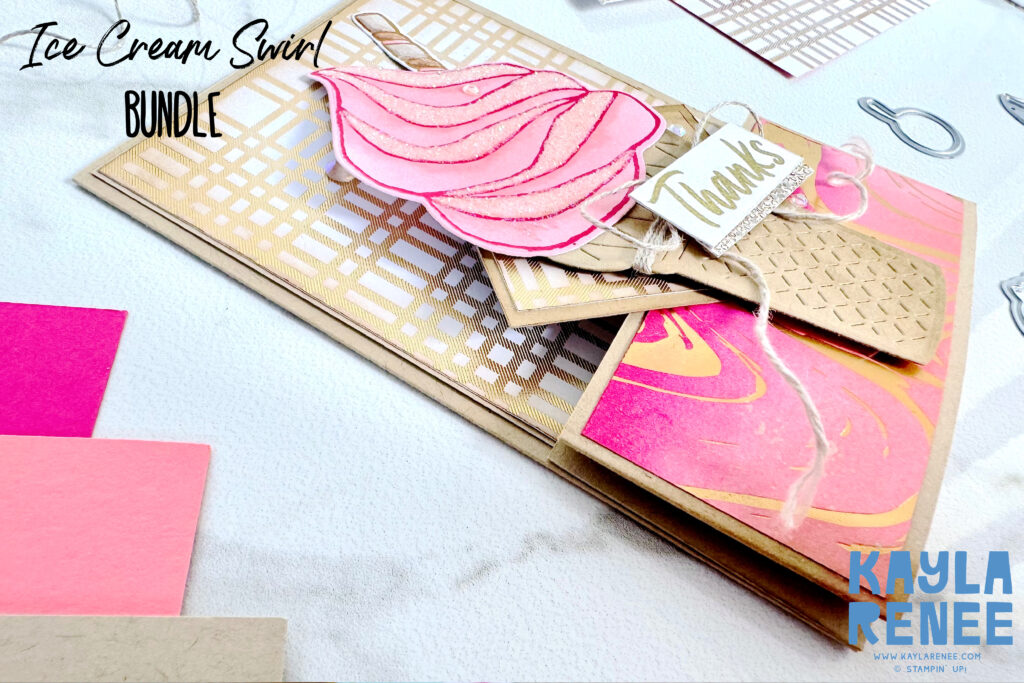
Here is a close up look at the finished card and a close up look at the dimensional effect that the single bridge card gives to a card. I love that it is so simple but gives such a cool effect to a card. I have used a couple of other techniques and tips to add dimension to my card.
some tips for adding dimension to the single bridge card
- To add dimension to the ice cream cone I have added some blending to one side of my cone with Crumb Cake Ink on the Crumb Cake Cone. Even though this is tone on tone, it emphasises that the cone is round and has a dimensional effect.
- I have added Flirty Flamingo colour to my ice cream and whilst some swirls have glitter added to them, the ones that do not, I have further accented with a Flirty Flamingo Stampin’ Blend to add a bit of darker colour to the top of the swirl. This adds a further bit of dimension.
- To the back Designer Series Paper layer of the card I have used a Blending Brush and some Crumb Cake Ink to lightly add some blending on the edges, this helps to add some dimension to this layer. I have also repeated this step on the Diamond layer that the ice cream sits on top of.
check out that glitter – oh my!
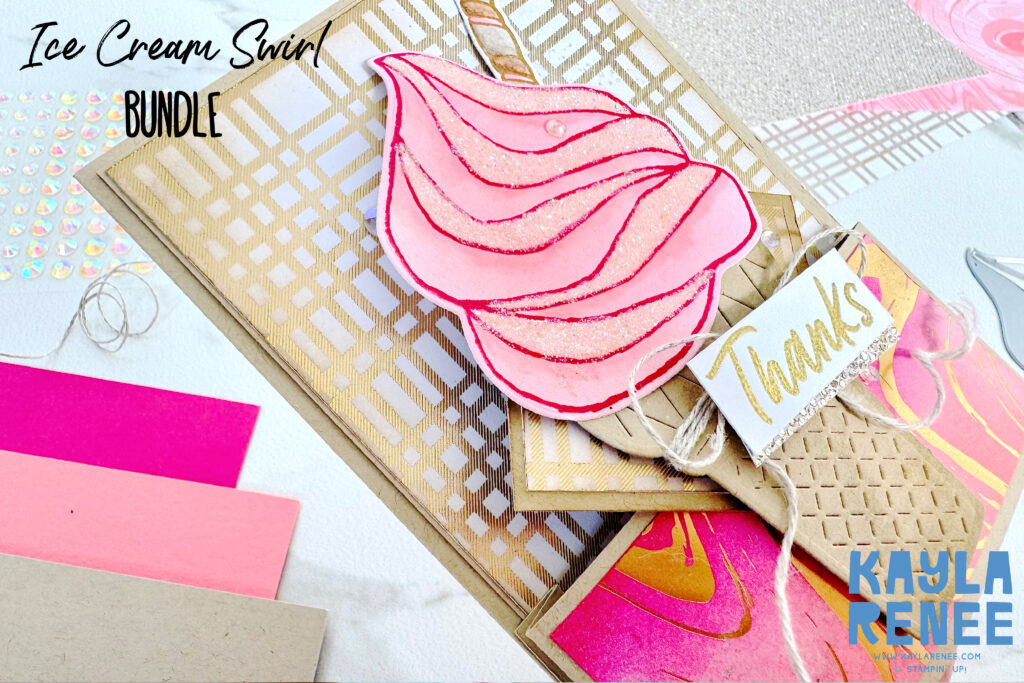
One of my favourite tips that Gina taught on this card was adding glitter to that Ice Cream Cone. How magical does that look? I know that I would want one of those! We don’t stock glitter – we used to! However you can purchase glitter on Amazon here.
I added further embellishment to my card with the gorgeous Iridescent Rhinestones and some beautiful Linen Thread – I just love Linen Thread and it ties the most beautiful bows.
a look at the inside – no naked cards here!
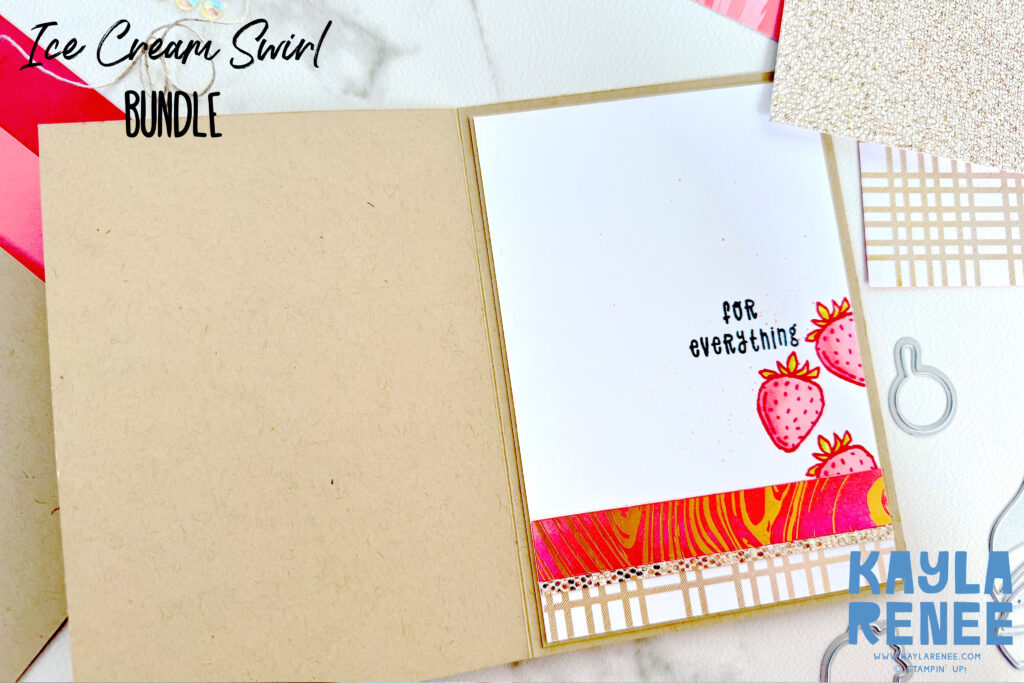
No naked cards here – it has to have a pretty inside. I added a few strips of the beautiful Designer Series Paper – and I coloured a strip of the paper with the same Melon Mambo and Flirty Flamingo Ink as well as adding a piece of the the Plaid Gold Foiled pattern. The beautiful strawberries from the stamp set added the perfect finishing touch which looked gorgeous coloured in Flirty Flamingo and Lemon Lime Twist Stampin’ Blends.
This card was so much fun to make! I am going to miss this gorgeous paper and I am so glad that I got some for free during Sale-a-Bration! Don’t miss out because today is the last day to get some free on a qualifying order! Shop my store here.
Don’t forget to put your name on the waitlist/reminder list for May! You won’t regret it!
Until my next crafty post, big crafty hugs! xx

SHOP WITH ME & GET A FREE GIFT & TUTORIAL
PLEASE NOTE: Regardless of when you are viewing this post, this is automatically updated so the information and links listed here are current.
Shop with me in January 2026 to receive a FREE gift, tutorial and handmade card from me to thank you for your order.


Don’t live in Australia but still want to purchase the tutorial? You can purchase it through my tutorial store for $22AUD for instant PDF download. CLICK HERE to purchase.
HAPPENING NOW
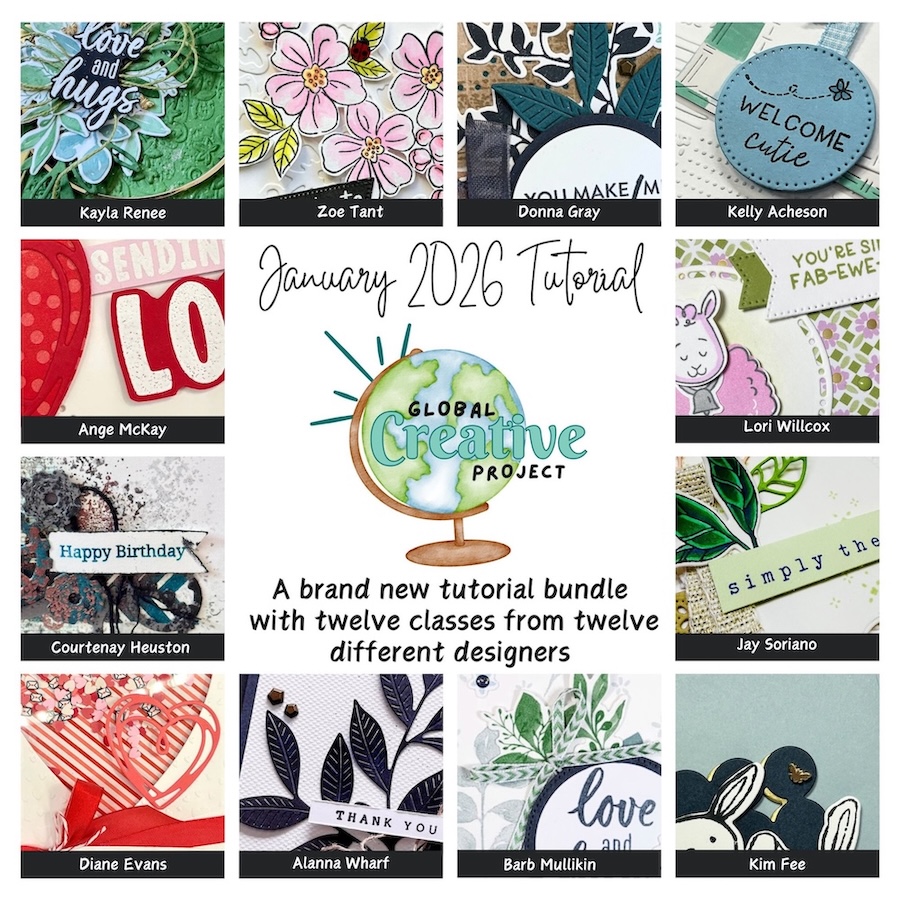


The brand new January Global Creative Project tutorial is now out. Earn for free from me for placing an order in my online store or head to my tutorial store and purchase the PDF tutorial.
New Creativity Kits have been released in my online store. Head here to check them out.
Our new Product of the Month promotion is now in full swing. Get an exclusive product for just $9 when you spend over $125 in my online store. Learn more about this new program here.
Events coming soon

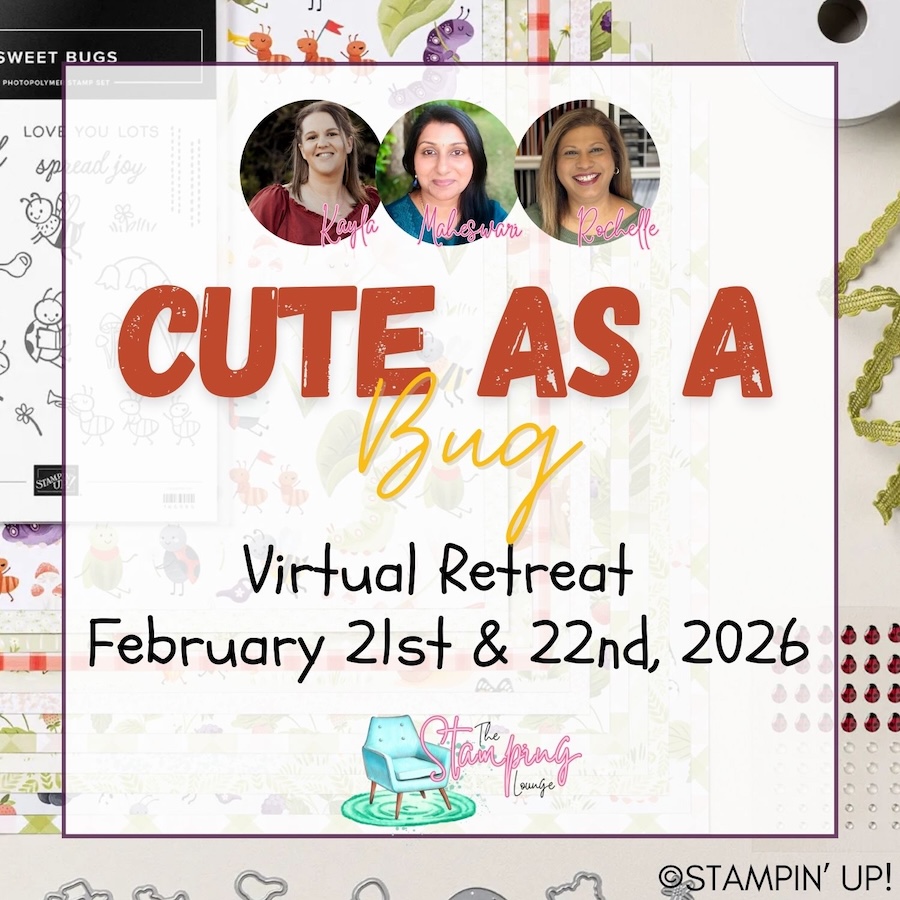
These are two upcoming amazing events with The Stamping Lounge run by myself, Maheswari Rajaguru and Rochelle Laird-Smith. Our Mini Catalogue Launch party is happening on the 11th of January – come and see all the new products, be part of the community, play games and take part in nine card classes!
We also have our upcoming Cute as a Bug Virtual retreat which is open no matter where you are in the world! Take part in eighteen classes using the Cute as a Bug suite and get lifetime access! Click the images or links to find out more and enrol OR sign up to The Stamping Lounge membership to get access to to the mini catalogue launch party and more which are included in the membership (retreat sold separately)


Leave a Reply