Happy Friday everyone! I am excited to be joining a brand new design team, the Let’s Craft Together Team and we are kicking off with a fabulous Tic Tac Toe Challenge! This is a new concept to me and I am exciting to be participating. I chose three items off the challenge which you will see as you scroll down further. I can’t wait for you to see what the team has brought to you for this month’s challenge and what a beautiful collaboration of amazing talented artists have come together, I am so blessed to have been asked to be on the team.
When creating my challenge card, I also used it as a reason to bring an article to you today giving some tips and ideas on adding 3D effects to your die cuts and cards. This is something that I have been asked about recently and I love to add to my projects. Enjoy my article/post today and have a lovely weekend!
let’s craft together blog hop – tic tac toe challenge
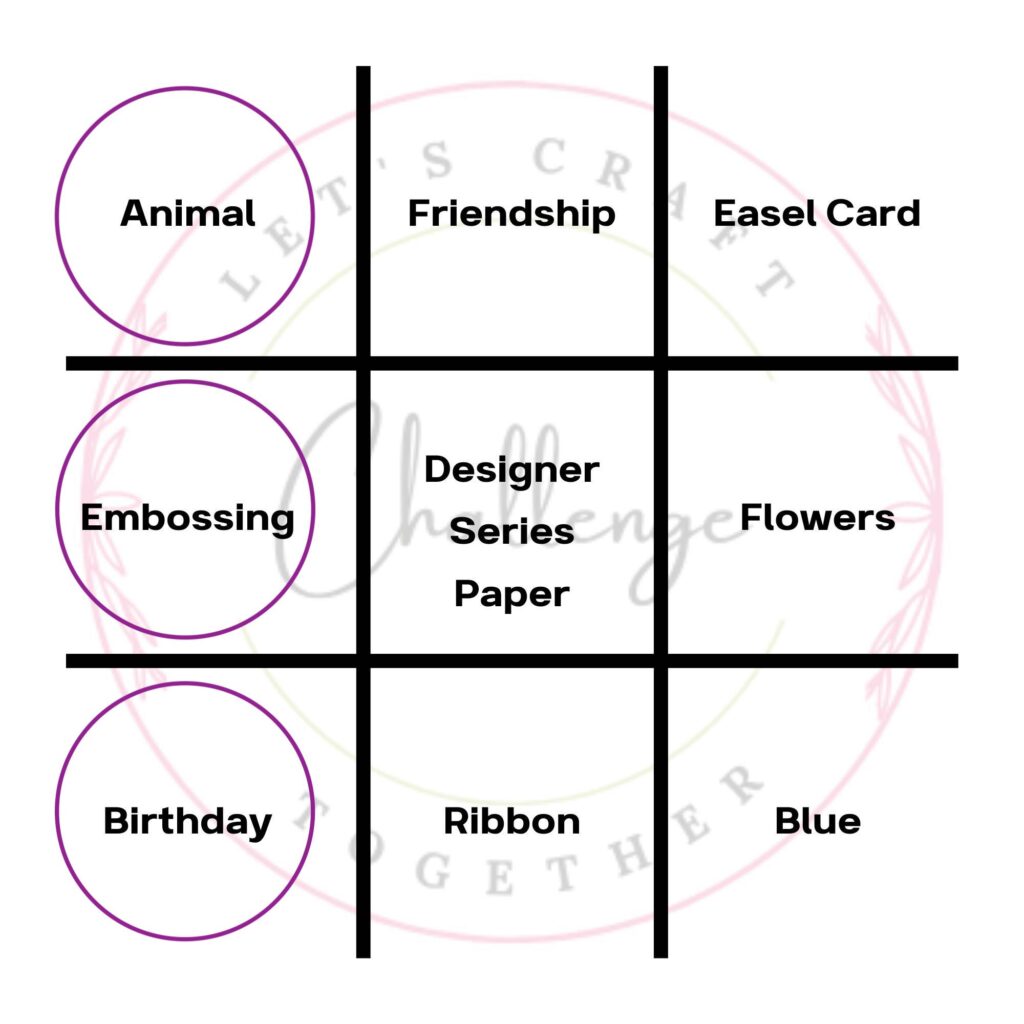
Here is a look at this month’s fabulous challenge where you can see the great tic tac toe board. What a selection I had to choose from. I changed my mind many times! I have to say I struggled not to go with an easel card as that is quite a firm favourite of mine!
Instead I have chosen to go with; Animal, Embossing and Birthday (as you can see with my circled selections) What would you choose?
happy birthday to you – my finished card
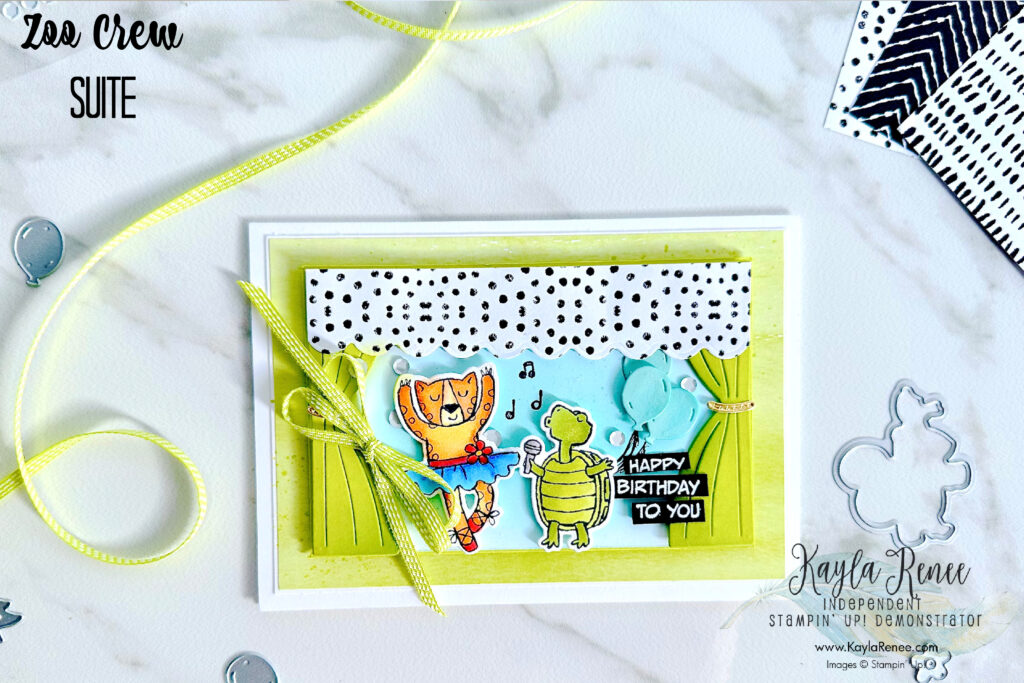
Here is a look at my finished card. This was my first play with the Zoo Crew Suite and I am in love. When I thought of using animals on my card I just couldn’t resist pulling out this suite and the adorable little animals. I knew I had to make my little sister a birthday card and I just thought this would be too cute! These adorable stamps and dies set up a beautiful stage that you can create to literally put these animals centerstage!
I have chosen to colour my animals with Stampin’ Blends, however you can actually cut animals directly from the coordinating Designer Series Paper if colouring is not your thing!
I loved that I was able to colour my little leopard with the Pumpkin Pie and Lemon Lolly Stampin’ Blends and really focus on the 3D effects by adding dark and light blends highlighting curves and edges – I mean look at that little tutu – who could say no to that!
A perfect example of the 3D effects represented with using the Stampin’ Blends and how good it looks is with the turtle and how you can see that I have focused on the darker blends towards the left hand side, working towards fading out with lighter blends to the right. This helps to make the turtle appear curved and three dimensional.
my colour inspiration…
I wanted to work with some fun, bright and happy birthday colours for my card and so I pulled some inspiration from the coordinating Designer Series Paper to work with and as you can see I have definitely loved the Lemon Lime Twist on this card!
Here is a look at my colour inspiration for the card…
P.s. I have used the Designer Series Paper from the Zoo Crew suite, but I have also used a piece of Designer Series Paper from the Bright & Beautiful Designer Series Paper for my background.
a close up look at the finer details…those 3d effects up close…
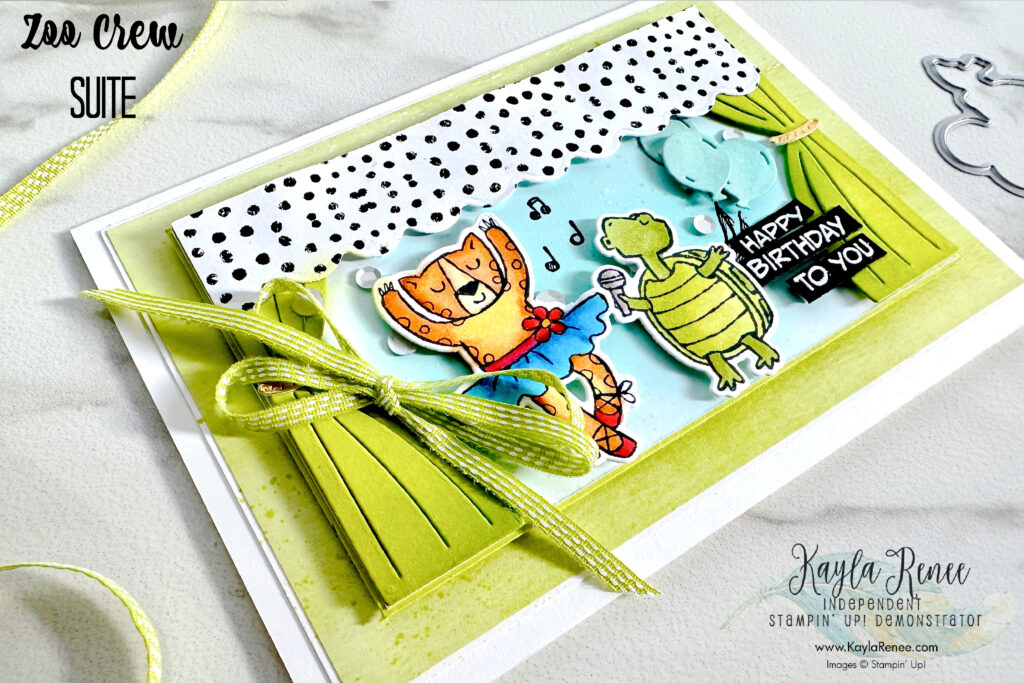
Here is a look at the close up detail of the card and you can really see the 3D effects shown up close on this card. You will see the varying dimensions of the different elements on this card and how I varied the heights of my different pieces, such as the balloons. I have laid one of the balloons flat and added some on dimensionals, this is important when helping cards to appear more three dimensional, to vary heights!
I loved working with the stage pieces and I have added all of these on dimensionals but another great great tip is to grab a Blending Brush (particularly when working with coloured cardstock) is to grab the same coloured ink and add some ink on the edges to darken and add tone. This will help add 3D effects and appear to make the edges curved and less flat. You can see this represented on my card above particular on the stage curtain. If I had left this without the blending it would appear more ‘flat’. This is a great tip for achieving a more three dimensional appearance.
With a Blending Brush I added some Pool Party ink to my background to both add some colour and interest behind my characters.
I finished with some embellishments such as the Neutrals Adhesive Backed Sequins, and I just had to add some stamping with those musical notes from the cute little turtle!
I tied a double bow with the coordinating Lemon Lime Twist ribbon from the suite. It is slightly big and bulky but really makes a statement on the card.
P.s. Where’s the embossing? I added my statement white embossing on my sentiment on black cardstock? This is one of my favourite things to do!
a little look at the inside…
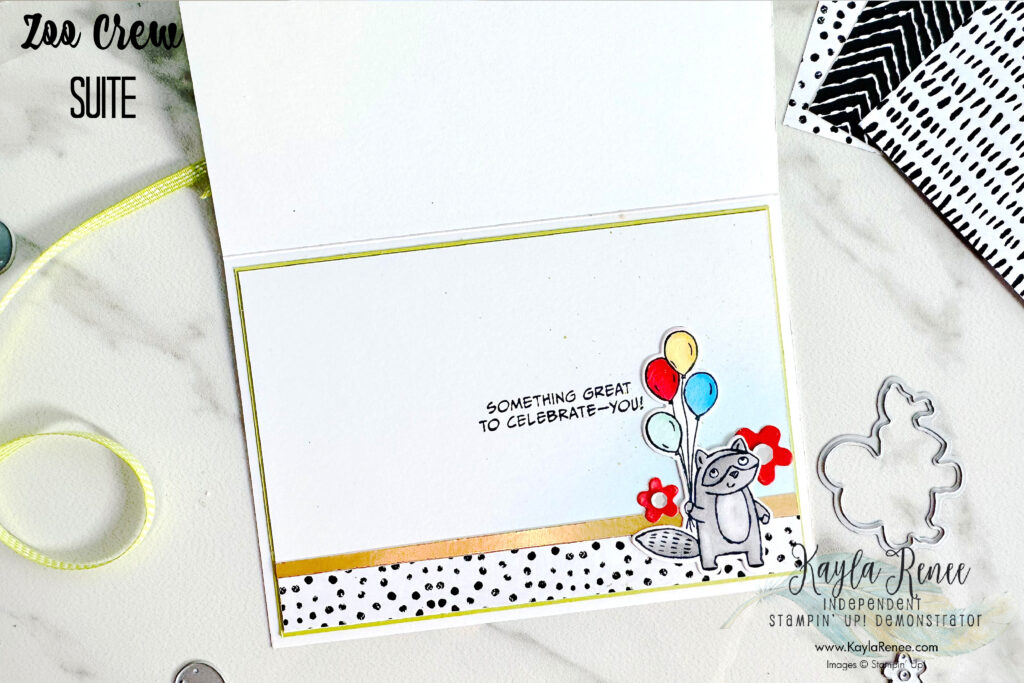
I wanted to add a pretty inside and I just had to colour another cutie from the stamp set so I coloured that cute little raccoon, I am pretty sure that is what it is? I added some die cut flowers and more sequins and a little blending in some Pool Party.
A little more Designer Series Paper to coordinate with the stage curtain and I have also added some Gold Foil. If you look closely there is a tiny touch of Gold Foil on the card front with the little tie backs on the stage curtain, just a touch but I thought I would add a little to the inside as well.
I had a blast making this fun birthday card and it was a hoot of a challenge!
I hope that you enjoyed a few of my tips for adding 3D effects to your cards. To wrap them up in summary. Here they are …

- Use Stampin’ Blends to colour your images with your dark/light blends to really help highlight the three dimensional appearance of your images.
- Vary the heights of your elements on your cards. This helps the eyes move between heights so that cards/projects do not appear ‘flat’
- Add tone on tone ink to coloured cardstock with Blending Brush to edges to help appear three dimensional. Focus on corners and edges, do not oversaturate and apply ink lightly.
Here’s a list of the rest of the amazing Let’s Craft Together team and their amazing project’s for this month’s challenge. Be sure to go and check out their amazing projects.
I have had a blast with this month’s theme and I hope that you were able to get some inspiration and enjoyed a few of my tips.
Until next time, crafty hugs, xx
SHOP WITH ME & GET A FREE GIFT & TUTORIAL
PLEASE NOTE: Regardless of when you are viewing this post, this is automatically updated so the information and links listed here are current.
Shop with me in February 2026 to receive a FREE gift, tutorial and handmade card from me to thank you for your order.


Don’t live in Australia but still want to purchase the tutorial? You can purchase it through my tutorial store for $22AUD for instant PDF download. CLICK HERE to purchase.
HAPPENING NOW
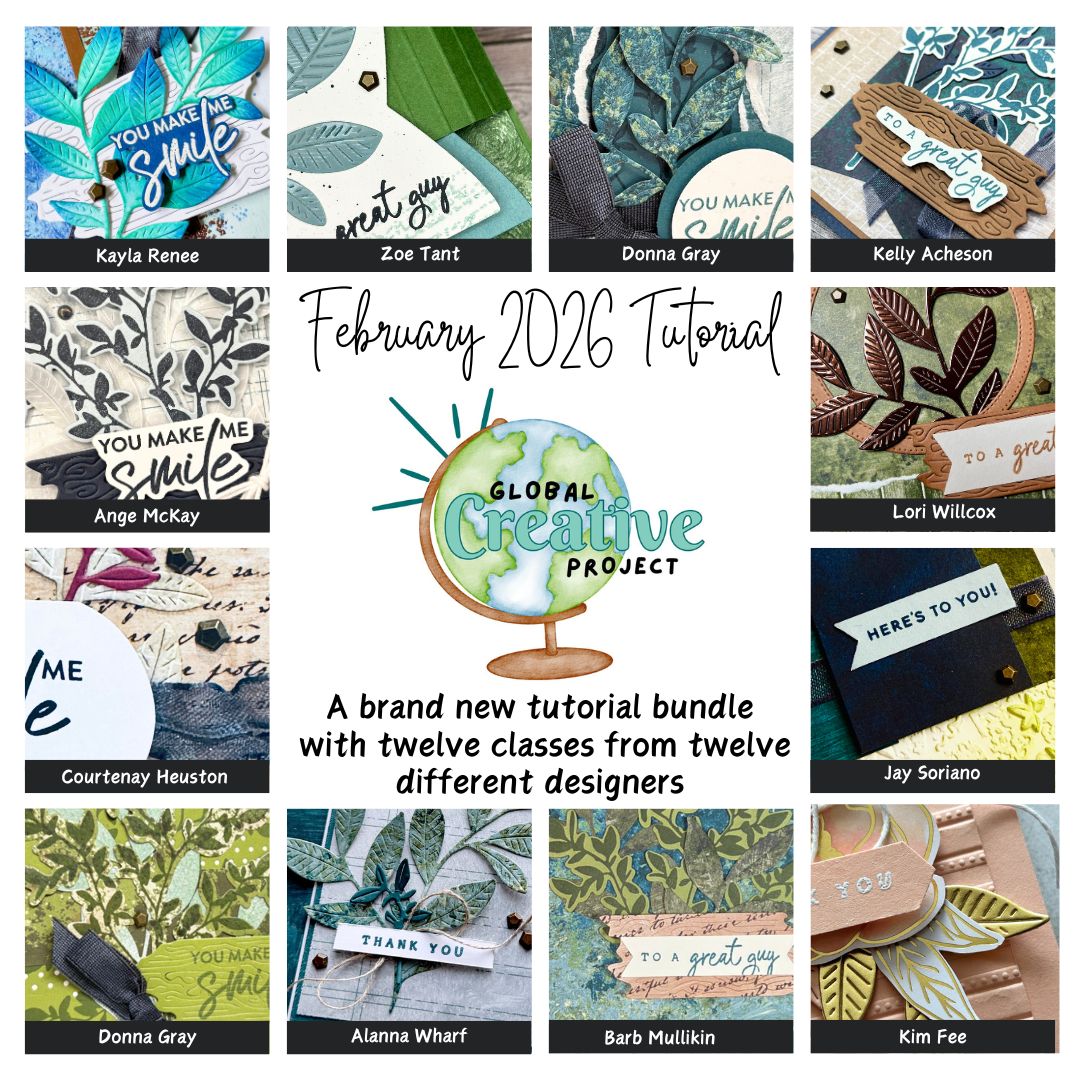


The brand new February Global Creative Project tutorial is now out. Earn for free from me for placing an order in my online store or head to my tutorial store and purchase the PDF tutorial.
New Creativity Kits have been released in my online store. Head here to check them out.
Our new Product of the Month promotion is now in full swing. Get an exclusive product for just $9 when you spend over $125 in my online store. Learn more about this new program here.
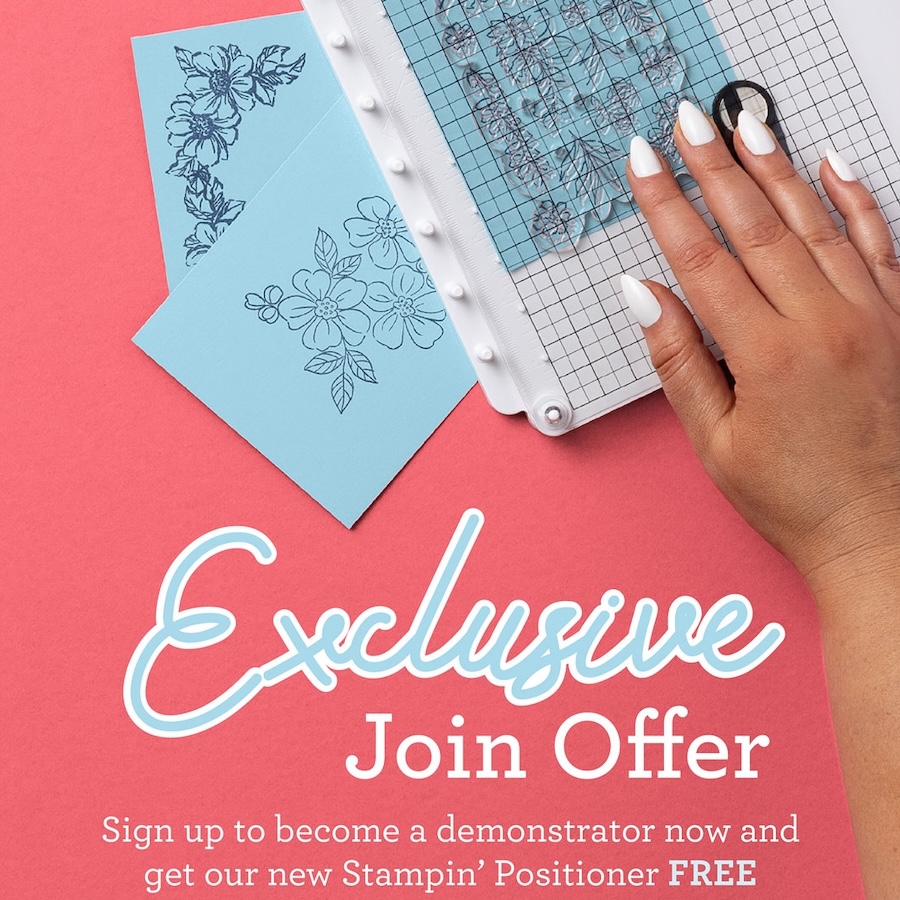
EXCLUSIVE JOIN OFFER – Join my Golden Scissor Craft Club team in February and get the BRAND NEW Stampin’ Positioner FREE! Want to learn more about this fabulous tool and why you will want one? Click here.
Last Chance SALE! – The last chance products list has been updated. See what’s leaving us and score a bargain. Click here.
Events coming soon
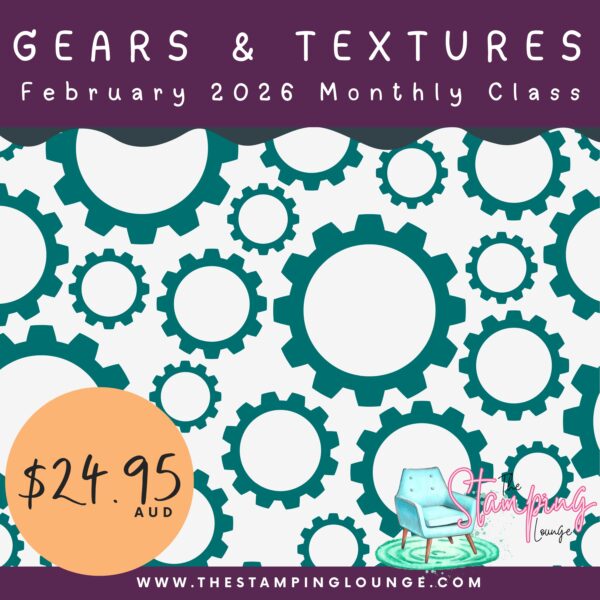
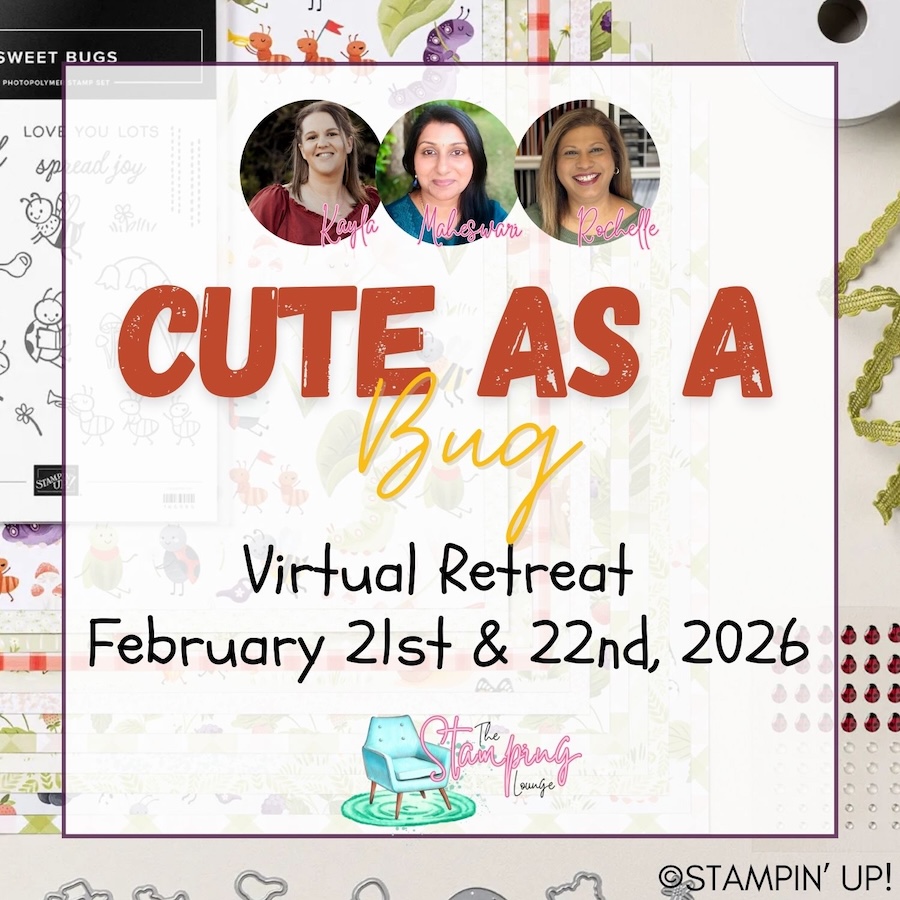
These are two upcoming amazing events with The Stamping Lounge run by myself, Maheswari Rajaguru and Rochelle Laird-Smith.
The Gears & Textures Monthly Class is coming up on the 14th of February,
We also have our upcoming Cute as a Bug Virtual retreat which is open no matter where you are in the world! Take part in eighteen classes using the Cute as a Bug suite and get lifetime access!
Click the images or links to find out more and enrol OR sign up to The Stamping Lounge membership to get access to monthly classes and more which are included in the membership (retreat sold separately)


Beautiful card and I love all those details, so glad to have you on the team
Love, Love. Your card stunning 💕the colour combo is perfect
Beautiful card, as usual! You add so many layers of colour and cardstock and detail, I’m awed.
Thanks so much Nancy. You are so lovely. xx
Stunning card as usual my friend! So pretty.
Thanks so much lovely lady. Much love. x
Very cute, I love this Suite, you’ve done a great job, great colours too!
Thank you so much Rebecca. You are so kind. xx
What a stunning card. The colours, the details and all the tips are wonderful Love this suite, those animals are so cute.
Thank you so much for your kind comment Annette. xx
Cute card love the colours and textures 💕
Thank you so much for your beautiful comment Cheryl. Much love. xx
Your colouring is amazing! This card is too cute
Thanks so much for your beautiful comment Tracy. xx
Oh my goodness, I love your card so much. So gorgeous and all the added details including the blended ink makes such a difference to the project. Always love your work Kayla.
Thank you so much for your beautiful comment Mandy. You are always so kind. xx
Totally adorable! Love your ability to use the brightest colours so well balanced ❤️
Thank you so much Carolina for your beautiful comment. xx 🙂
Your colouring is sublime!! Love the attention to detail and the joyfulness of your card.
Thank you so much for your lovely comment Julia. xx