It’s a fun post today because it is time to share another Stampin’ Fancy Friday project! I am so lucky to be on the Stampin’ Fancy Friday team (a team of Artisans – current and past members of the Stampin’ Up! Artisan Design team). This month so much fun because we are all CASE’ing each other!
What is CASE’ing? It’s a term that means to Copy & Selectively Edit – so to be inspired by. How much fun is that? We all got to choose. You can be inspired by the whole project, a certain element, the colours, maybe the design. I get inspired and in some ways CASE all the time – as long as you give credit to the original designer, CASE’ing is totally awesome! In fact – it’s a credit to the original artist to know that they have inspired someone.
What I was inspired by today is a mixture of creating a slimline card & watercolour and I wanted to share something really fun & provide you with some slimline card templates – I’ve even included an extra template for a slimline card envelope – scroll down to find out more!
tammy’s card that inspired me…
Just look at this card, isn’t it beautiful? It was impossible not to be inspired by the gorgeous colours and amazing watercolour on this card. I couldn’t wait to CASE (copy & selectively edit) it!
You can see Tammy’s original card on her blog here.
I always get inspired by Tammy’s beautiful use of embossing folders and ribbon. She certainly has a way with using texture. You should definitely pop over to her blog, you are certainly sure to be inspired!

Click here to go and like the Stampin’ Fancy Friday Facebook Page to keep up with all the team’s projects that will be shared throughout the month. They are all amazing!
metric slimline card templates
When I first started making slimline cards and even using some of the pre-made slimline cards that Stampin’ Up! had released – they are actually different sizes! A bit like the traditional cards that we use. It can be a bit frustrating in the world of card makers. Sometimes I wonder why we don’t just go to a system where we all use a generic size! It would be so much easier!
I thought I would include however the size that I use for my metric cards for all my metric friends out there! It is super easy as well because it uses pretty much one sheet of A4 cardstock and with the leftover piece at the bottom, it is a fantastic size to use for a layer for the front or inside of your card!
I have also included my template for the custom envelope that I use. I have seen a couple of these floating about from a few different people, but I thought I would include one here. They are really handy to have in your repertoire – and hey it’s a great way to use up that Designer Series Paper and not hoard it! I have been well converted from my paper hoarding days #loveitchopit guys! Who wouldn’t love going to their post box or being given a card decorated with pretty paper?

Press these links below that should take you directly to links to be able to download the templates.
thanks for lighting the way slimline card
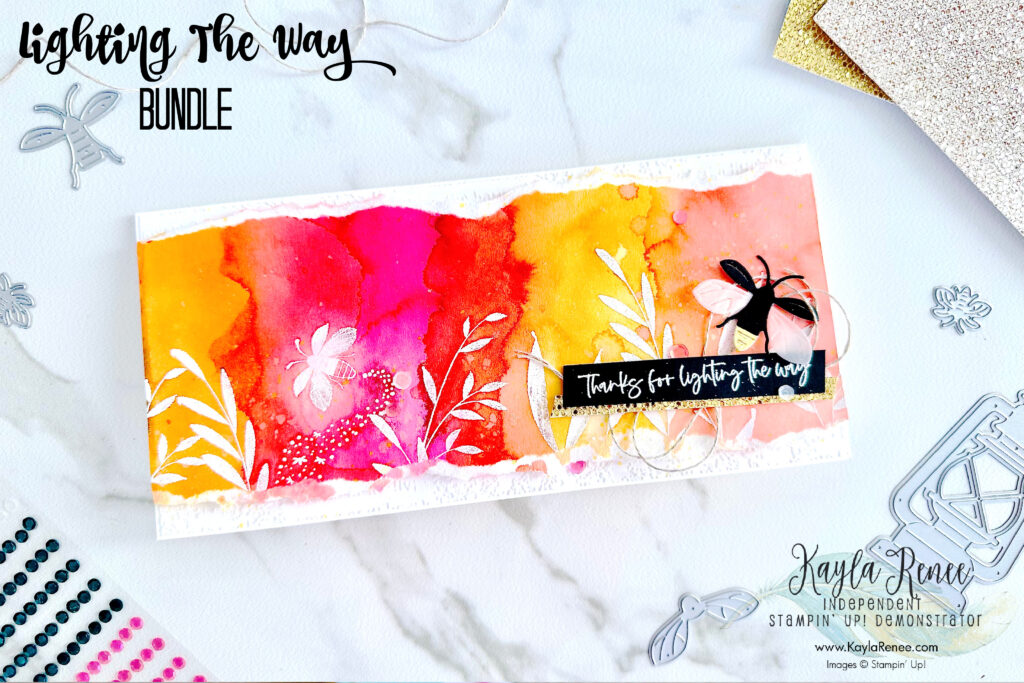
Here is a look at my finished card. I was so inspired by Tammy’s beautiful slimline card with all that emboss resist and those beautiful palm trees, I just wanted to get taken away with that inspiration straight away. I raided my stash and grabbed this beautiful bundle – the Lighting the Way Stamps & Dies and replicated that beautiful emboss resist technique!
The beautiful firebugs look gorgeous tucked in there and I even used one within my emboss resist background! I have used so many different techniques on this card, here’s the top three I can name straight away…
- Emboss Resist (heat embossing and then adding a form of colour over the top – in this case watercolour)
- Water-colouring (I loved playing with water-colouring and blending and mixing the colours on this card! I did have to use the heat tool a few times to stop them bleeding too much and colours becoming ‘muddy’)
- Paper Tearing/Distressing – This was totally inspired by Tammy’s original card – isn’t it cool? I love the distressed look that it gives the card and it felt somewhat therapeutic to just tear and rip the paper. I can see myself doing that a lot more!
a look at the colours combination that inspired the card
I love to combine colour, play with colour and be inspired by colour! I loved the warm tones in these colours and I love how they all mixed together! Combining those rich pinks and warm oranges and yellows were perfect for this card!
a little close up look at that watercolour…
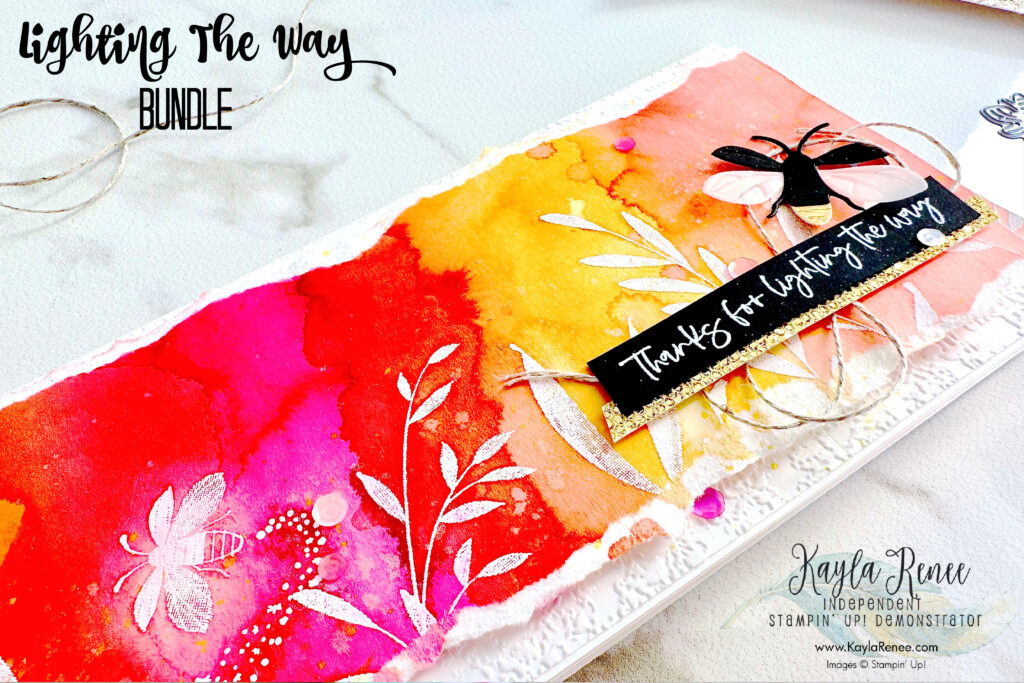
A close up look at the finished card and all that watercolour. How rich and exciting does it look? I love that because of the slimline card design I really had the whole length along to add quite a bit of colour! I love that the colours mix and bleed, they ‘bloom’ and look so beautiful.
Stampin’ Up! stock the best “Water Painters” which if you have not seen them – you definitely need to. It’s the perfect paint brush with water in the barrel. Absolutely perfect for techniques like this! You will see if I have listed them in the supply list below.
This close up also shows the beautiful firebug up close and how fun it looks layered with Basic Black, Gold foil and Vellum! Love!
I added some finishing touches to the card by adding some Linen Thread, some more of that amazing DISCO BALL (just have to call it that) paper and some of the Adhesive Backed Sequins.
So pretty!
a look at the inside
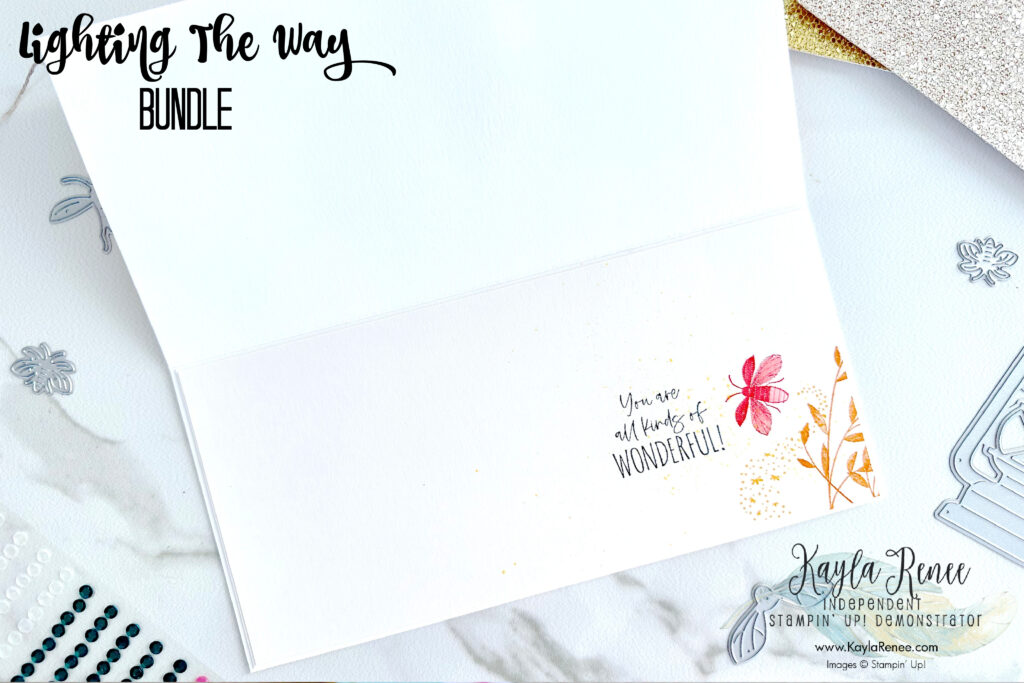
Here is a look at the finished inside.
I kept it pretty simple with basic layers of white and some basic stamping, as I really didn’t want to add too much as I wanted the focus to be on the card front, however just bringing in a few elements to continue and carry on the design into the inside.
I really hope you enjoyed seeing this slimline card design and were able to get some inspiration from my project share today.
It was a lot of fun being inspired by Tammy’s project and had a lot of fun making my card.
Enjoy the templates/tutorials and until next time.
Crafty hugs. x
SHOP WITH ME & GET A FREE GIFT & TUTORIAL
PLEASE NOTE: Regardless of when you are viewing this post, this is automatically updated so the host code/links listed here are current.
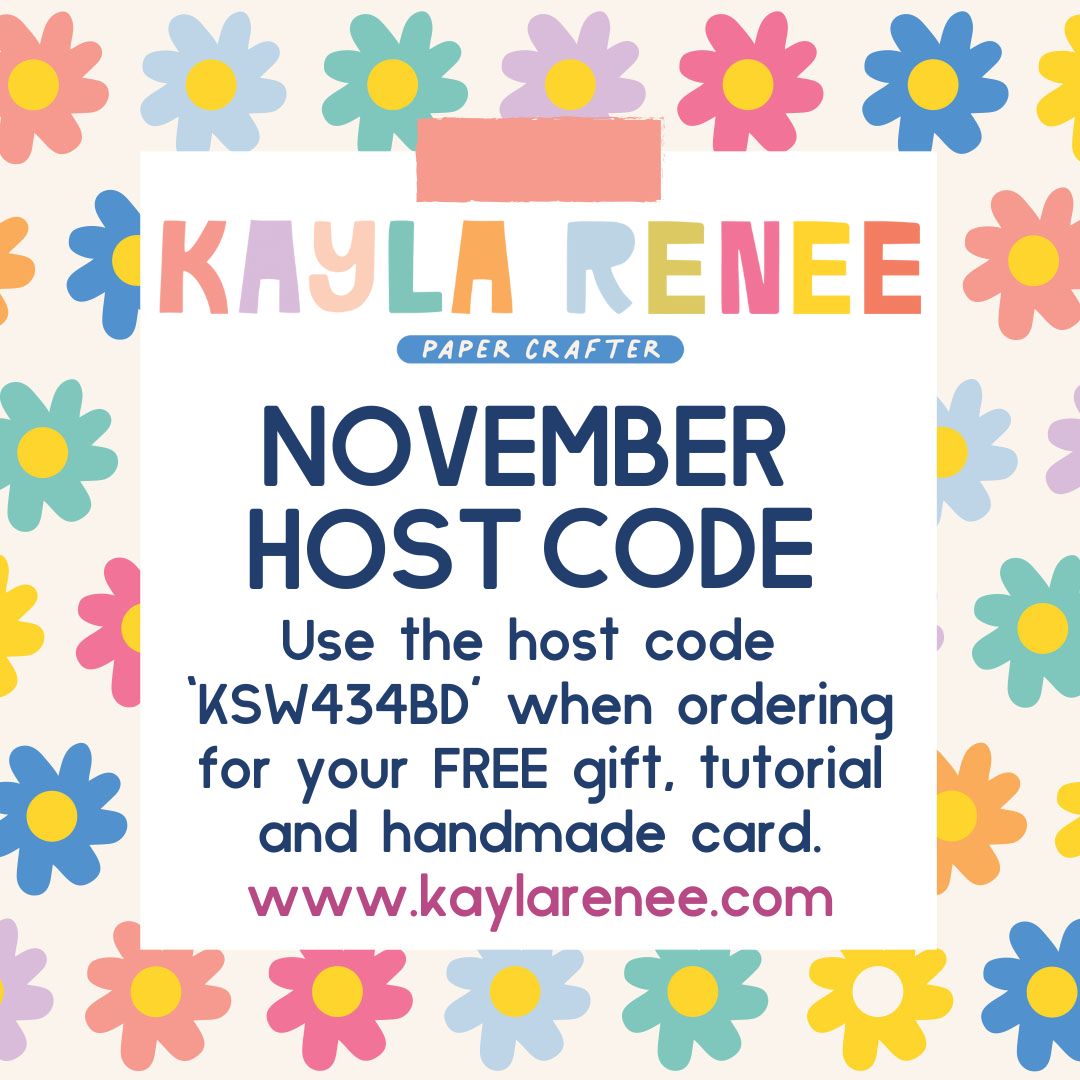
November 2024 monthly host code is ‘KSW434BD‘ to receive a FREE gift, tutorial and handmade card from me to thank you for your order.
Don’t know how to use a host code or shop online?
Click here to learn more and see an easy guide.
CLICK HERE TO GO TO MY ONLINE STORE
Don’t live in Australia but still want to purchase the tutorial? You can purchase it through my tutorial store for $22AUD for instant PDF download. CLICK HERE to purchase.

TWO BRAND NEW CREATIVITY KITS


Two brand new Creativity Kits have been added to my online store this month and these kits just keep getting better and better! Create some landscape masterpieces to either hand on the wall or display on the mantle or become a watercolour artist with the Nature’s Painting Kit which comes complete with watercolour pencils, colouring book and Water Painter. Click here to check them out.
new online exclusives

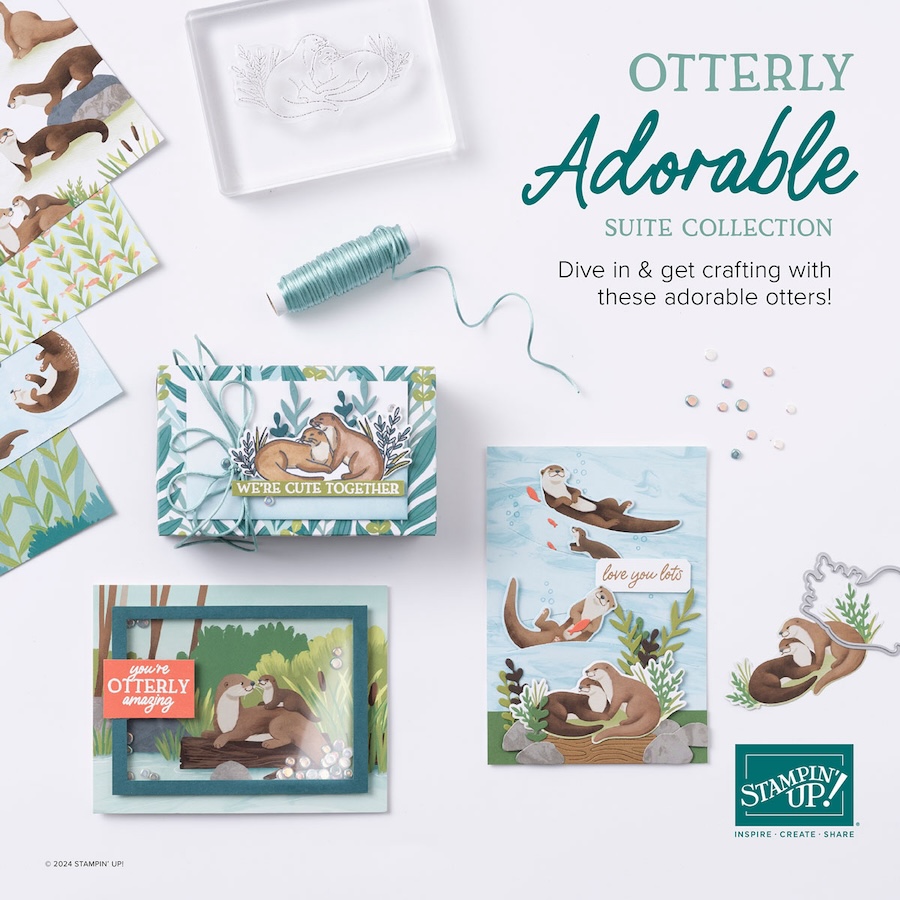
Brand new Online Exclusives are not available in my Stampin’ Up! online store with everything from cute otters, adorable foiled/marbled Designer Series Paper and loads of stamps & bundles to choose from. Check it out all out here.
THE STAMPING LOUNGE MEMBERSHIP SITE

I have been busily working for a while on a fun new program/website with my lovely friends Maheswari & Rochelle and I am introducing The Stamping Lounge.
Join in with a monthly membership and get loads of classes, lessons, resources, live events & more!
Hit the button below to learn all the details of how to become a lounge member!


[…] slimline cards lately, in fact I shared one just recently for my Stampin’ Fancy Friday card, you can see it here.I have once again shared the the Slimline Card Templates so that you can have the metric […]