It’s a brand new week for a brand new TGIF challenge and this challenge when I looked at it with the tiny little caravan I thought of the theme ‘travel’. I always have a bit of a process when it comes to making a card or starting a project and generally will start with colours and a bundle or suite that I want to use. When I saw this I actually sparked the idea of ‘space travel’ and the beautiful Stampin’ Up! Stargazing collection. It was quite an abstract idea when you think of this little caravan and then see my card – but that is what artistic freedom is all about!
I also decided to have some fun with a cool distressing technique with this card and make it appropriate as a masculine card, even if it has some touches of glitter – there is never a rule that says a masculine card can not have a tiny bit of sparkle *wink*
Where did i get my inspiration from?

When it comes to pulling inspiration for making a handmade card I can do that in all kinds of places, in the case of this card, it was from a tiny swatch in the front of the catalogue. This page was a representation of all the colours in our colour families and I just loved the presentation of Parakeet Party and the distressing technique that Stampin’ Up! had used to represent the Parakeet Party colour. This is where this card was born! You can pull inspiration for a card from anywhere!
TGIF CHALlenge #TGIF430
Here is a look at the TGIF challenge for the week, as stated earlier is all about what you interpret from the picture. I can’t wait to see what you make!
Click here to go to the challenge and you can see the rest of the TGIF team’s amazing projects that are sure to inspire you.

I’d love to see what you do with this week’s challenge! Be sure to tag #TGIFC430
distressing technique – using a stampin’ spritzer!

This is a fantastic (oldie but goodie) technique for distressing cardstock that looks great and is a fantastic technique to use on a masculine card like the one I have featured in the blog post today.
These couple of tips I have shared for this distressing technique are particularly useful as they make the overall technique easier and the outcome more successful.
the steps
- Gather your supplies. You will need your cardstock, a Stampin’ Spritzer, a Sponge Dauber & some Craft White Ink.
- Spritz the cardstock lightly with a couple of sprays with the Stampin’ Spritzer with water. This is to help break down the fibres in the cardstock and to dampen the cardstock lightly.
- Scrunch the cardstock up lightly in your hand. Flatten out on the table and repeat again if you desire. I like to do it twice to achieve a better result. If you want a more subtle distressed look, only do it once.
- Flatten out distressed cardstock and allow it to dry.
- Apply some White Craft ink to a Sponge Dauber and apply lightly over the top of the distressed cardstock. This both helps to soften and distress the cardstock. It adds another distressing technique to the one already used. This step is optional and be skipped if desired.
- The technique is all done and this distressed piece of cardstock can be used as desired. Another step that I did not outline as it is optional is that you can stamp on the cardstock prior to spritzing with water in step two if you wish to have more depth and interest on your piece of cardstock. I have done this on the piece of cardstock I have used in this distressing technique, however I have both stamped off and gone for the same colour ink. I have found that you want to go for a subtle approach as you still want the focus to be on the distressing.
greetings friend card

Here is a look at the finished card.
I had so much fun in the end with this card. Once I had the inspiration with the colour combination (see below) and the inspiration for the distressing technique the card actually came together really quickly! I knew that I also wanted to use the Holographic Foil that actually comes as part of the Stargazing suite.
Doesn’t that look cool with that little rocket?
TIP: If you want to stamp on that holographic foil you will need to stamp it with Staz On ink! It is easiest to do this on a stamping platform. I still do have my Stamparatus but any stamping platform will do. You can use an acrylic block but you will need to use a steady hand as stamping on foil can be slippery!
the colour combination that inspired this card…
The colour combo for the card started with the Parakeet Party inspiration from the front of the catalogue and I knew that I really wanted to make this pop on a Basic Black card base but I wanted to pull in some complimentary colours and still make this a ‘boy’ card (but *hey* it’s actually quite gender neutral) – so I found that Pumpkin Pie, Daffodil Delight and Lemon Lolly were the perfect fit.
Lemon Lolly is quite quickly becoming a new favourite colour of mine!


a close up look at the finished card

Here is a close up look at my finished card.
For my little planet I have taken my inspiration directly from the catalogue picture and die cut this from Parakeet Party also but I did use a Sponge Dauber to lightly apply some white ink to my planet – it is very subtle – but I also took a Blending Brush and to the edges also lightly applied some Lemon Lime Twist for a little bit of colour variation. Subtle variations but it does help to add depth!
For my background I have also used the Herringbone Ribbon and you might be wondering how because it looks nothing like the Herringbone ribbon – it is a bunch of threads! I have frayed this ribbon and coloured it! Just use a Lemon Lolly Stampin’ Blends marker to colour it, or any colour that you wish to colour it as long as it’s an alcohol based marker. I might do a video or technique focus on this soon!
I had to also add some of my favourite DISCO ball paper using the More Dazzle paper for some ‘stars’
a look at the inside of the card + a fun holographic astronaut

Here is a little look at the inside.
Originally this little (well big) astronaut was going to be on card front but he made his way into the card inside instead. I added some of the More Dazzle paper to his helmet. I LOVE that there are circle dies in the die set. That is enough to want these dies alone!
I have added some blending with the Lemon Lolly in the bottom right and some more of that gorgeous left over Parakeet Party Paper that I practiced the distressed technique on. I love to bring repeated patterns and elements from my card front into the inside, it really helps to make the design flow.
Finally I added some of my Pumpkin Pie Stampin’ Write marker on the inside and the card is done.
This card is pretty gender neutral. Give it to a boy/man for a birthday/celebration or just to say hello OR give it to your girl/best friend anyone just for a friendship card. It’s pretty stellar if you ask me!
Until next time lovely crafty friends, crafty hugs. xx
SHOP WITH ME & GET A FREE GIFT & TUTORIAL
PLEASE NOTE: Regardless of when you are viewing this post, this is automatically updated so the information and links listed here are current.
Shop with me in July 2026 to receive a FREE gift, tutorial and handmade card from me to thank you for your order.


Don’t live in Australia but still want to purchase the tutorial? You can purchase it through my tutorial store for $22AUD for instant PDF download. CLICK HERE to purchase.
HAPPENING NOW
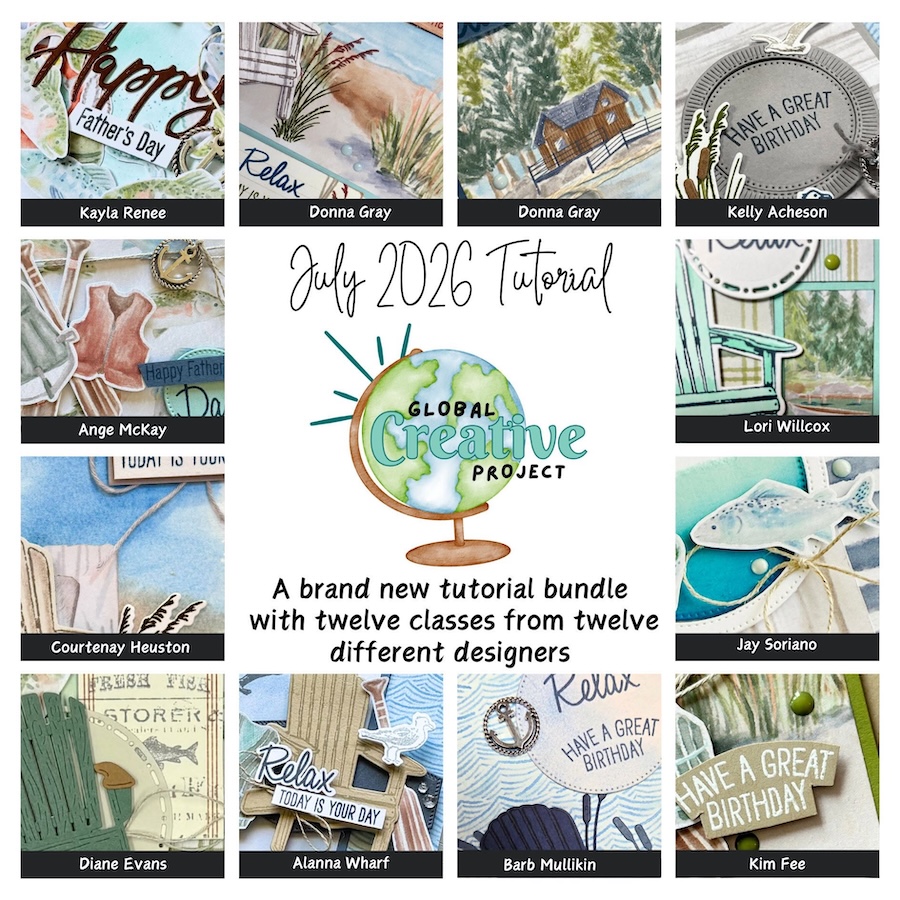
The brand new July Global Creative Project tutorial is now out. Earn for free from me for placing an order in my online store or head to my tutorial store and purchase the PDF tutorial.
New Creativity Kits have been released in my online store. Head here to check them out.
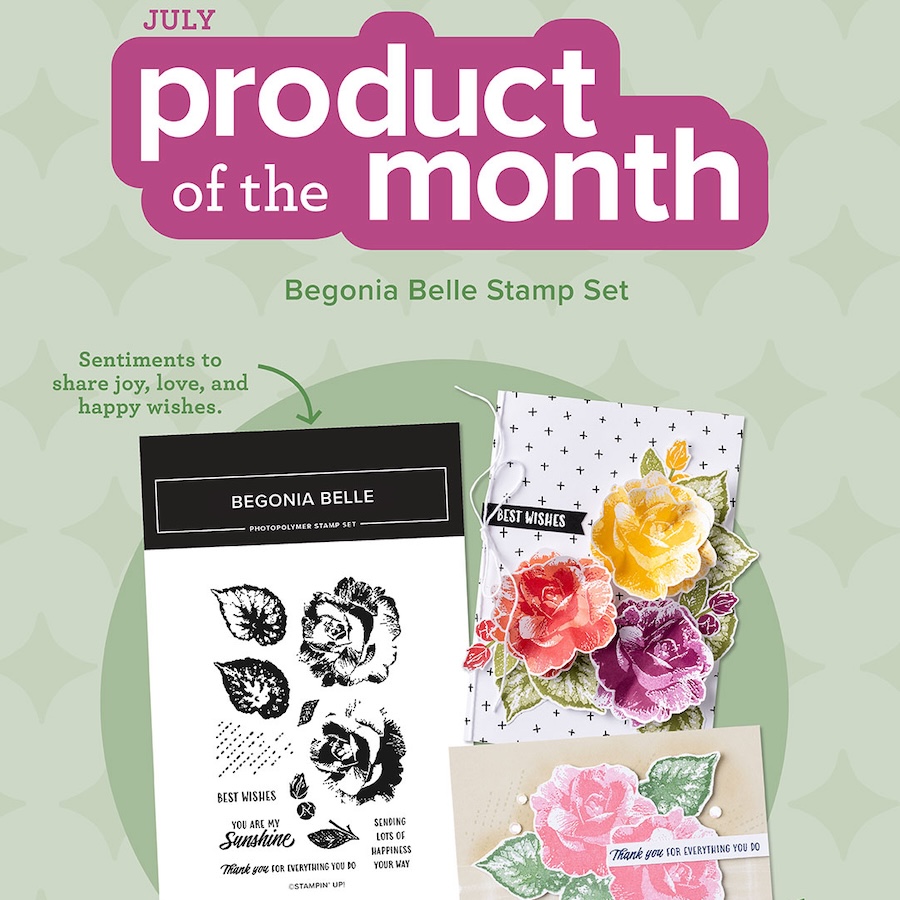
Our new Product of the Month promotion is now in full swing. Get an exclusive product for just $9 when you spend over $125 in my online store. Learn more about this new program here.
upcoming events + KITS

I have so much fun at The Stamping Lounge which is run by myself, Maheswari Rajaguru and Rochelle Laird-Smith.
We not only have a monthly membership full of amazing content but we also run regular classes.
The Scenic Coast Monthly Class is coming up on the 18th of July.
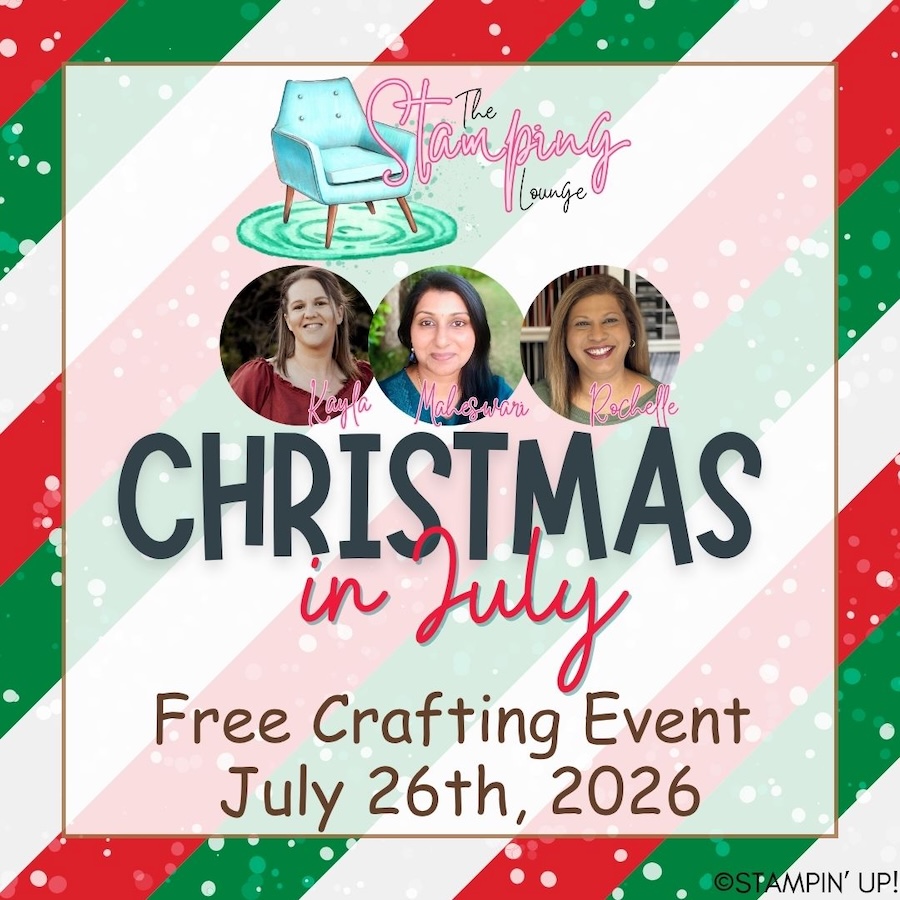
Also coming up in July and open for registration now is our annual FREE Christmas in July event. Find all the details here.
Click the images or links to find out more and enrol OR sign up to The Stamping Lounge membership to get access to monthly classes and more which are included in the membership (retreats are sold separately)
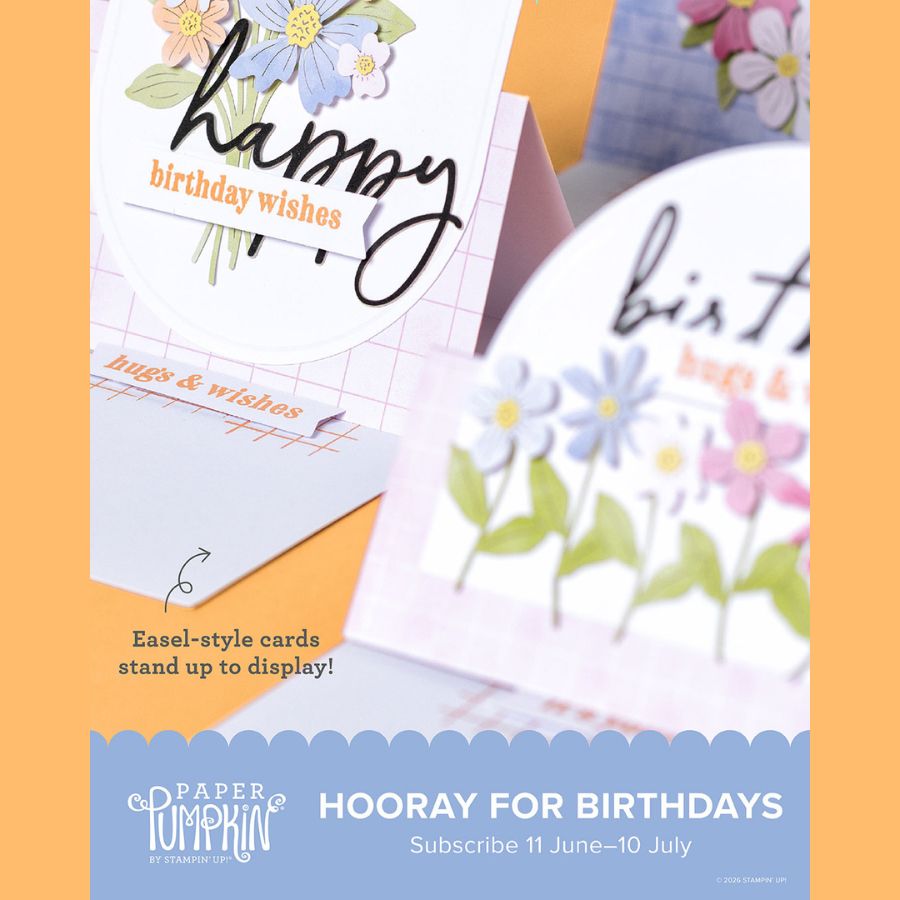
New Paper Pumpkin Kit coming in July – subscribe by the 10th of June to receive the Hooray for Birthdays Kit
PLUS – subscribe to Paper Pumpkin with me and get TWO alternative PDF tutorials with a total of 20 tutorials for projects using this kit. Click here to subscribe with me.
BRAND NEW SKETCH BOX
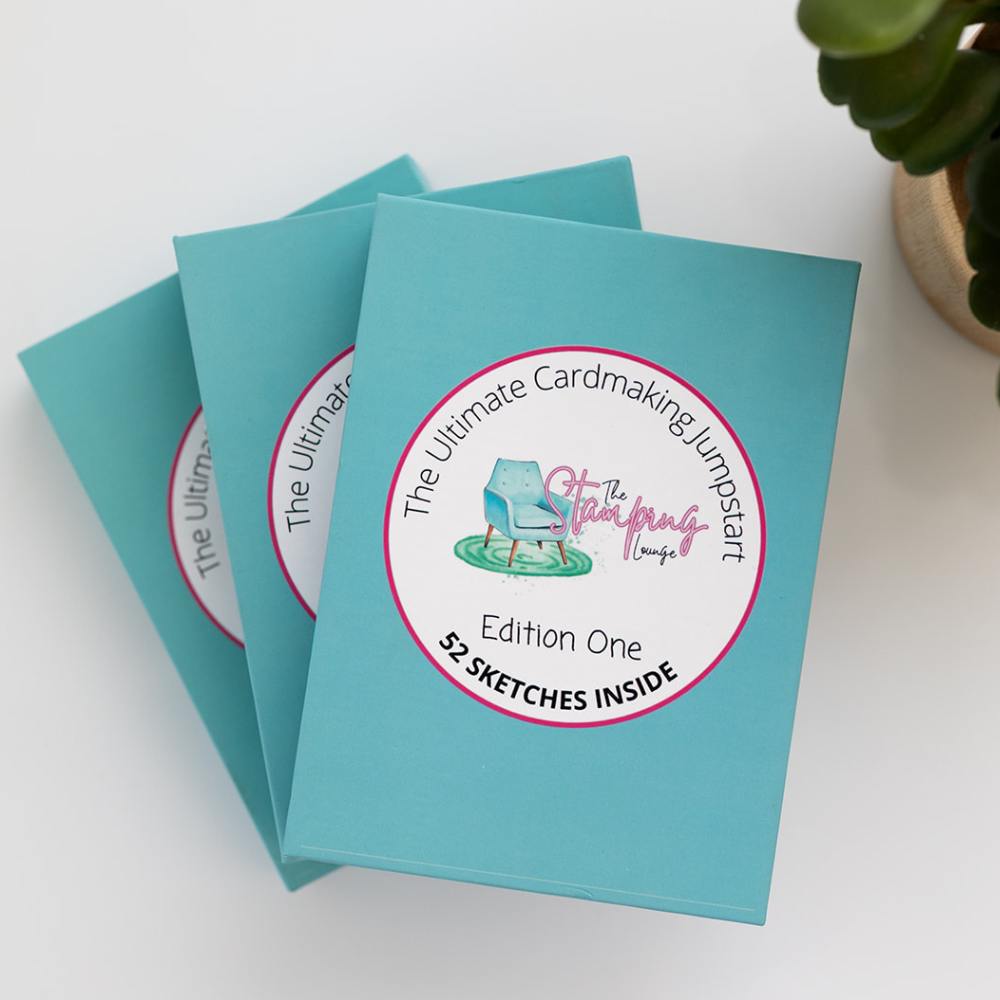
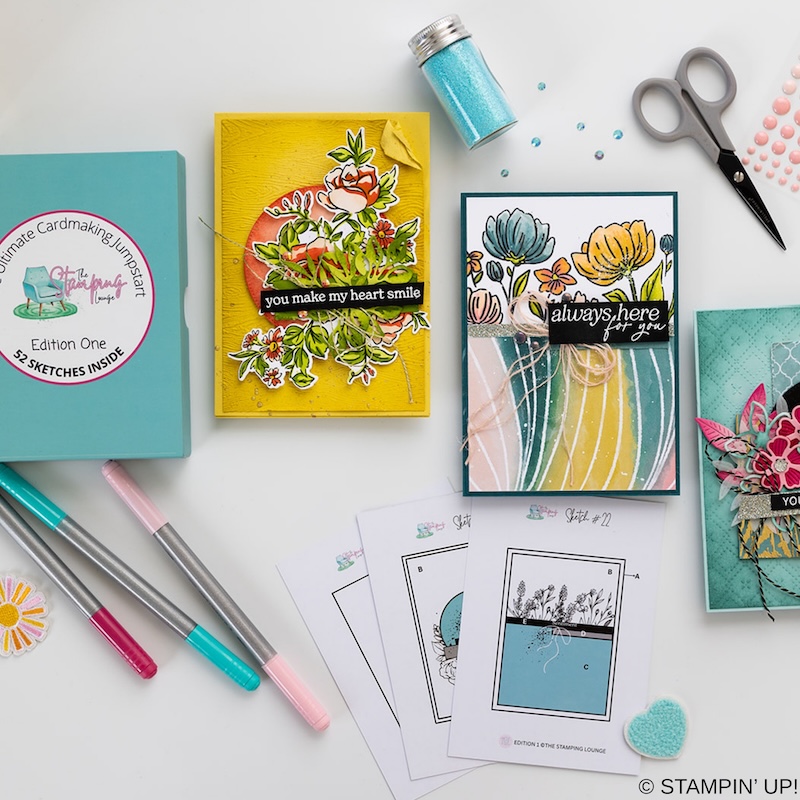
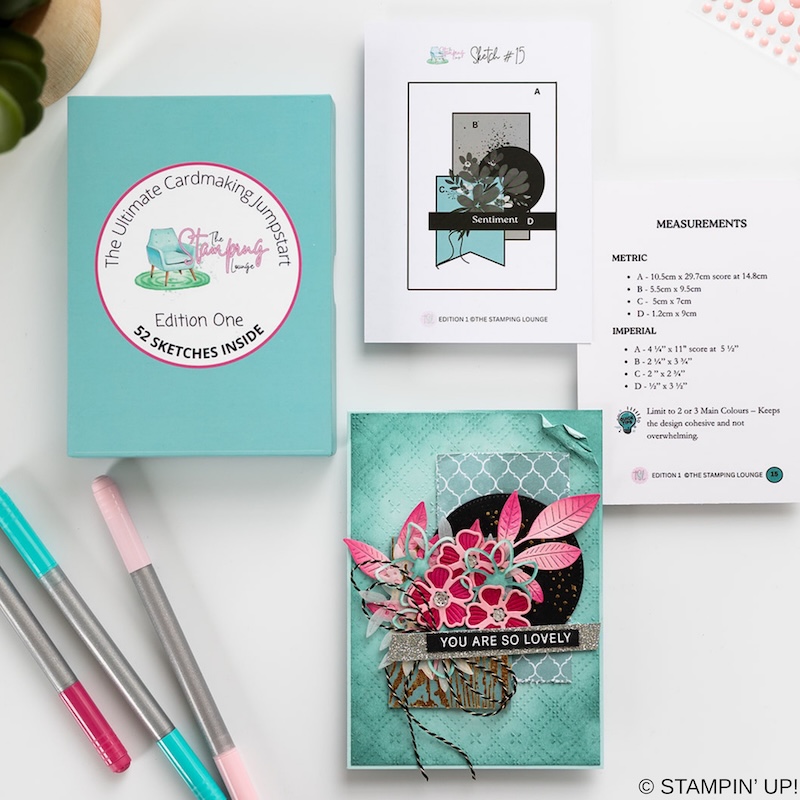
We have a brand new product at The Stamping Lounge and you won’t want to miss this one. Get your sketch box complete with 52 sketch cards that include measurements and crafting tips! This is a tool you need in your crafting tool box that you can use again and again. Available now and shipping internationally. Get yours here.
 Herringbone Ribbon") |  | |||
 |  |  |  | |
 |  |  |  |  |
 |  |  |  | |
 |
")
 Specialty Paper")
 Specialty Paper")


[…] Doesn’t that holographic paper just look amazing? You can see a close up peek in the top right hand corner of the next picture of some of the Holographic Paper – you get three different types of Holographic Paper in the Specialty pack that coordinates with this collection and all I can say is that it is amazing! I actually recently made a card with it where I have stamped right on it! You can see that card here. […]