Happy Monday lovely crafters. I am excited to share another project with you today for the new Global Design Project challenge. I was excited to make another Christmas Card and have a play with the Beary Christmas suite of products. The Designer Series Paper that coordinates with this suite has some stunning designs and some beautiful big scenery style designs that inspired me to make a fold out Diagonal Z Fold Style Fun Fold. These are a lot of fun to make and as you will see below, really suit these styles of Designer Series Paper.
#gdp419 – theme challenge – tis the season

Here is a look at the theme challenge for this week. It’s quite broad and open to interpretation and let’s face it I think we all have some Christmas cards to make!
Here is a link to this week’s challenge – be sure to pop over and check out the rest of the team’s gorgeous cards that they have made this week to inspire you & join in this week’s challenge.
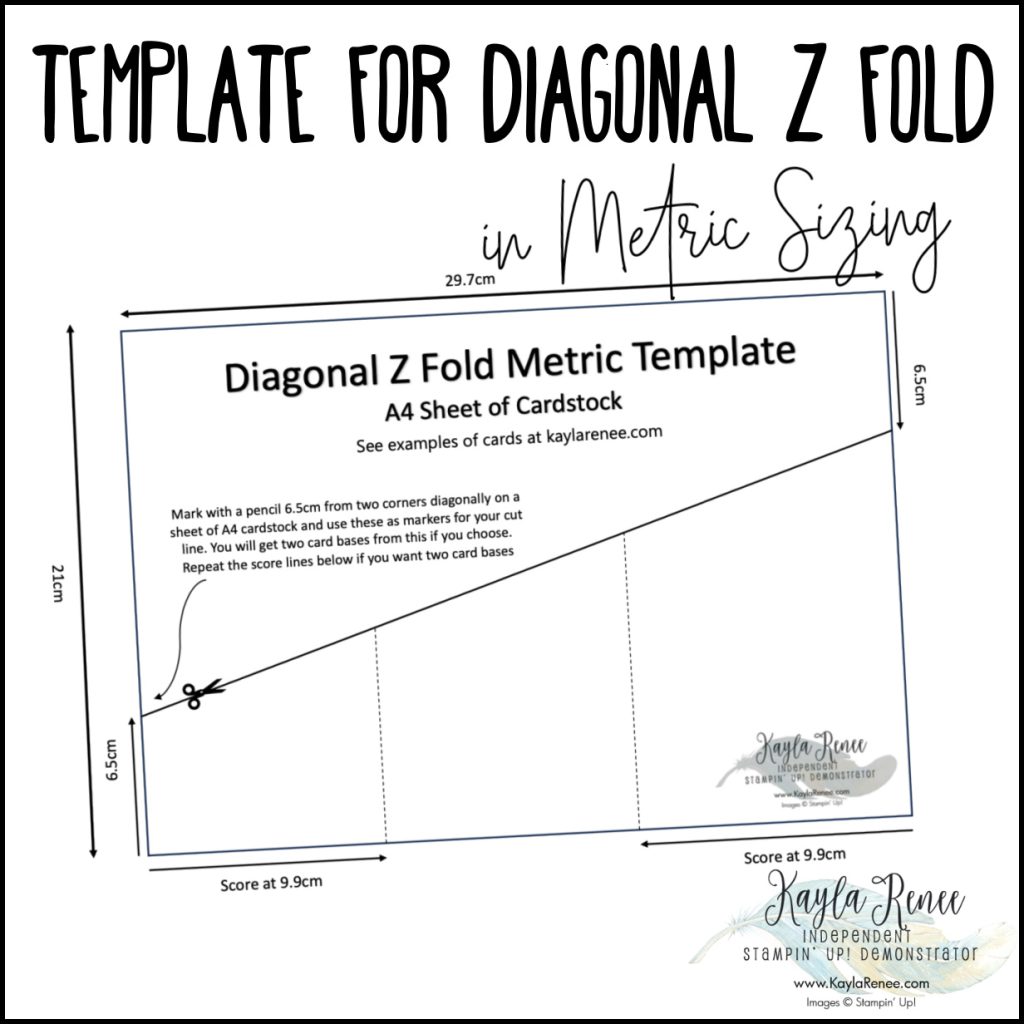
free download for diagonal z fold template in metric
I created an easy template if you are more of a visual person like me and prefer to see something in front of you – here is an guide of how to cut your A4 cardstock – sorry this is metric only measurements. You can download the template for an easy reference!
The cool thing is you get two card bases out of one sheet of cardstock!
Great way to get some cards made and use up your pretty paper!
- TIP: When adding your Designer Series Paper I suggest you cut it to 9.7cm wide and to work out the height/angle add it against your panel and lift it up against the bottom piece roughly allowing a gap that allows for a nice edge for both the top and bottom, for example I would say about .3 to .4cm and then while holding the paper in place flip the paper over and using a light pencil add a line to mark the angle of the paper. Use the paper trimmer to cut where the line is. This will the perfect angle and size for your paper.
the finished card – diagonal z fold card
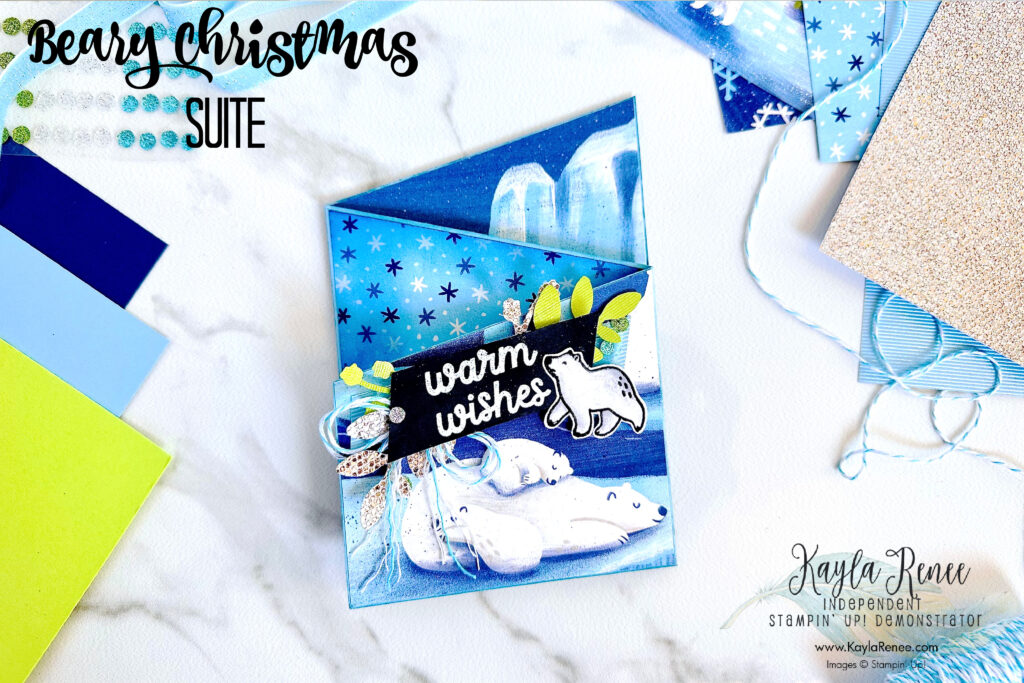
Here is a look at my finished Diagonal Z Fold Card. This is what the card looks like from the front when it is closed. I kept the card relatively simple – in fact the Designer Series Paper is the star of the show on this card because it is adorable!
This style of card is perfect for these style Designer Series Papers that have scenery patterns on them as you can preserve the scenes and make them centre stage! Add a sentiment and you really don’t need much else.
The Beary Christmas suite features a lot of blues and this is what my project started out with – just blue and black and as I was nearing the end of my project I felt it was very ‘flat’ – I looked at the beautiful Glitter Sequins and realised that the pop of green is just what my project needed!
a look at the colours that inspired my project…
I love that the dark moody blues look so great with that pop of BRIGHT Parakeet Party. I did also add one of my favourite products – the More Dazzle Specialty Paper for some glimmer – after all, it is the arctic!
a close up look at some of the detail
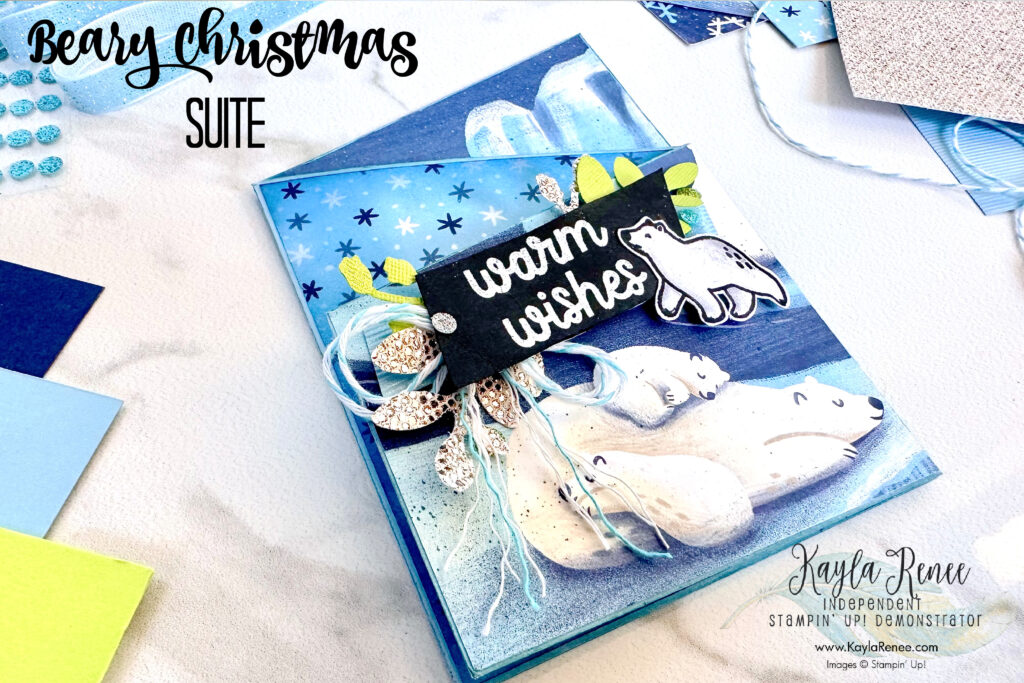
Here is a look at some of that detail. You can’t see too well in these pictures but I did also add some of the beautiful Textured Shimmer Paper which has a corrugated finish, this paper matches so well with this suite.
I have embellished the front of the card with some of the beautiful Balmy Blue Sparkle Ribbon and some of the gorgeous Tahitian Tide In Colour Baker’s Twine which I have frayed on the ends.
I couldn’t help but also add a scattering of those beautiful Glitter Sequins which match with the beautiful Beary Christmas Suite.
a look at how the diagonal z fold works
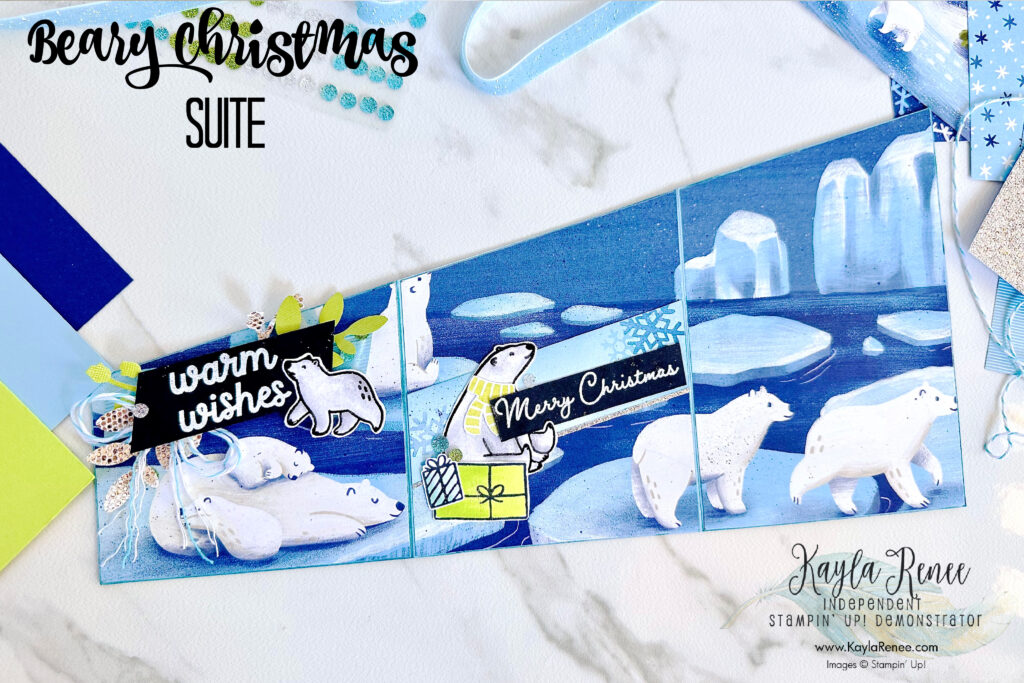
Here is why this diagonal z fold looks so fantastic with these scene style Designer Series Papers. How cute does it look when it is all folded out? You get the full arctic scene with all those gorgeous polar bears! I added a couple of additional bears which I have heat embosses in black and added a little additional blending with a Smoky Slate Stampin’ Blend and blended out with a Color Lifter.
The little sitting polar bear looks so cut sitting there with a couple of little pressies which I have coloured with some Lemon Lime Twist and Pool Party Stampin’ Blends.
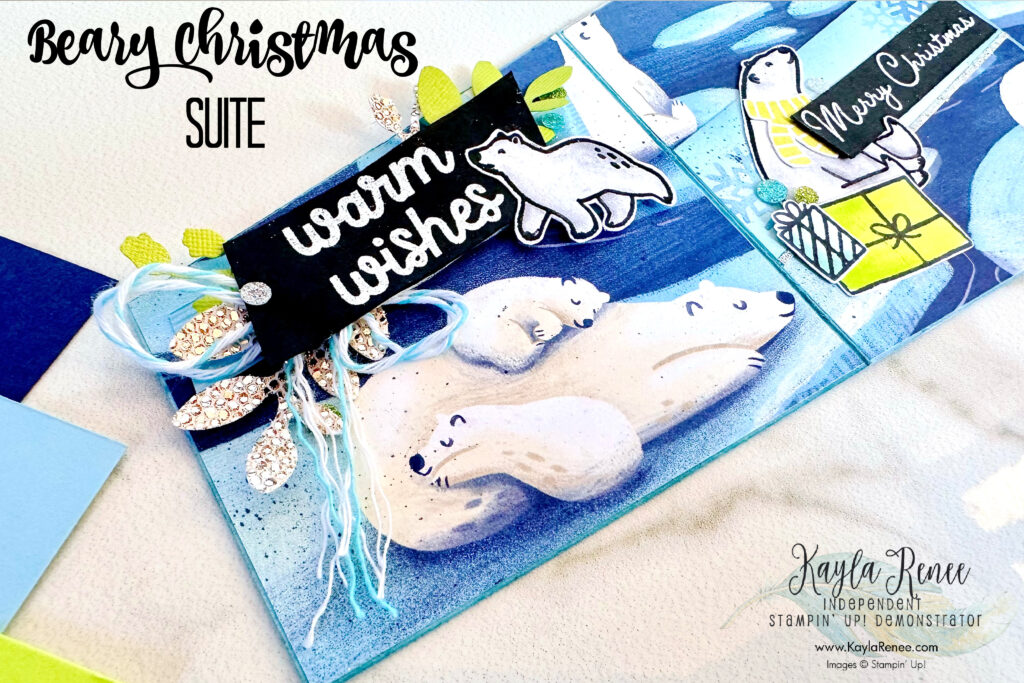
a close up of the diagonal z fold reverse side
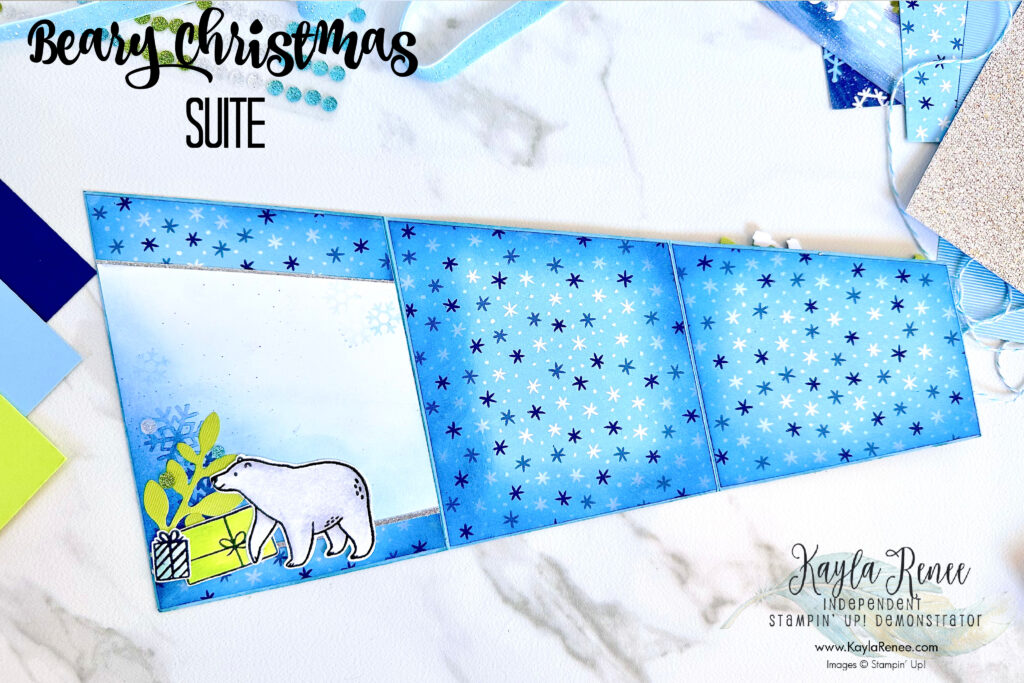
You might have been wondering where there is room to write, flip it over and there is plenty of room, simply replace one of the Designer Series Paper panels with a little bit of Basic White and you have a writing panel!
I’ve added a little decoration and punched a few added decorations (which I also added to the front) with the bough punch. I punched these little cuties with the In Colour Textured Specialty Paper in Parakeet Party. This beautiful paper has the most adorable texture.
a little close up of some of the detail
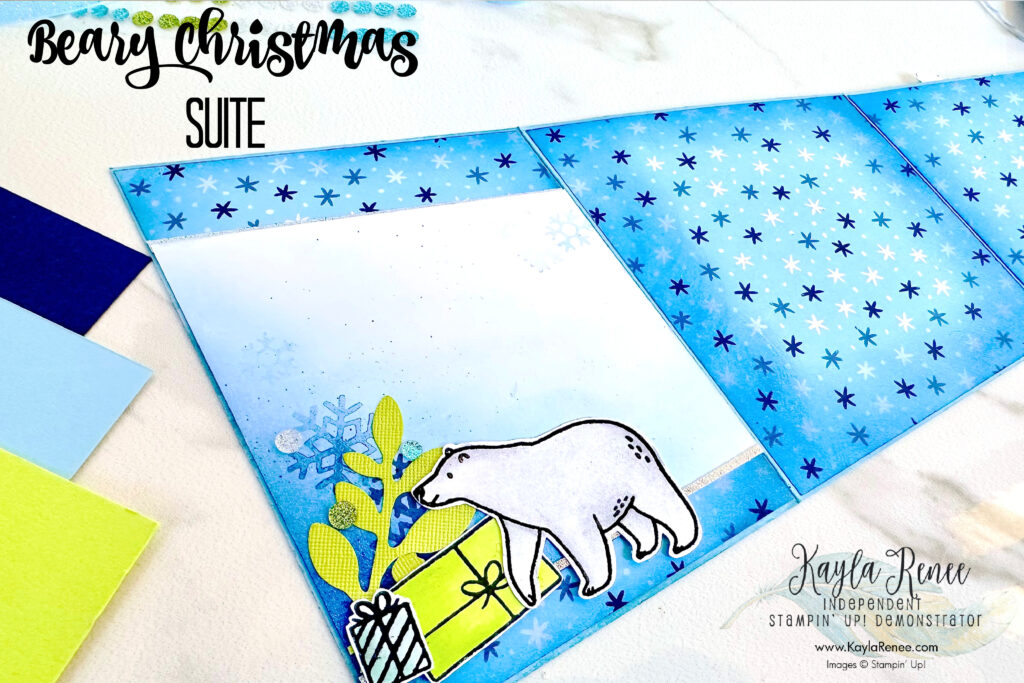
Here you can a close up of some of that detail and a look at how cute that polar bear and how cute it looks with some of that Smoky Slate detail added. It’s really simple to do with just a Stampin’ Blend and a Colour Lifter.
I did add some of the gorgeous Adhesive Backed Silver Glimmer Paper to add some additional detail to the edges of the Basic White for some extra pizzazz.
This card was so much fun to make and a great way to use up some of that Designer Series Paper. I hope that you were able to get some inspiration today.
Be sure to pop on over to the GDP blog and check out the other samples & join in this week’s challenge. We would love to see what you create!
p.s. Do you love this beary christmas suite?
This month at Global Creative Project it is the tutorial focus. You can purchase the tutorial bundle in my tutorial store and get twelve amazing PDF and video classes featuring this beautiful suite including another FUN FOLD from me!
Until next time, crafty hugs. xx

SHOP WITH ME & GET A FREE GIFT & TUTORIAL
PLEASE NOTE: Regardless of when you are viewing this post, this is automatically updated so the information and links listed here are current.
Shop with me in January 2026 to receive a FREE gift, tutorial and handmade card from me to thank you for your order.


Don’t live in Australia but still want to purchase the tutorial? You can purchase it through my tutorial store for $22AUD for instant PDF download. CLICK HERE to purchase.
HAPPENING NOW
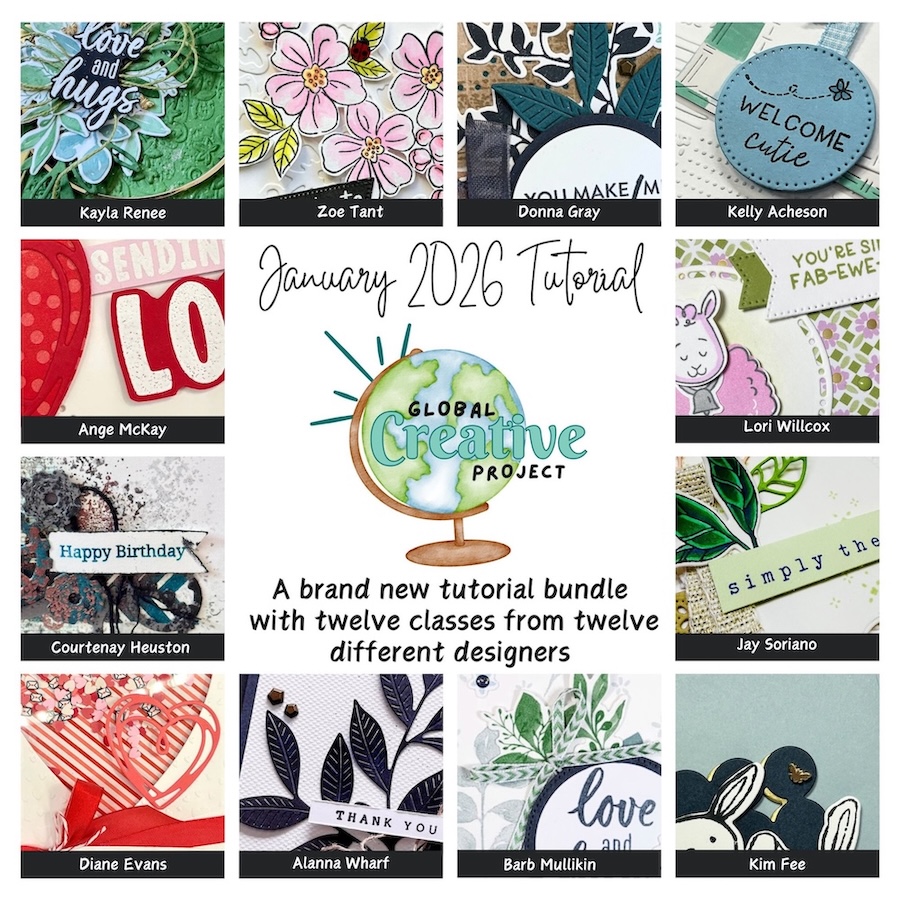


The brand new January Global Creative Project tutorial is now out. Earn for free from me for placing an order in my online store or head to my tutorial store and purchase the PDF tutorial.
New Creativity Kits have been released in my online store. Head here to check them out.
Our new Product of the Month promotion is now in full swing. Get an exclusive product for just $9 when you spend over $125 in my online store. Learn more about this new program here.
Events coming soon

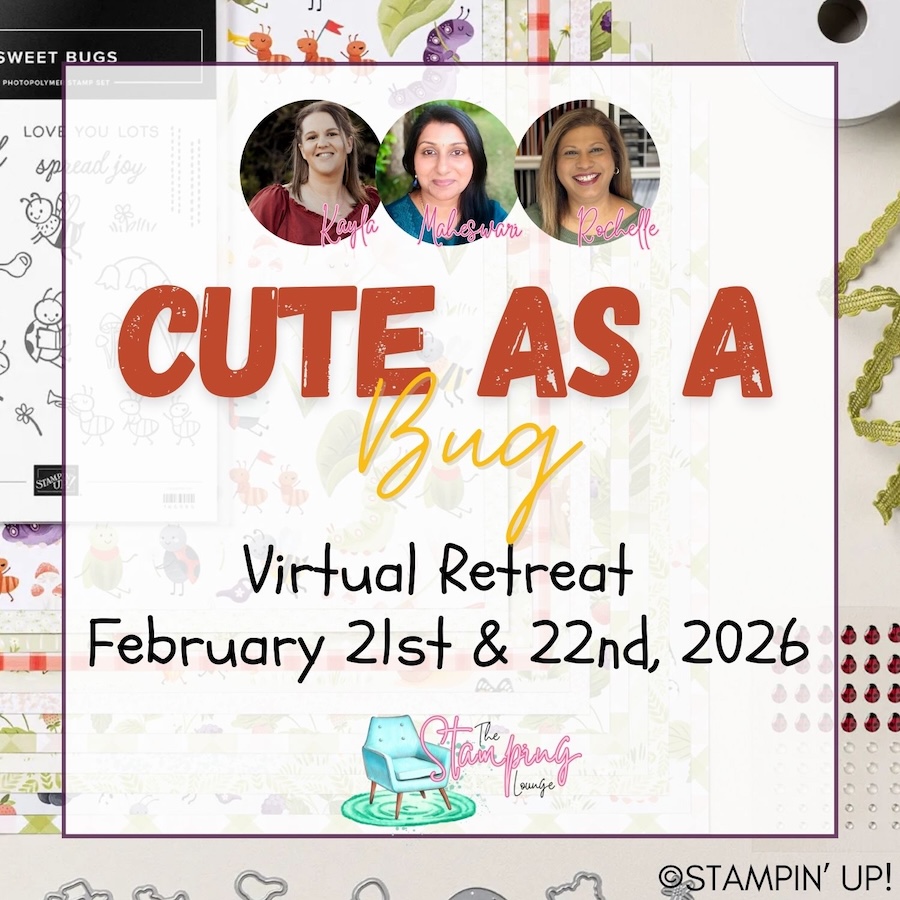
These are two upcoming amazing events with The Stamping Lounge run by myself, Maheswari Rajaguru and Rochelle Laird-Smith. Our Mini Catalogue Launch party is happening on the 11th of January – come and see all the new products, be part of the community, play games and take part in nine card classes!
We also have our upcoming Cute as a Bug Virtual retreat which is open no matter where you are in the world! Take part in eighteen classes using the Cute as a Bug suite and get lifetime access! Click the images or links to find out more and enrol OR sign up to The Stamping Lounge membership to get access to to the mini catalogue launch party and more which are included in the membership (retreat sold separately)
Product List


Leave a Reply