I have been meaning to do a follow up post from my recent share after coming back from the amazing Onstage conference in Melbourne with Stampin’ Up! I created some cards that I made for a swap with the beautiful Alumini (and current) Artisan Design team that I met up with, which you can see in a blog post here. While I was making these cards I was really inspired to make another of the same style however personalised it with a little bit of an Australiana theme to give to the beautiful Cindy Schuster. Cindy came to Australia from the Stampin’ Up! home office for Onstage.
I knew that Cindy had on her bucket list to see a koala bear while she was here and so I really wanted to make one of the cards for her using the Wild & Sweet stamp set with that cute koala image! Glittery leaves might not be quite featured in nature and it might be a little less bright but I had to add some sparkle and fun! I am not usually drawn to realistic stamp sets like this (thanks to my lovely friend Susan Moodie for lending me her stamp set) but I gave it a go and used some StazOn watercolouring techniques and had some fun!
breakfast catch ups and the artisans with cindy
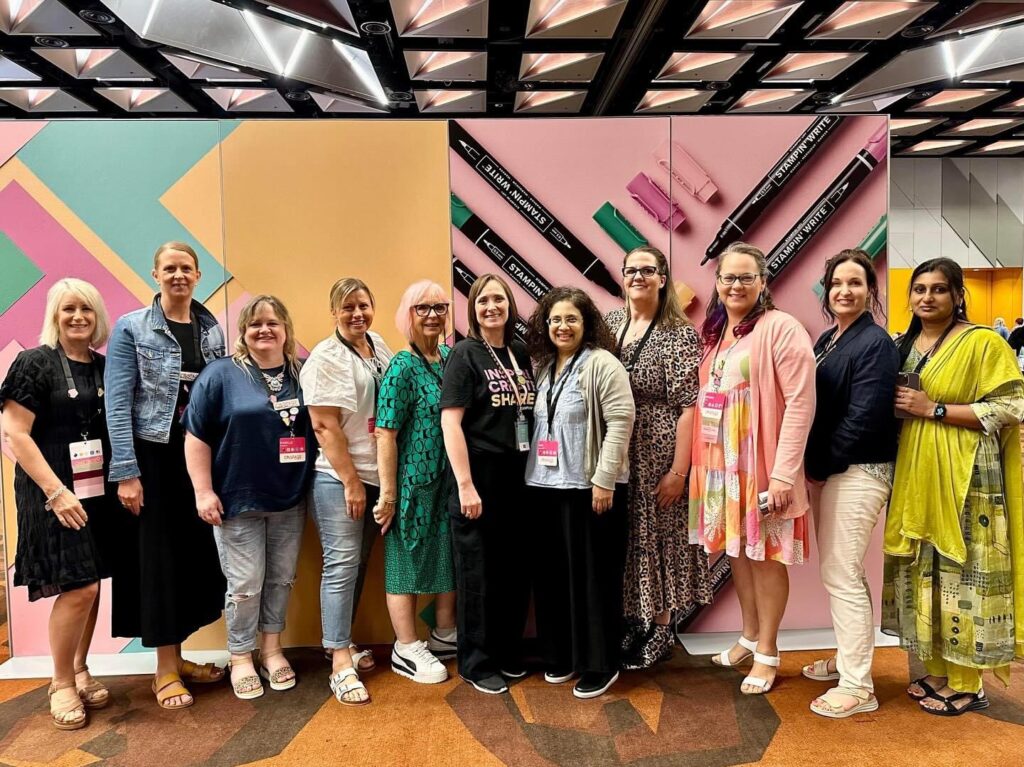
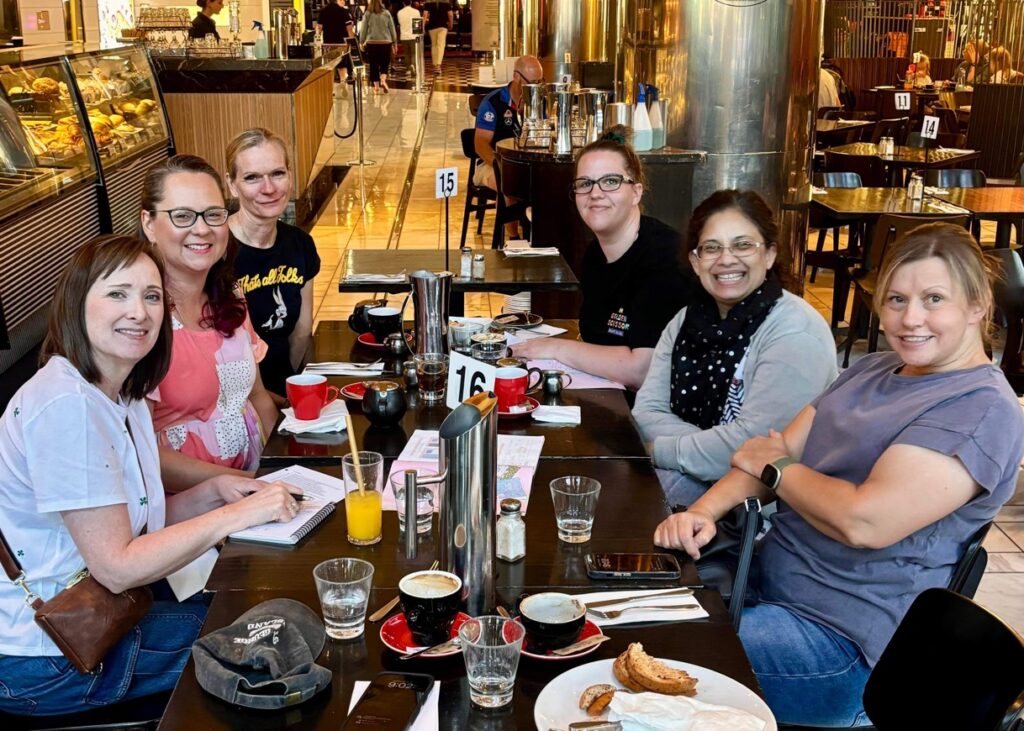
We had so much fun catching up with Cindy even though she was super busy doing her amazing work with Stampin’ Up! The Artisans managed to get a photo with her during the lunch break and I was super lucky to have breakfast with her on the Sunday before I flew home.
the finished wild & sweet pop up slider card
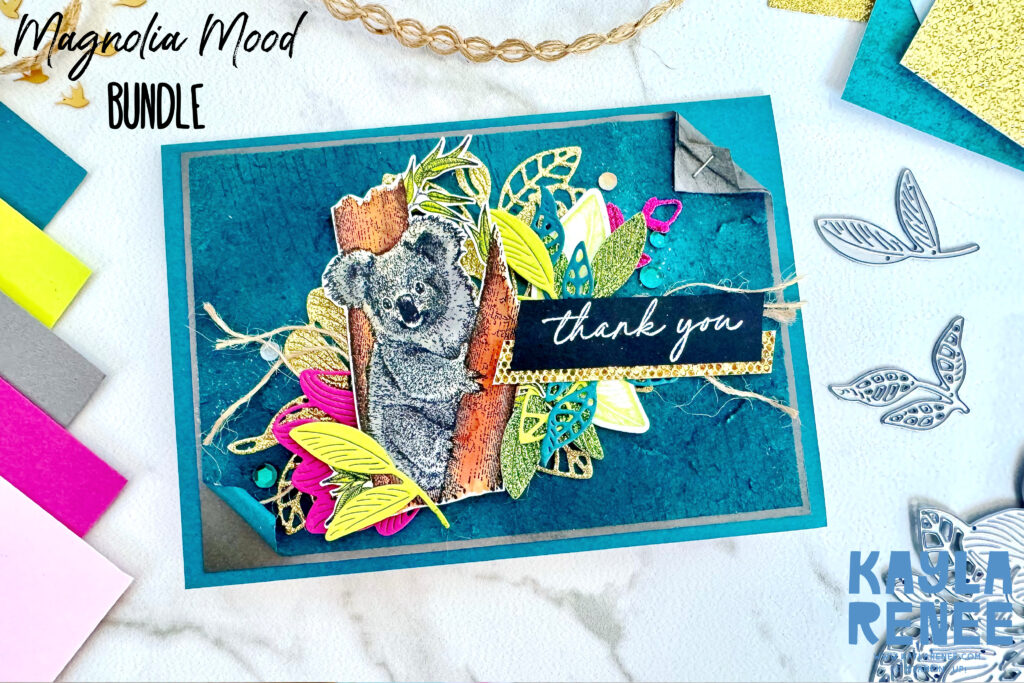
Here is a look at the finished card. I just love how bright and bold this card is. This card compared to the other versions is a lot brighter which I love. I kept all the products and elements pretty much the same apart from the addition of the magnolia stamp which was replaced with the koala.
The inspiration for the card was obviously adding something Australiana (the koala) and so I decided to add a lot more leaves from the Magnolia Mood bundle onto the front of the card for this one so the card itself is a lot busier and brighter. I have pops of a lot of colour, glitter and busy on this card. On the original card I added dragonflies & birds but for this card I stuck with the Adhesive Backed Sequins Trio which were beautiful and bright.
You can see the colour inspiration for my card here…
the colour palette
a close up of the detail and the stazon watercolouring techniques
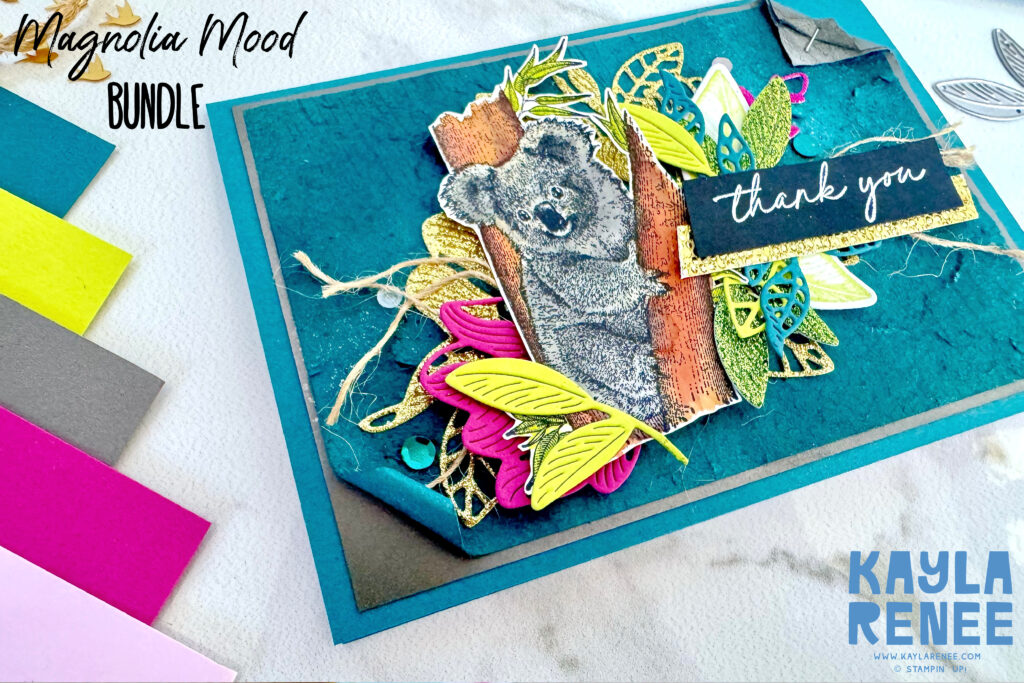
I had so much fun playing around with the texture and layering on this card like I did on the original. You can see all my tips for layering and how I created that textured Pretty Peacock background layer here. I added my die cut magnolia piece to the background and then built my layers upon this making the koala my centrepiece and building the leaves and layers around this. Adding the textured Wavy Trim was just a nice way to add some more natural texture in amongst all the glitter and glam!
The main centre piece (the koala) was the stage piece and for this and I have used some StazOn and watercolour to make my koala look realistic and lifelike. When it comes to StazOn watcolouring techniques I have a few tips for you…
stazon watercolouring techniqueS
- Use thicker paper like Fluid 100 Watercolour Paper or Basic White Thick Cardstock. Both of these can withstand a bit more water and will allow you to add layers.
- Before stamping with StazOn Ink make sure your surface is dry for a crisp stamped image.
- It is important to use StazOn ink when watercolouring as it is an alcohol based ink making it dry quickly and is resistant to water based colouring.
- Start lightly and build up your colours in layers for nice depth and shading. This allows you to control the intensity of the colour and like the saying goes “you can always add more, but you can’t take it away”
- Use a soft clean water brush and experiment with the amount of water you add to the brush for different effects. Adding too much water will just create pool of ink but too little water will give you a dry finish and not blend as well.
- Leave some white space as another one of the StazOn Watercolouring Techniques to try. You don’t have to add colour to a whole image. Leaving white space can achieve some beautiful highlights!
- Heat set your image for a quick drying process or to get hard heat set lines when watercolouring.
- Apply some water from a water brush to the surface before adding your colour helps to move the colour quickly and add a soft waterwashed and dreamy looking blend.
- Try a flicking technique to your repertoire as one of the StazOn Watercolouring Techniques to try. Once you have finished the base of your watercolouring. Load some of the colour on your brush and flick over the top of your image. It can help to give a playful and arty touch.
a look at the inside pop up slider
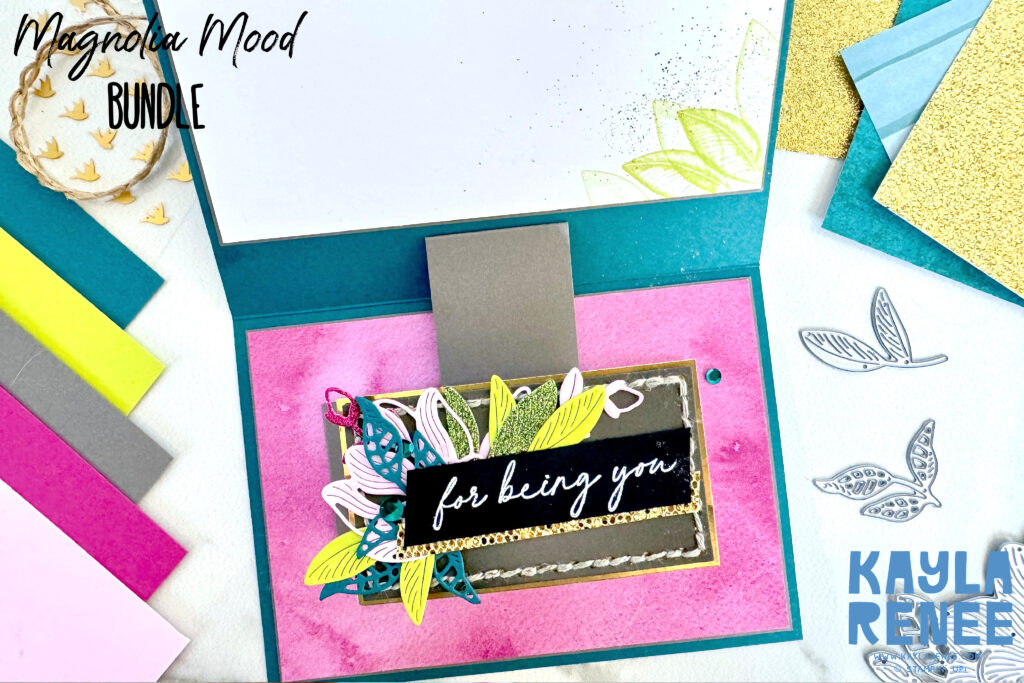
Here is a look at the inside of the card featuring the same pop up slider mechanism as the other swap cards. I had so much fun with these and I am pretty sure that I could now make these fun fold cards in my sleep! When I saw that the Everyday Details Dies were carrying over to the new catalogue – I must say that I was rather thrilled. The stitched details these add to my cards I just love and that handmade detail that it gives. I have framed this with a touch of Gold Foil and added to this with another pop of gold dazzle with the More Dazzle Specialty Paper.
I added some Designer Series Paper from the Delightful Floral Designer Series Paper pack for my backing piece which coordinated nicely as it featured that gorgeous Berry Burst colour. For the writing panel I have added a backing piece with some simple stamping from the Magnolia Mood bundle in some bright greens with some light spritzing from a grey Stampin’ Write Marker.
a close up of the detail on the inside
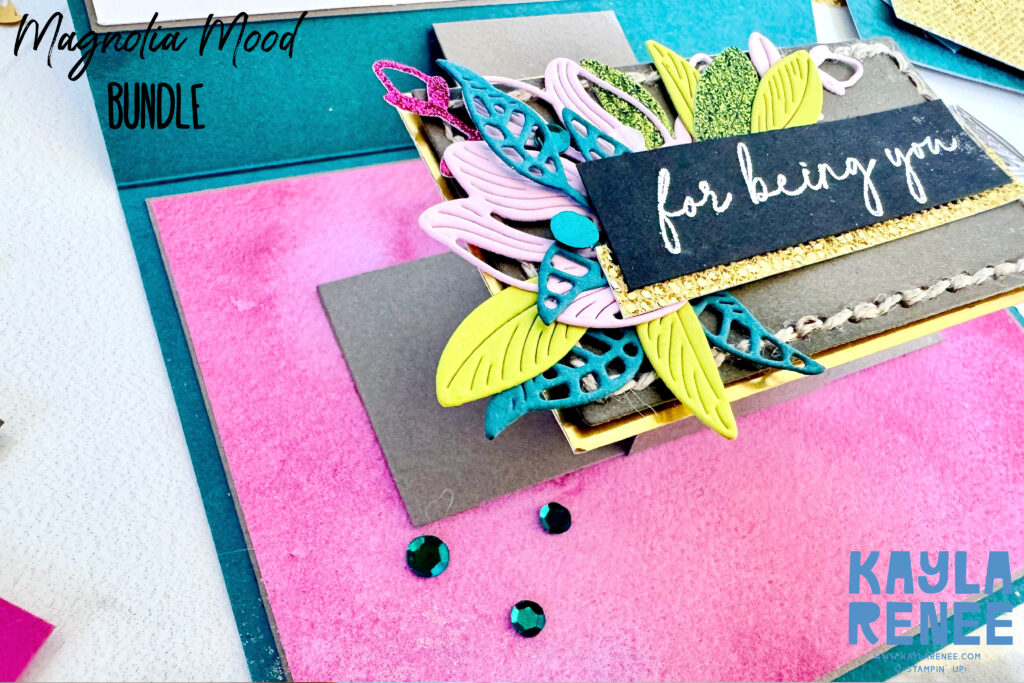
Here is one final look at the details on the inside of the card where you can see some of those final touches. I just love how bright and bold this card turned out and really hope that Cindy enjoyed her time in Australia. It was so fun to meet Cindy and her husband.
I hope you enjoyed this version another swap that I made for Onstage.
You can check out the post that I made for another version of this swap for the Artisan team here and you can check out my other swaps here.

SHOP WITH ME & GET A FREE GIFT & TUTORIAL
PLEASE NOTE: Regardless of when you are viewing this post, this is automatically updated so the information and links listed here are current.
Shop with me in January 2026 to receive a FREE gift, tutorial and handmade card from me to thank you for your order.


Don’t live in Australia but still want to purchase the tutorial? You can purchase it through my tutorial store for $22AUD for instant PDF download. CLICK HERE to purchase.
HAPPENING NOW
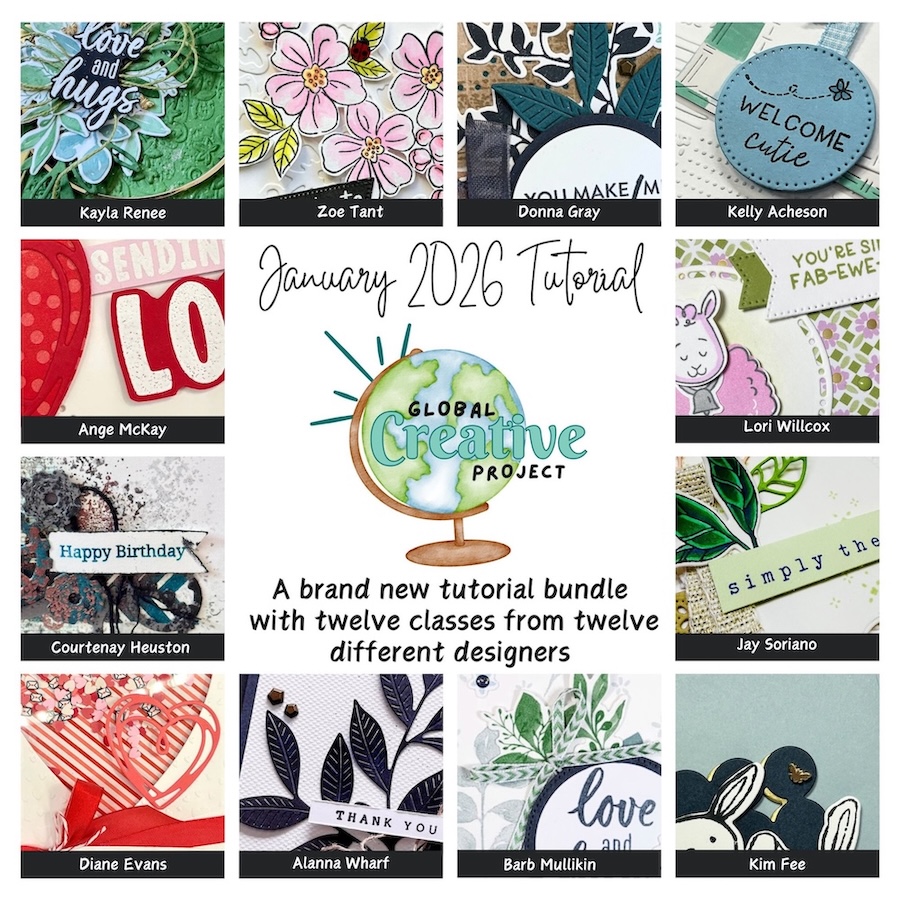
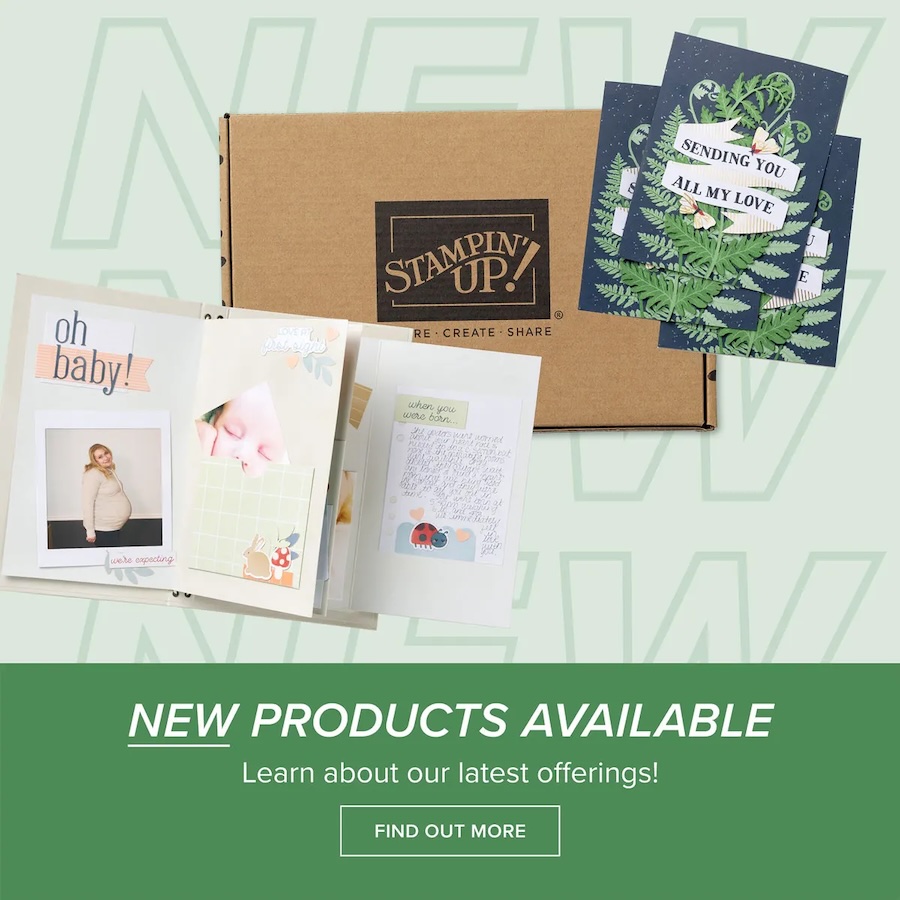
The brand new January Global Creative Project tutorial is now out. Earn for free from me for placing an order in my online store or head to my tutorial store and purchase the PDF tutorial.
New Creativity Kits have been released in my online store. Head here to check them out.
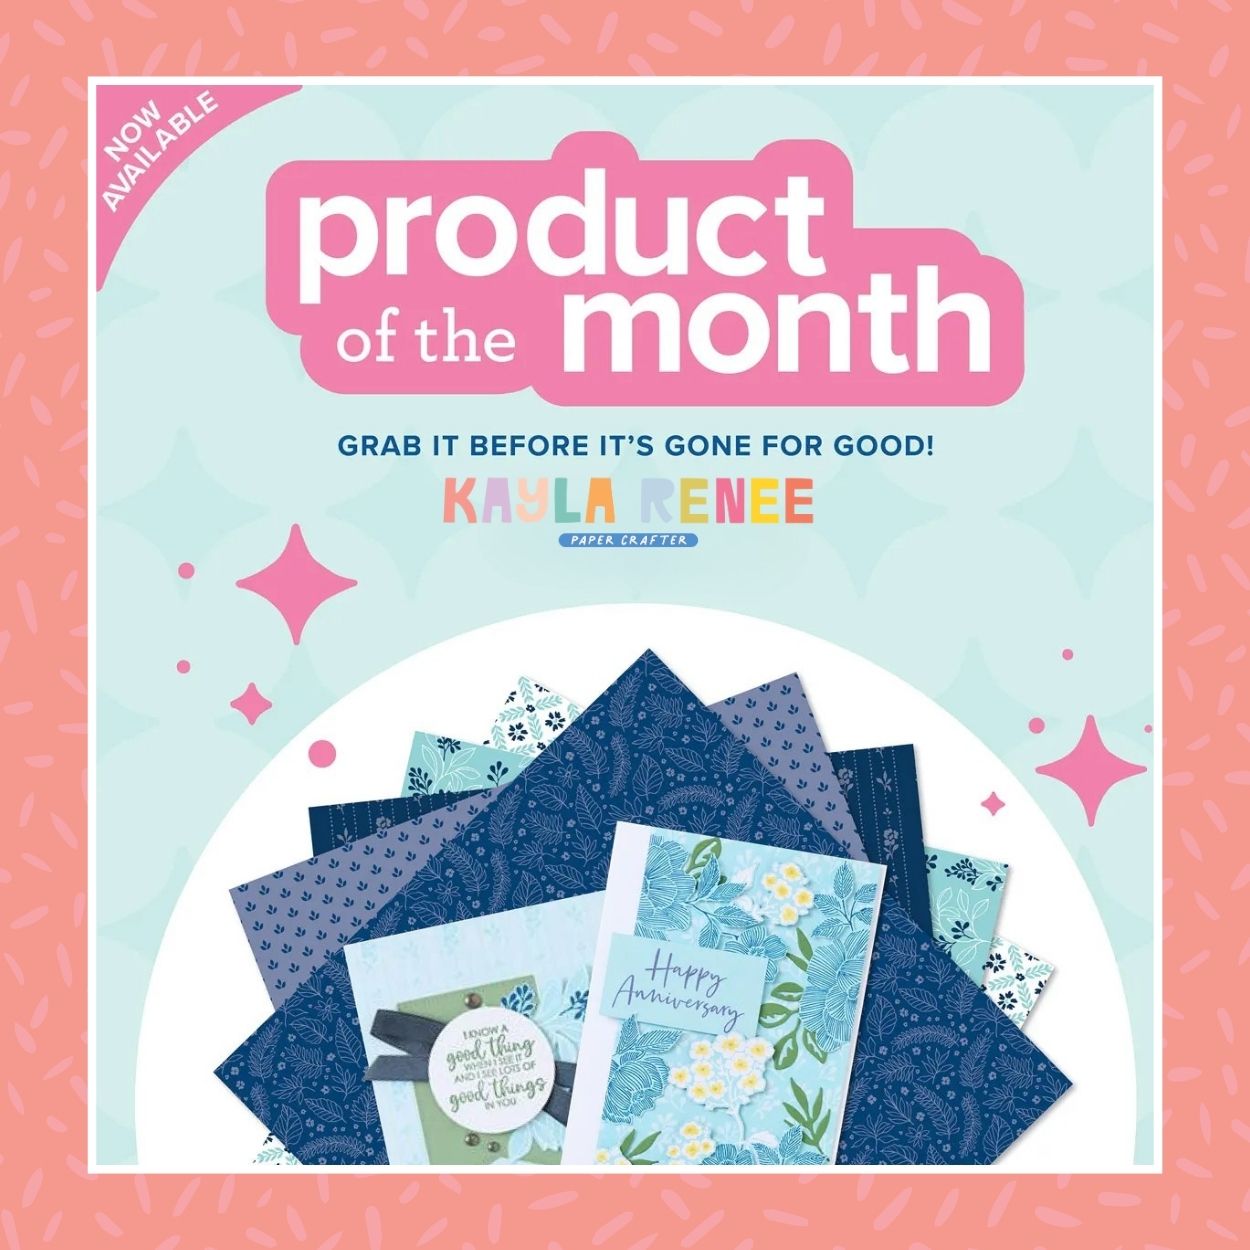
Our new Product of the Month promotion is now in full swing. Get an exclusive product for just $9 when you spend over $125 in my online store. Learn more about this new program here.
Events coming soon

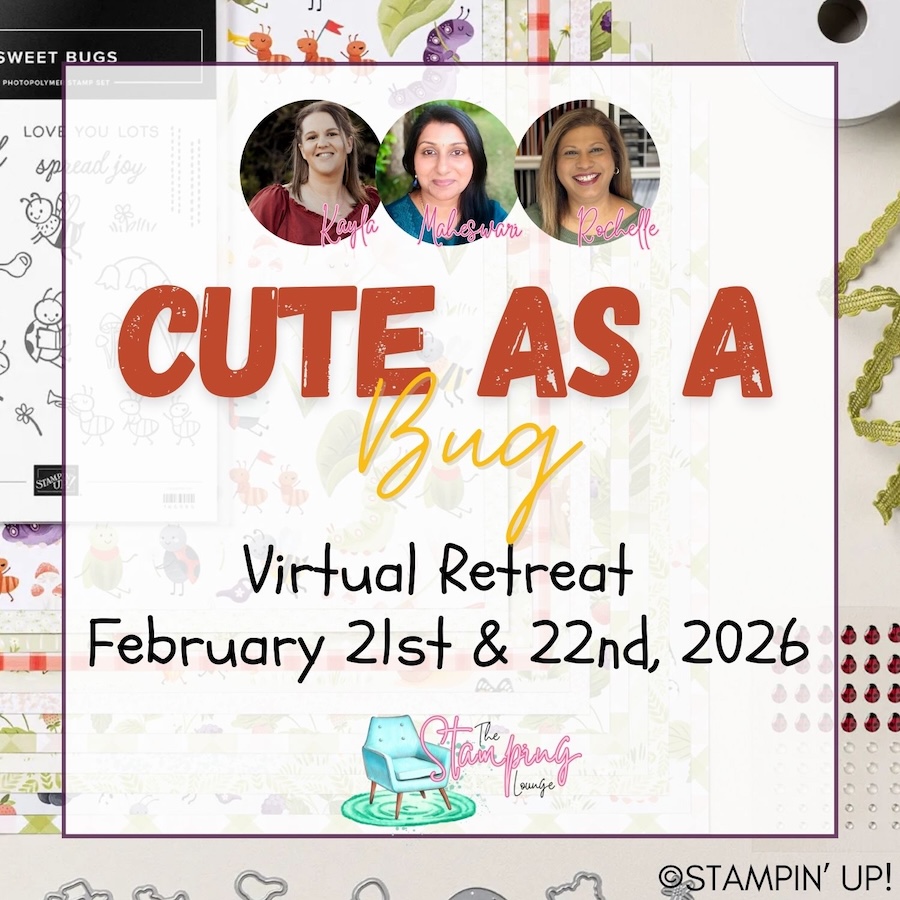
These are two upcoming amazing events with The Stamping Lounge run by myself, Maheswari Rajaguru and Rochelle Laird-Smith. Our Mini Catalogue Launch party is happening on the 11th of January – come and see all the new products, be part of the community, play games and take part in nine card classes!
We also have our upcoming Cute as a Bug Virtual retreat which is open no matter where you are in the world! Take part in eighteen classes using the Cute as a Bug suite and get lifetime access! Click the images or links to find out more and enrol OR sign up to The Stamping Lounge membership to get access to to the mini catalogue launch party and more which are included in the membership (retreat sold separately)


Leave a Reply