Welcome to part four of the chain card swap series that I am sharing. Did you miss part three? Head on over here and check it out. I will be sharing eleven posts in this series and today is part four.
What is a chain card swap? A group of people participate and it is similar to Chinese whispers where cards get sent around the chain of people and you CASE the card and send it on so that when it gets sent back to the original creator it may look completely different to the original – how fun is that?
Today I am sharing a fun card using the Stampin’ Up! Lighter Than Air Suite. I had fun using different embossing and alcohol ink techniques on this card to make a fun whimsical card that is bright and happy that would be perfect to give to a friend.
For this fourth blog hop, we are all sharing our cards that we CASE’d for Genna Gifford’s card. See below for a list of all the blogs and the beautiful cards where you can hop along and see where the card started and ended. It is very cool to see the progression of a card along one of these chain card swap series.
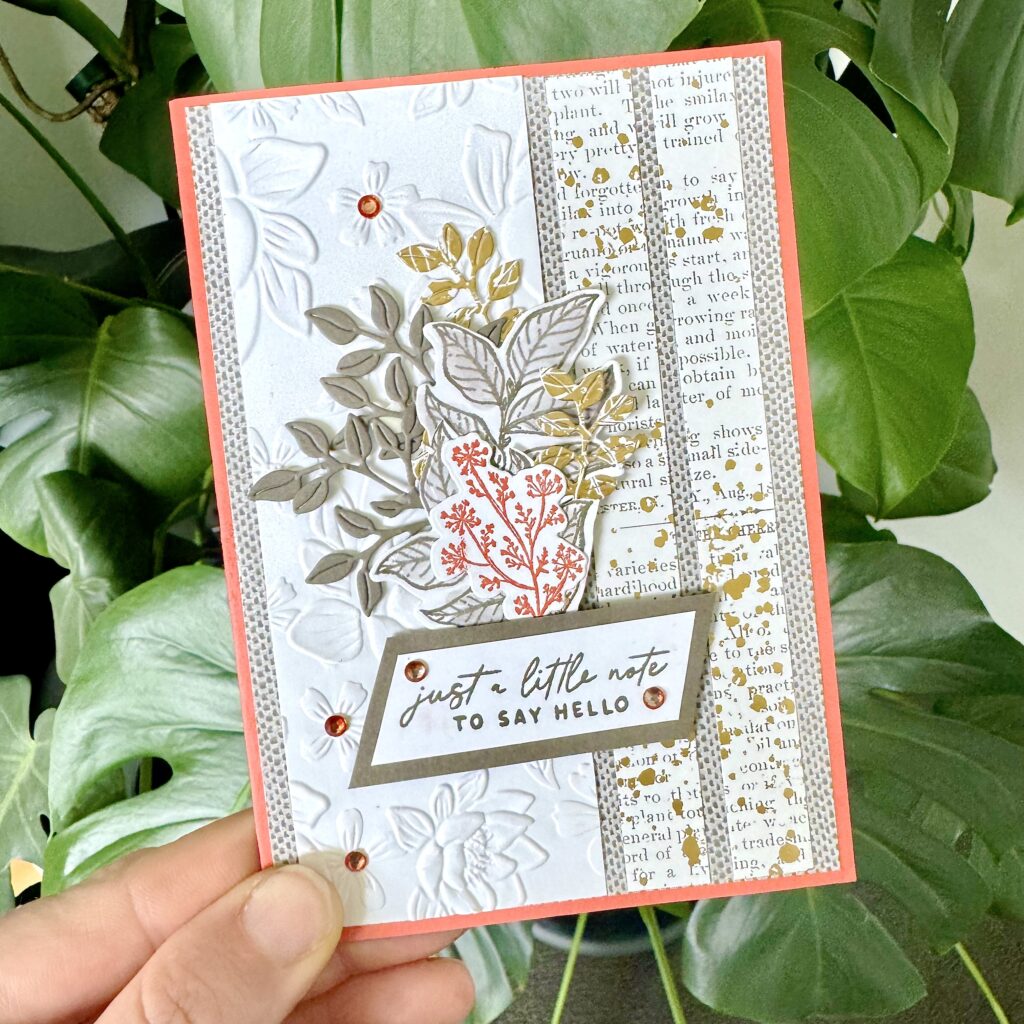
TRACY HELD’S CARD THAT I CASE’D
the finished whimsical card with the hot air balloon fun!

Here is a look at the finished card with those fun hot air balloons. This beautiful Lighter Than Air Suite from the gorgeous Mini Catalogue really stuck out to me because of its beautiful potential for so many themes. It can be made; feminine, masculine, baby, teenager-like or more whimsical for what I did today or a fun whimsical card. There are so many options with this fun stamp bundle.
I chose to stick to the basic layout with the original card that I received from Tracy, keeping with the strips of Designer Series Paper on the right hand side and some gorgeous embossed pieces towards the left – I loved this idea. The cluster of the main focal point I chose to also keep in the same general position as this fit well with my card.
To add in a whimsical card feel I played with some bright and subtle fun colours, I wanted something bright and happy but still with a soft feel…
the colour palette


a close up of all the whimsical details!
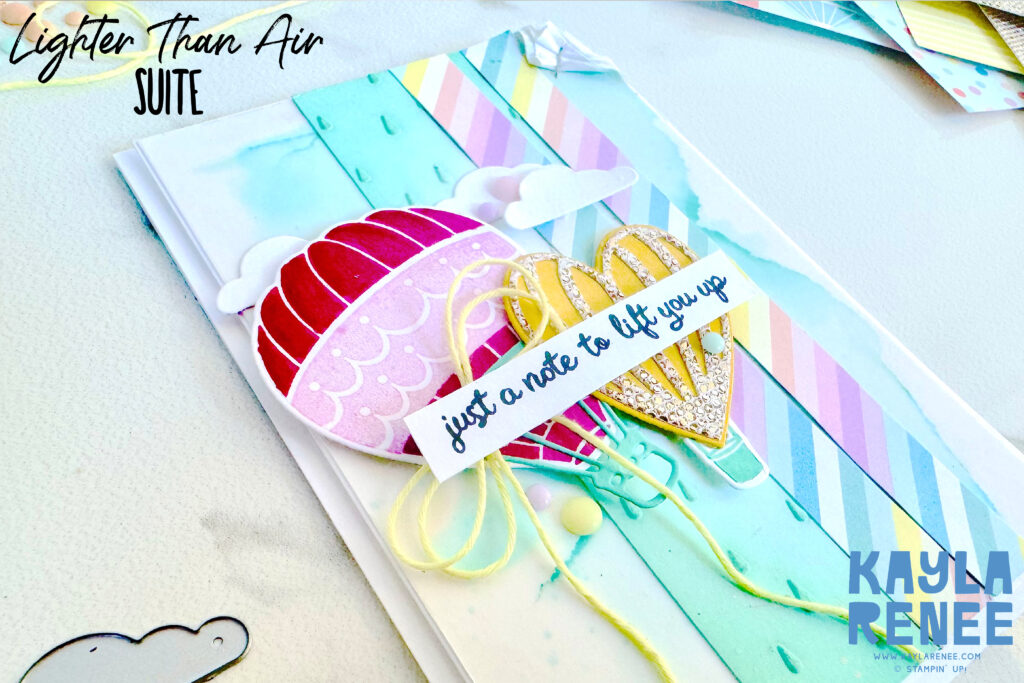
Here you can see a close up of the finer details. I added in a mixture of texture, glimmer and different patterns to add to the fun of this whimsical card. For my background I also had a play with the alcohol ink technique with some vellum and some Stampin’ Blends markers in Pool Party. I love the soft and dreamy look that this gave my background but also felt like a soft dreamy sky behind the hot air balloons. You can see a previous blog post of mine where I talk about how I create alcohol ink backgrounds on my blog here.
my top tips for creating a whimsical card
- Opt for playful stamps or designs. Things like animals, florals, cute characters or images like the one I have used on my card design today. This helps to add some whimsical fun!
- Add dimension to your card with Stampin’ Dimensionals or 3D foam tape. This helps to add some height and playful fun by really making your card stand out!
- Add bright colours to spark joyful fun and playful designs! Create fun colour combinations!
- Play with patterned paper designs. Mix patterns and use interesting designs with fun and colourful patterns. This adds visual interest and a whimsical touch!
- Include interactive elements to your whimsical card design. Sliders, pop ups and spinner mechanisms are great fun on whimsical card designs.
- Embellish with fun elements like sequins, rhinestones, ribbon etc to add touches of playfulness and whimsy. The small details can add a big impact and really elevate a design.
- Add small hand doodles or personal touches to the cards for a bit of playful fun.
- Create mini scenes. Tell a cute story that adds charm and whimsy to your card.
- Add some cute witty sentiments that are funny or punny in theme.
- Mix textures. Add texture paste, glitter, Enamel Paste to add depth and tactile interest.
That’s a few different ideas for adding a touch of whimsy to a fun whimsical card. There are so many more and I am sure that whoever receives a beautiful card like that will love it for time to come!
a look at all those pretty details on the inside
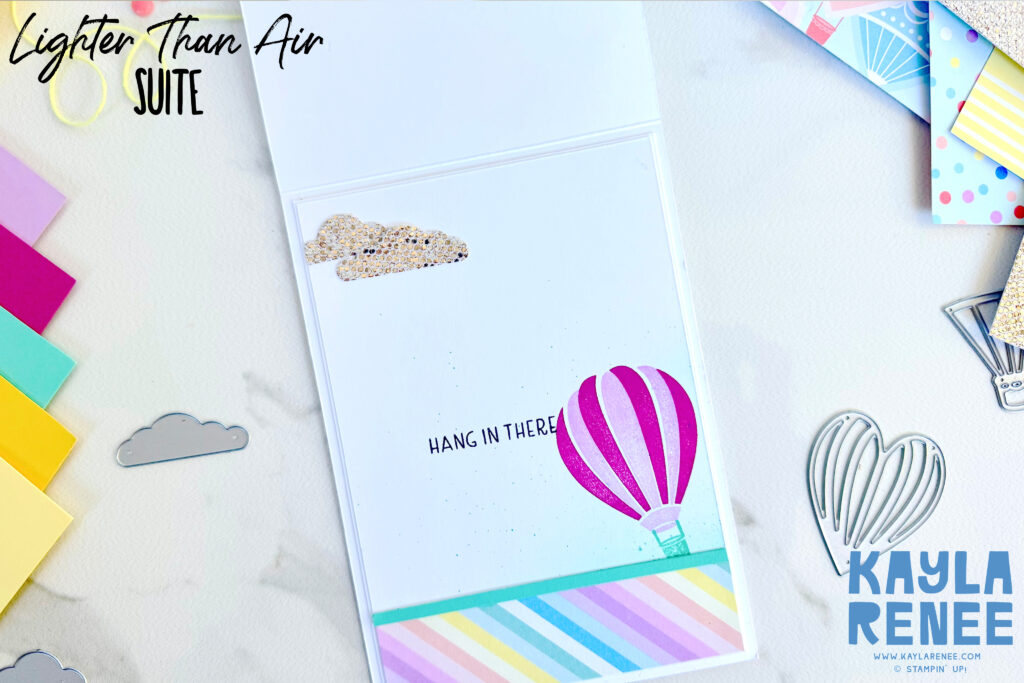
Here is a look at the beautiful inside that I have added some more accents that have been replicated from the card front. This is a technique that I do often on my cards to have the card flow through to the inside. I have added some of the beautiful Lighter Than Air Designer Series Paper to the bottom strip of my card and stamped another of the beautiful hot air balloons with a little bit of Pool Party blending. Those beautiful clouds were added die cut from the AMAZING More Dazzle Specialty Paper. I am using this to my hearts content until it is no longer as it is retiring soon.
Be sure to hop along and see the next gorgeous card in the chain card swap – this is the fun part!
I suggest you start at Genna’s post and hop along from there to really see how the card develops.
blog hop list
Until next time, stay tuned for part five of the chain card swap series. Happy crafting. xx

SHOP WITH ME & GET A FREE GIFT & TUTORIAL
PLEASE NOTE: Regardless of when you are viewing this post, this is automatically updated so the information and links listed here are current.
Shop with me in June 2026 to receive a FREE gift, tutorial and handmade card from me to thank you for your order.


Don’t live in Australia but still want to purchase the tutorial? You can purchase it through my tutorial store for $22AUD for instant PDF download. CLICK HERE to purchase.
HAPPENING NOW

The brand new June Global Creative Project tutorial is now out. Earn for free from me for placing an order in my online store or head to my tutorial store and purchase the PDF tutorial.
New Creativity Kits have been released in my online store. Head here to check them out.
Our new Product of the Month promotion is now in full swing. Get an exclusive product for just $9 when you spend over $125 in my online store. Learn more about this new program here.
upcoming events + KITS
I have so much fun at The Stamping Lounge which is run by myself, Maheswari Rajaguru and Rochelle Laird-Smith.
We not only have a monthly membership full of amazing content but we also run regular classes.
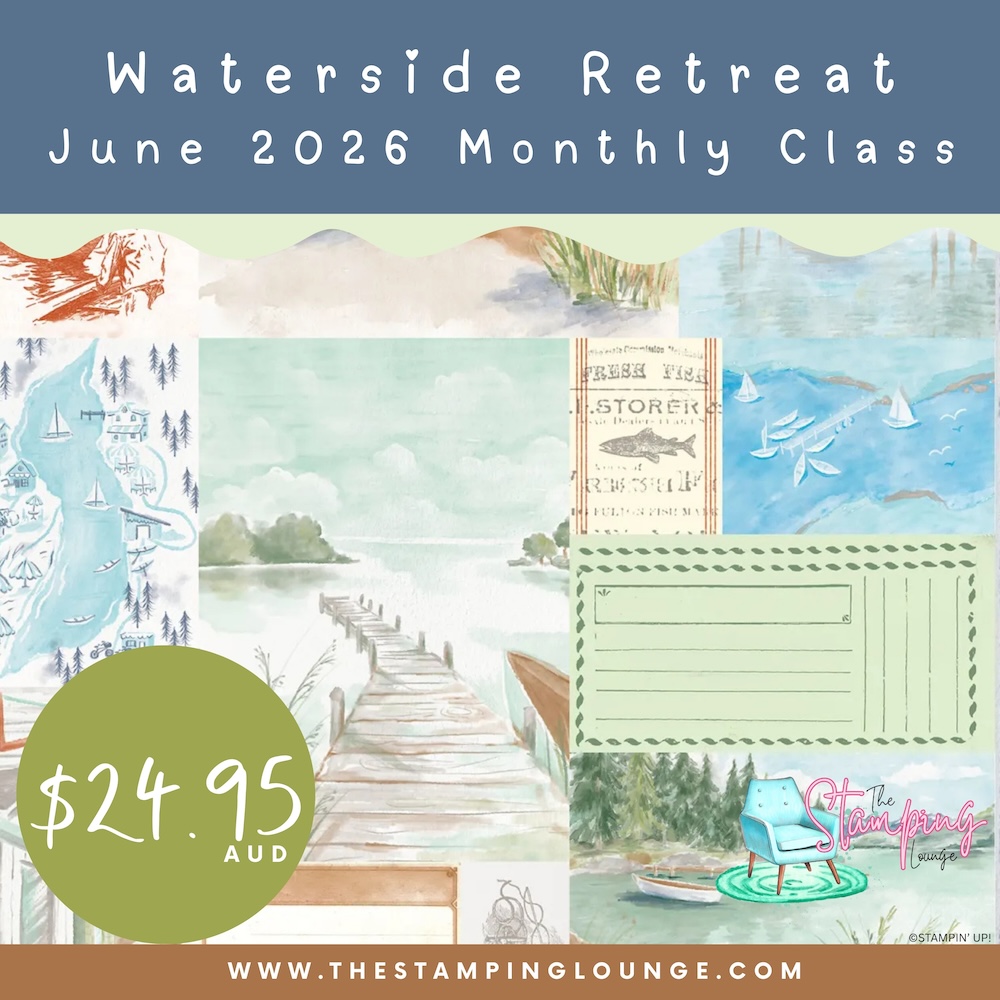
The Waterside Retreat Monthly Class is coming up on the 20th of June.
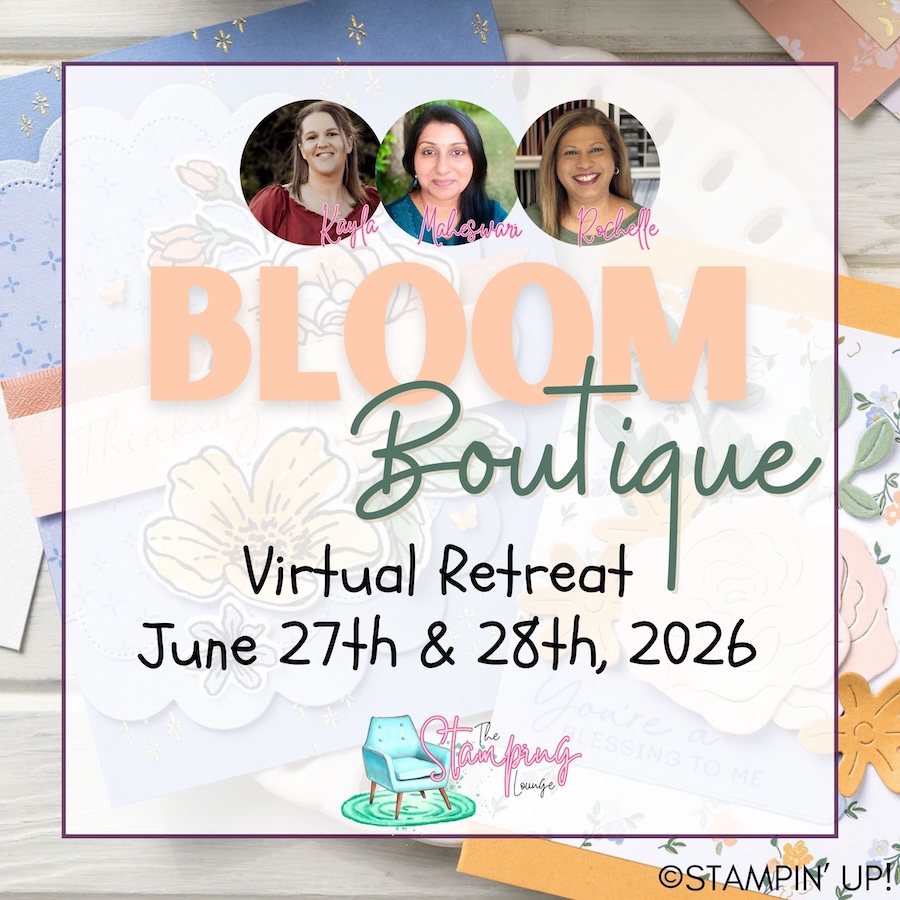
Also coming up in June but open for registration NOW is our next fan favourite virtual retreat. You can find out all the details here.
Click the images or links to find out more and enrol OR sign up to The Stamping Lounge membership to get access to monthly classes and more which are included in the membership (retreats are sold separately)
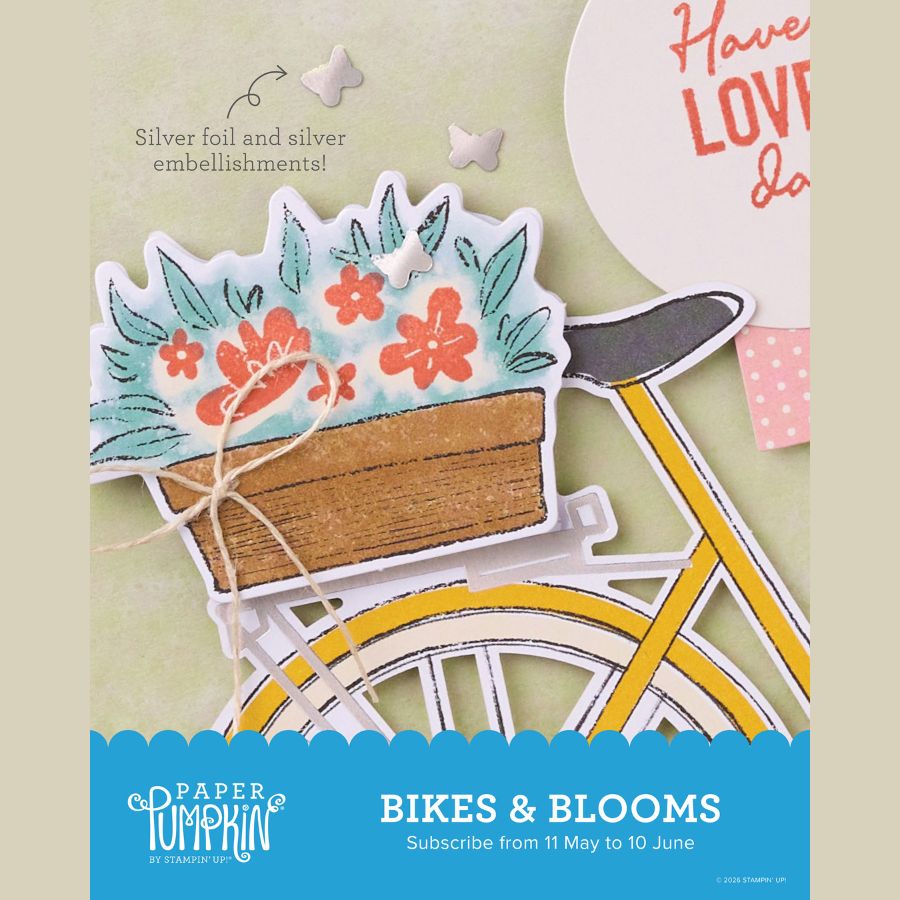
New Paper Pumpkin Kit coming in June – subscribe by the 10th of June to receive the Bikes & Blooms Kit
PLUS – subscribe to Paper Pumpkin with me and get TWO alternative PDF tutorials with a total of 20 tutorials for projects using this kit. Click here to subscribe with me.
BRAND NEW SKETCH BOX
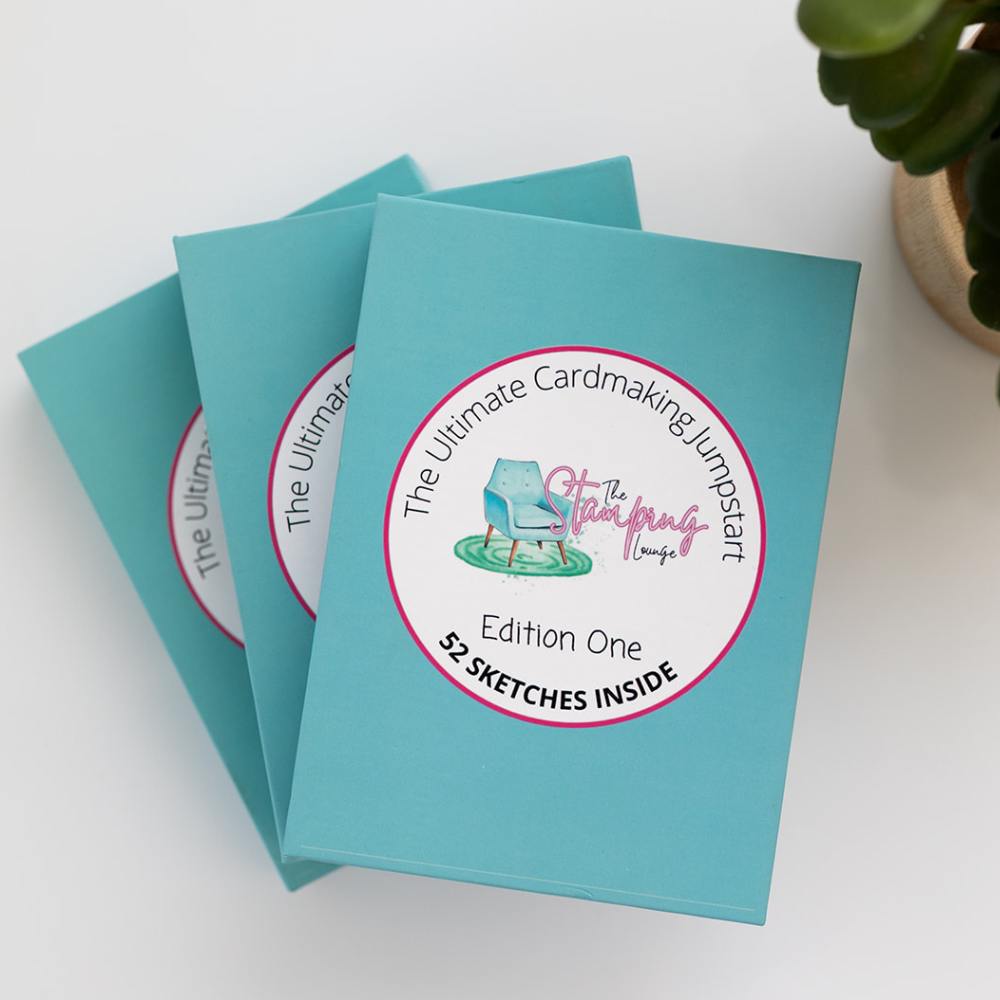
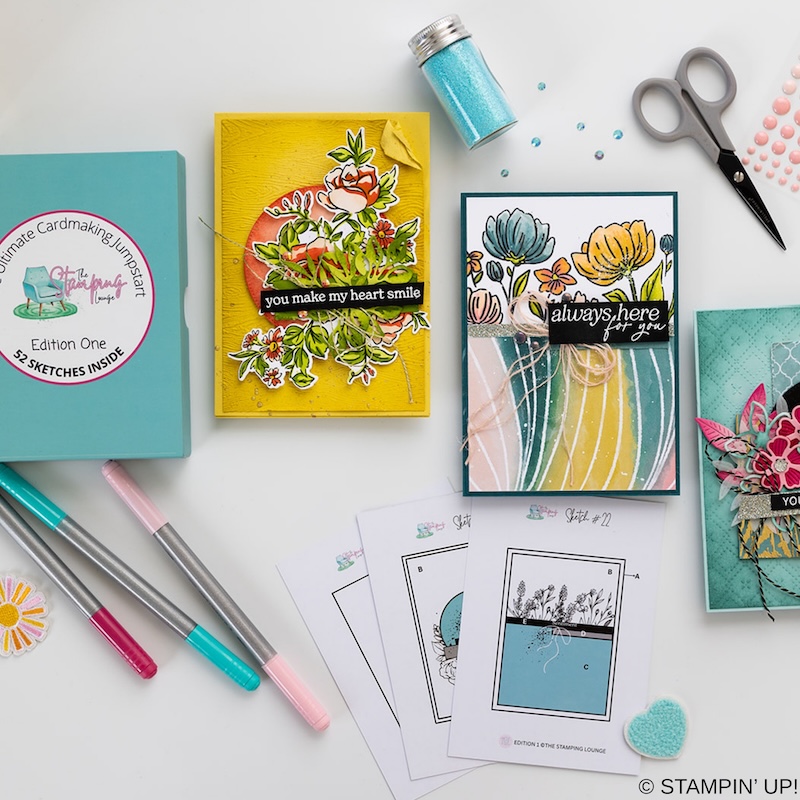
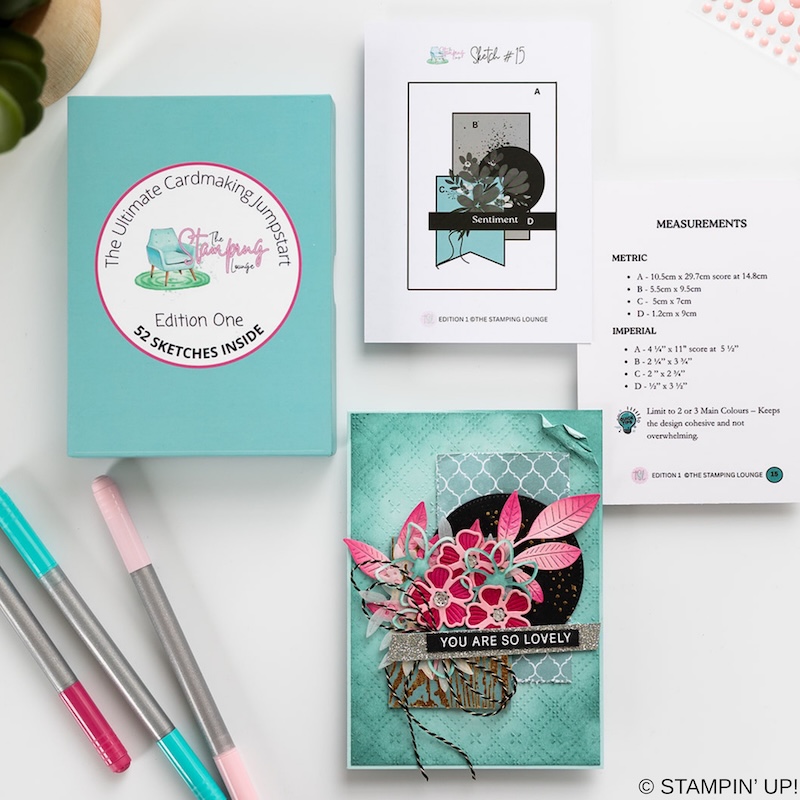
We have a brand new product at The Stamping Lounge and you won’t want to miss this one. Get your sketch box complete with 52 sketch cards that include measurements and crafting tips! This is a tool you need in your crafting tool box that you can use again and again. Available now and shipping internationally. Get yours here.
supply list
Product List ") |  |  | ||
 |  |  |  | |
 |  |  | ||
 |  |  |  |  |
 |  |  |  |  |
 Designer Series Paper")
 Specialty Paper")


Gorgeous layout and lovin all the sweet colours
Mwah. xx Thanks for the beautiful comment lovely x
From Wintery to Whimsical – this is stunning Kayla!
Thanks so much Genna. I had fun with this one. x
I absolutely love this card 💕
Thanks so much Cheryl! xx
Stunning card Kayla – enjoyed your tips on achieving a “sense of whimsy”!
Thanks so much Annette. I love a fun and whimsical card. 🙂