I had a great time over on my Facebook Page last night sharing a new fold fold called a fold out panorama card that I was inspired to make. Kylie & Bruno actually shared this gorgeous fold on their unboxing video which you can see here. Her card was so beautiful and inspiring. I changed my design up a little – changing the measurements and adding a pocket on the inside for a greeting and a message.
I was so eager to use these beautiful new products from the Thoughtful Journey suite and that fabulous new So Swirly Embossing Folder. The designs on the Thoughtful Journey Designer Series Paper are such that you just don’t want to cover it up or cut into it – so this fold out panorama card is perfect as you almost use the WHOLE 6×6 sheet. What a fabulous way to show off a whole scene in a panorama style! I made this card in slightly different colours on my Facebook Live last night which I will photograph today, so stay tuned for another version and also another card using a whole other suite. I will share these soon. Scroll to the bottom of this post to get the free PDF with measurements, instructions and a link to the video replay.
my finished fold out panorama card
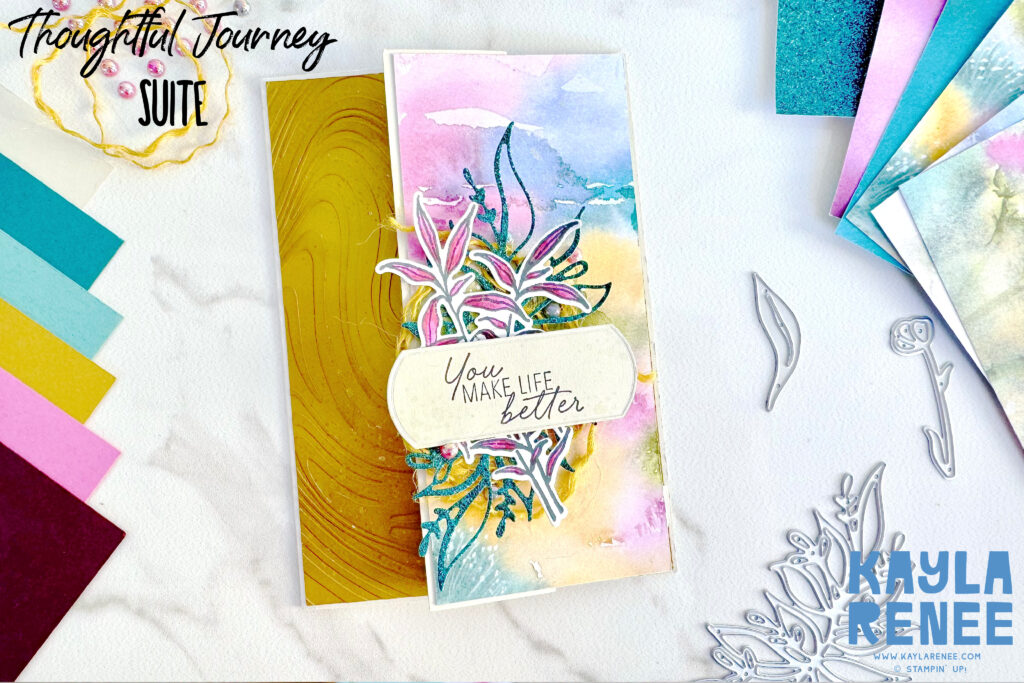
Here is a look at my finished card and how it came together. Looking at this card folded up from a front view you would not be able to tell that it has a panoramic effect, I love that as it is a bit of a surprise!
I am a little bit in love with that large flourish style die from the Thoughtful Wishes Dies, I could use it on just about everything I make. For this card I die cut it with some Pretty Peacock Glimmer Paper that is from the Online Exclusives range. I have combined it with some rustic jute trim, pearls and an image coloured with Stampin’ Blends on my card front. To colour the image I used a mixture of Blackberry Bliss and Petunia Pop Stampin’ Blends.
the colour palette
Here is a look at the overall colour palette that I used on my finished card. These colours just blend and work so beautifully together. That new Basic Beige colour is just adorable!
some close up details of the finished card
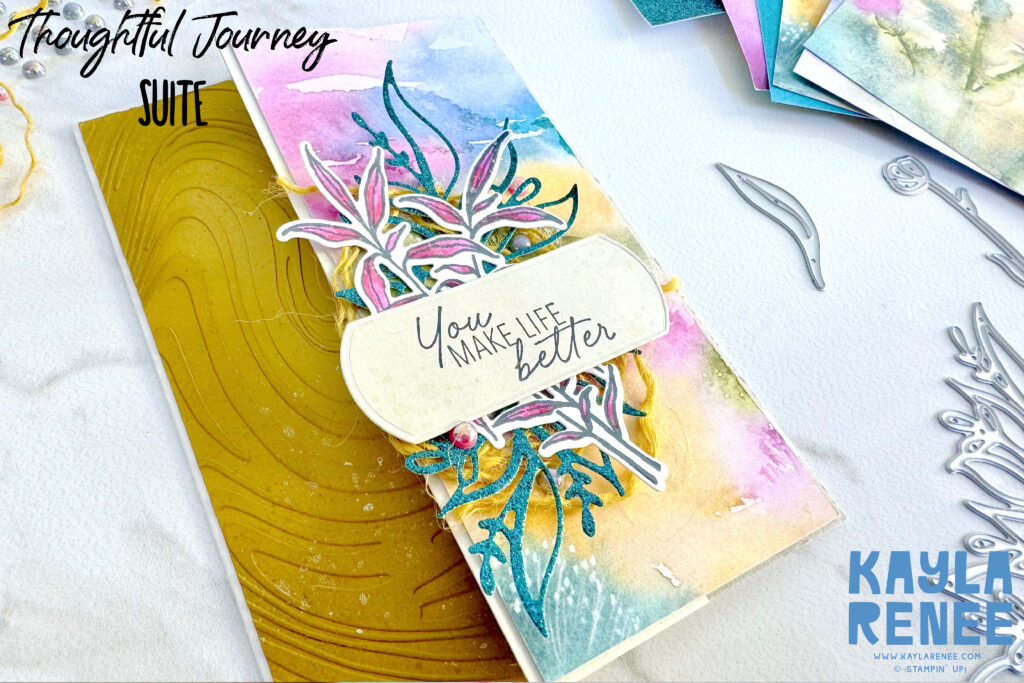
Here you can see just how beautiful that texture looks when it is all put together. I used the brand new So Swirly Embossing Folder as a feature on my card and added some extra detail and definition by using some Wild Wheat ink and a Blending Brush to darken this piece around the edges and lightly over the raised embossing. The Wink of Stella sparkle was perfect to add just a little bit of shimmer.
the fold out panorama card reveal
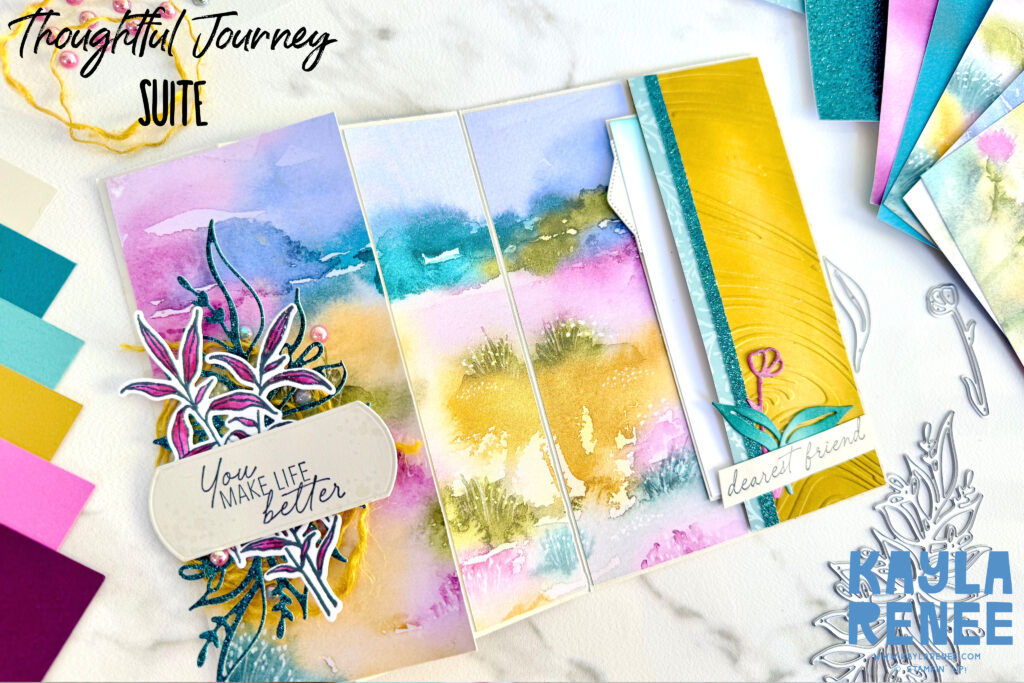
Here is a look at the fold out panorama card reveal in full effect. I love that by chopping this design into three and adding it to this simple fold it creates this beautiful magical scene.
This easy fold is so simple with just one simple score and fold on the card front and the addition of one panel, then sticking the two scene panels on the inside of the card. I did add the first scene panel onto an additional layer of cardstock to provide some extra strength and stability as it is only designer paper. This also provides a nice subtle backing to not interfere with the panoramic design.
where to write? add a pocket of course!
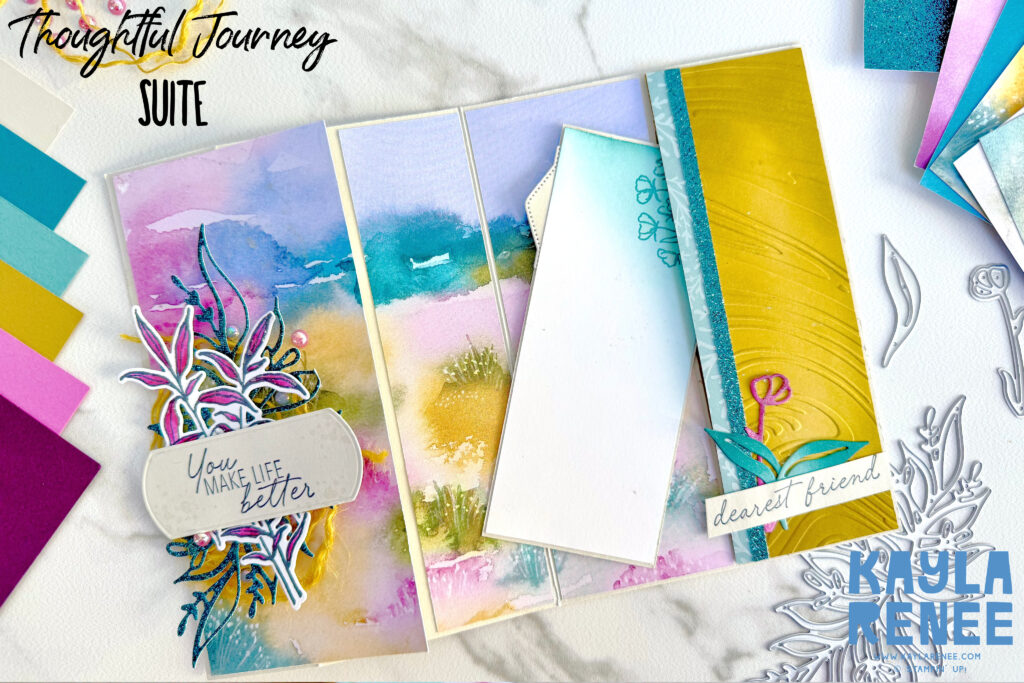
I did not want to cover any of that beautiful scenic paper but I wanted to have a place to write a message and add a greeting to the recipient so I rectified this by turning the last Wild Wheat panel on the right hand side into a little pocket for a pull out greeting panel. To the top of this panel I added one of the gorgeous tab/greeting labels from the new Unbounded Love dies as a little ‘pull tab’ and some soft Lost Lagoon blending and stamping in Pretty Peacock.
I hope that you enjoyed my project this week and will try this fun fold out panorama card with some beautiful paper from your stash. It really is a great fold to make that beautiful Designer Series Paper the centrepiece of a card, especially gorgeous scenic themed paper designs like this one.
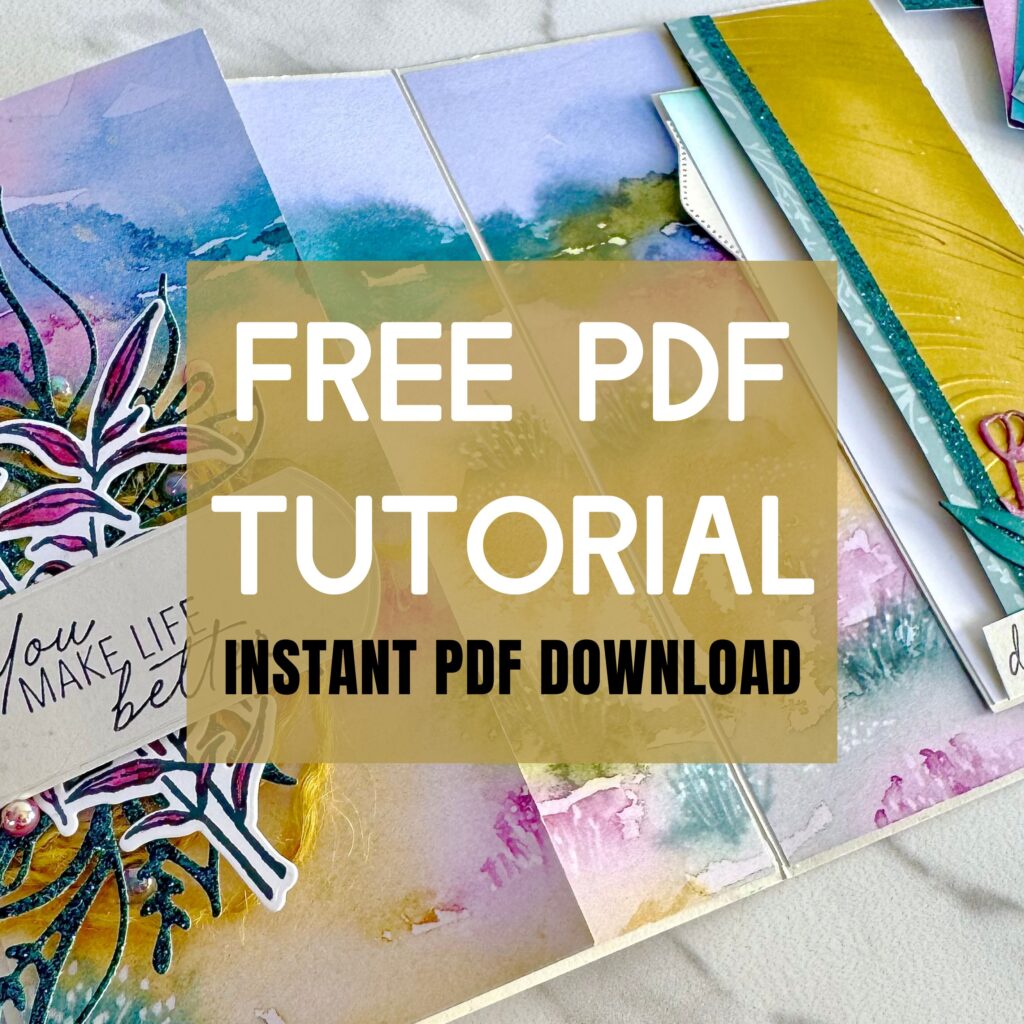
Download the PDF tutorial below to get all the measurements (included in both metric and imperial), supply list and instructions on how I made this fun project. I’d love to see what you do! Be sure to pop on and join the VIP group and share your creations. We love to inspire each other!
DOWNLOAD THE FREE PDF TUTORIAL
Please note: If you are a Stampin’ Up! demonstrator – make sure you are signed out of your Stampin’ Up! back office when clicking the download link otherwise it will divert you to your back office.
I have created these tutorials as a free download, but please use for personal use only. xx
Until next time, crafty hugs. xx

SHOP WITH ME & GET A FREE GIFT & TUTORIAL
PLEASE NOTE: Regardless of when you are viewing this post, this is automatically updated so the information and links listed here are current.
Shop with me in October 2025 to receive a FREE gift, tutorial and handmade card from me to thank you for your order.


Don’t live in Australia but still want to purchase the tutorial? You can purchase it through my tutorial store for $22AUD for instant PDF download. CLICK HERE to purchase.
HAPPENING NOW


The brand new October Global Creative Project tutorial is now out. Earn for free from me for placing an order in my online store or head to my tutorial store and purchase the PDF tutorial.
New Creativity Kits have been released in my online store. Head here to check them out.
An amazing starter kit special is happening right now. Get $235 of product for just $60 with free shipping!! Learn more and join my team here.
Events coming soon

There are two upcoming amazing events with The Stamping Lounge run by myself, Maheswari Rajaguru and Rochelle Laird-Smith. We will be running an online class using the brand new Stampin’ Up! Gingerbread Man Bundle and we also have our next Virtual Retreat quickly approaching that is open for registration now featuring the Stampin’ Up! Elegant Pine Snowflake Suite of products. Click the images or links to find out more and enrol OR sign up to The Stamping Lounge membership to get our monthly classes which are included in the membership.
supply list
These items are not available until the new Annual Catalogue starts on May 2nd, 2024
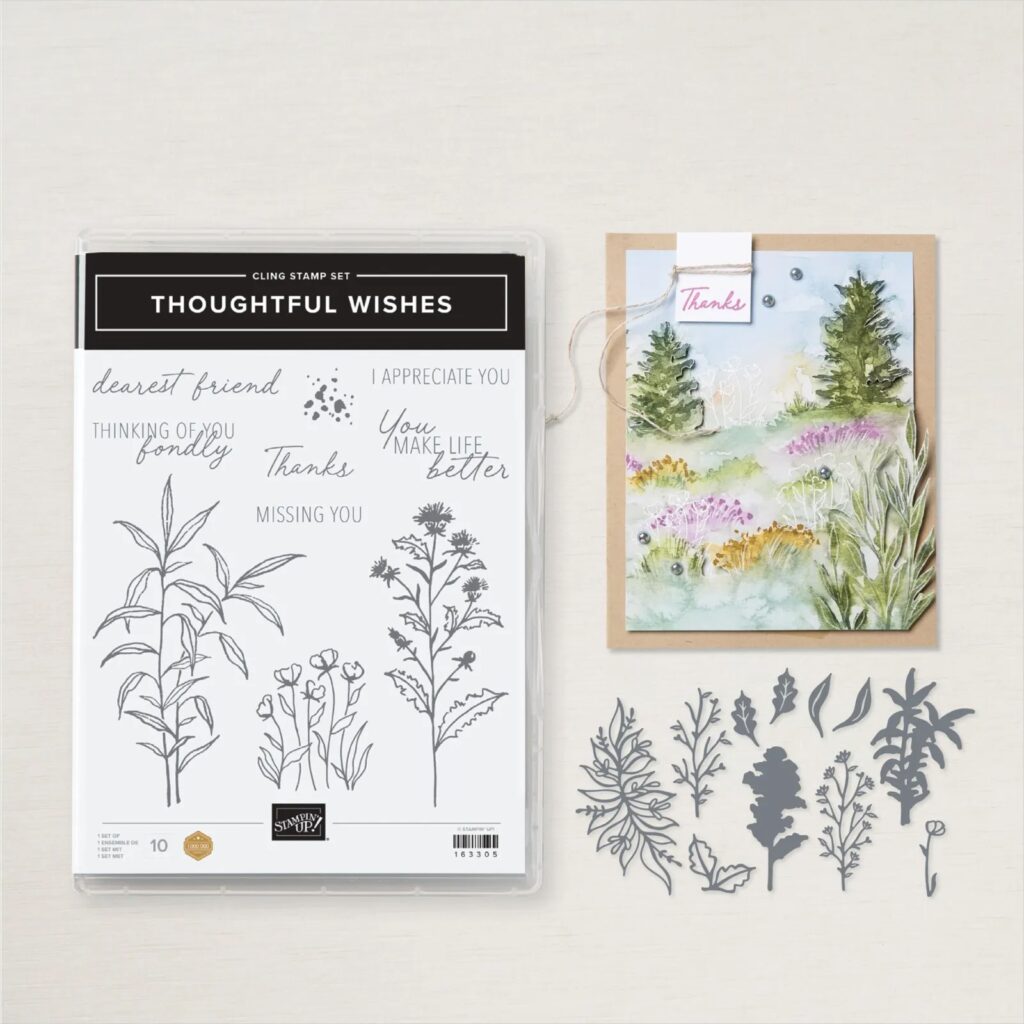
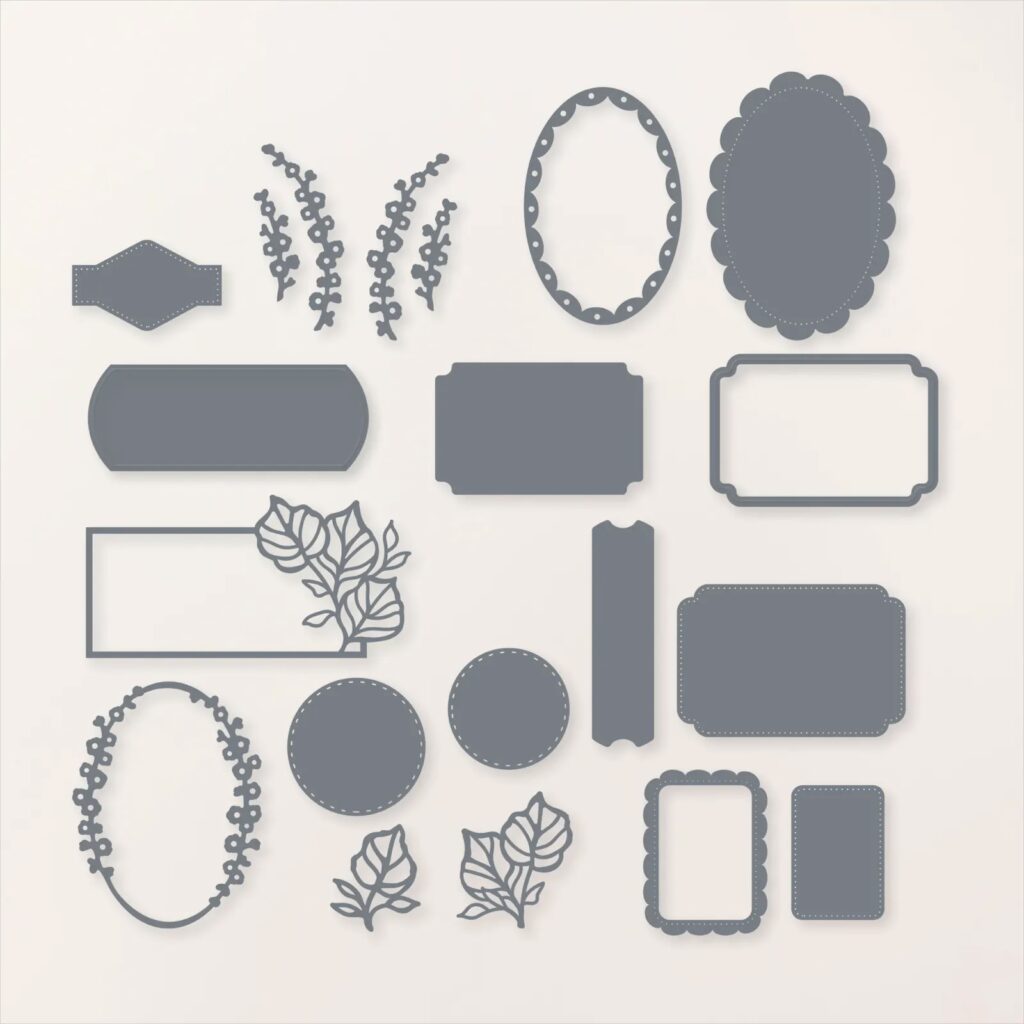
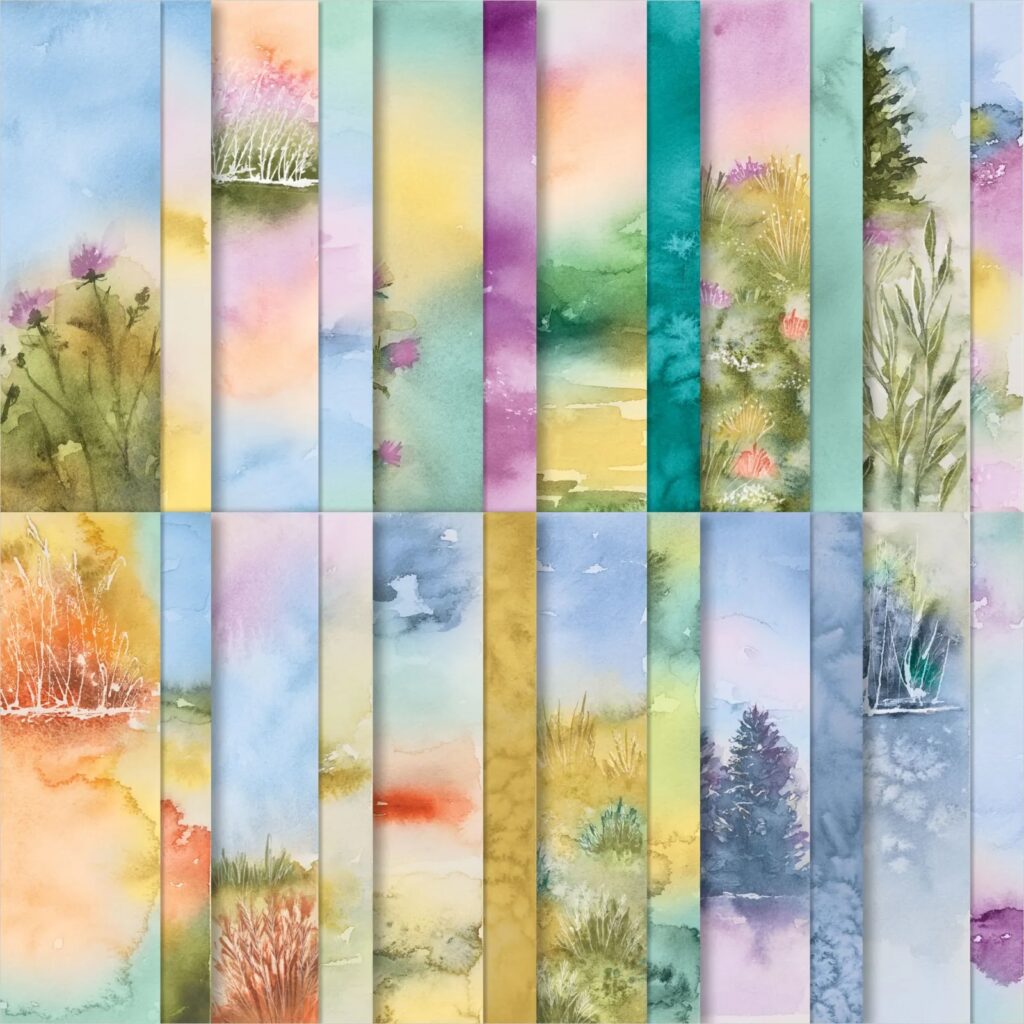
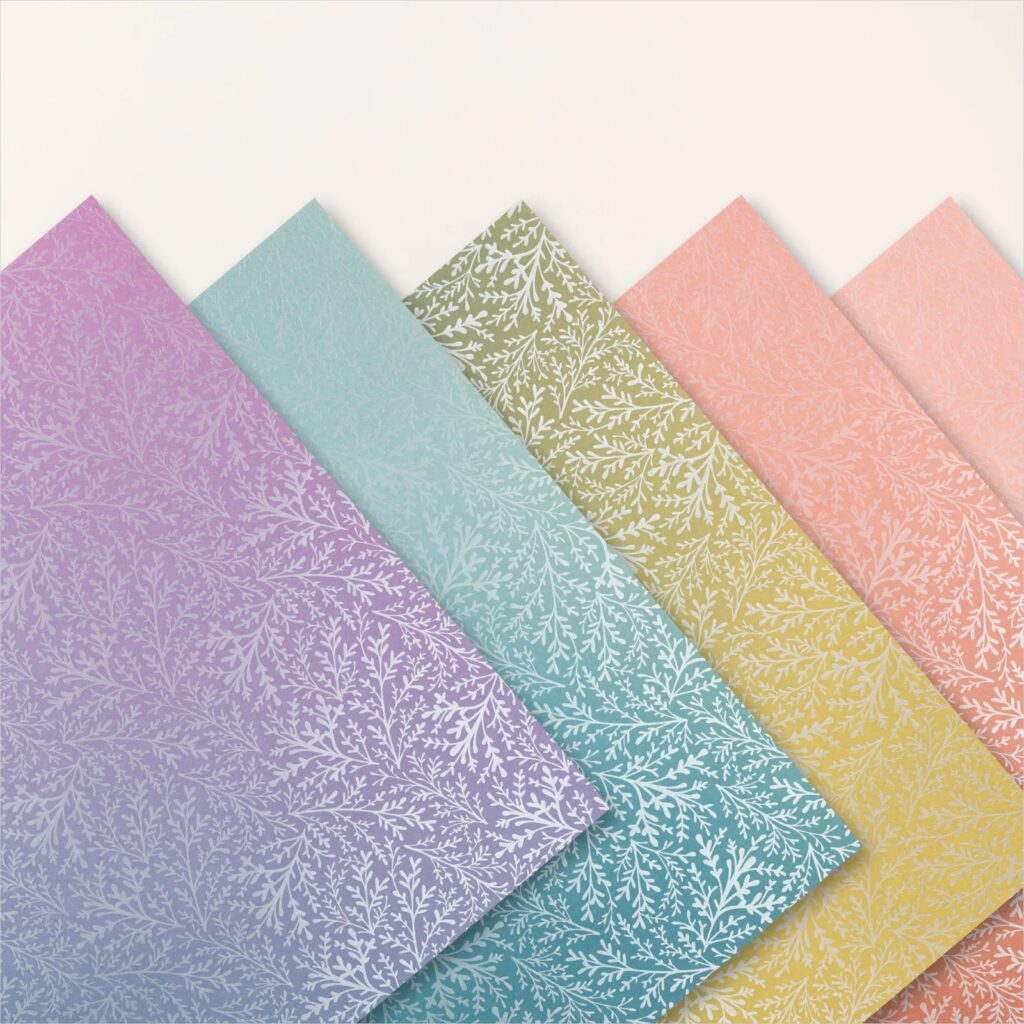
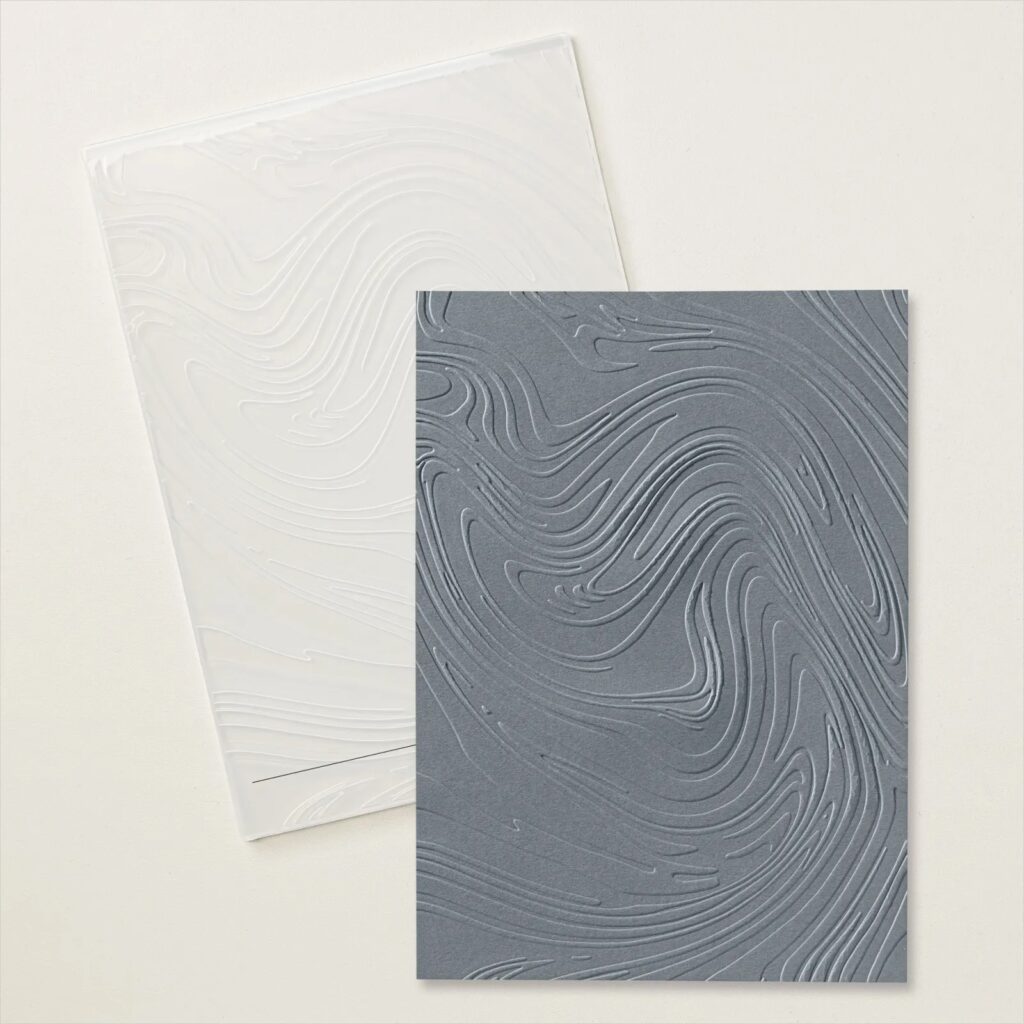
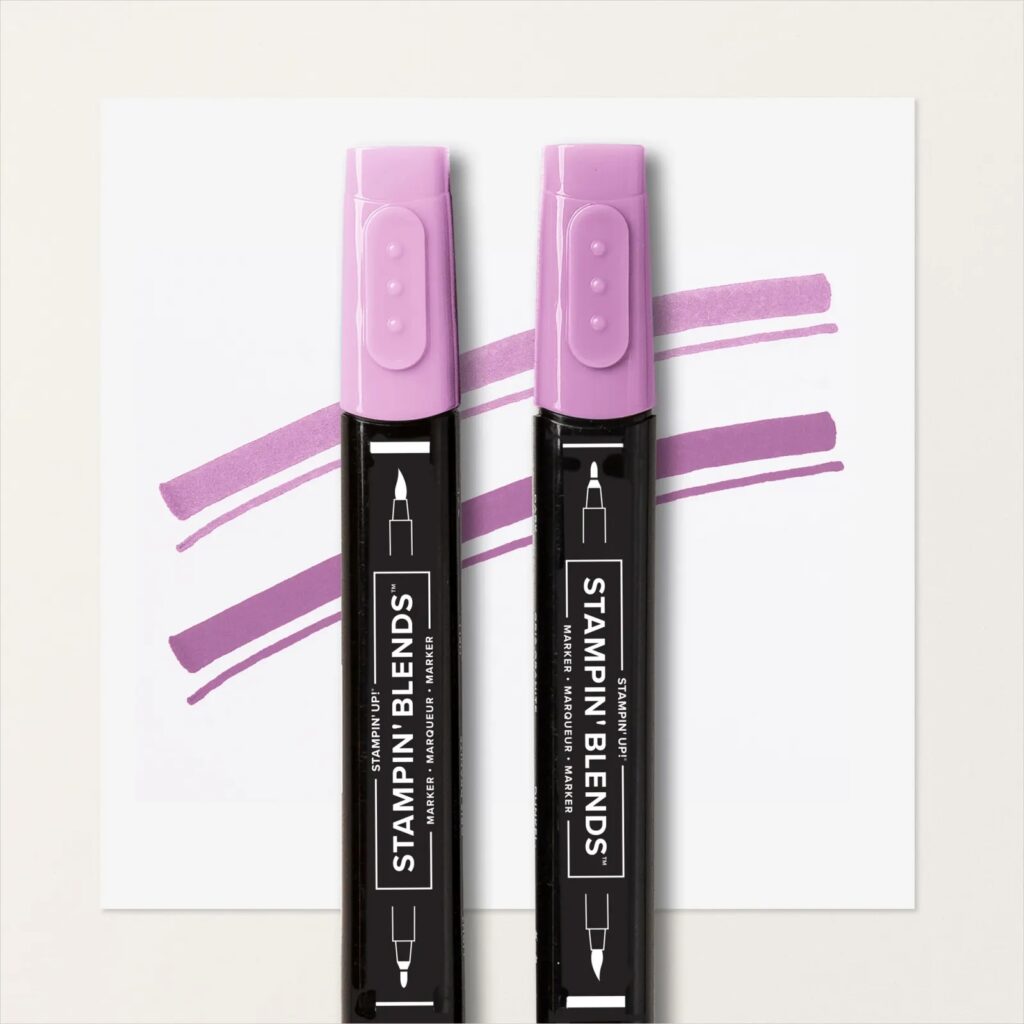
Here is a complete list of the items I have used that will be available as a customer in my online store on May 1st. Alternatively you can join my team and add any of these items to a starter kit. Click here to learn more.
Thoughtful Wishes Bundle [163314]
Unbounded Love Dies [163383]
Thoughtful Journey 6×6 Designer Series Paper [163303]
Adhesive Backed Pearl Trio [163319]
Thoughtful Designs 12×12 Specialty Paper [163317]
So Swirly Embossing Folder [163791]
Petunia Pop A4 Cardstock [163802]
Basic Beige A4 Cardstock [164512]
Petunia Pop Stampin’ Blends Combo Pack [163828]




Leave a Reply