I have had such a creative and productive weekend here attending the Stampin’ Up! #SUCreativityNow event and crafting with my friend Donna. I finished off the weekend by popping on live today to make this great new Mountain Fun Fold Card that I have been working on this week. The original card by Shruti Patil inspired my card but I had to do some maths to make it work with 12×12″ cardstock and then convert it to imperial. Let’s just say maths was never a love of mine – but I got there in the end!
We all know that I just love bright colours and this Full of Life Suite that I used for my card is one of my absolute favourites! The Designer Series Paper, stamp, dies and gorgeous gems are just to die for!
See below for a link to the video tutorial and free PDF showing how to make this card which I have included metric and imperial measurements as well as a template for!
the finished mountain fun fold card
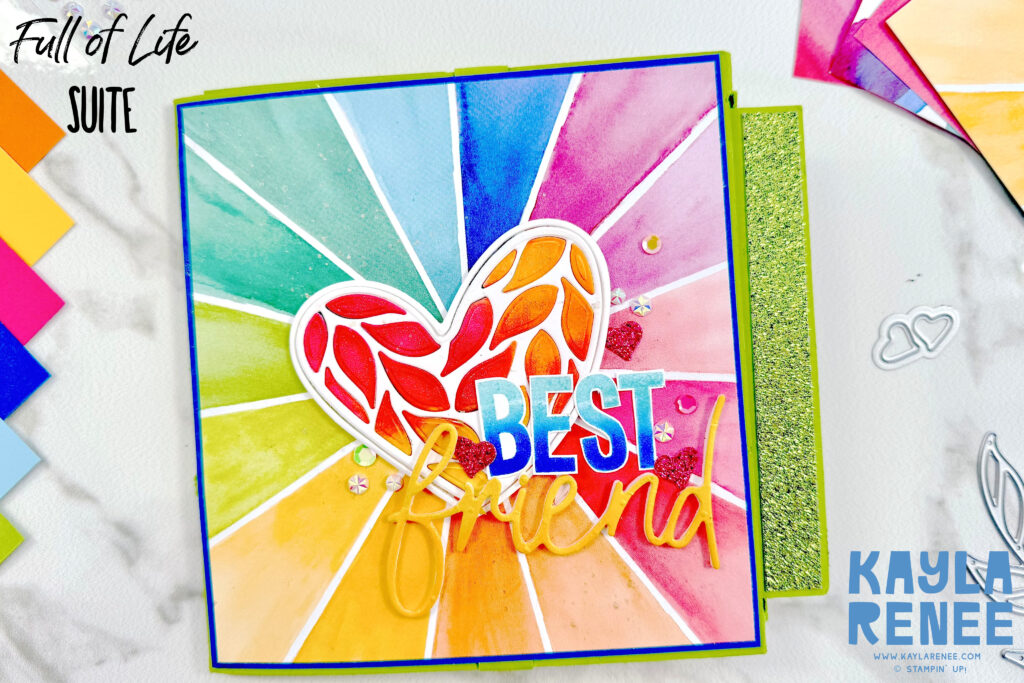
This Mountain Fun Fold was such a fun card to make and I was inspired to recreate it as soon as I saw the fold. The thing that I loved most about the fold was that it was a great way to show off the beautiful Stampin’ Up! Designer Series Paper patterns that you really don’t want to cut down too much. the finished size of this card front allows you to really feature some of those beautiful designs like on this example where I have used those beautiful rainbow bursts of colour from the Full of Life Suite.
Combined with some of the stunning coordinating stamps & dies this card really did come to life.
a close up at some of the detail & dimension
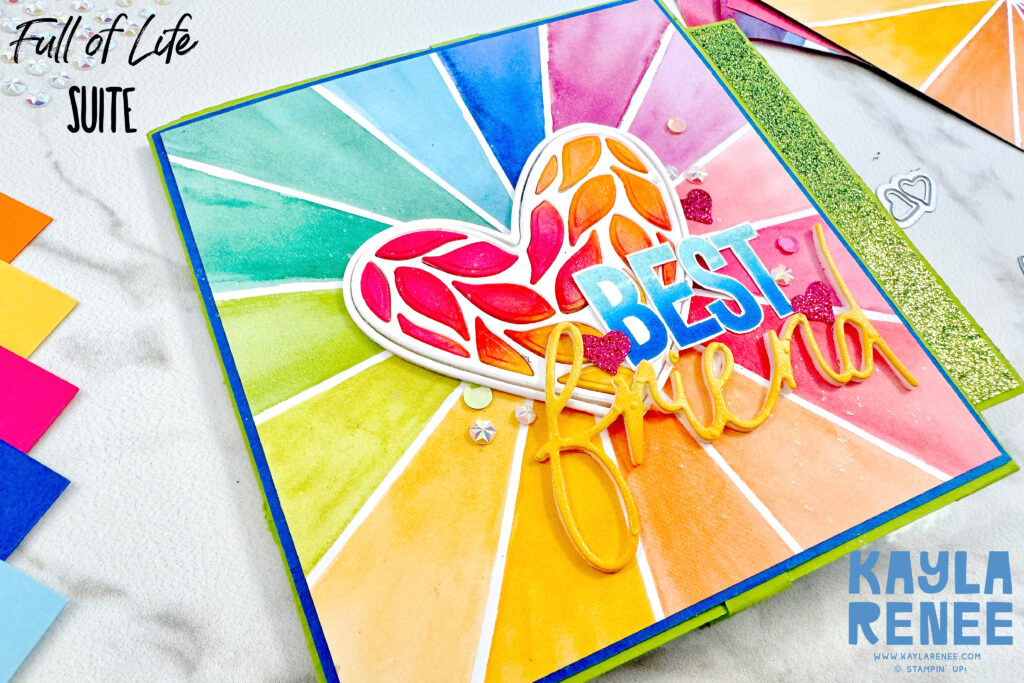
I just loved adding all the colour & glitter to my card which are pretty much all my favourite things!
The beautiful heart die from the bundle called out for a fun technique that I haven’t played with in a while – the inlaid die cutting technique where you place the negative parts of the die back in. On this particular die I actually coloured the negative pop out pieces with a Blending Brush and some colour before popping them back in which made for a really cool effect!
a look at the mountain fun fold flat
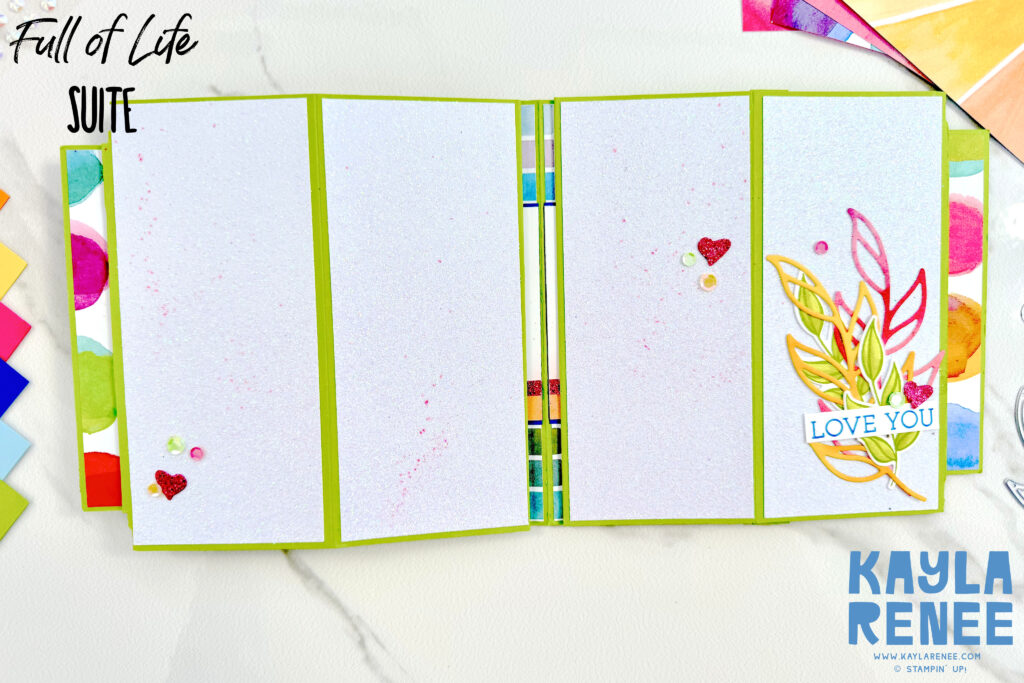
Here is a look at the Mountain Fun Fold design and what it looks like on the inside. I went to town with the glimmer on this card adding some of the white glimmer to every panel! I didn’t hold back on this fun card and made it a bit ‘extra’. Of course I had to add some embellishment and detail to the panels with a couple of die cuts and some pretty sequins! I shared how to do some of these techniques on the video linked in the PDF below.
a close up of the glimmer & detail
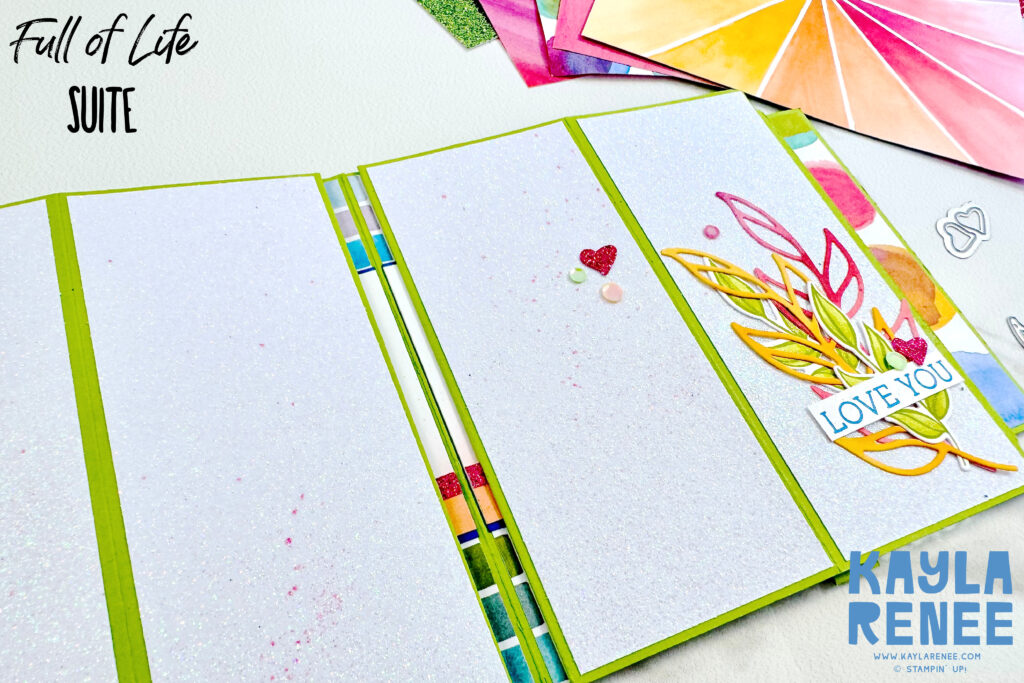
You can see that I have added a touch of stamping & colouring on this little cluster of detail on the right. It was a fun way to show that you can stamp in any colour and use Stampin’ Blends – as long as the ink is not alcohol based! I chose to stamp in Granny Apple Green and colour my leaves with Lemon Lime Twist Stampin’ Blends. The Stampin’ Blends were also great for spritzing a little bit of detailed splatter over the Glimmer Panels.
how the mountain fun fold works – surprise!
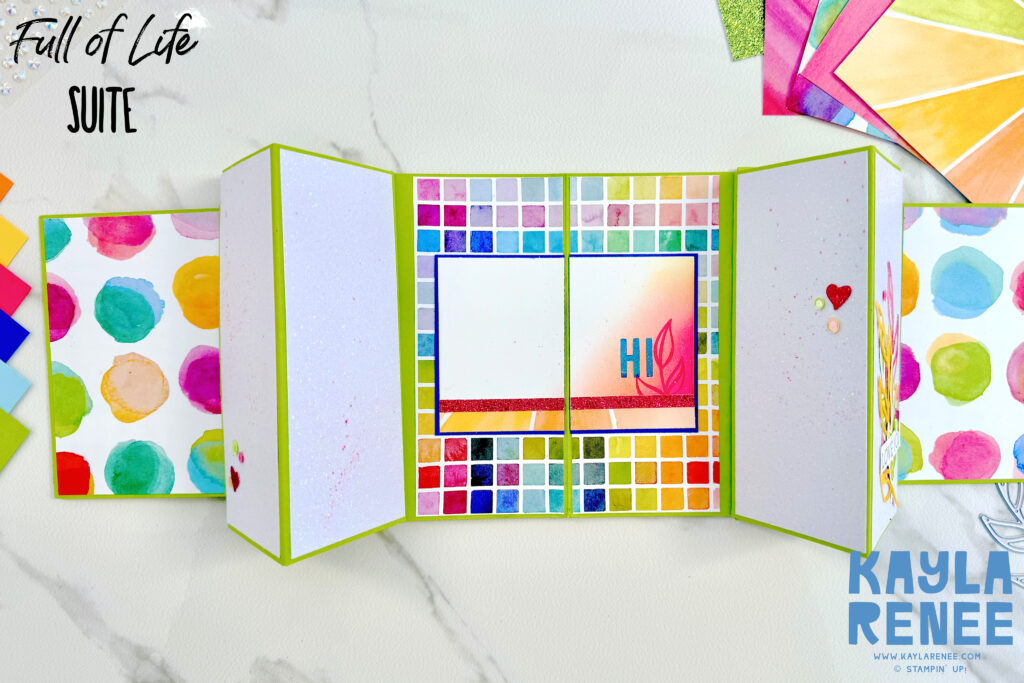
This is the finished look at how the mountain fold works once it is pulled out. As I mentioned earlier, this fold is a really great way to feature those 6×6″ Designer Series Paper patterns. I used one of the colourful tile patterns in the centre and cut each piece so that the design followed through even though it is broken with the middle card fold. I have shared how I did this in my tutorial below.
The Mountain Fun Fold design is also a great way to have the card inside as the display. It will sit up like this due to those triangle pillars, so cool!
a close up of the finished card

Here is a close up of the finished card where you can see just how dimensional those fun triangular pillars are. Such a ‘WOW’ design that would be such a fun card to receive.
I had so much fun creating my fun fold card for my weekly Facebook Live. Did you know that I go live on Facebook every week? Come and like my Facebook Page and join in on my next Facebook Live. I hope that you give this fun fold a go & I would love to see what you create. Come and join my VIP group (everyone is welcome) and share what you make!
DOWNLOAD THE FREE PDF TUTORIAL
Please note: If you are a Stampin’ Up! demonstrator – make sure you are signed out of your Stampin’ Up! back office when clicking the download link otherwise it will divert you to your back office.
I have created these tutorials as a free download, but please use for personal use only. xx
Until next time, crafty hugs. xx

SHOP WITH ME & GET A FREE GIFT & TUTORIAL
PLEASE NOTE: Regardless of when you are viewing this post, this is automatically updated so the information and links listed here are current.
Shop with me in July 2026 to receive a FREE gift, tutorial and handmade card from me to thank you for your order.


Don’t live in Australia but still want to purchase the tutorial? You can purchase it through my tutorial store for $22AUD for instant PDF download. CLICK HERE to purchase.
HAPPENING NOW
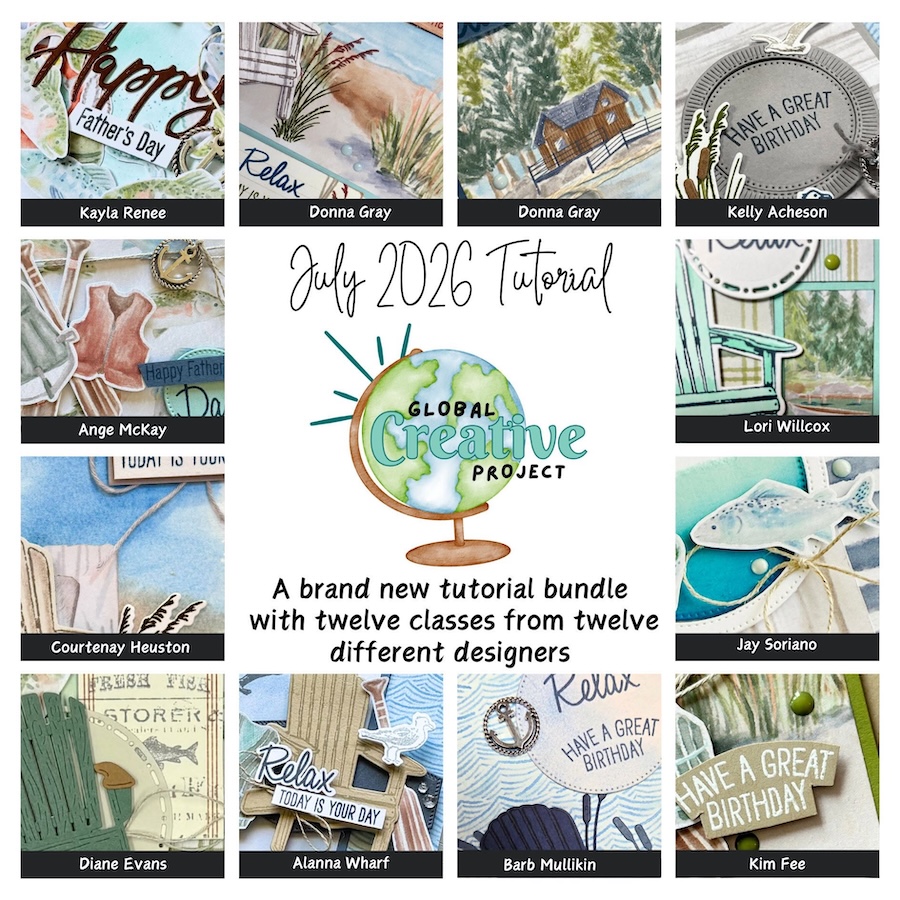
The brand new July Global Creative Project tutorial is now out. Earn for free from me for placing an order in my online store or head to my tutorial store and purchase the PDF tutorial.
New Creativity Kits have been released in my online store. Head here to check them out.
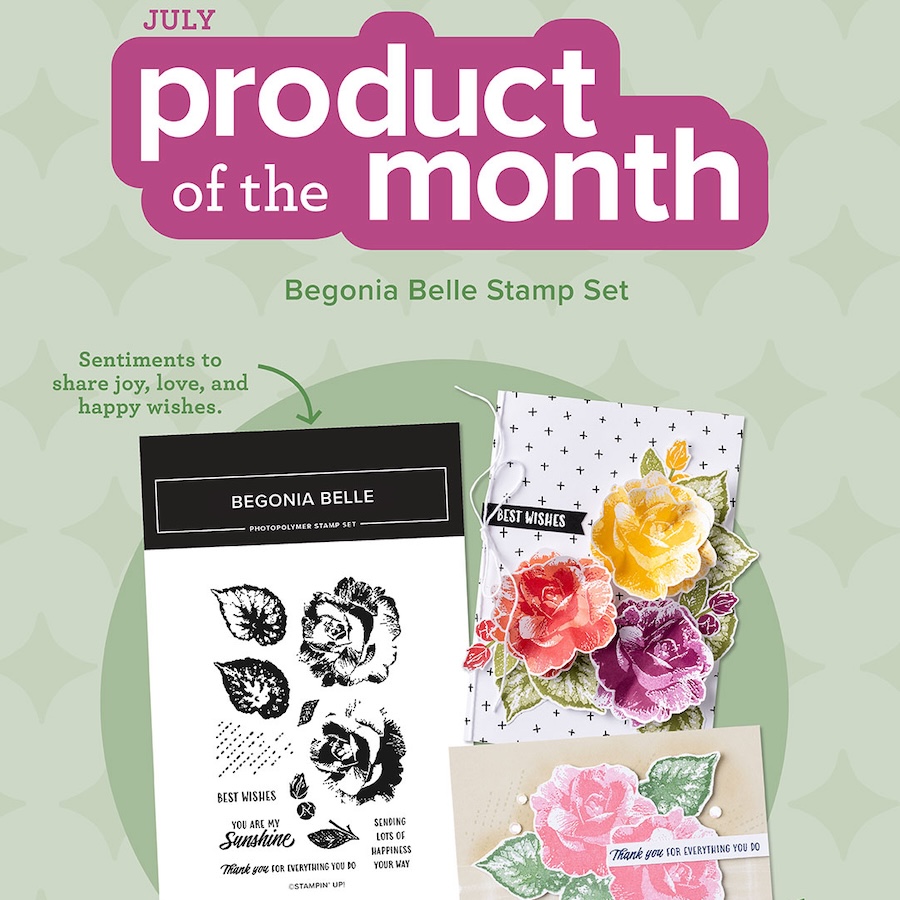
Our new Product of the Month promotion is now in full swing. Get an exclusive product for just $9 when you spend over $125 in my online store. Learn more about this new program here.
upcoming events + KITS

I have so much fun at The Stamping Lounge which is run by myself, Maheswari Rajaguru and Rochelle Laird-Smith.
We not only have a monthly membership full of amazing content but we also run regular classes.
The Scenic Coast Monthly Class is coming up on the 18th of July.
Also coming up in July and open for registration now is our annual FREE Christmas in July event. Find all the details here.
Click the images or links to find out more and enrol OR sign up to The Stamping Lounge membership to get access to monthly classes and more which are included in the membership (retreats are sold separately)
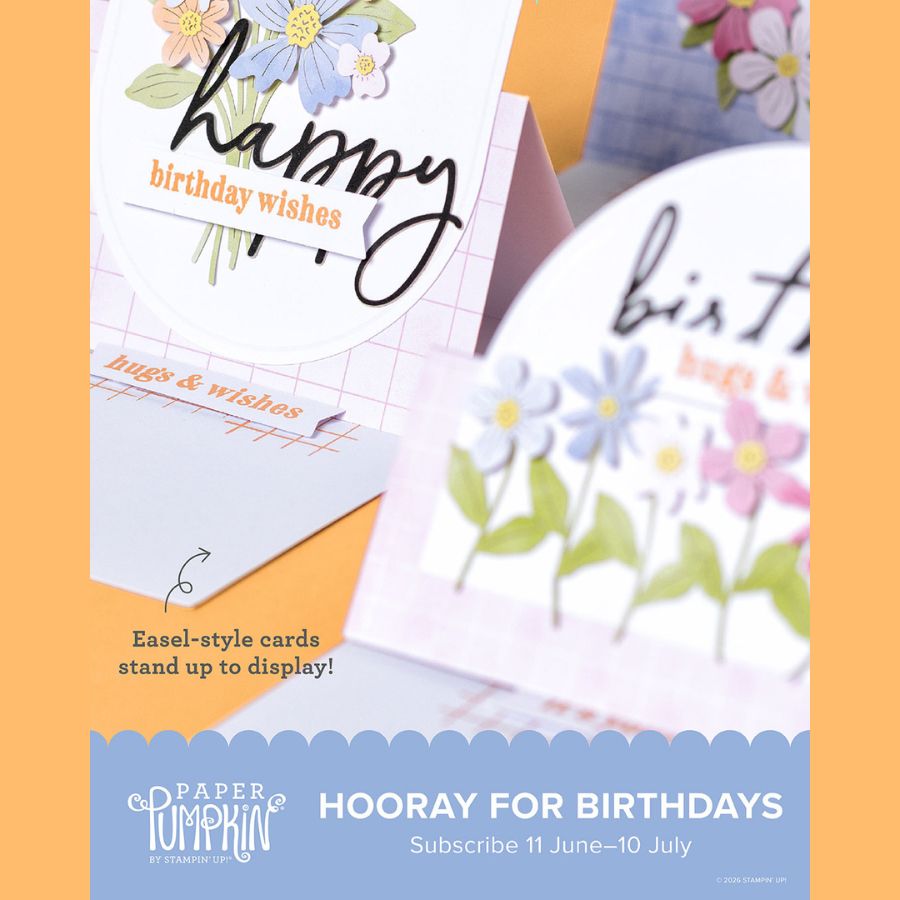
New Paper Pumpkin Kit coming in July – subscribe by the 10th of June to receive the Hooray for Birthdays Kit
PLUS – subscribe to Paper Pumpkin with me and get TWO alternative PDF tutorials with a total of 20 tutorials for projects using this kit. Click here to subscribe with me.
BRAND NEW SKETCH BOX
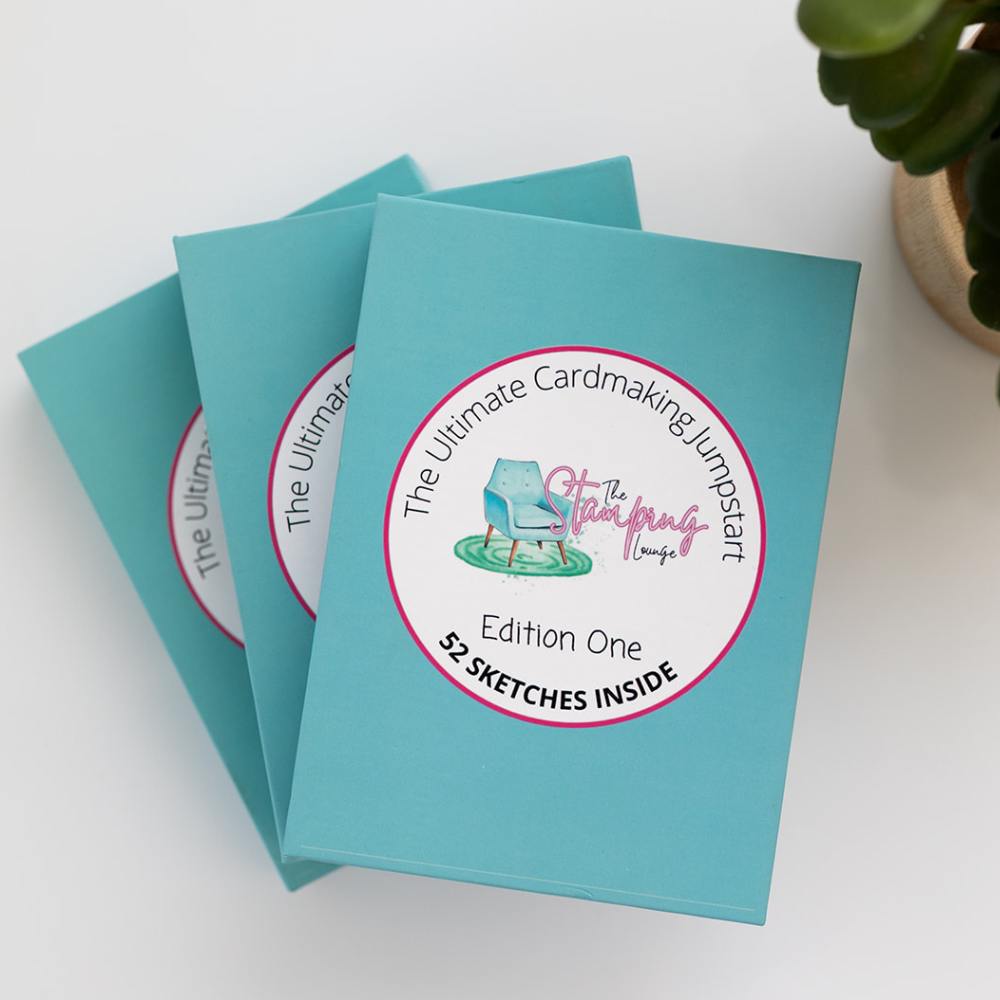
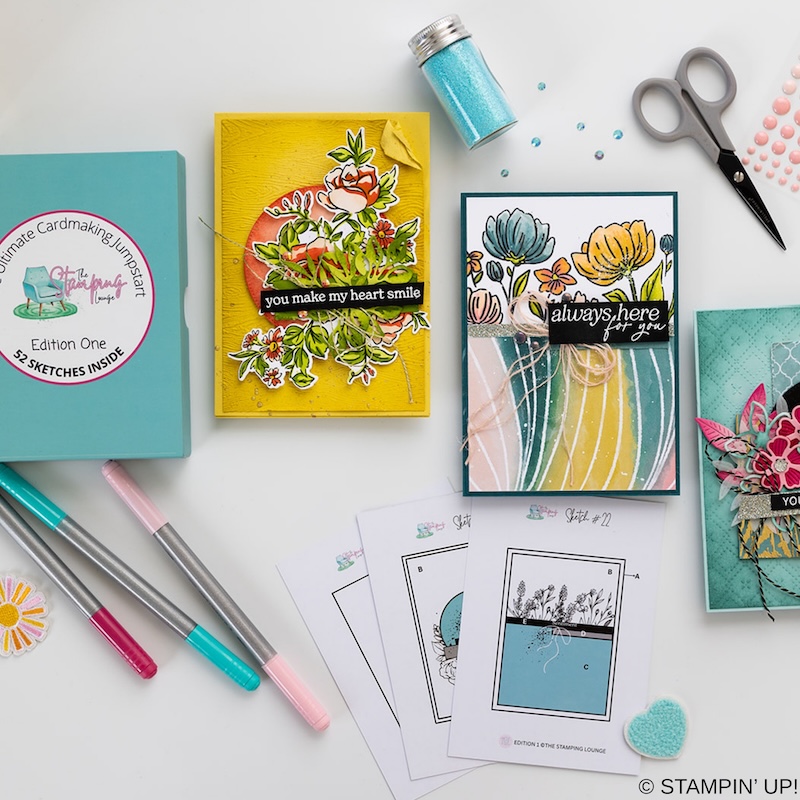
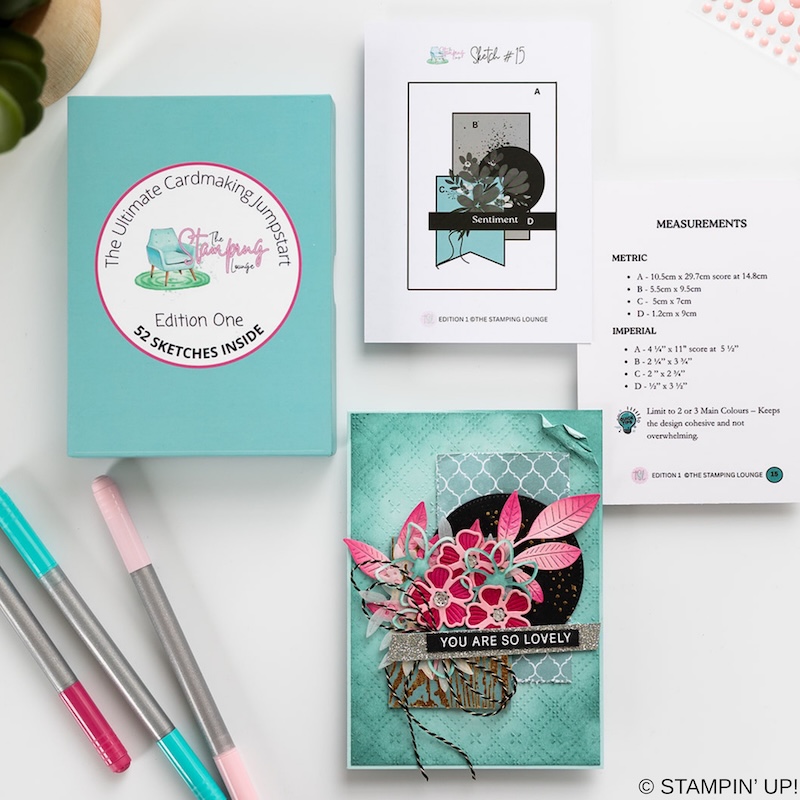
We have a brand new product at The Stamping Lounge and you won’t want to miss this one. Get your sketch box complete with 52 sketch cards that include measurements and crafting tips! This is a tool you need in your crafting tool box that you can use again and again. Available now and shipping internationally. Get yours here.
supply list
Product List ") |  |  | ||
 |  |  |  |  |
 |  | |||
 |  |  |  |
 Designer Series Paper")
 Glimmer Specialty Paper")


Leave a Reply