Thank goodness it is Friday! So happy to be welcoming another weekend and not another school morning. I am sure plenty of people can relate!
I am excited to be sharing another TGIF Challenge today and this one had me in a fun zone and took me to singing the Barbie song – maybe everyone is just singing that song and inspired by Barbie at the moment! It’s all about GLITTER this week for the TGIF challenge and I went really PINK, hence the reference to Barbie. To keep the Glitter theme I pulled out all the sparkle and my favourite More Dazzle *disco ball* paper but I wanted to change it up this week and make it a different colour so I made my own alcohol ink spray.
I love that with three simple supplies you can make your very own alcohol sprays in any of the Stampin’ Up! colours! This allows you to colour mediums like the More Dazzle paper. See below where I have shared a handy picture reference guide of how to make your own Stampin’ Up! alcohol ink spray.
This week’s tgif challenge #tgifc435

Here is a look at this week’s TGIF challenge.
Check it out here on the blog and jump in and participate.
how to make your own alcohol ink spray with Stampin’ Up! ink refills

Here is a look at how to make your own alcohol ink spray.
Here are some basic steps.
- Take a Stampin’ Spritzer and fill not quite to the top leaving about 2.5 (or 1″) of room with rubbing alcohol (I use just rubbing alcohol available at my local pharmacy)
- Add 10-20 drops of a re-inker in any colour depending on the colour concentration that you desire. You can go back and add more if the colour is not quite deep enough.
- Give the bottle a good shake and you are ready to go.
- For this particular project I have sprayed Berry Burst on some More Dazzle Specialty Paper. I sprayed about five sprays over my project and tilted the card to let it run and disperse over my entire piece before setting aside to dry.
TIP: You can let the piece dry and add another coat to make the colour brighter.
the finished card – miss you

Here is a look at the finished card, just take a look at all that glitter – make sure you have your sunglasses! The Patchwork Pieces Dies are definitely a must have. Have you seen them? I also have to say, for those that use metric measurements and A4 cardstock these actually are sized beautifully for a change! LOVE! Here is a look at the two styles. You can find them in my store here.

a close up of the finished detail

I mixed up the speciality papers I used with the Patchwork Pieces dies and used the More Dazzle Specialty Paper which I coloured using the DIY Alcohol Ink Spray technique shown above and I also pulled in the beautiful Soft Shimmer Specialty Paper in Berry Burst to alternate each second piece. This means you cut the die twice – but you can actually get two backgrounds – make two cards at once – why not?
The cute little car image comes from the brand new Curved Occasions stamp set. I can’t show you just yet because it is coming soon to the brand new Mini Catalogue that will go live on September 6th. I saw it and I just couldn’t help but think of BARBIE! Everything needed to be pink!
Funny story – my one and only car I have ever owned was a little pink car – I named her Polly! When I used to own my little craft shop you used to see me driving around loaded full of what looked like pizza boxes going to the post office to post everyone’s craft kits off *haha*
The stamp set also comes with these adorable sentiments which match with a coordinating curved punch which you can see I have used here. I love it!
Lastly, I have embellished with some brand new brand new sequins from the Mini Catalogue. These are so beautiful and glittery – perfect for today’s theme!
a little look at the pretty inside – no naked cards here…

Here is a little look at the inside of my card where I have used some of my leftover scraps and pieces from my card from and stamped a little disco ball *adorable*
This disco ball image is taken from the same stamp set that has the little car that will be coming soon to the new Mini Catalogue. Wouldn’t that look cute heat embossed in silver or with some sparkle? So many ideas!
I hope that you enjoyed my post today and got some ideas for using glitter, making your own DIY alcohol ink spray or liked seeing some sneak peeks of some new product coming soon!
Be sure to request a catalogue if you haven’t already and don’t have a demo & live in Australia. You can do that by clicking here.
Be sure to go and check out the TGIF challenge and join in here.
Until next time, crafty hugs. xx
SHOP WITH ME & GET A FREE GIFT & TUTORIAL
PLEASE NOTE: Regardless of when you are viewing this post, this is automatically updated so the information and links listed here are current.
Shop with me in July 2026 to receive a FREE gift, tutorial and handmade card from me to thank you for your order.


Don’t live in Australia but still want to purchase the tutorial? You can purchase it through my tutorial store for $22AUD for instant PDF download. CLICK HERE to purchase.
HAPPENING NOW
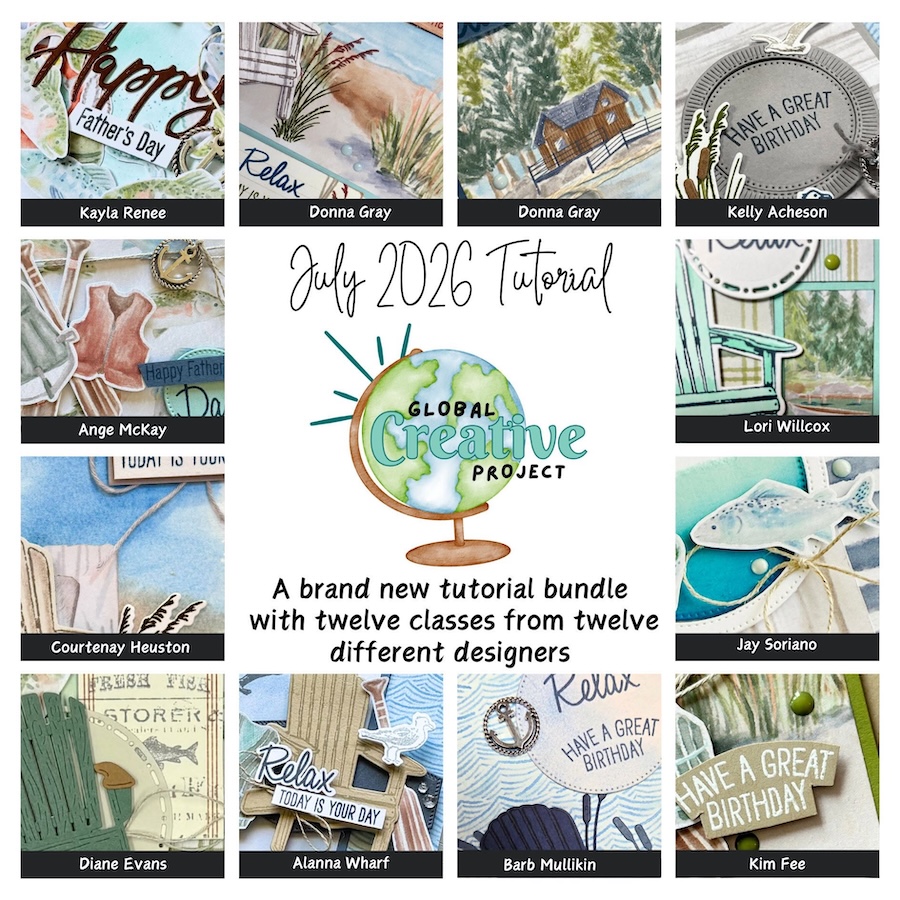
The brand new July Global Creative Project tutorial is now out. Earn for free from me for placing an order in my online store or head to my tutorial store and purchase the PDF tutorial.
New Creativity Kits have been released in my online store. Head here to check them out.
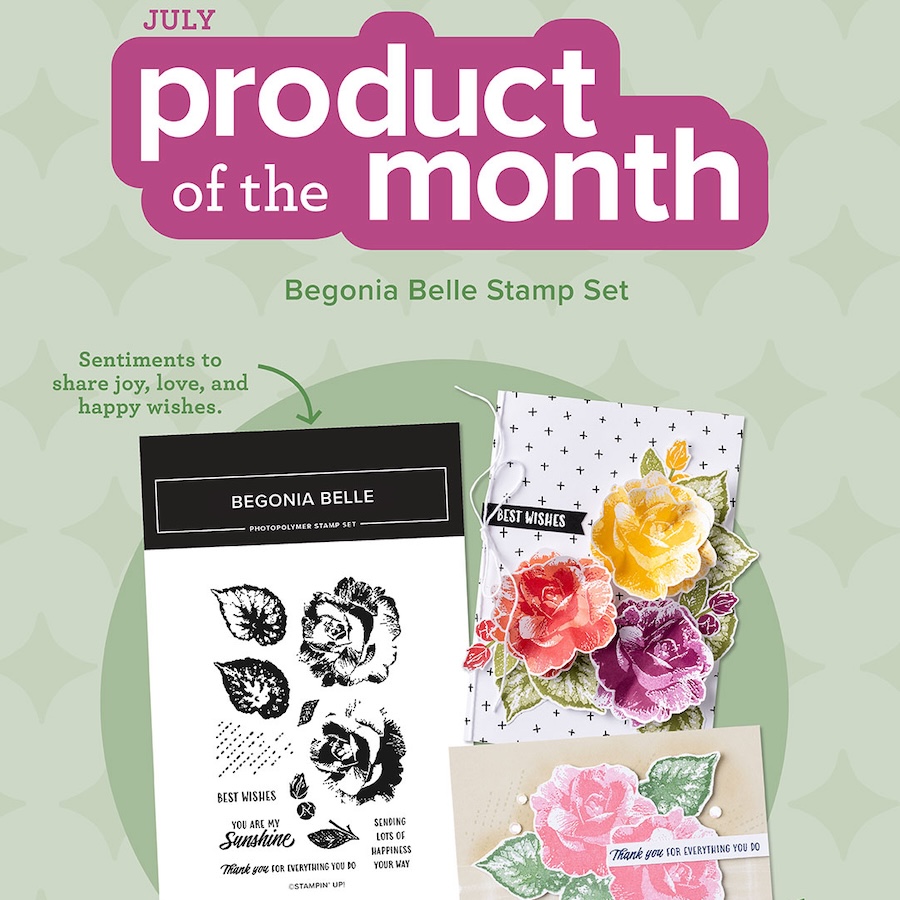
Our new Product of the Month promotion is now in full swing. Get an exclusive product for just $9 when you spend over $125 in my online store. Learn more about this new program here.
upcoming events + KITS

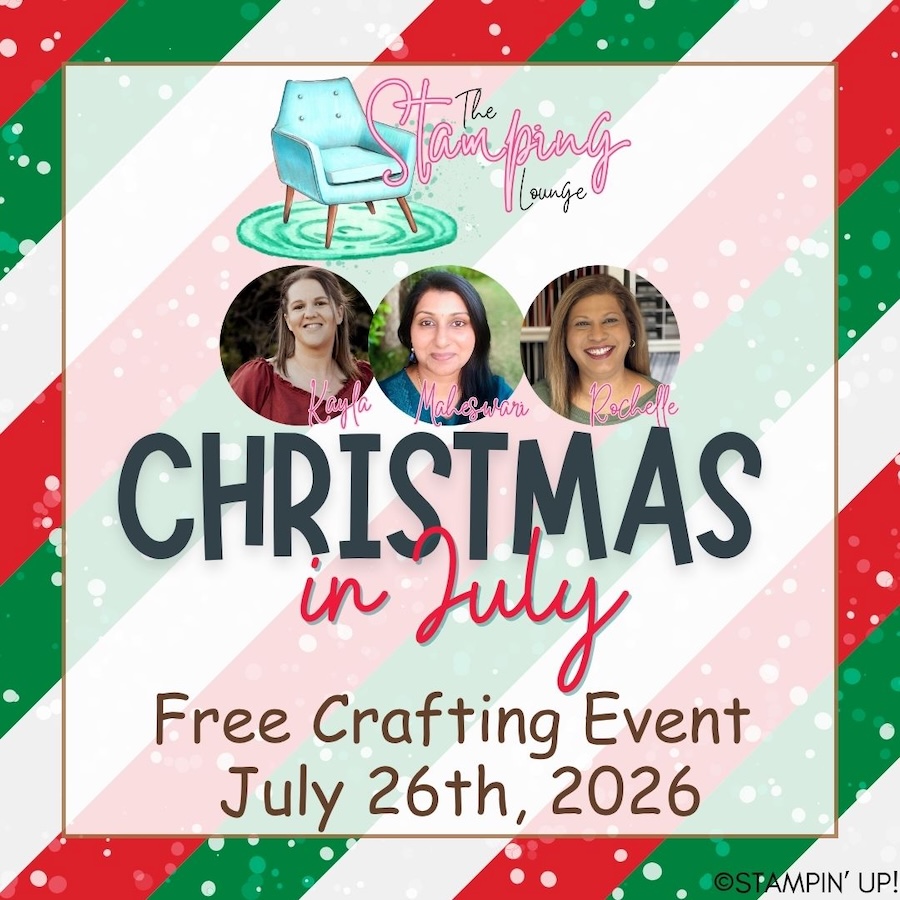
I have so much fun at The Stamping Lounge which is run by myself, Maheswari Rajaguru and Rochelle Laird-Smith.
We not only have a monthly membership full of amazing content but we also run regular classes.
The Scenic Coast Monthly Class is coming up on the 18th of July.
Also coming up in July and open for registration now is our annual FREE Christmas in July event. Find all the details here.
Click the images or links to find out more and enrol OR sign up to The Stamping Lounge membership to get access to monthly classes and more which are included in the membership (retreats are sold separately)
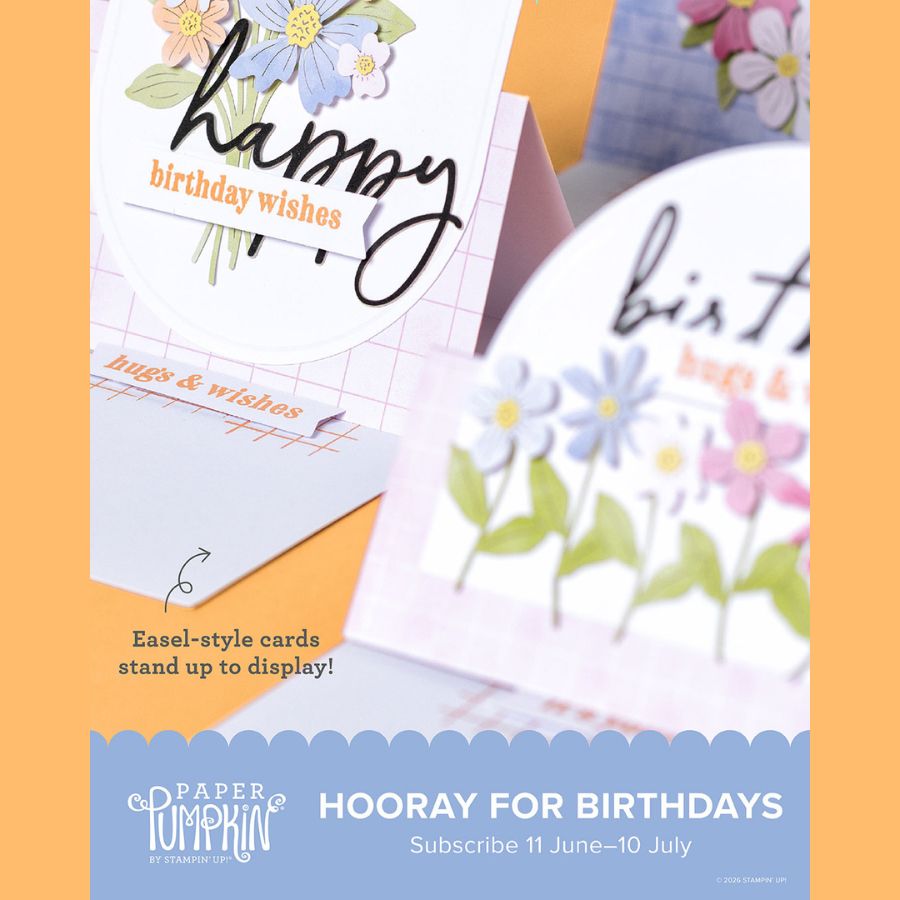
New Paper Pumpkin Kit coming in July – subscribe by the 10th of June to receive the Hooray for Birthdays Kit
PLUS – subscribe to Paper Pumpkin with me and get TWO alternative PDF tutorials with a total of 20 tutorials for projects using this kit. Click here to subscribe with me.
BRAND NEW SKETCH BOX
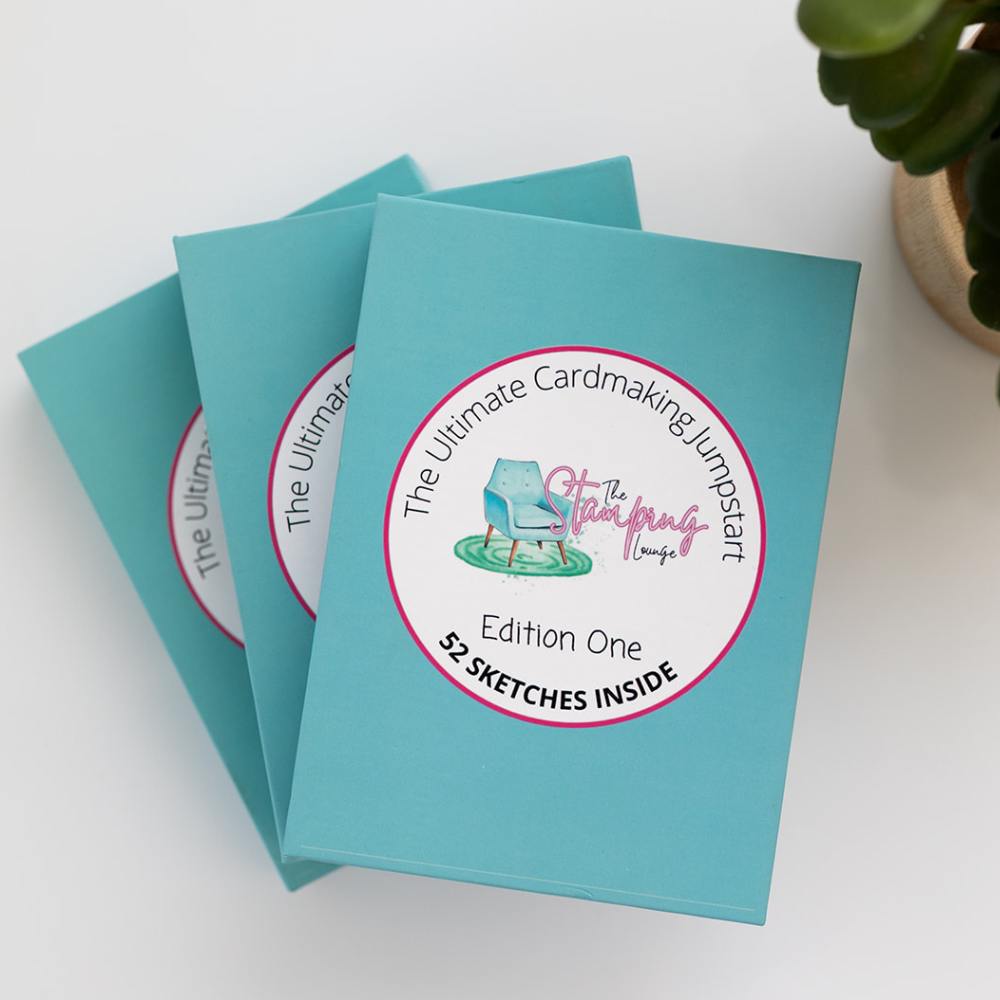
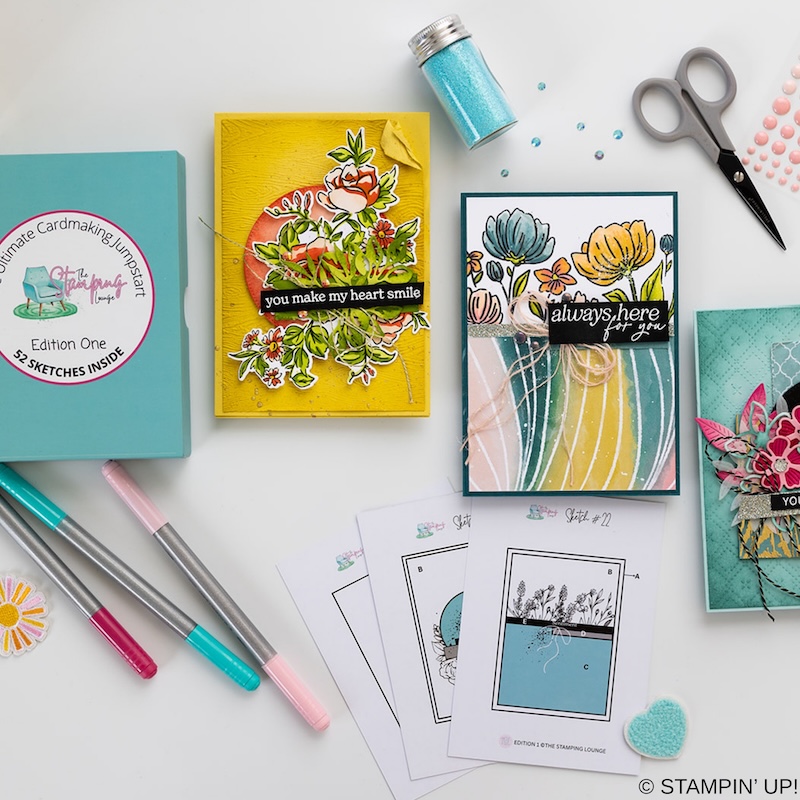
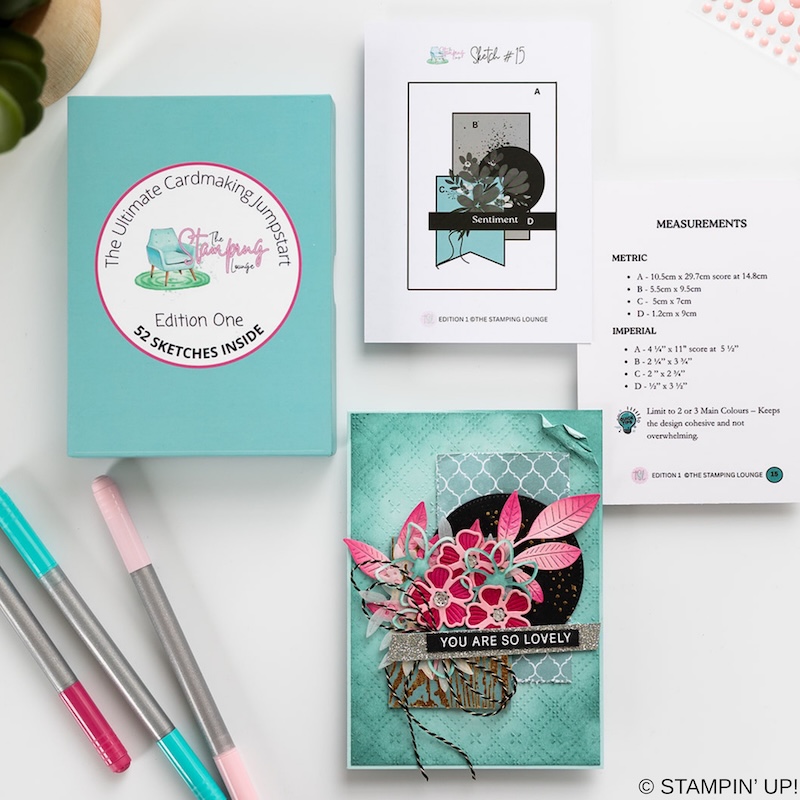
We have a brand new product at The Stamping Lounge and you won’t want to miss this one. Get your sketch box complete with 52 sketch cards that include measurements and crafting tips! This is a tool you need in your crafting tool box that you can use again and again. Available now and shipping internationally. Get yours here.
Product List
 |  Herringbone Ribbon") |  | ||
 |  |  |  | |
 |  |  | ||
 |  |  |  |  |
 Specialty Paper")
 Specialty Paper")


Leave a Reply