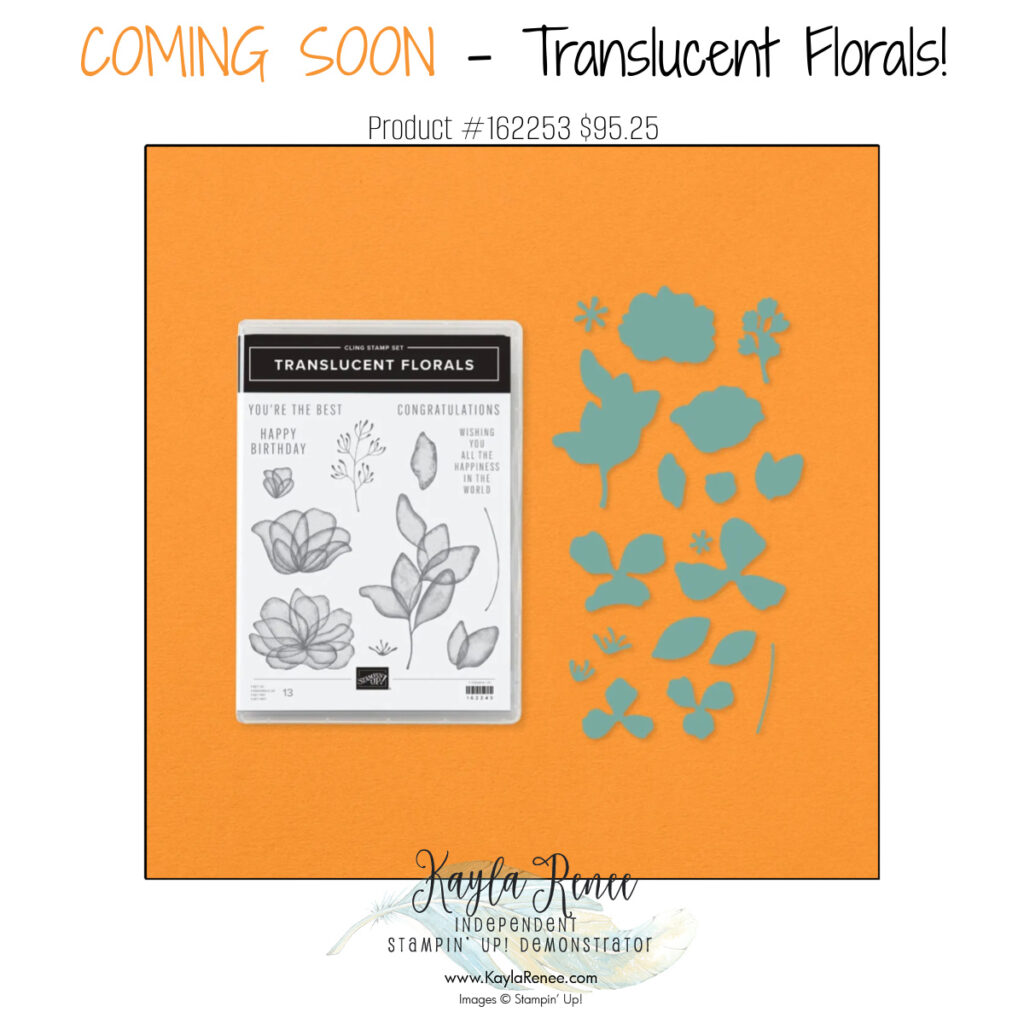
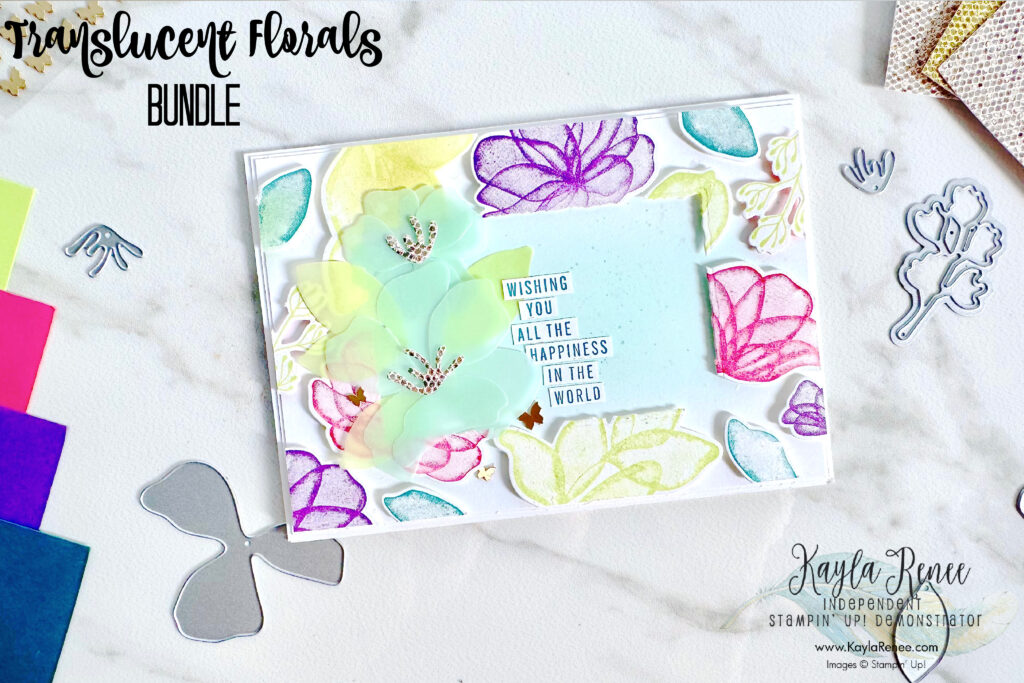
I had the absolute pleasure of attending a recent demonstrator only event for an upcoming bundle called Translucent Florals – is this bundle not just adorable?
This is one of the things I love the most about being a demonstrator – we get to attend so many exclusive events that are designed to inspire, and gather likeminded creative souls together. We love to to share what we do, and inspire each other. It’s a big part of my why of being a Stampin’ Up! demonstrator!
I’ll share a peek at the bottom of this post of what I made at the event using this bundle.
When I saw all the gorgeous florals I decided I really wanted to feature them by grabbing out some Press N’ Seal and making them really shine them with a floating frame technique.
Even better you get a two for one and I was able to get two cards made to show you!
Scroll down to see how.

P.s. Did you know that you will be able to order this bundle in early September but if you don’t want to wait, you can actually join my team and add it to a starter kit now? You can always add pre-order products to starter kits and being a demonstrator never has the obligation to run a business – simply become a VIP customer and get all the benefits. Read more here!
youtube tutorial of how to make these cards + the floating frame technique

Click above on picture OR click here to watch.
wishing you happiness – finished floating frame technique card one

Here is a look at the finished card. The original inspiration for this card actually came from attending the Creativity Now event and crafting along when we were colouring the beautiful vellum pieces to die cut…I fell in love. You can see the soft vellum flowers on my finished card. These beautiful vellum flowers are what what inspired my whole card, not the floating frame! You would be surprised since they are not really the focus of this card. I can’t decide what is my favourite, the dies or the beautiful stamps, but they really do complement each other.
I decided to stamp and die cut all of my images after I had chosen my colour palette in bulk before I started my card so that I could sit and create whilst watching the stamping presentations. It was easier to do this than stamp and die cut one at a time. I have actually created too many as I did not know what direction I was going to take at the time, however this is handy as it allowed me to play around and fill in spaces. Here you can see just how many pieces I had to work with. This also means I can create multiple cards later on…
TIP: Stampin’ Up! do a beautiful job of creating Distinkive© stamps which create gorgeous detailed stamping. When stamping with these style of stamps you definitely do not want an over inked stamp, especially if working with a new ink pad I suggest either stamping off or gently rubbing the ink pad with a spoon prior to stamping. This will give you a much nicer detailed stamped image!
the colour combo inspiration for this card…
I just love the colour direction I ended up using for this card, it feels like a mixture of regal, soft and bright. Everything beautiful!
a close up of the floating frame technique and how cool it looks!

Here is a close up look at the finished card and all the beautiful detail of the floating frame technique and the beautiful dimension that it adds to a card. I just love that it makes the elements appear that they are floating!
With a Blending Brush I have added some Pool Party blended ink in the background so that my sentiment and vellum florals have a ‘grounding’ and don’t appear so stark.
Finally I embellished my card with some of the gorgeous Brushed Brass Butterflies and some light spritzing with a Pool Party Stampin’ Write Marker.
P.s. I just had to add the More Dazzle Specialty Paper (a.k.a. Disco Ball paper) to the centres of my flowers) I don’t think many of my cards get away without it being added somewhere lately!
a little look at the inside – no naked insides!

To finish the card I added some more of the beautiful die cuts in the centre of the card with some more of the “disco ball paper” to follow through the design concept from the card front to the card centre. I added a sentiment stamped in Pretty Peacock and spritzed some Pool Party Ink.
I have added a double matte of Basic White cardstock which may seem wasteful but I love the look that double matting cardstock gives and it adds some more sturdiness to the card.
a little look at card two – you get bang for your buck with the floating frame technique! you’re the best!

Here is a look at the second card. You may recognise that on the first card, the centre was cut out, this card is the result of the centre cut out! This is the two for one!
I love that there is absolutely no waste!
This is a very simple card and follows a very similar design. Using a double matt of Basic White cardstock I have added some light blending in Pool Party Ink and then adhered my elements creating using the floating frame technique to the centre panel of my card.
So simple, yet so effective.
close up look at all that detail and dimension!

Here is a close up look at the dimension and the fun look that the floating frame technique gives even when using the inside frame ‘scrap’ that you are leftover with from the first card.
To finish this second card I have embellished with similar elements as the first card, adding some spritzing with a Pool Party Stampin’ Write Marker and some Brushed Brass Butterflies.
I then added a smaller sentiment stamped in Gorgeous Grape Ink.
a look at the inside – look at that disco ball paper!

To finish my card I added once again similar elements to the first card, with leftover die cuts and some More Dazzle Specialty Paper with another sentiment stamped in Melon Mambo Ink. I have once again spritzed some Pool Party Ink.
Once again I have kept the design concepts inside of the card similar to what is on the card front.
I had so much fun creating these cards using the floating frame technique and I hope that you got some inspiration to not only try this technique for yourself but got some tips on using the Stampin’ Up! Distinktive© Stamps.
If you are in Australia and want to purchase some Press N’ Seal, we cannot buy it in the supermarket like you can in America but I have found some retailers here
Press N’ Seal – Amazon Australia
Press N’ Seal – Catch of The Day
As promised here is a look at the fun projects that I made…
a look at the translucent floral cards i made at the creativity now stampin’ up event…


Here is a look a the beautiful cards that we made at the recent Stampin’ Up! Creativity Now event. This is one of the things that I love about Stampin’ Up! – we get spoilt with all these amazing opportunities as demonstrators to attend events and special demonstrators. You are always welcome to join my team and have the opportunity to attend special events like this too! There is never any obligation to become a business demonstrator. Craft and sharing what we love is what we do best 😍✂️🎨 Read more here.
Until next time, sending lots of crafty hugs, xx
SHOP WITH ME & GET A FREE GIFT & TUTORIAL
PLEASE NOTE: Regardless of when you are viewing this post, this is automatically updated so the information and links listed here are current.
Shop with me in January 2026 to receive a FREE gift, tutorial and handmade card from me to thank you for your order.


Don’t live in Australia but still want to purchase the tutorial? You can purchase it through my tutorial store for $22AUD for instant PDF download. CLICK HERE to purchase.
HAPPENING NOW


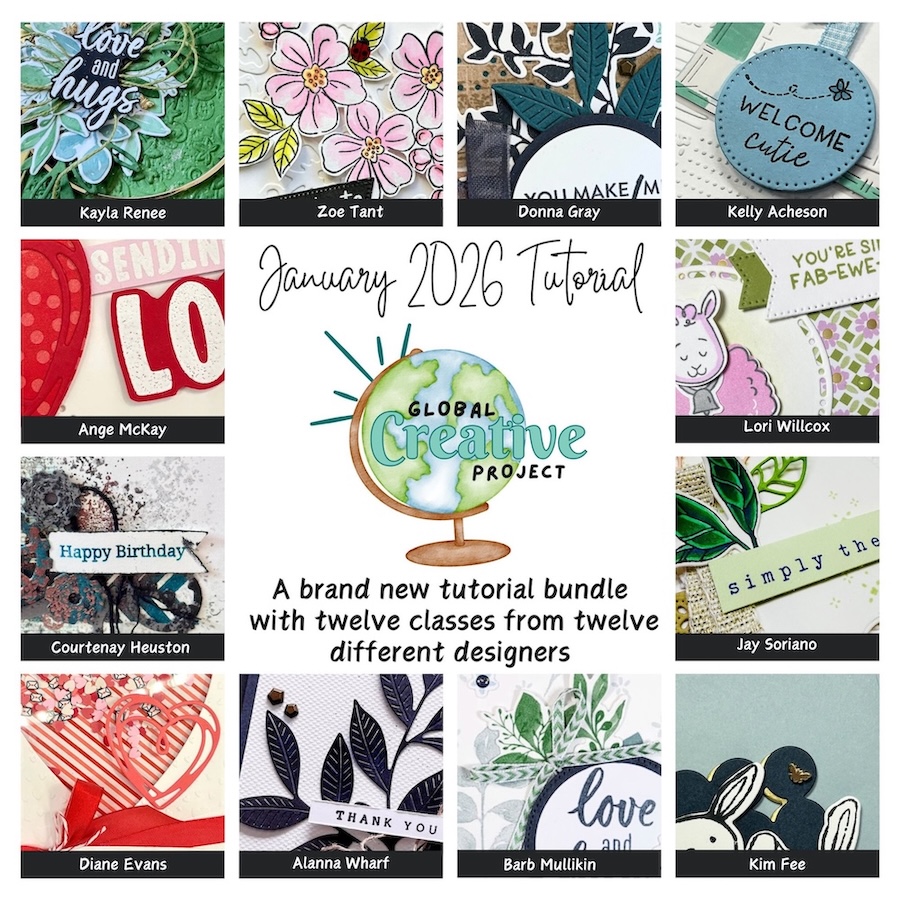
The brand new January Global Creative Project tutorial is now out. Earn for free from me for placing an order in my online store or head to my tutorial store and purchase the PDF tutorial.
New Creativity Kits have been released in my online store. Head here to check them out.
Our new Product of the Month promotion is now in full swing. Get an exclusive product for just $9 when you spend over $125 in my online store. Learn more about this new program here.
Events coming soon


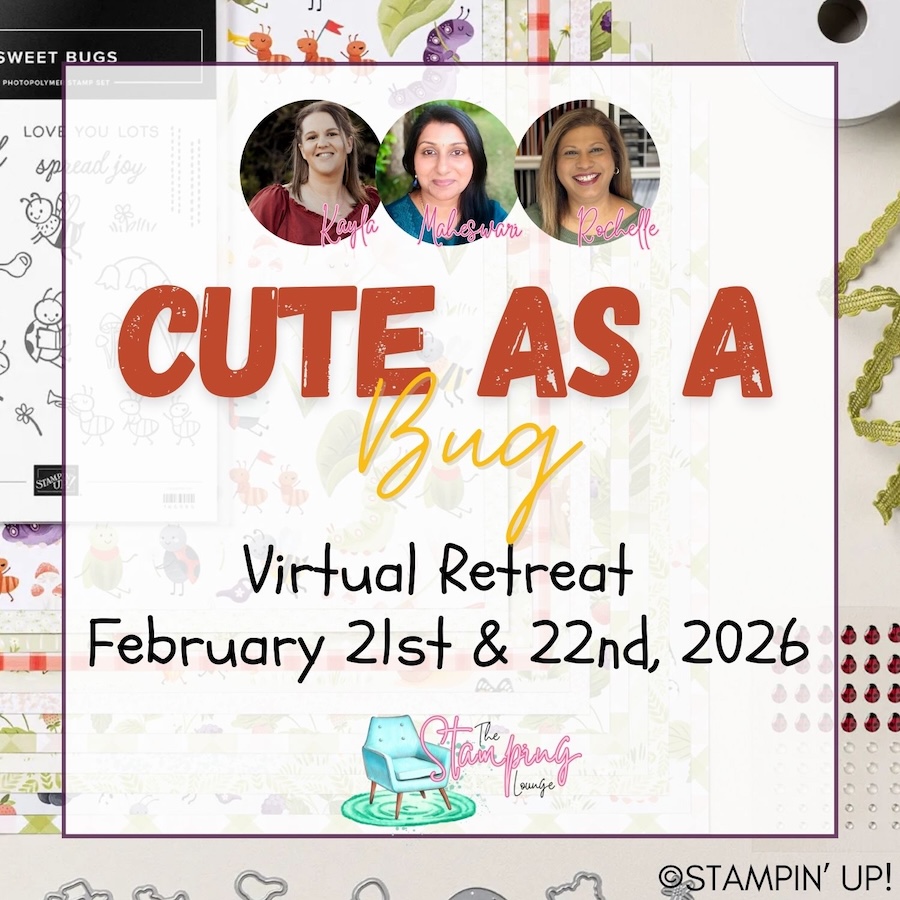
These are two upcoming amazing events with The Stamping Lounge run by myself, Maheswari Rajaguru and Rochelle Laird-Smith. Our Mini Catalogue Launch party is happening on the 11th of January – come and see all the new products, be part of the community, play games and take part in nine card classes!
We also have our upcoming Cute as a Bug Virtual retreat which is open no matter where you are in the world! Take part in eighteen classes using the Cute as a Bug suite and get lifetime access! Click the images or links to find out more and enrol OR sign up to The Stamping Lounge membership to get access to to the mini catalogue launch party and more which are included in the membership (retreat sold separately)


Leave a Reply