I had so much fun recording this video before I went away about how to make five quick and easy cards using the Stampin’ Up! Mix & Match range of products. This is a brand new concept for Stampin’ Up! and I just love it. It makes crafting quick, easy and fun but the options endless! You can be as creative as you want with these gorgeous products and make something simple & basic or avid and over the top!
I have chosen to show you five different cards that are pretty quick and simple and use limited supplies. I have shared below some pictures of below of how they turned out and a PDF tutorial of just how to make all of them at the end of this post.
the finished mix and match cards
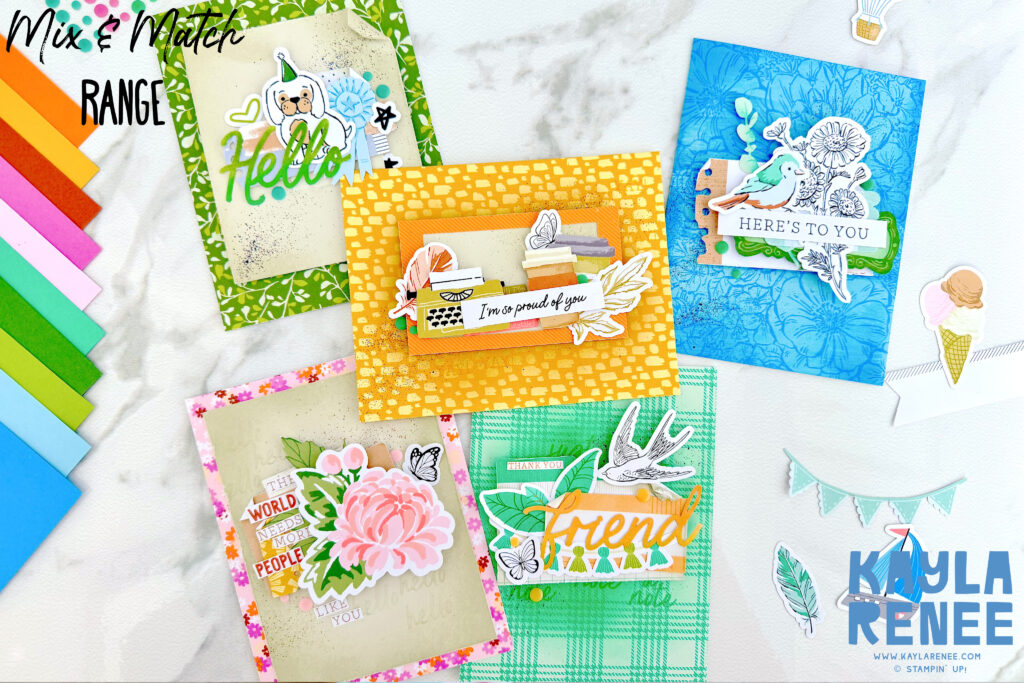
Here is a look at the finished Mix and Match cards. They are bright and fun and so simple since they don’t use too many products at all. To start this set of cards I pulled out the Sunny Springs Mix and Match Cards & Envelopes and combined it with all four sets of Mix and Match Ephemera packs that are available.
I love that these products are relatively low cost and affordable for every level of crafter. I chose to add a few ‘extras’ to my cards but you could literally make cards with just these cards & envelopes and ephemera alone. Start with the basics.
a close up of the finished cards
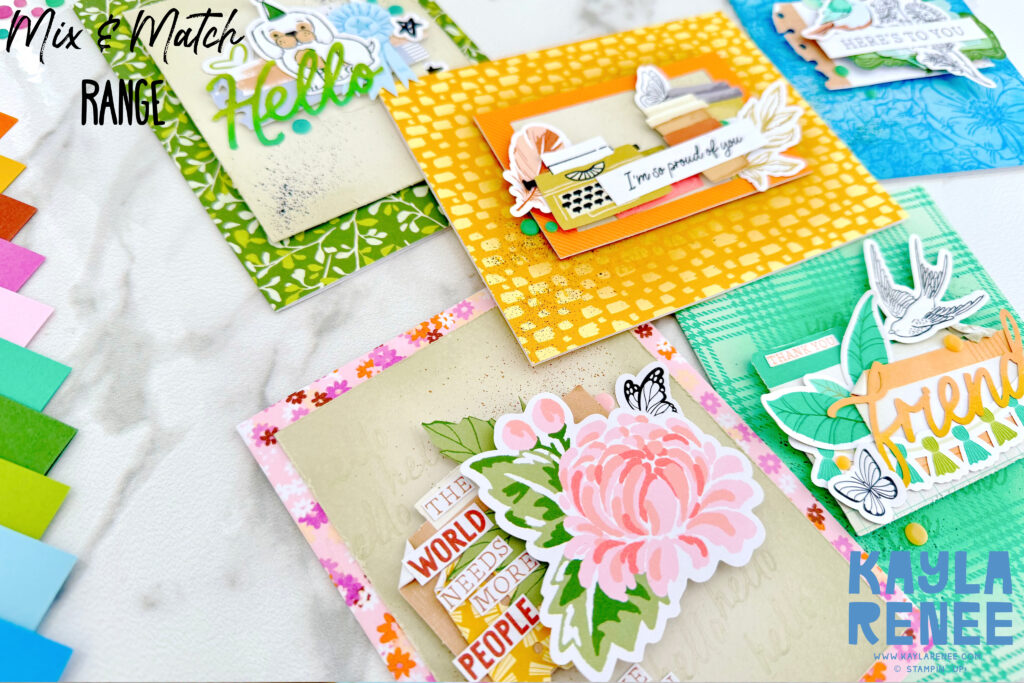
Here is a close up of the five finished cards where you can see some of the details.
I chose to add some stamping with a coordinating Simply Said Stamp Set which is a fantastic set to add if you are just beginning or just want a basic sentiment stamp set as it has something for every occasion and a nice mix of fonts.
The Basic Beige cardstock and a Basic Black and Pecan Pie Stampin’ Write Marker were also great ‘basics’ that I added when making these quick and easy cards. I also had to have at least one embellishment so I included some of the beautiful In Colour Resin Dots!
thank you friend – shy shamrock card

This is probably my favourite card base that I started with. That gorgeous plaid pattern in Shy Shamrock on this card base sold me with this card.
To help add some depth to my cards I have chosen to use a Blending Brush and coordinating colours on some of the cards to add some light blending.
I also chose to add tone on tone stamping using the Simply Said phrases from the stamp set as a bit of a textural elements to the backgrounds of my Mix and Match cards rather than as a sentiment.
You can see on this cards I have mixed up the ephemera from three different packets and adhered them at different heights for some added interest.
the world needs more people like you – card
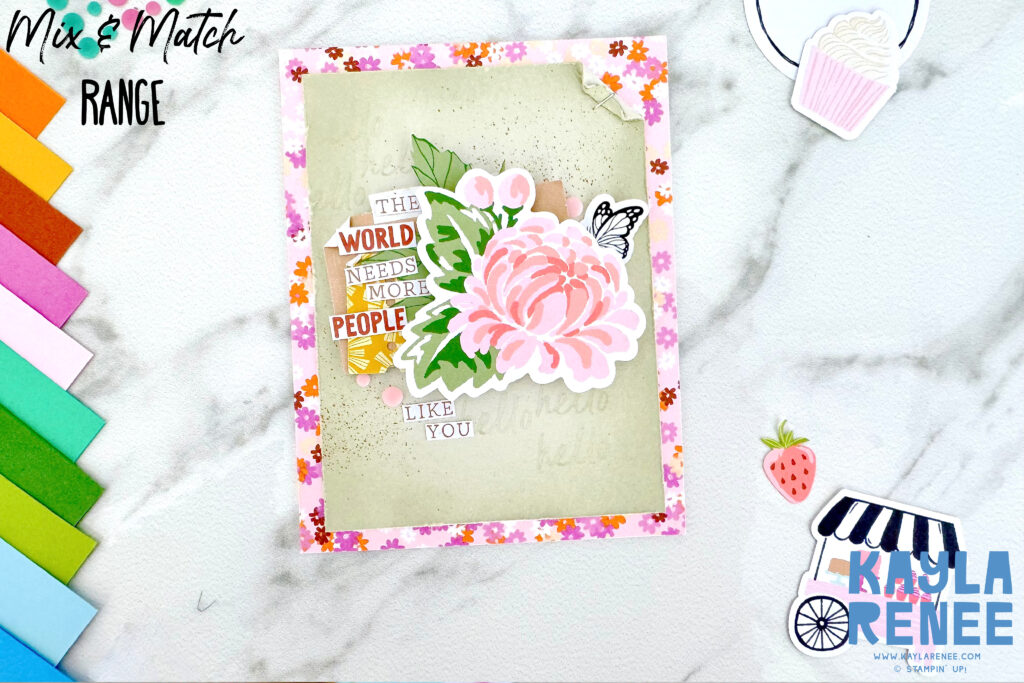
I actually found the background of this card a bit busy! By adding another smaller layer of Basic Beige to help tone down the busy-ness of this pattern/print, it really helped with this.
With the ephemera I love to layer and build it up to help create more texture and dimension.
I also changed up the sentiment and took this sentiment and cut it apart into individual word strips. I love how this turned out.
i’m so proud of you – crushed curry card
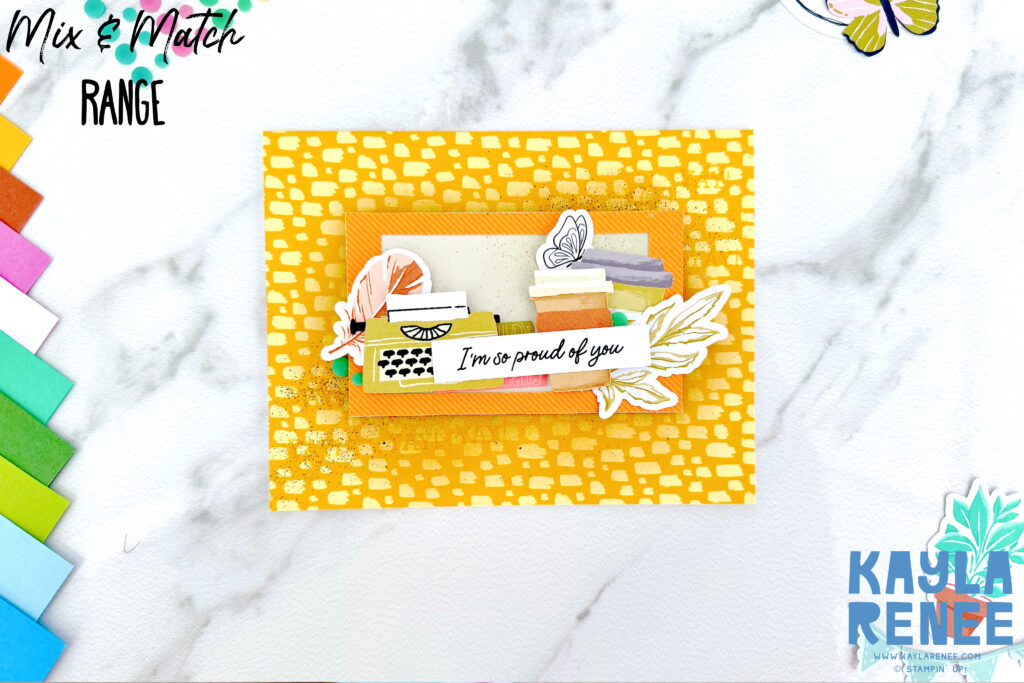
I love the bold look of these beautiful yellows and oranges and had fun with this one adding some blending and repeated stamping over the background again.
I added quite the mixture of different elements and added this popped up on a frame which I had added some Basic Beige Cardstock too. The sky is really the limit with these cards.
here’s to you – a touch of azure afternoon
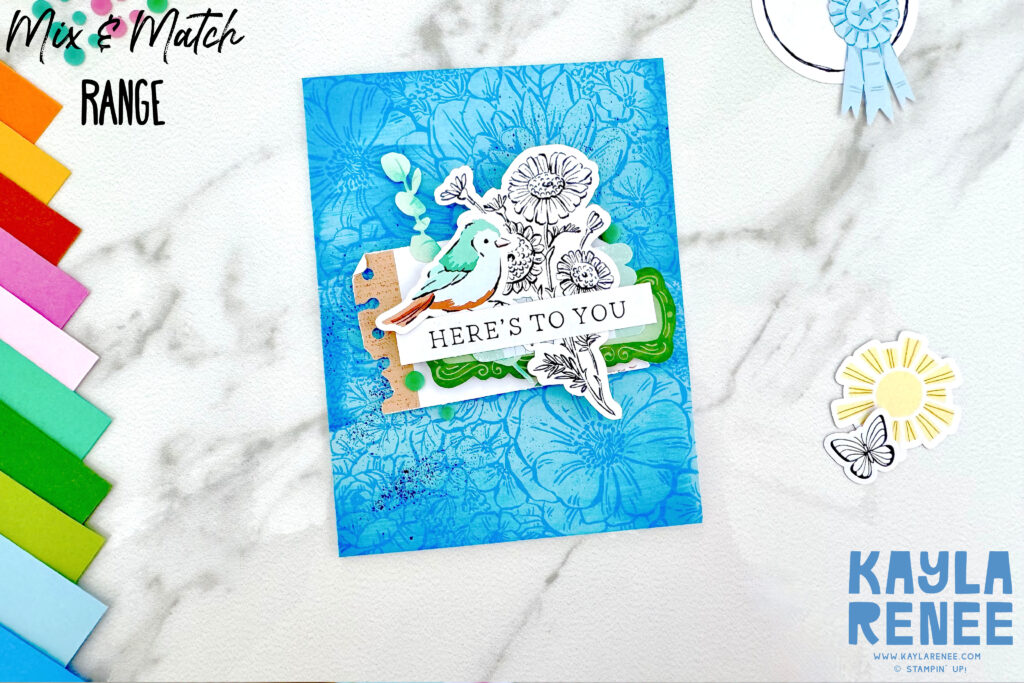
This would have to be my second favourite card with the deep and rich blues. I added some extra interest to this card by utilising the direct to paper techniques and lightly swiping my Azure Afternoon Ink pad across the mix and match card background. It gives such a fun look to a card.
hello – garden green & granny apple green card
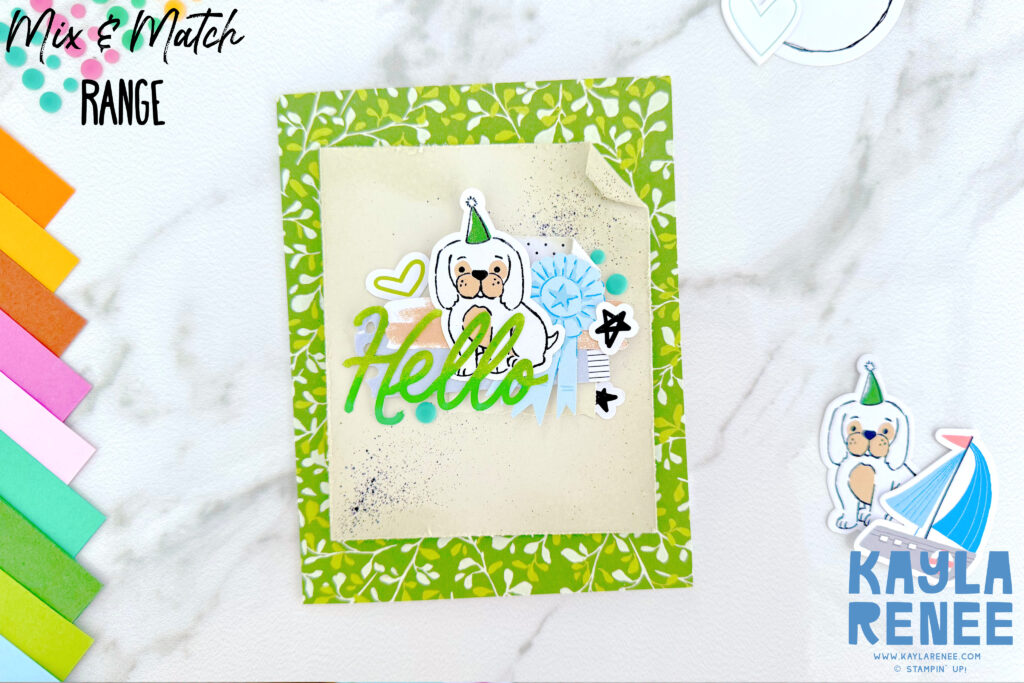
Here is a look at the card that I actually made on the video. I layered and overlapped all my pieces on this card and added yet another sentiment which I have used some ombre blending in both Shy Shamrock and Granny Apple Green to achieve this look.
adding a bit of pretty & mix and match to the insides
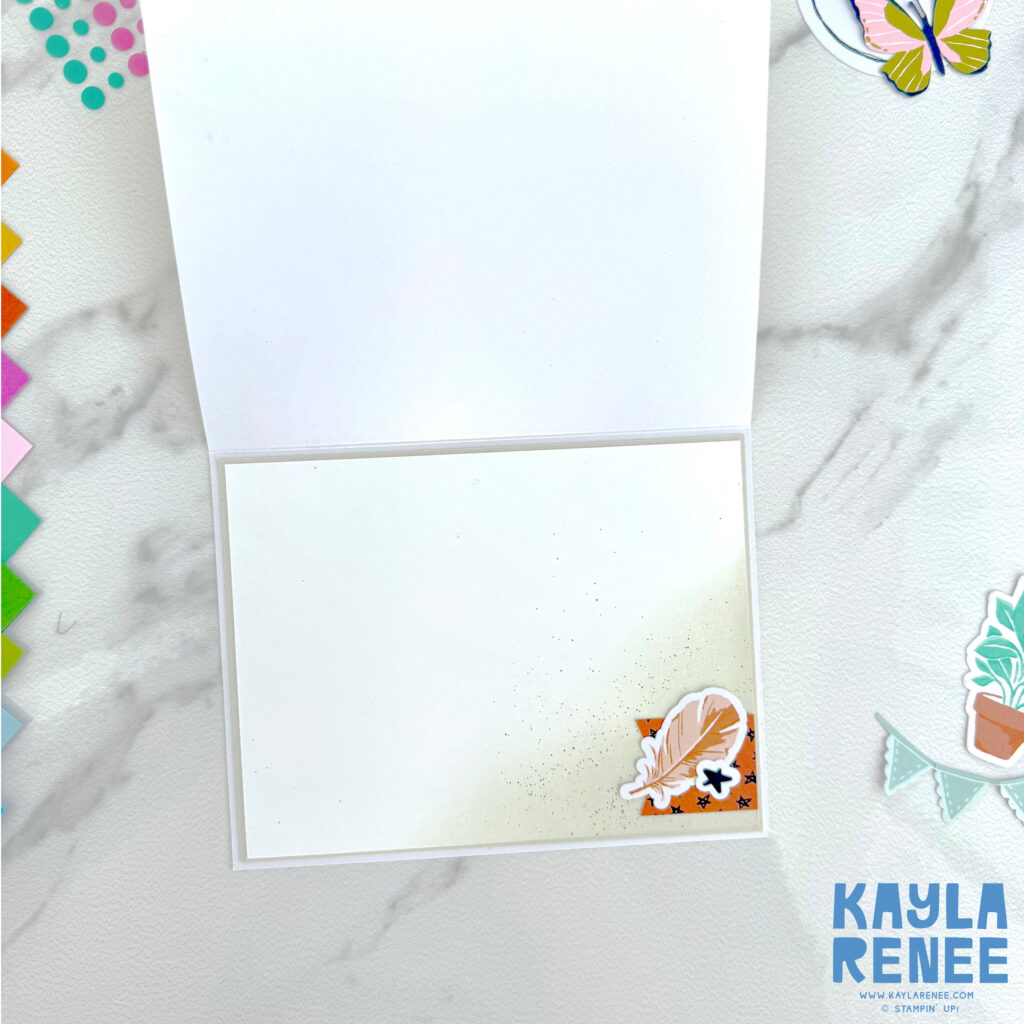
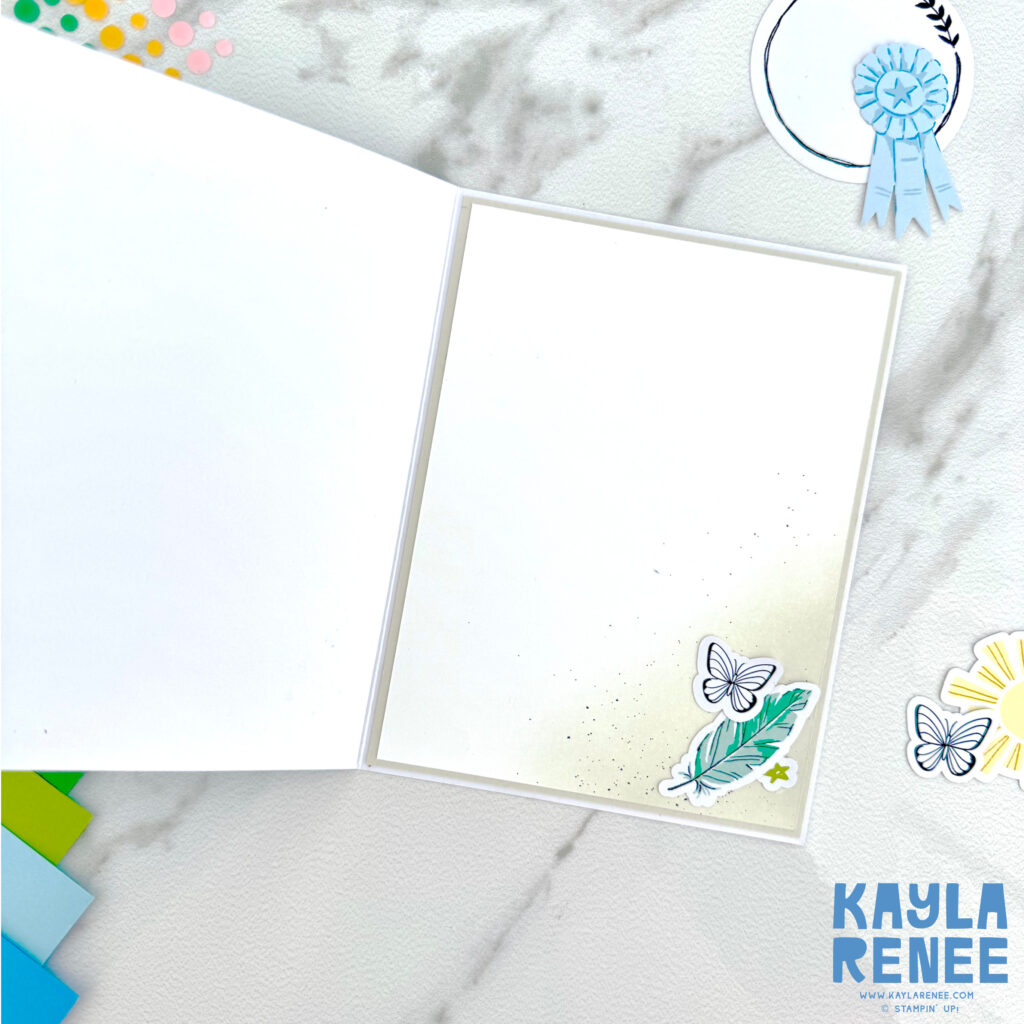
There was no naked cards and I chose to add layers of both Basic Beige and Basic White to finish off my card insides. I have shown an example of just two of them here and how fun it looks just by adding a couple of layers to the inside.
I added some soft blending with Basic Beige and a couple more of the mix and match ephemera pieces.
Download the PDF tutorial below to get all the measurements, supply list and instructions on how I made these fun cards. I’d love to see what you do! Be sure to pop on and join the VIP group and share your creations. We love to inspire each other!
DOWNLOAD THE FREE PDF TUTORIAL
Please note: If you are a Stampin’ Up! demonstrator – make sure you are signed out of your Stampin’ Up! back office when clicking the download link otherwise it will divert you to your back office.
I have created these tutorials as a free download, but please use for personal use only. xx
Until next time, crafty hugs. xx

SHOP WITH ME & GET A FREE GIFT & TUTORIAL
PLEASE NOTE: Regardless of when you are viewing this post, this is automatically updated so the information and links listed here are current.
Shop with me in January 2026 to receive a FREE gift, tutorial and handmade card from me to thank you for your order.


Don’t live in Australia but still want to purchase the tutorial? You can purchase it through my tutorial store for $22AUD for instant PDF download. CLICK HERE to purchase.
HAPPENING NOW
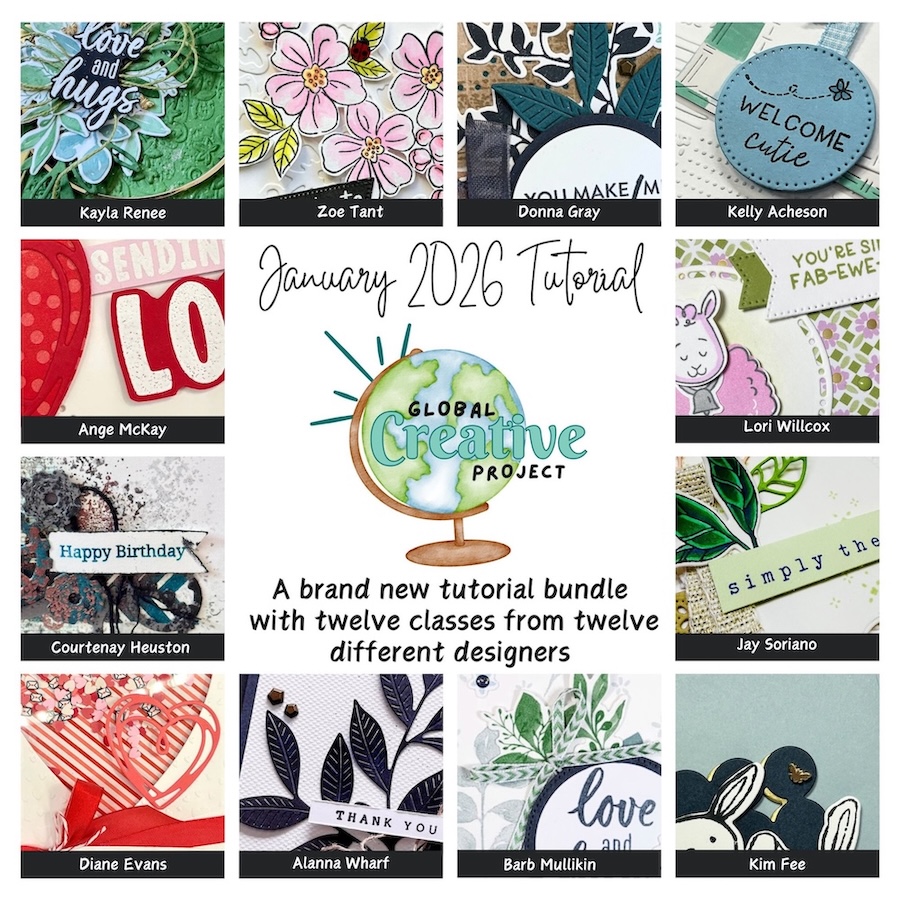


The brand new January Global Creative Project tutorial is now out. Earn for free from me for placing an order in my online store or head to my tutorial store and purchase the PDF tutorial.
New Creativity Kits have been released in my online store. Head here to check them out.
Our new Product of the Month promotion is now in full swing. Get an exclusive product for just $9 when you spend over $125 in my online store. Learn more about this new program here.
Events coming soon
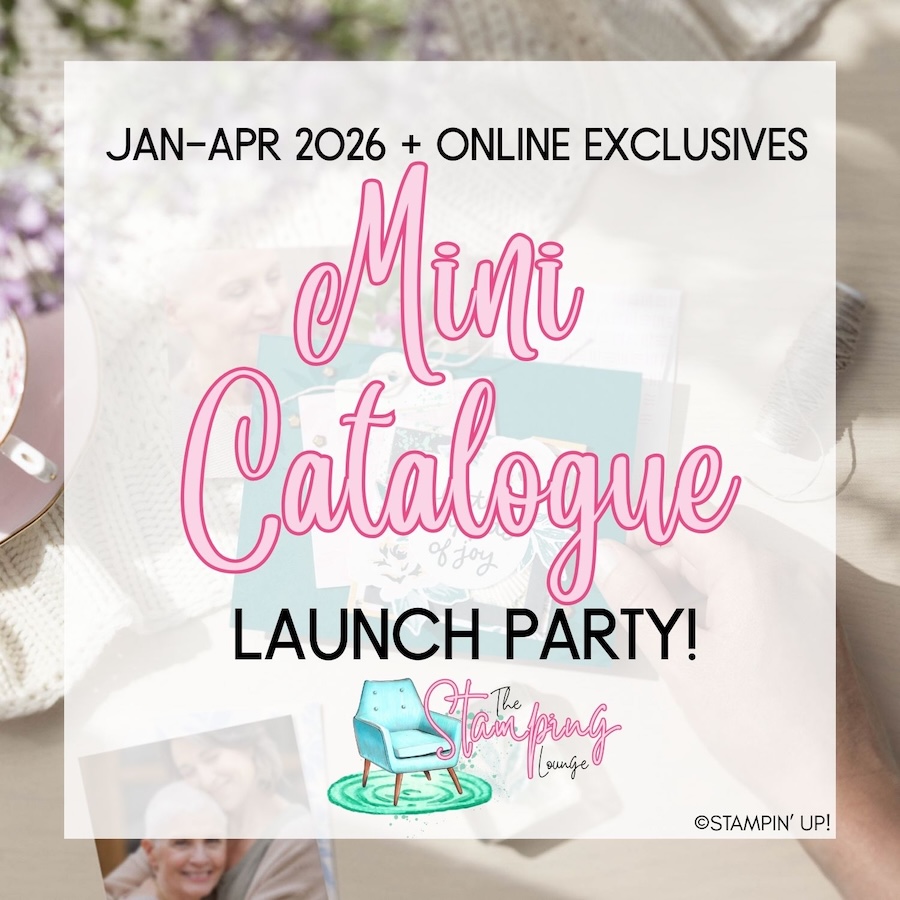
These are two upcoming amazing events with The Stamping Lounge run by myself, Maheswari Rajaguru and Rochelle Laird-Smith. Our Mini Catalogue Launch party is happening on the 11th of January – come and see all the new products, be part of the community, play games and take part in nine card classes!
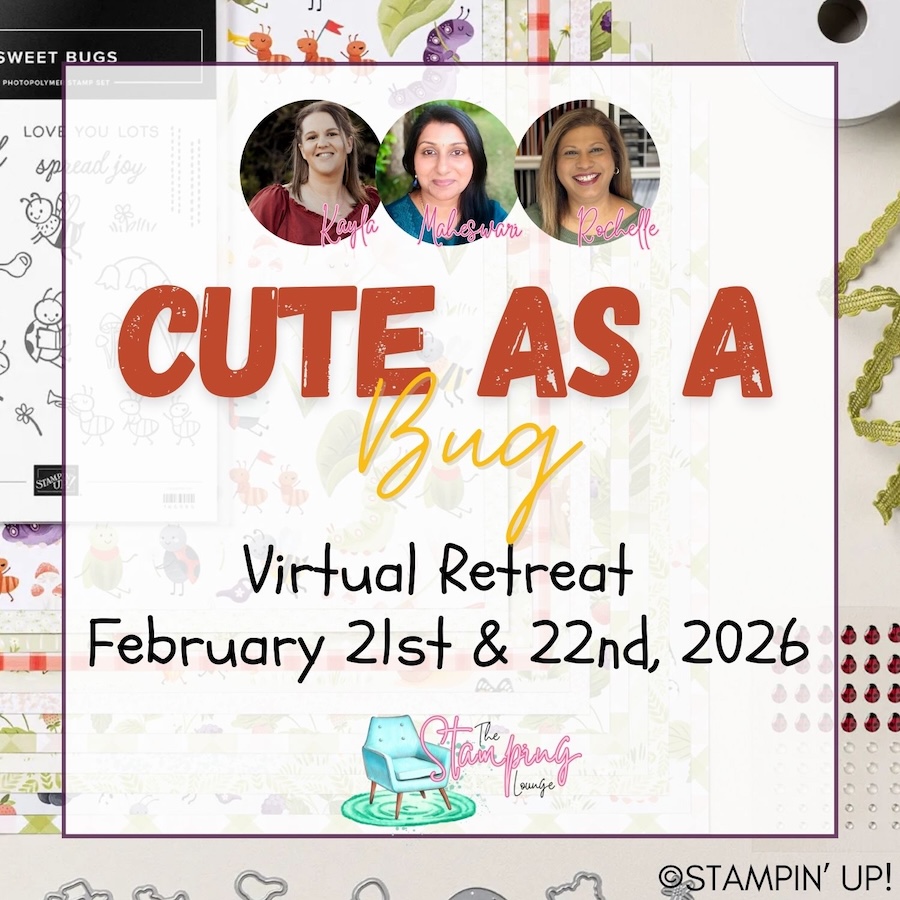
We also have our upcoming Cute as a Bug Virtual retreat which is open no matter where you are in the world! Take part in eighteen classes using the Cute as a Bug suite and get lifetime access! Click the images or links to find out more and enrol OR sign up to The Stamping Lounge membership to get access to to the mini catalogue launch party and more which are included in the membership (retreat sold separately)
supply list
Product List  |  |  |  | |
 |  |  | ||
 |  |  |  |  |
")


")


Leave a Reply