Lately I have been feeling really inspired to pull back out the tools & go back on a scrapbooking journey. It’s been a wee while but goodness I have missed it! I have piles full of photos and memories that I would love to document and it has been rather invigorating to get back to some memory keeping. I know that I have lots of small photos that don’t necessarily require a traditional 12×12″ scrapbook layout so I was keen to give some 8.5 x 11″ scrapbooking done with this page that I am sharing today.
This particular project was calling at me to use some of the gorgeous 6×6″ Full of Life Designer Series Paper. You might be wondering or curious how to use 6×6″ Designer Series Paper in scrapbook layouts but here I have made it shine by using this ‘rays of colour’ design to make a burst of rainbow goodness come out from this cute photo of my son and my niece. This design also works in reverse and draws the eye into the photo.
the finished full of life scrapbook layout
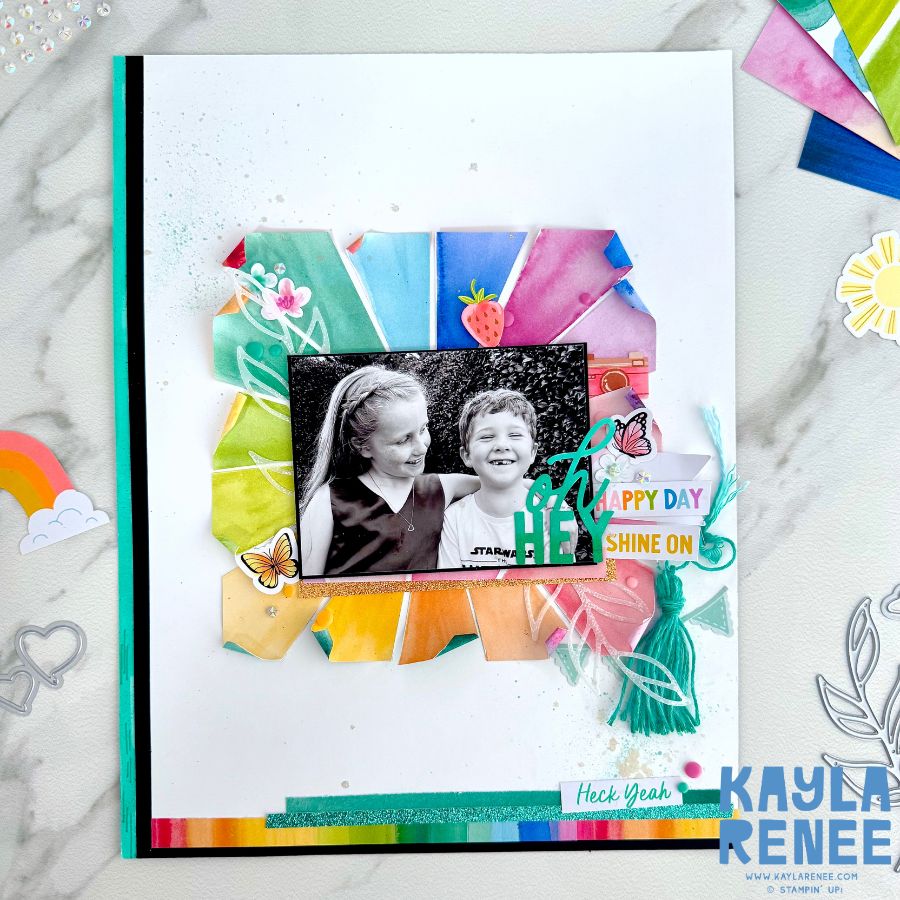
Here is a look at the finished layout. I knew that I wanted to create with BRIGHT colours. Anyone that knows my work and my favourite things will know that anything bright has my attention.
When I first saw this sunburst rays of light style Designer Series Paper I knew that I wanted to scrapbook with it. At first I wished that it was 12×12″ in size but I came up with this idea to not feel limited and to still use it on a scrapbook layout – making it the focal point of the page. What this helps to do is really draw attention to the photo – my main focus on this page.
The Mix & Match Ephemera pieces are also perfect for memory keeping! They come in four different styles at the moment and literally have something for everything! I have used a few different elements from the packs on this page that were both eclectic and random but fit well with the style and colour scheme that I was aiming for.
using 6×6″ designer paper on a scrapbook layout

When I cut the ‘rays’ of colour out from the Designer Series Paper I took a bone folder to the ends to give them a little bit of distressing and dimension. I love how this really added a lot more interest and excitement to the page.
Don’t be limited by your supplies. On this page I took the dies from the Friends for Life bundle and cut them out from the beautiful white patterned vellum from the new Graceful Greenery 12×12″ Vellum. Whilst this vellum has a Christmas/Festive theme I saw beyond that to the beautiful texture and soft element it would add to this page.
I love looking beyond my supplies especially when scrapbooking to create something eclectic, stylish and fun!
a close up look at the finished page
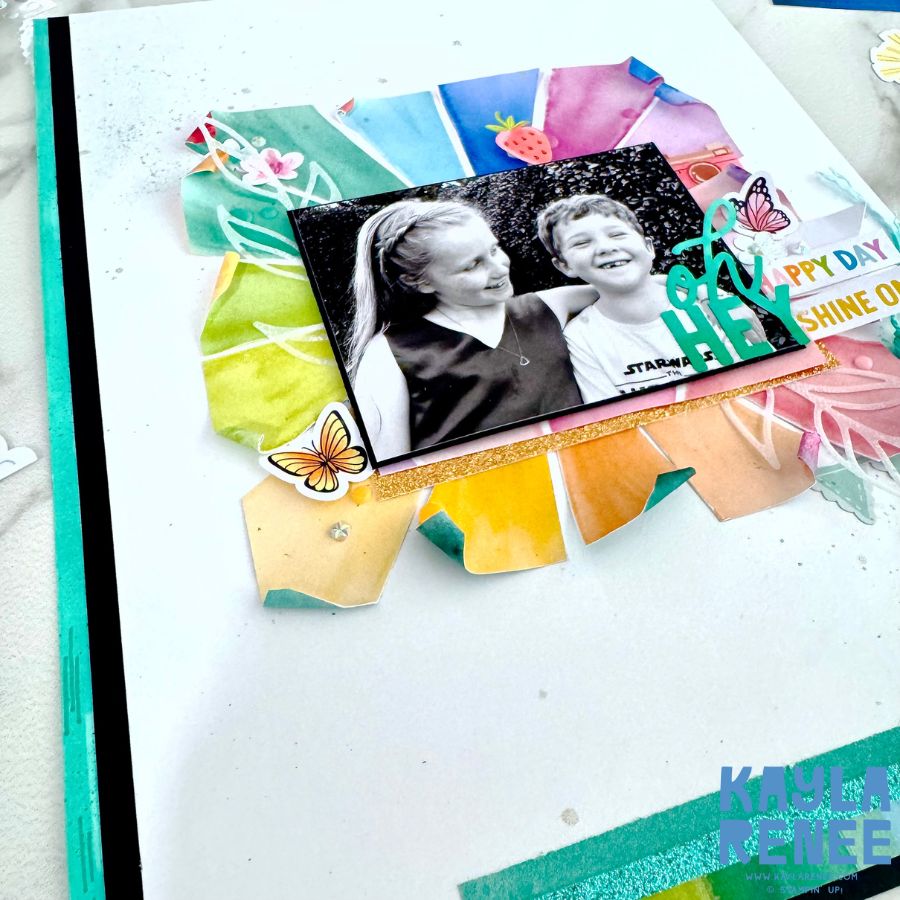
I actually added some layers of Summer Splash and Basic Black on the left hand side by accident…a happy accident I guess you can call it. I accidentally cut the width of my scrapbook layout to less than 8.5″ wide which would not be the correct width. To correct this I added a couple of strips of extra cardstock and I love how it turned out.
I can’t wait to do some more scrapbooking. I hope that you were able to get some inspiration from this layout share today.
To see my top tips for scrapbooking with Stampin’ Up! supplies see below…
my top tips for making a scrapbook layout with Stampin’ Up! supplies
- Plan your layout. Decide on the photos that you will use, choose a colour combination and the products you will use. If you want to make it really easy – choose a product suite of coordinated products.
- Use layering & dimension. Choose a variety of products and multiple layers to create depth and dimension. Layer with papers, specialty papers and cardstock to create rich dimension. Mix & match embellishments, die cuts and stamped images to vary textures, patterns, colours and height. This creates visual interest.
- Embellish, embellish, embellish. Try and utilise different types of embellishments like; ribbon, rhinestones, enamel shapes and specialty embellishments. These add an exciting touch to your pages.
- Mix & Match your patterns. There is no such thing as no spots & stripes together or blue & green must not be seen unless there is a colour in between. Wipe those myths and experiment with mixing it up!
- Try out techniques. Grab out the heat gun, water painters, masking, colour spritzing and more! You can definitely use those card making techniques on a scrapbook page. It really is a big card with some photos added!
- Grab a pen, some paper & document. We may know the story behind the photo but these are memories that others can enjoy. Write it down & document. The Mix & Match Labels & layers have some great options for journalling spots & tags. Try out the Basic Black Stampin’ Write Marker as a great journalling pen.
- Create focal points. This is the same design principle I use when making cards – I do this when I am scrapbooking too. Work is small clusters – use the rule of thirds and add small embellishments in odd numbers.
- Get sketchy! If you are really stuck – layout sketches can be a god send. Hop on Pinterest and check out scrapbooking layout sketches.
Until next time, happy crafting!

SHOP WITH ME & GET A FREE GIFT & TUTORIAL
PLEASE NOTE: Regardless of when you are viewing this post, this is automatically updated so the information and links listed here are current.
Shop with me in January 2026 to receive a FREE gift, tutorial and handmade card from me to thank you for your order.


Don’t live in Australia but still want to purchase the tutorial? You can purchase it through my tutorial store for $22AUD for instant PDF download. CLICK HERE to purchase.
HAPPENING NOW
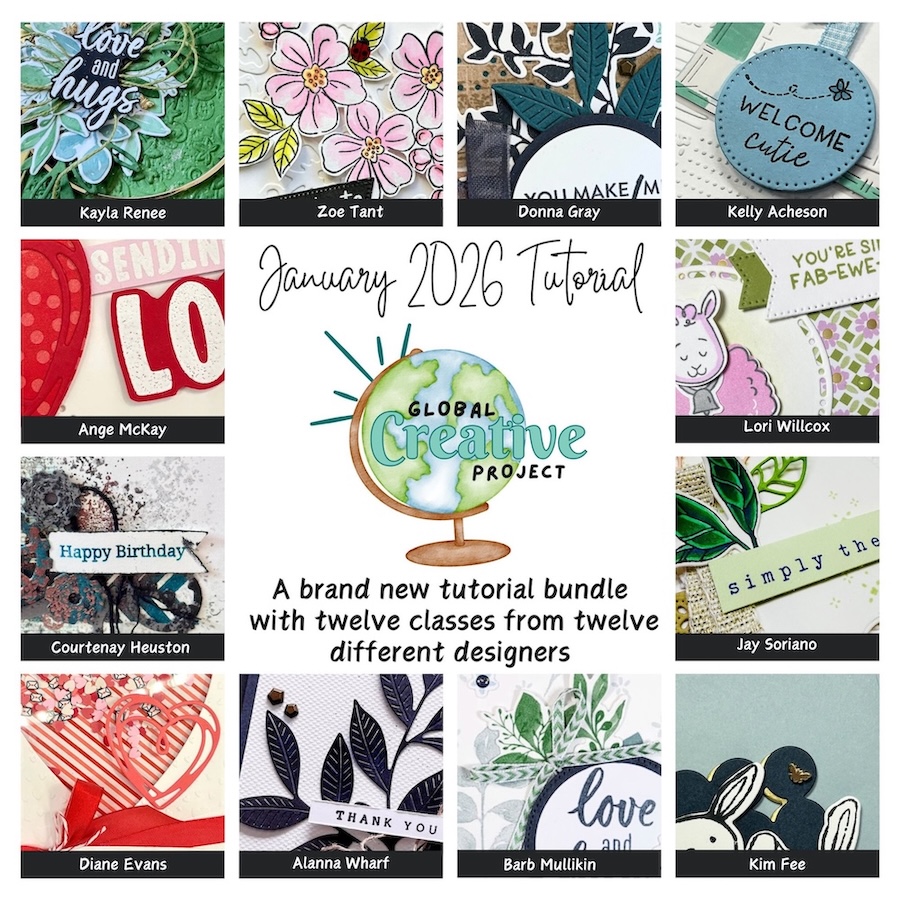


The brand new January Global Creative Project tutorial is now out. Earn for free from me for placing an order in my online store or head to my tutorial store and purchase the PDF tutorial.
New Creativity Kits have been released in my online store. Head here to check them out.
Our new Product of the Month promotion is now in full swing. Get an exclusive product for just $9 when you spend over $125 in my online store. Learn more about this new program here.
Events coming soon
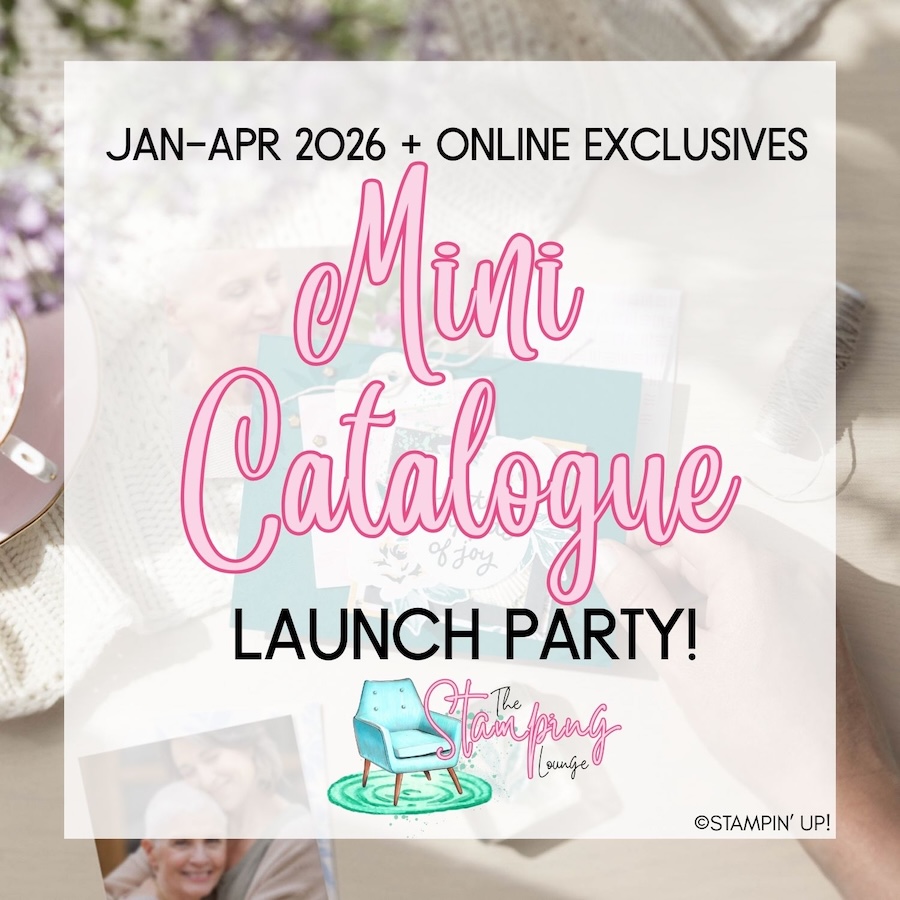
These are two upcoming amazing events with The Stamping Lounge run by myself, Maheswari Rajaguru and Rochelle Laird-Smith. Our Mini Catalogue Launch party is happening on the 11th of January – come and see all the new products, be part of the community, play games and take part in nine card classes!
We also have our upcoming Cute as a Bug Virtual retreat which is open no matter where you are in the world! Take part in eighteen classes using the Cute as a Bug suite and get lifetime access! Click the images or links to find out more and enrol OR sign up to The Stamping Lounge membership to get access to to the mini catalogue launch party and more which are included in the membership (retreat sold separately)
supply list
Product List ") |  |  | ||
 |  | |||
 |  |  | ||
 Designer Series Paper")
")

 Specialty Designer Series Paper")
 Specialty Paper")
 Cardstock")


Leave a Reply