I have been a paper hoarder from the beginning days of my time as a paper crafter, I have no problems admitting that confession! I think we have all been there and done that! We are paper crafters after all. Stampin’ Up! Designer Series Paper is like no other – the quality – the designs – the colours – the coordination – need I really say more? All those things…should they really be hoarded in a cupboard, shelf or packet somewhere? I have learned to give away my bad habit of hoarding paper. I have learned that the pretty paper is much better used on a pretty card. Do you know what? The pretty paper will always be replaced with more pretty paper – HAHA!
Use that Stampin’ Up! Designer Series paper, it’s worth it!
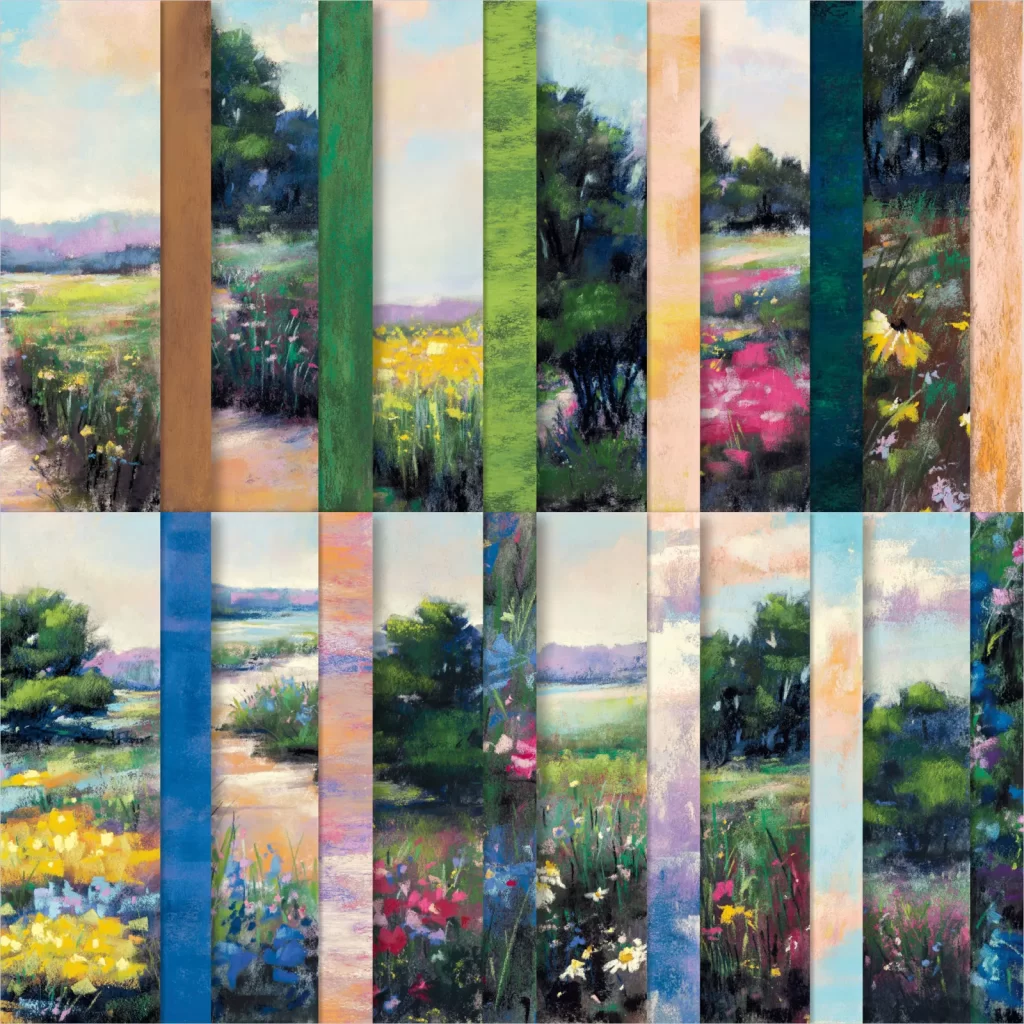
This new collection from Stampin’ Up! called the Meandering Meadows suite is amazing. It blew me away when I saw it. I love everything about it. The papers are what grabbed me first though. There are just no words sometimes.
do you want to check out a sneak peek of these new papers (they will be available november 6th)

The designs in this Designer Series Paper are just beautiful & the coordinating colours are amazing.
Coordinating colours: Balmy Blue, Basic Black, Blueberry Bushel, Cherry Cobbler, Crushed Curry, Fresh Freesia, Garden Green, Granny Apple Green, Highland Heather, Lemon Lime Twist, Melon Mambo, Night of Navy, Orchid Oasis, Pecan Pie, Petal Pink, Pumpkin Pie, Shaded Spruce
do you want a group to help you to #loveitchop it with your Stampin’ Up! designer series paper?
I belong to one of the best Stampin’ Up! teams and the lovely Kylie B started a great Facebook group called the #LoveItChopIt Facebook Group. The whole idea behind this is that if you love that Stampin’ Up! Designer Series Paper? Chop it! I really urge you to join. Kylie and Bruno would love you to join.
Click here to request to join.
a look at the finished card

I had so much fun using that beautiful arch die from the Meandering Meadows die on my card, that really is the show stopped piece is this bundle in my opinion. Having a “frame” for this piece of art – well what more can I say?
I added some soft blending with Crumb Cake ink to the beautiful stitched detail around the edges of my frame and the outer edge of my Crumb Cake layer and added this to another layer of Crumb Cake before adding this to a Crumb Cake card base. You just heard a whole lot of Crumb Cake in that sentence! That is because sometimes when I want something to really stand out I don’t want a whole lot of competing colour so I go for a soft neutral tone on tone look. It really blends in and lets my centrepiece shine!
a close up look at the details…

The beautiful dies from the Meandering Meadows dies come with these gorgeous grass accent pieces which looked gorgeous layered at the bottom of my arch. I used a mixture of; Shaded Spruce, Granny Apple Green and Lemon Lime Twist to add some grass.
To finish my card I added a beautiful sentiment heat embossed in gold on some Early Espresso and embellished with some of my absolute favourite natural ribbon.
Lastly I added one of the stamped flowers coloured with Orchid Oasis and Lemon Lime Twist Stampin’ Blends and some of the adorable new Dragonfly and Bird embellishments from the Meandering Meadows Suite.
a peek at the inside…

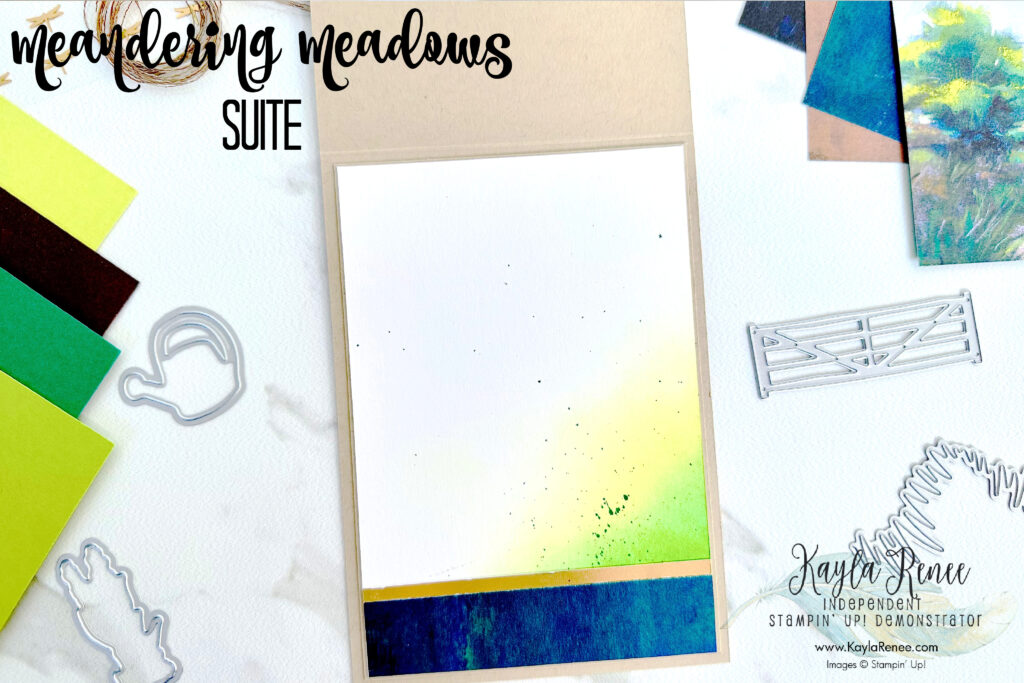
Of course adding a pretty inside is just as important and adding a beautiful bright blended inside with the coordinating greens was just perfect. The Lemon Lime Twist and Granny Apple Green just make this “POP!” The Shaded Spruce spritzed over the background was enough on its own to finish this inside piece off with some layers of leftover Designer Series Paper with a tiny strip of Gold Foil.
This suite is really something of it’s own and I am so lucky to be a demonstrator and have the privilege of being able to get things like this early. Remember you to can get this suite early this month by joining my team with that amazing joining offer, see below!
do you want to check out the live video replay…check it out…
I actually featured this beautiful project on my Friday night live, so you can see me make this whole card on video if you don’t mind all the chitter chatter and debating about what goes where – haha! – see the video above and make sure you check out my Facebook and YouTube and click subscribe and like to not miss out on my future live videos!
Until next time, crafty hugs. xx
p.s.
MY TOP TIPS FOR USING DESIGNER SERIES PAPER
- Mix and match with neutrals: If you’re unsure about mixing patterns, pair the Designer Series Paper with neutral colours like white, black, or kraft cardstock. This helps to tone down the patterns and create a balanced look.
- Use coordinating colour schemes: Stampin’ Up! Designer Series Paper is designed to coordinate with their ink and cardstock colours. By using colours that are already meant to work together, you can have confidence that your project will look cohesive and harmonious. The Designer Series Paper is also listed on the back of each pack with the colours that are meant to coordinate with each pack, this makes it easy to know what coordinates with each pack.
- Display the patterns strategically: Pay attention to the scale and direction of the patterns on your Designer Series Paper when using them on your projects. Use larger prints for focal points and smaller prints for accents or backgrounds.
- Embrace imperfections: Remember that crafting is all about creativity and self-expression. Don’t worry about everything being perfectly lined up or symmetrical. Embrace the unique qualities of handmade projects, imperfections and all.
- Have fun and experiment: Give yourself permission to play and have fun with your Designer Series Paper. Try out new techniques, layer different patterns, or mix unexpected colour combinations. The more you experiment, the more comfortable and creative you’ll become.
- Use scraps for accents: Don’t waste those leftover scraps of Designer Series Paper! Use them to create borders, banners, tags, or small accents on your projects. It’s an easy way to add a pop of colour and pattern. Use the strips of paper as strips for the inside decorations on the inside of your card!

SHOP WITH ME & GET A FREE GIFT & TUTORIAL
PLEASE NOTE: Regardless of when you are viewing this post, this is automatically updated so the information and links listed here are current.
Shop with me in January 2026 to receive a FREE gift, tutorial and handmade card from me to thank you for your order.


Don’t live in Australia but still want to purchase the tutorial? You can purchase it through my tutorial store for $22AUD for instant PDF download. CLICK HERE to purchase.
HAPPENING NOW


The brand new January Global Creative Project tutorial is now out. Earn for free from me for placing an order in my online store or head to my tutorial store and purchase the PDF tutorial.
New Creativity Kits have been released in my online store. Head here to check them out.
Our new Product of the Month promotion is now in full swing. Get an exclusive product for just $9 when you spend over $125 in my online store. Learn more about this new program here.
Events coming soon


These are two upcoming amazing events with The Stamping Lounge run by myself, Maheswari Rajaguru and Rochelle Laird-Smith. Our Mini Catalogue Launch party is happening on the 11th of January – come and see all the new products, be part of the community, play games and take part in nine card classes!
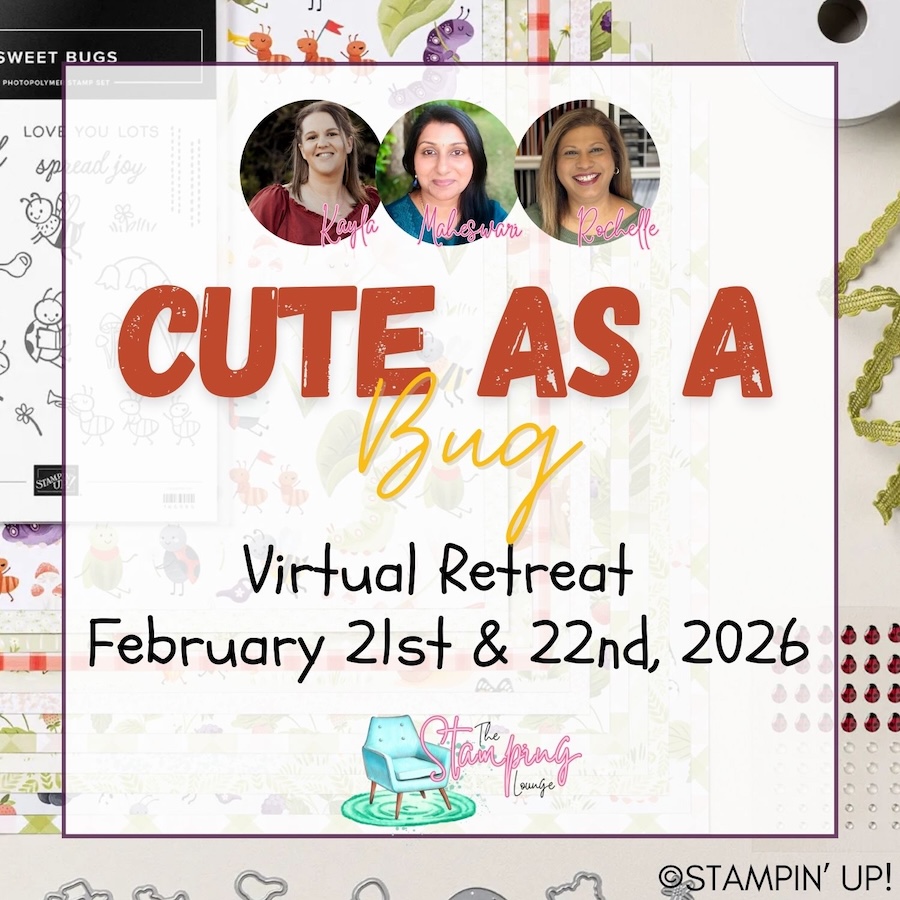
We also have our upcoming Cute as a Bug Virtual retreat which is open no matter where you are in the world! Take part in eighteen classes using the Cute as a Bug suite and get lifetime access! Click the images or links to find out more and enrol OR sign up to The Stamping Lounge membership to get access to to the mini catalogue launch party and more which are included in the membership (retreat sold separately)
Please note this is not the complete supply list as the Meandering Meadows Suite is not available to buy in my online store until November 6th. Check back in my online store then.
Product List


What a sweet card Kayla!
Thank you so much Kylie. Sending big hugs. xx