Welcome to part five of the chain card swap series that I have been sharing. Did you miss part four? Head on over here and check it out. I will be sharing eleven posts in this series and today is part five.
What is a chain card swap? A group of people participate and it is similar to Chinese whispers where each of the participants designed a card which was then sent off to another of the participants which then CASE’d the card and sent it on so that when it gets sent back to the original creator it may look completely different to the original – how fun is that?
Today I am sharing a fun card using the Stampin’ Up! Trucking Along Bundle. I had fun using a torn paper technique with this beautiful Designer Series Paper that is now retired (but it would look fabulous in any of our fabulous designs). I had created this design back late last year so it does feature some retired products but could easily be replicated using current products.
For this fifth blog hop, we are all sharing our cards that we CASE’d for my original card which is shared below. See below for a list of all the blogs and the beautiful cards where you can hop along and see how the card changed along the way. It is very cool to see the progression of a card along one of these chain card swap series
a look at the finished card featuring the torn paper technique

Here is a look at my finished card that I made to start off my card chain and I decided on a Christmas theme as when I made my card it was late last year. I really wanted to feature the beautiful truck from the Trucking Along bundle underneath a night sky with a bit of a rustic/vintage feel.
To achieve this feeling I used some Misty Moonlight cardstock and both some Misty Moonlight and Night of Navy ink with some Blending Brushes to add some ink around my edges adding a vignette feel. Upon my ink being try I spritzed both some Night of Navy Stampin’ Write Marker and some White Craft Ink across my background to achieve the feel of stars in a night sky. I added to this with some Wink of Stella to add some sparkle.
To achieve a bit of a ‘grounding’ for my truck I wanted to add some kind of track or road so I decided to use some Designer Series Paper and use the torn paper technique to add layers of Designer Series Paper which added both some layers and a beautiful grounding effect. The torn paper technique was great for adding a vintage vibe to my card which also looked great with this slightly ‘older’ looking truck.
a close up of those beautiful details and those layered details

Here is a look at some of the finer details of my card.
I added some cute little embellished details on my card including some frayed ribbon threads from a now retired ribbon (but any of the wider ribbons or ribbons that have the ability to be frayed or loose threads look great with this technique). The Brushed Metallic Dots also added a bit of a vintage metallic look to my card and gave it that rusty/metallic theme you would expect to see on an old truck.
I added some more of that Designer Series Paper and a strip of some More Dazzle Specialty Paper. Any excuse to add some!
The layers of Designer Series Paper with the wood pattern really reminded me of a wood track or driving out in the bush to get a Christmas tree and looked great in the layers with the torn paper technique. I used a Blending Brush and some Crumb Cake Ink with a Blending Brush to add some extra texture.
a peek at the inside…

I added a bit of extra blending with some Crumb Cake Ink to the inside of my card with a stamped sentiment and some spritzing with an Early Espresso Stampin’ Write Marker.
The inside featured some more Designer Series Paper and more of that gorgeous torn paper technique so that my design would flow through to the inside.
I just love how this card had a vintage vibe but still had some modern touches.
tracy held’s card that came back to me in the final round

Isn’t it interesting to see how the card turned out at the end? Tracy’s card is beautiful but it’s so fun and interesting to see how they look so different at the end. See below to follow the whole chain of cards to see how it evolves along the way…
blog hop list
Until next time, stay tuned for part six of the chain card swap series. Happy crafting. xx

SHOP WITH ME & GET A FREE GIFT & TUTORIAL
PLEASE NOTE: Regardless of when you are viewing this post, this is automatically updated so the information and links listed here are current.
Shop with me in January 2026 to receive a FREE gift, tutorial and handmade card from me to thank you for your order.


Don’t live in Australia but still want to purchase the tutorial? You can purchase it through my tutorial store for $22AUD for instant PDF download. CLICK HERE to purchase.
HAPPENING NOW
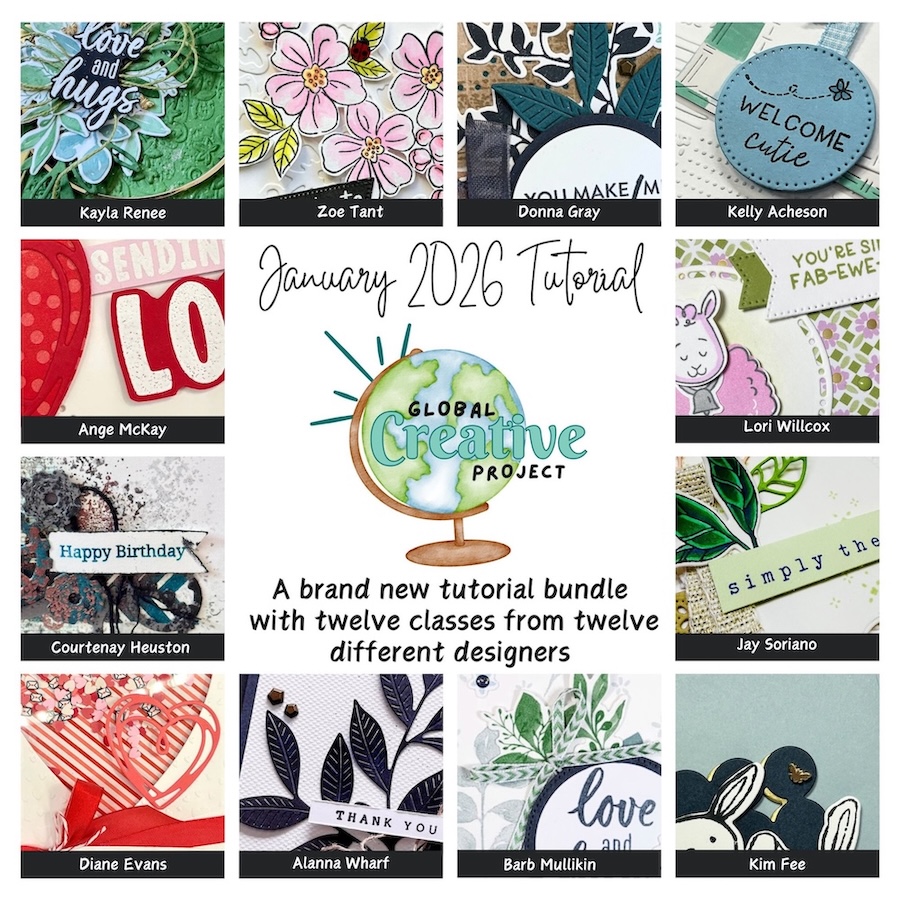


The brand new January Global Creative Project tutorial is now out. Earn for free from me for placing an order in my online store or head to my tutorial store and purchase the PDF tutorial.
New Creativity Kits have been released in my online store. Head here to check them out.
Our new Product of the Month promotion is now in full swing. Get an exclusive product for just $9 when you spend over $125 in my online store. Learn more about this new program here.
Events coming soon
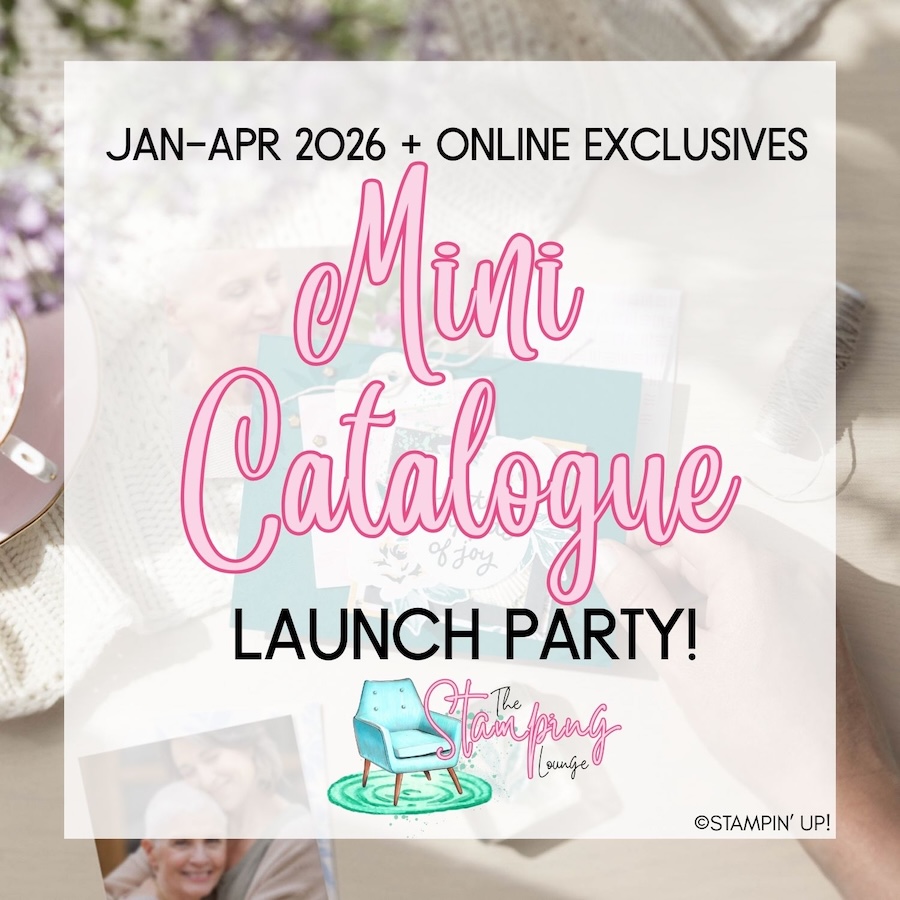

These are two upcoming amazing events with The Stamping Lounge run by myself, Maheswari Rajaguru and Rochelle Laird-Smith. Our Mini Catalogue Launch party is happening on the 11th of January – come and see all the new products, be part of the community, play games and take part in nine card classes!
We also have our upcoming Cute as a Bug Virtual retreat which is open no matter where you are in the world! Take part in eighteen classes using the Cute as a Bug suite and get lifetime access! Click the images or links to find out more and enrol OR sign up to The Stamping Lounge membership to get access to to the mini catalogue launch party and more which are included in the membership (retreat sold separately)
Product List
") |  |  | ||
 |  |  |  | |
 |  |  | ||
 |  |  |  |  |

 Specialty Paper")


Kayla your card is amazing it ended soooo differently 🤣
I love the intensity of the background. Beautiful card.