It’s a beautiful new week and I am ready to have a creative week hammered down in my craft room productively creating before I head away for a month. I was keen to create with this beautiful sketch for the #GDP418 challenge as I was super inspired by the clean and fresh design – which was funny because as it turned out my card ended up being quite the opposite from clean and simple!
I was keen to try out some Gilded Leafing on my card this week with the gorgeous Sea Turtle stamp and try out exploring adding some golden shine to my stamped images. Have you ever tried this beautiful technique? You can see it in action on my Instagram page on the reel where I show it up close here. I hope that you get some inspiration this week.
#GDP418 global design project sketch challenge
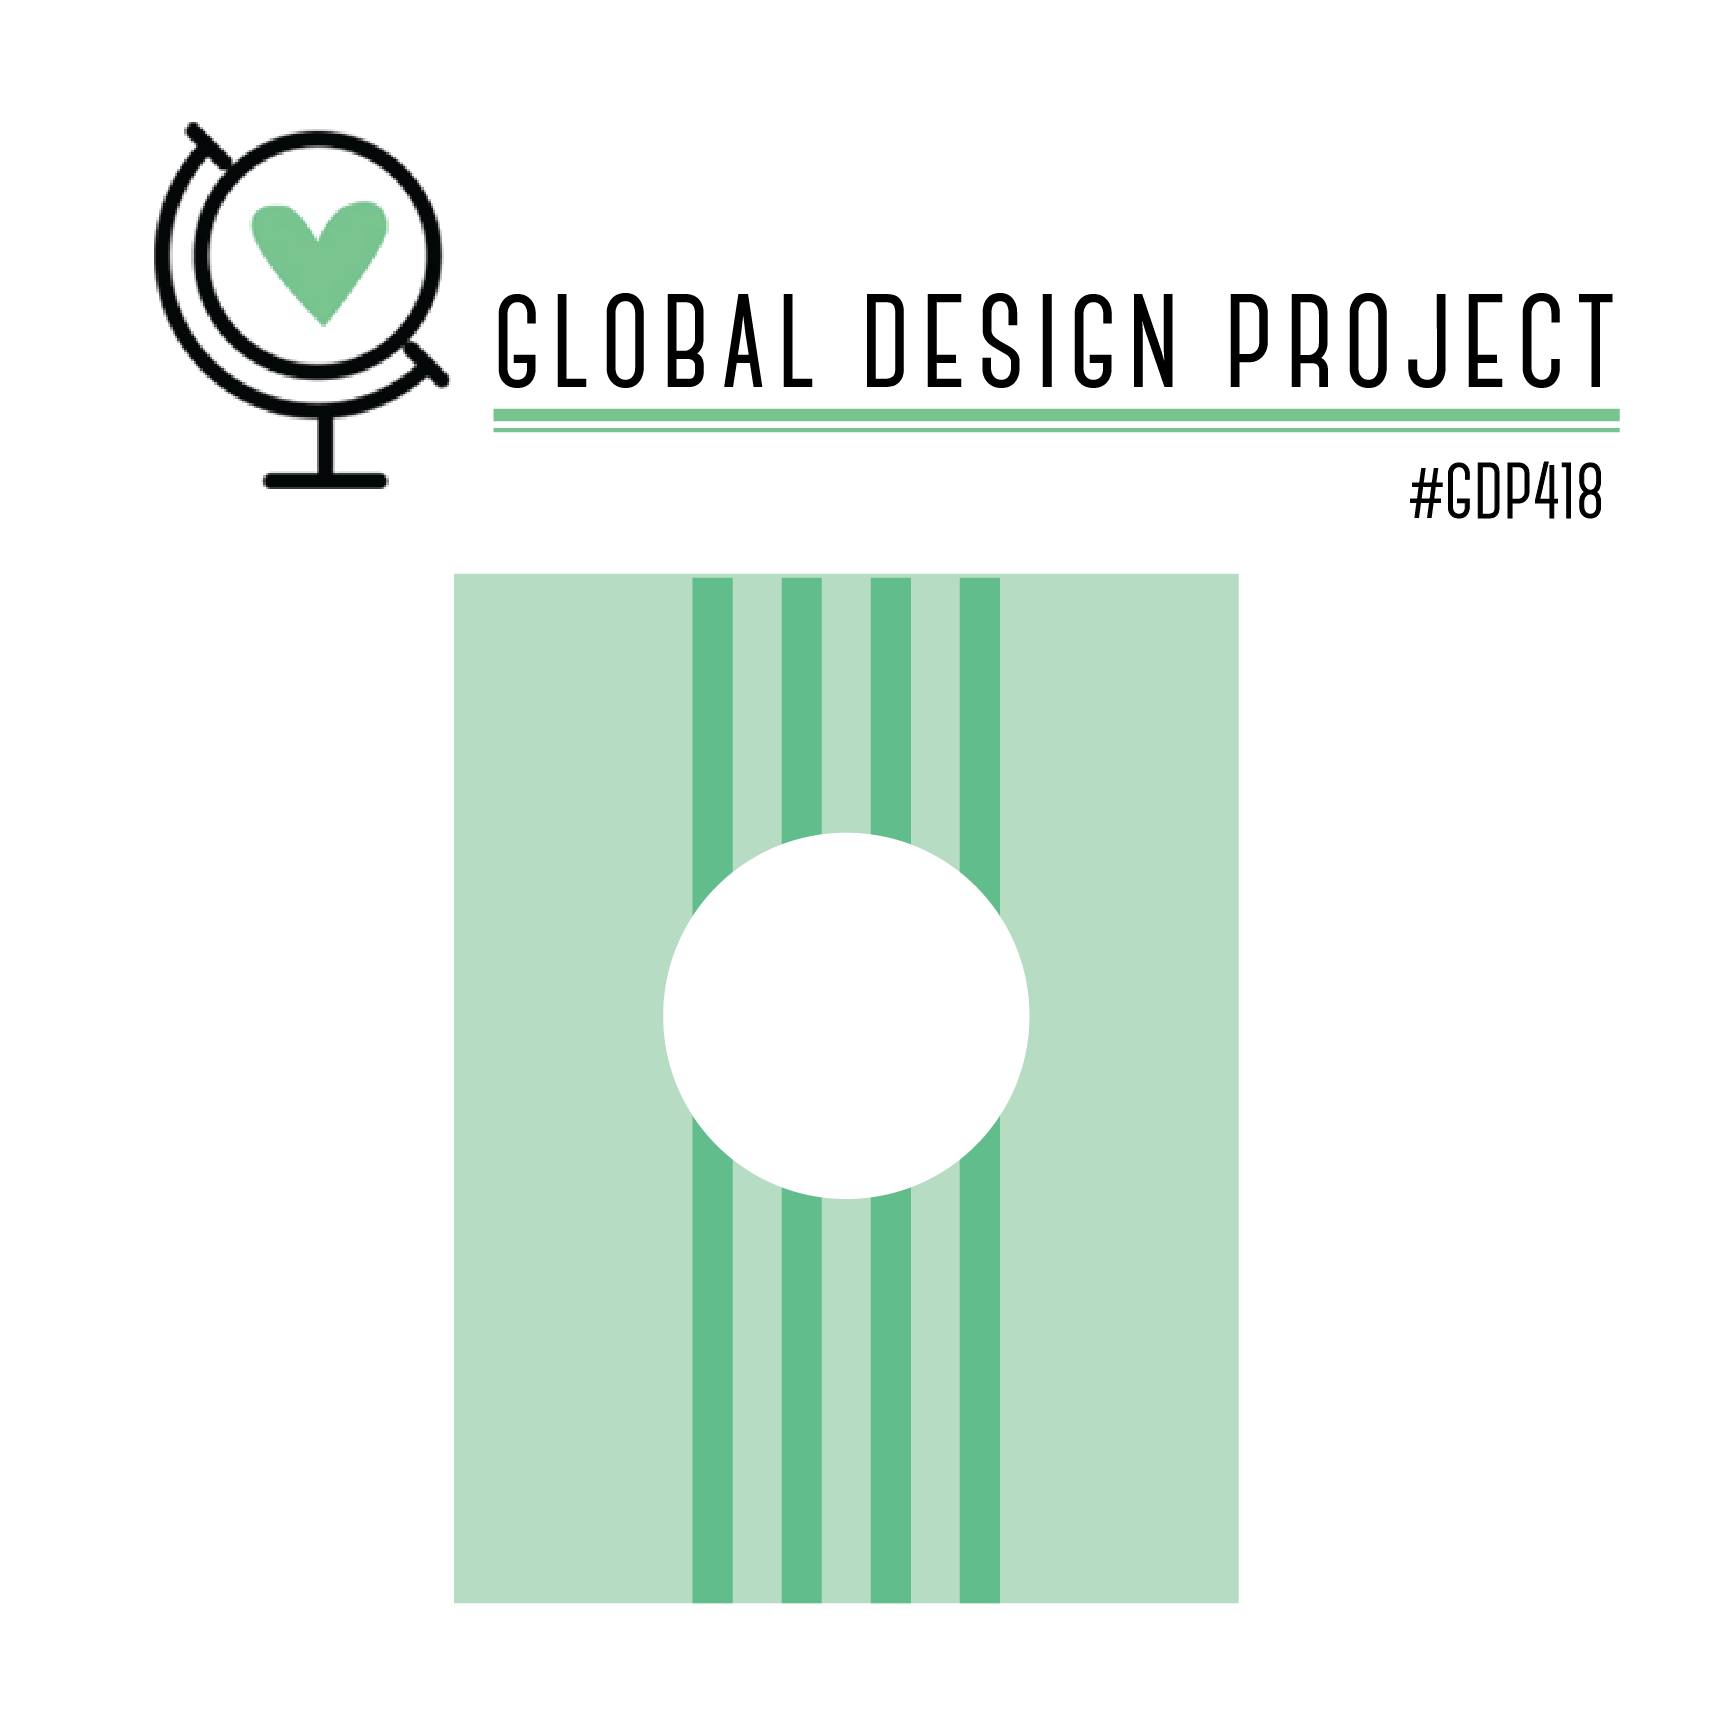
Here is a look at this week’s challenge. Be sure to head over to the blog and check out the rest of the team’s amazing projects and join in for yourself. We would love to see your projects. Be sure to use the hashtag #GDP418 when sharing on socials so we can see your work!
the finished card
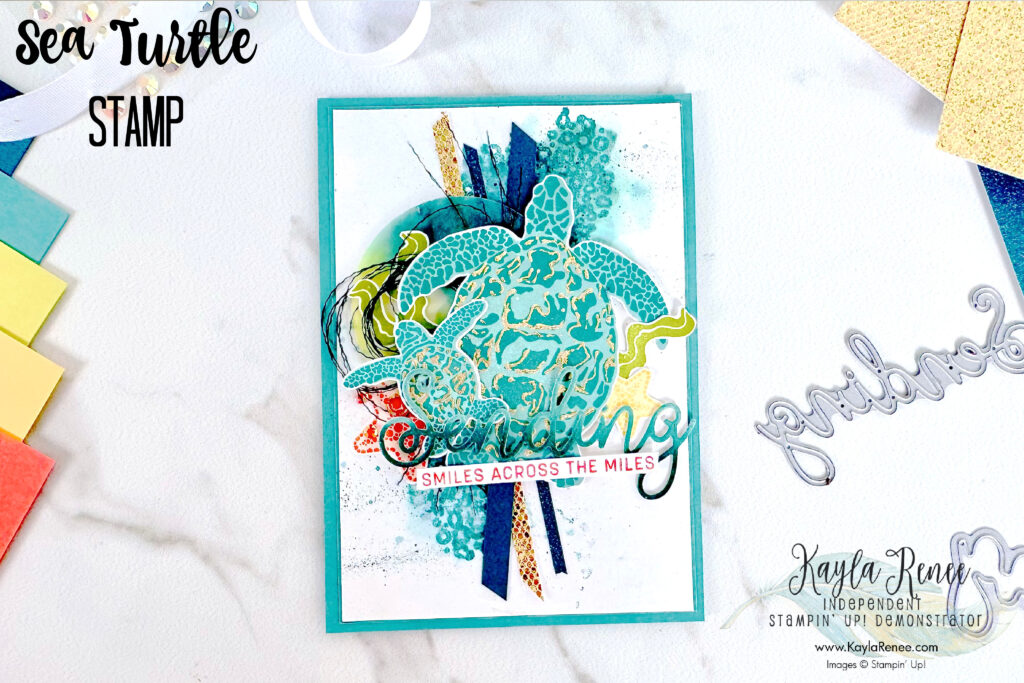
Here you can see the finished card. This is one of those projects where I just kept adding lots of little bits and bons, I call them my ‘collage’ cards. The music was pumping in the craft room and I was having so much fun. I loved playing with the colours and the textures on this one and the Gilded Leafing just had my arty side coming out to play. I am a gold girl through and through and this just made my heart sing!
If you haven’t tried the Gilded Leafing yet, you really should check it out – this stuff is the bee’s knees! You only need a few supplies and you are all set. To get it to ‘stick’ to a project all you is either some good tacky glue (I simply use my tombow glue) or some heat n’ stick powder which you can use just like embossing powder, as it remains tacky.
some simple steps for using gilded leafing
- Choose what method of applying Gilded leafing you are going to use. There are a couple of different methods of using Gilded leafing but essentially you will need a sticky surface for it to apply to. You could use Tombow Glue, the Heat N’ Stick powder or you can even use Adhesive Sheets on cardstock to create solid sticky surface.
- Add the Gilded Leafing to your surface – either your stamped image made tacky with embossing with Heat N’ Stick Powder or another sticky surface like the one shown below. I find it easiest to add my leafing with a sponge and gently add it in a circular motion and rub the excess off back into a tub. Gently tap off the excess.
- Lightly press the Gilded Leafing down to make sure that it is well adhered to the surface. This ensures that the leafing is securely adhered to the surface.
- Some tips: I find it easiest with Gilded Leafing to remove it from its original tub into a larger container – this stuff can get MESSY! It does expand! I keep an old Stampin’ Sponge in my tub. Keep it away from a fan or a breeze. Keep the lid on the container and put it straight back on when you are done! Definitely do not let the kids near this stuff. Haha!
a close up look at the finer details
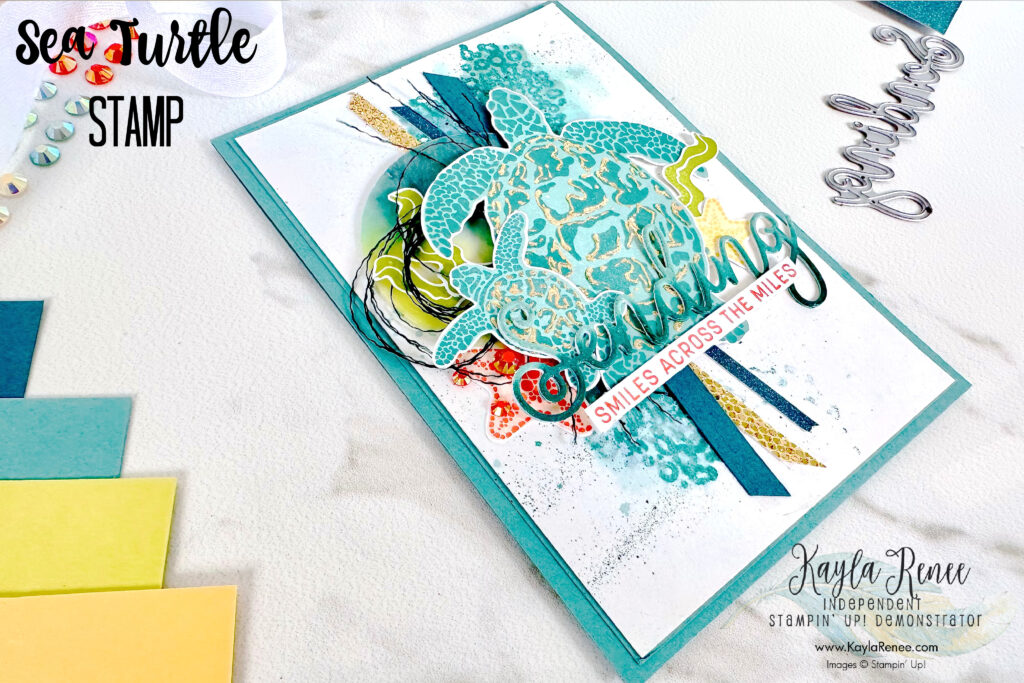
Here is a close up look at my finished project. I just loved adding all the finer details to this one. Although the sea turtles are the focal point, I did add lots of little details to this one. To keep with the sketch I wanted to add the “strips” down the centre and so I decided to make it super special and add some speciality papers. The beautiful Soft Shimmer in Pretty Peacock and More Dazzle Specialty Paper in Gold just made this card shine!
I did want to ‘ground’ my focal point and have something to ‘place’ my little arrangement of turtles and little sea objects on and so I did punch a circle, which is actually cut from coloured vellum. I had already coloured and prepared this vellum from a project I had created the other day and shared on my blog. You can see it here. There is nothing better than using scraps left on your desk plus I couldn’t leave those gorgeous colours alone!
Speaking of colours – these are the colours that inspired this project…
the colours that inspired my project
To finish my card off I added a beautiful sentiment which I coloured in ombre style die cut from the beautiful Sending Dies and finished with a sentiment stamped in Calypso Coral from the Sending Smiles Stamp Set. I added some coloured thread from the Herringbone Ribbon and some beautiful Iridescent Pastel Gems.
a look at the inside of my card

I just had to make the inside as pretty as the outside and I adore the specialty papers so I added some strips of the Soft Shimmer Specialty Paper in Pretty Peacock as well as a tiny strip of that beautiful More Dazzle Specialty Paper to this inside layer.
To complete the inside layer I added some stamping from the Sea Turtle Set and some soft blending is Lost Lagoon. With a Pretty Peacock Stampin’ Write Marker, I have added some light spritzing over the inside layer.
I had so much fun with this week’s challenge and using some Annual Catalogue products. I must admit that it was so much fun doing something non Christmas themed! I’m a little over the Christmas at the moment. Haha!
I’d love you to jump on over to the blog & check out this week’s challenge and join in! It’s going to be a great week!
Don’t forget to give the Gilded Leafing a go, it really is magical stuff and can turn any project into a wow project! Check it out linked in the supply list below!
Until next time, crafty hugs! xx

SHOP WITH ME & GET A FREE GIFT & TUTORIAL
PLEASE NOTE: Regardless of when you are viewing this post, this is automatically updated so the information and links listed here are current.
Shop with me in January 2026 to receive a FREE gift, tutorial and handmade card from me to thank you for your order.


Don’t live in Australia but still want to purchase the tutorial? You can purchase it through my tutorial store for $22AUD for instant PDF download. CLICK HERE to purchase.
HAPPENING NOW


The brand new January Global Creative Project tutorial is now out. Earn for free from me for placing an order in my online store or head to my tutorial store and purchase the PDF tutorial.
New Creativity Kits have been released in my online store. Head here to check them out.
Our new Product of the Month promotion is now in full swing. Get an exclusive product for just $9 when you spend over $125 in my online store. Learn more about this new program here.
Events coming soon

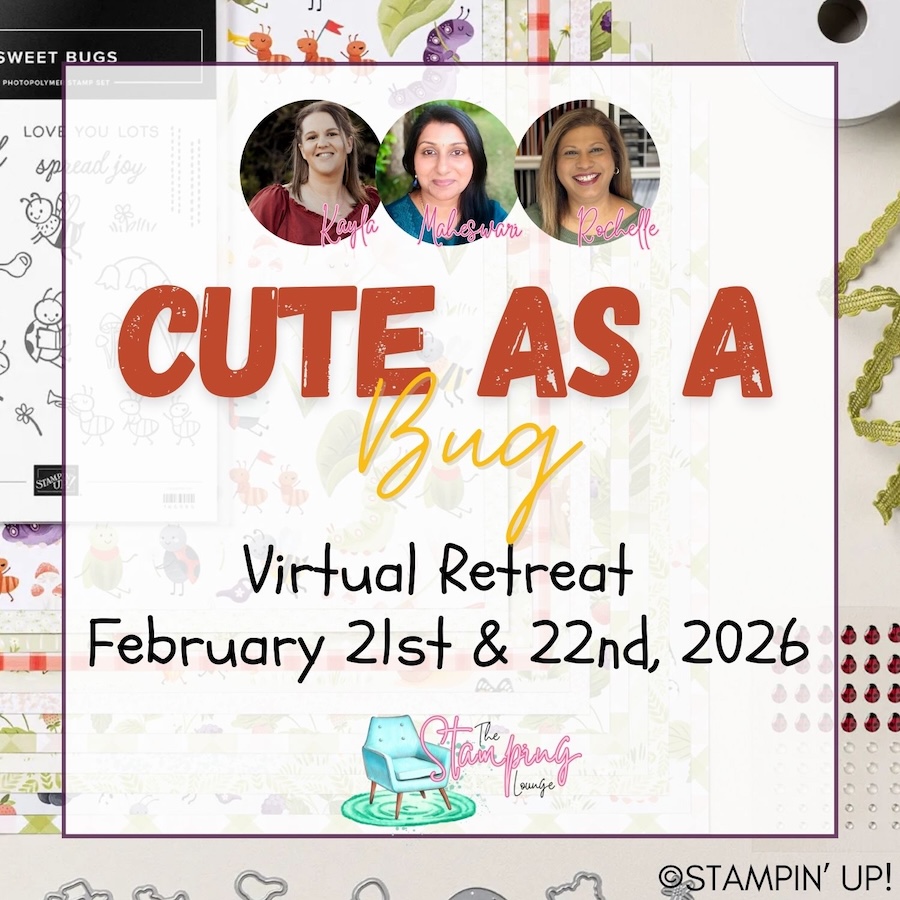
These are two upcoming amazing events with The Stamping Lounge run by myself, Maheswari Rajaguru and Rochelle Laird-Smith. Our Mini Catalogue Launch party is happening on the 11th of January – come and see all the new products, be part of the community, play games and take part in nine card classes!
We also have our upcoming Cute as a Bug Virtual retreat which is open no matter where you are in the world! Take part in eighteen classes using the Cute as a Bug suite and get lifetime access! Click the images or links to find out more and enrol OR sign up to The Stamping Lounge membership to get access to to the mini catalogue launch party and more which are included in the membership (retreat sold separately)
Product List


Leave a Reply