I am so excited be coming almost mid week to share a card that I made using the same bundle that I shared the other day with this fun card here.
I really loved this card because it features a couple of my favourite things – green, and of course that gorgeous bundle but also this fun alcohol ink technique that uses our fabulous Stampin’ Blends.
This technique sounds a lot more complicated than what it is! It’s as simple as having some vellum, some rubbing alcohol and some Stampin’ Blends! I have shared more about you can create these alcohol ink backgrounds below.
kylie’s international blog highlights
My card today I have also included as part of the amazing Kylie Bertucci’s Monthly International Blog Highlight’s. I’d love you to go and check out the whole gallery. There are lots of amazing projects!
Head here to check out the International Blog Highlights and vote for my card if you wish.
a look at the finished card

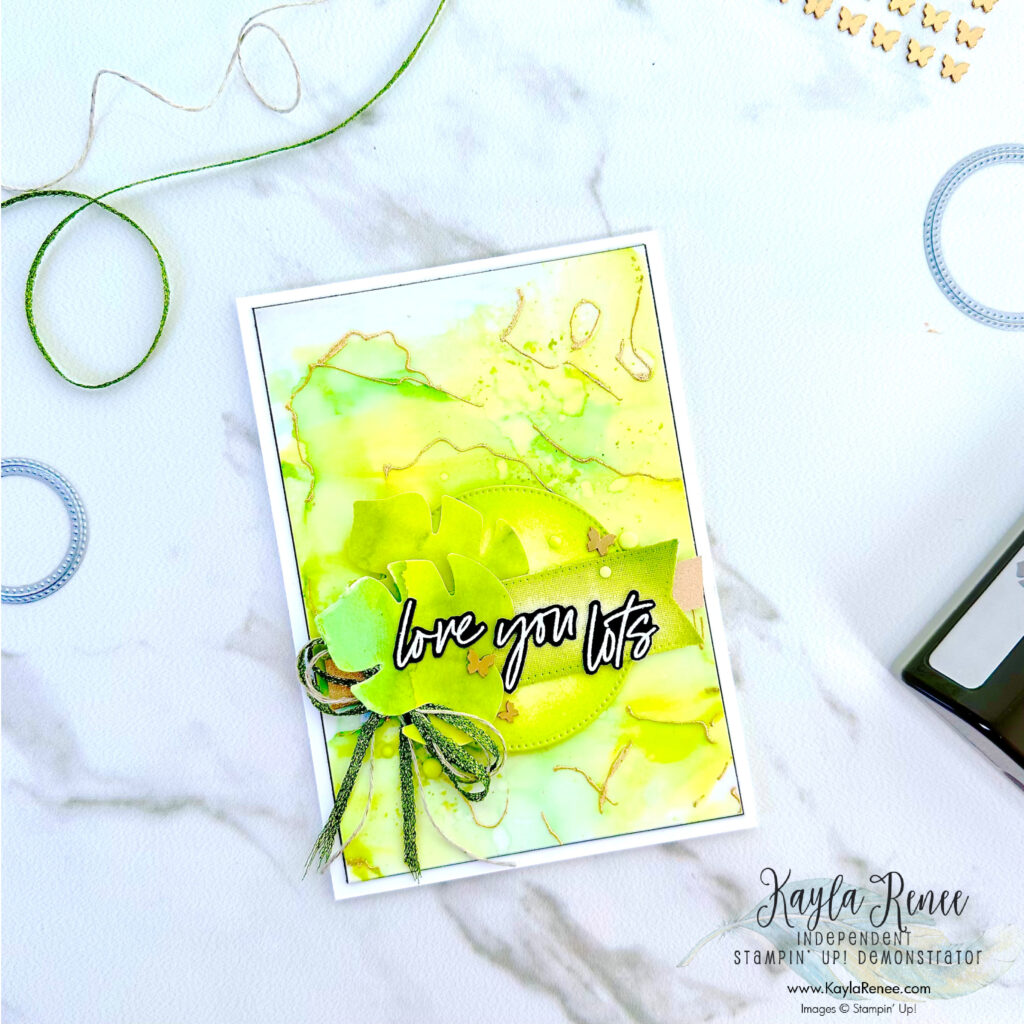
Here is a look at the finished card! It is so green & reminds me of a jungle! Truth be told I have a rather large and leafy monsteria in my craft room and so making these cards I literally had the inspiration beside me!
I love that creating these alcohol ink technique background with Stampin’ Blends really makes the card. What I like to do is sit and make a few of these and then I have the backgrounds ready and can make a few cards all in one go – super easy and quick and it looks like I have spent hours on these cards – but I promise you they are actually super quick!
There are a few supplies that I recommend you have on hand …
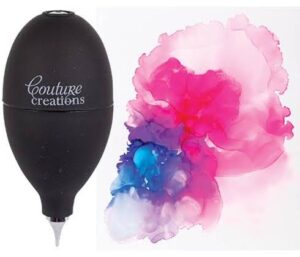
1) Couture Creations Blowing Tool – Sometimes it is handy to have a straw to help move the ink and help it ‘flow and move’ across the vellum however there is a handy ‘blower tool’ that I have which I have shown in reference one.
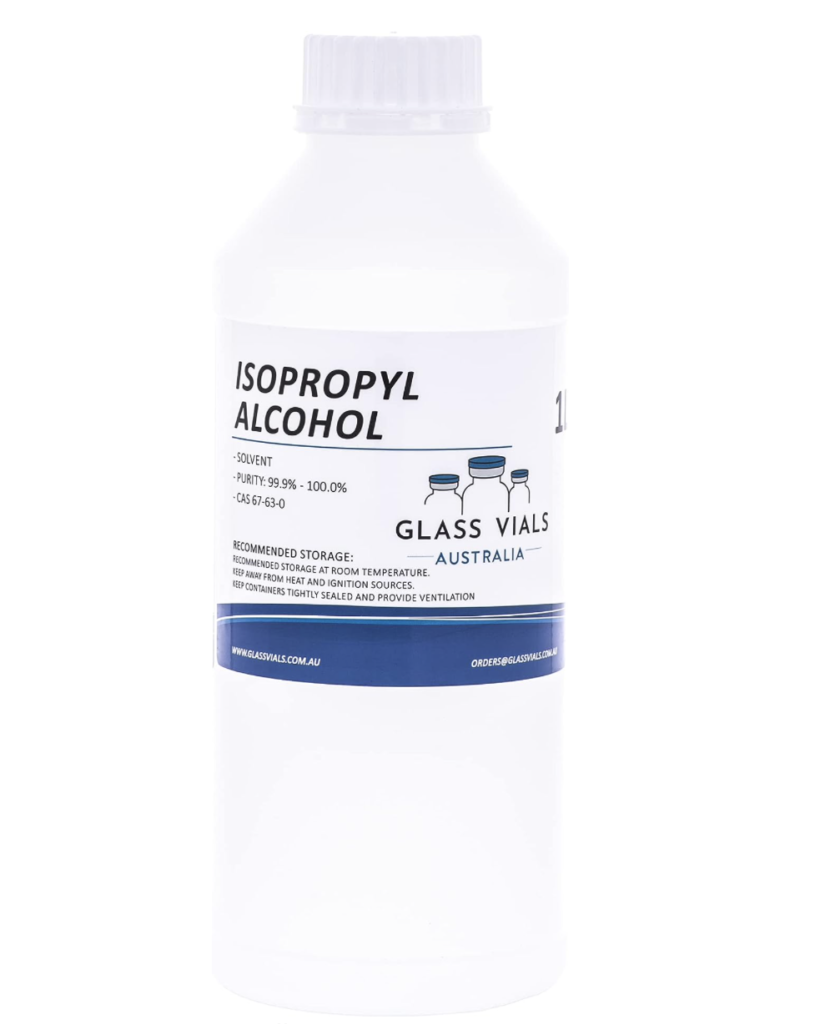
2) Isopropyl Alcohol – this is a must and should be at least 99.9% alcohol. I buy mine from Bunnings here in Australia however I have linked one available on Amazon.
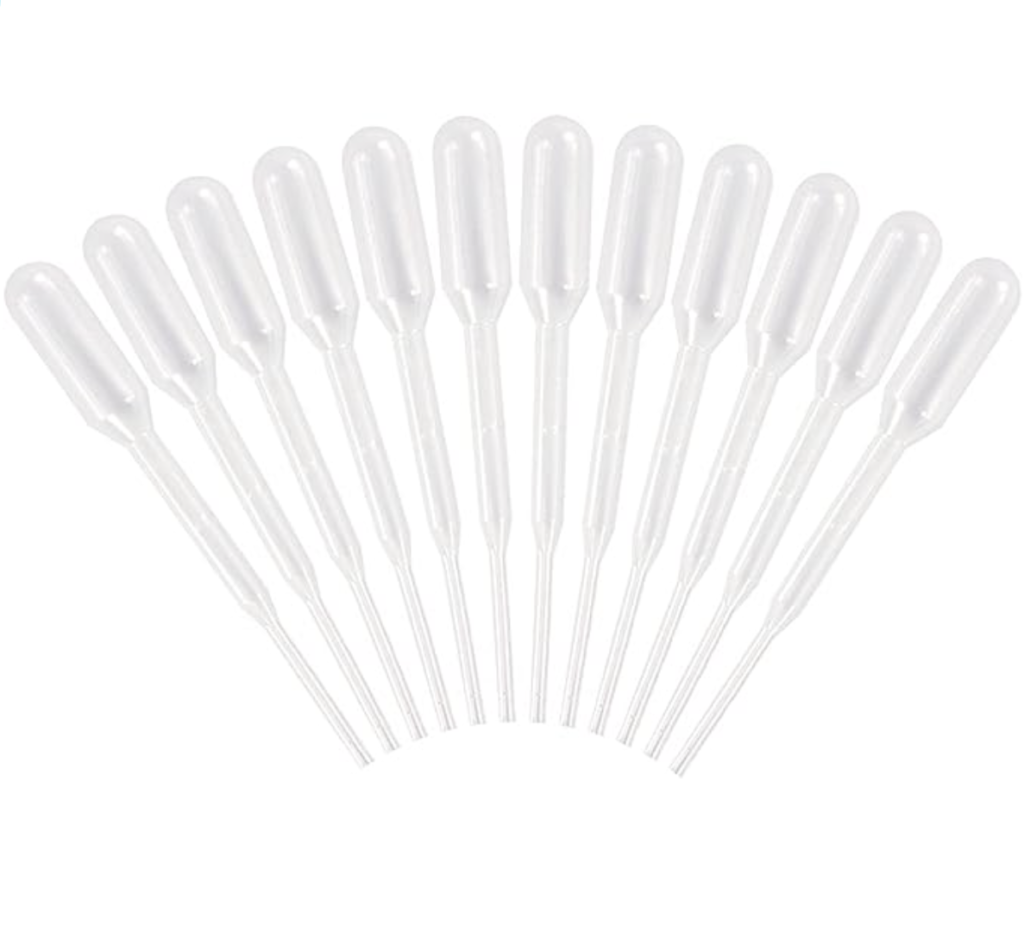
3) Pipettes – sometimes these are also handy for another effect to make your backgrounds look like ‘bubbles’ of ink droplets and are really cheap to buy. These are great to pick up the alcohol and ‘drop’ onto the surface.
Alcohol ink technique with stampin’ blends
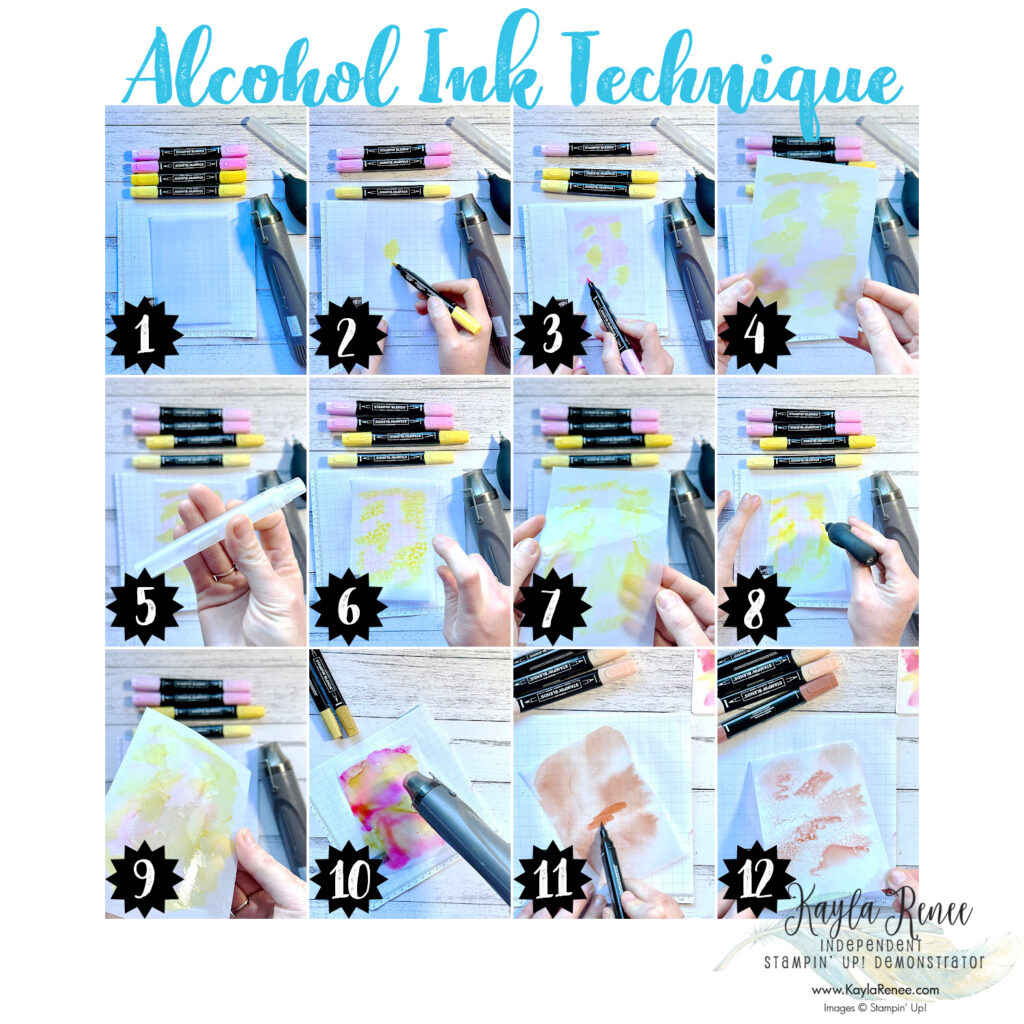
- Step 1: Get your supplies. For these backgrounds I have used my Stampin’ Spritzer filled with rubbing alcohol, my Stampin’ Up! Heat Tool, my Stampin’ Blends and a blowing tool.
- Step 2: After choosing a colour combination start scribbling them over your vellum (it is important that you use vellum for this technique). I don’t tend to overlap the colours.
- Step 3: I move between colours even using complimentary colours if desired.
- Step 4: Here you can see the entire piece is filled with colours but I have not overlapped the colours.
- Step 5: I have a Stampin’ Spritzer which is filled with Isopropyl Alcohol (linked above)
- Step 6: Spritz 2-3 sprays over your vellum (less is more) you can always add more if needed. You do not want to saturate the piece.
- Step 7: Tilt and move the vellum to get the colours to flow and move and start blending together.
- Step 8: For a cool effect use the blowing tool (or a straw) to blow the colours and get them moving more and making circular patterns.
- Step 9: Continue to tilt and move the cardstock.
- Step 10: Use the heat tool on a low setting to dry the ink (this will only need a few seconds as the alcohol will evaporate very quickly)
- Step 11: If you want MORE colour after the piece is dried you can go back and add more Stampin’ Blends, simply scribble more Stampin’ Blends over the piece where desired.
- Step 12: Spritz with rubbing alcohol and repeat process again.
a look at some of the finished alcohol ink technique backgrounds created with stampin’ blends…
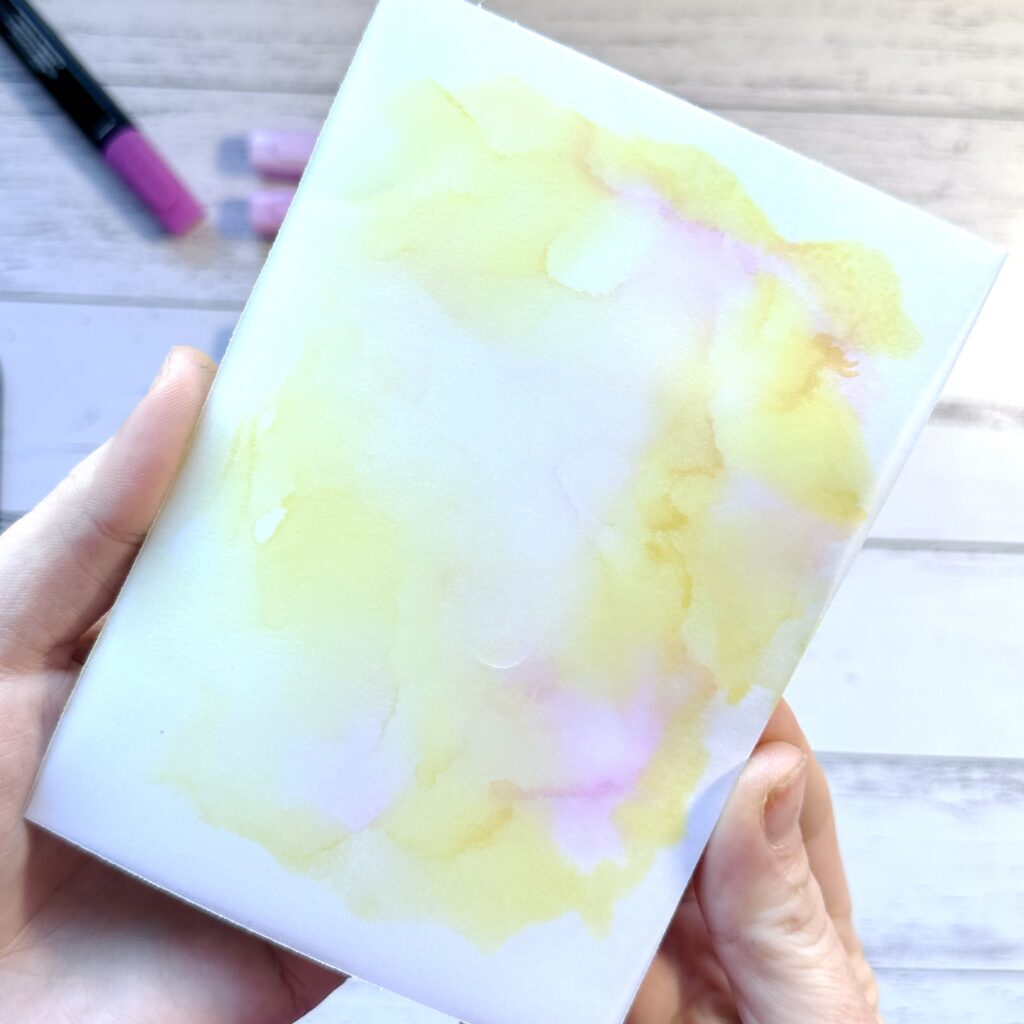
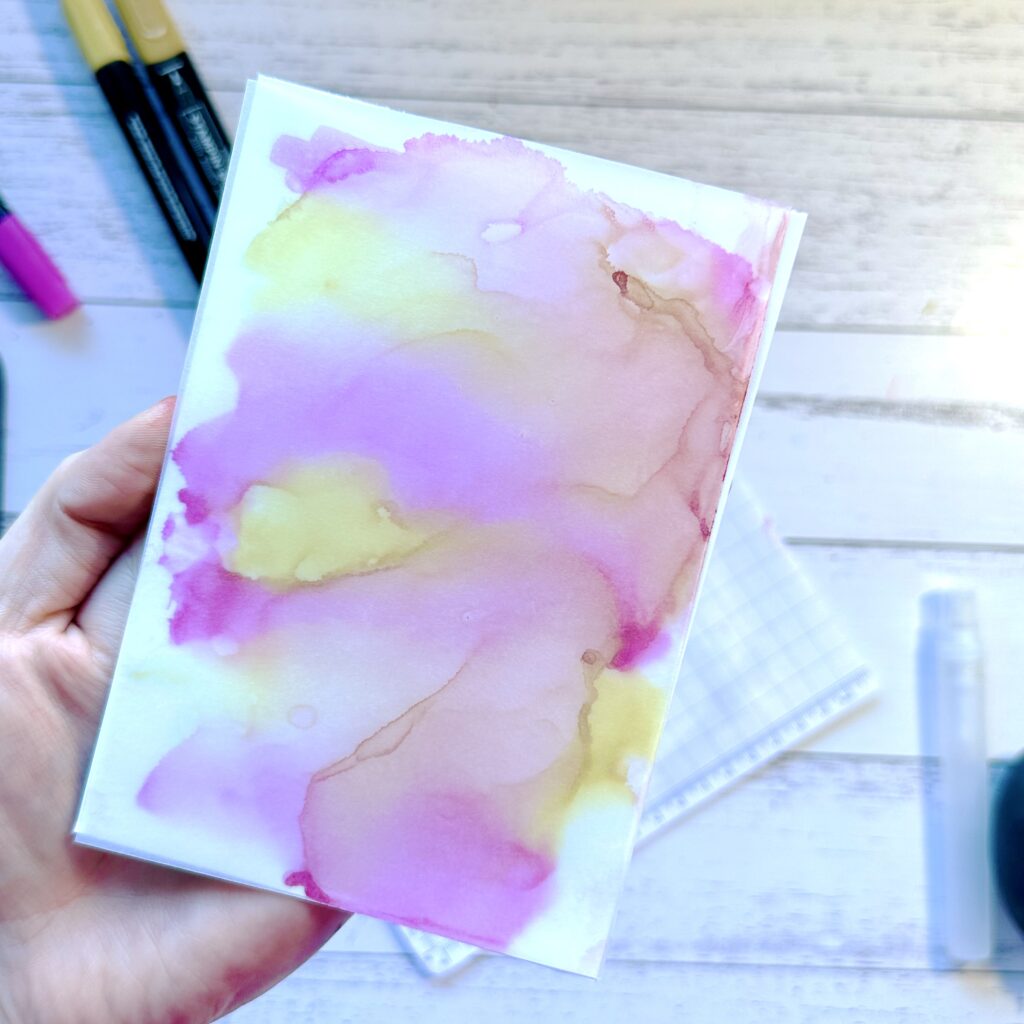

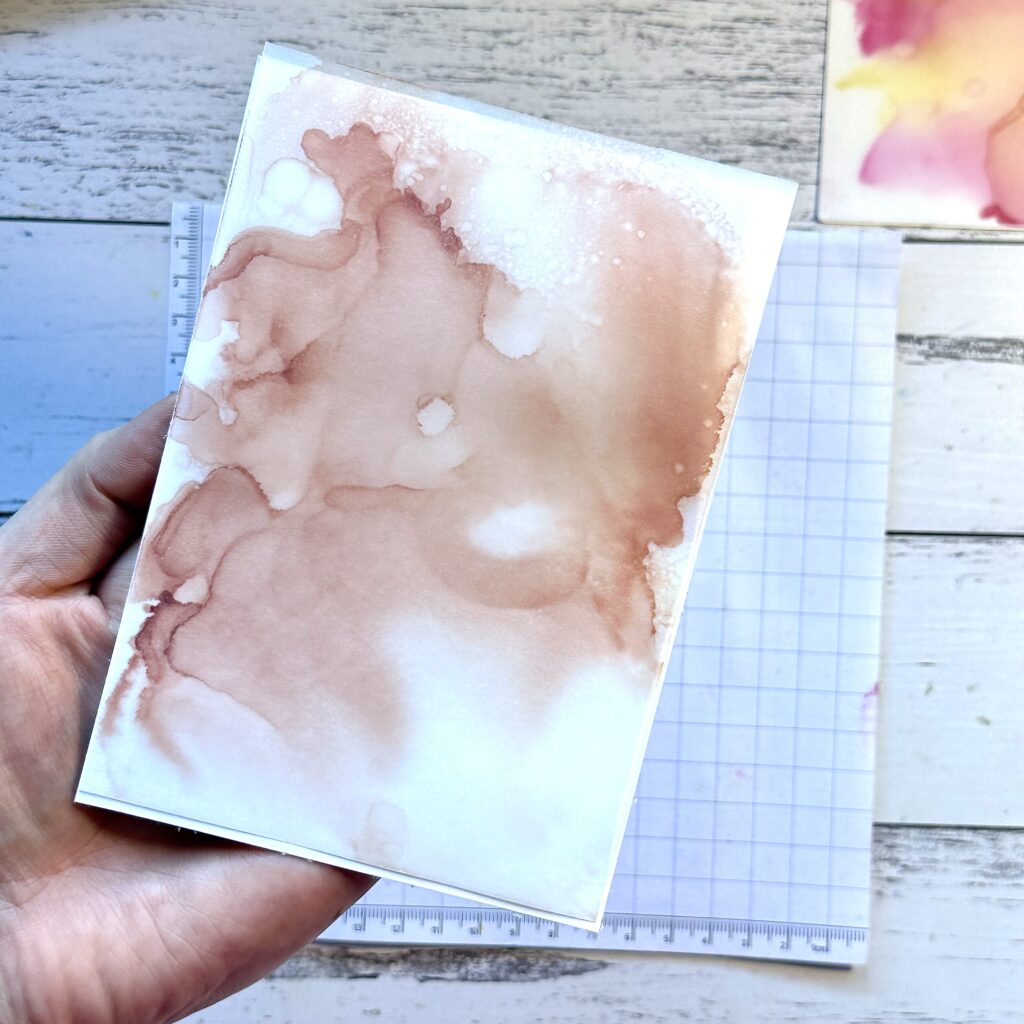
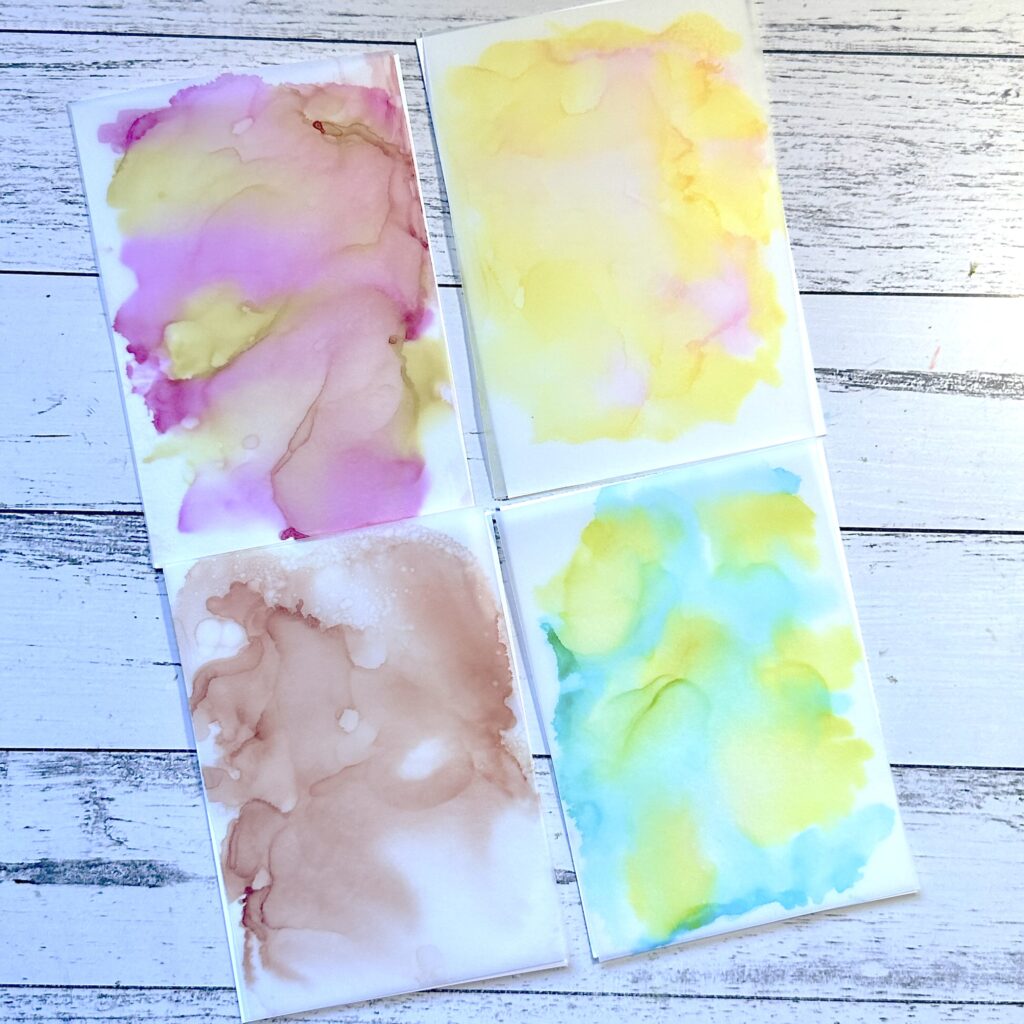
a look at the colour combination that inspired this card…
close up look at the FINISHED card and that beautiful alcohol ink technique up close!
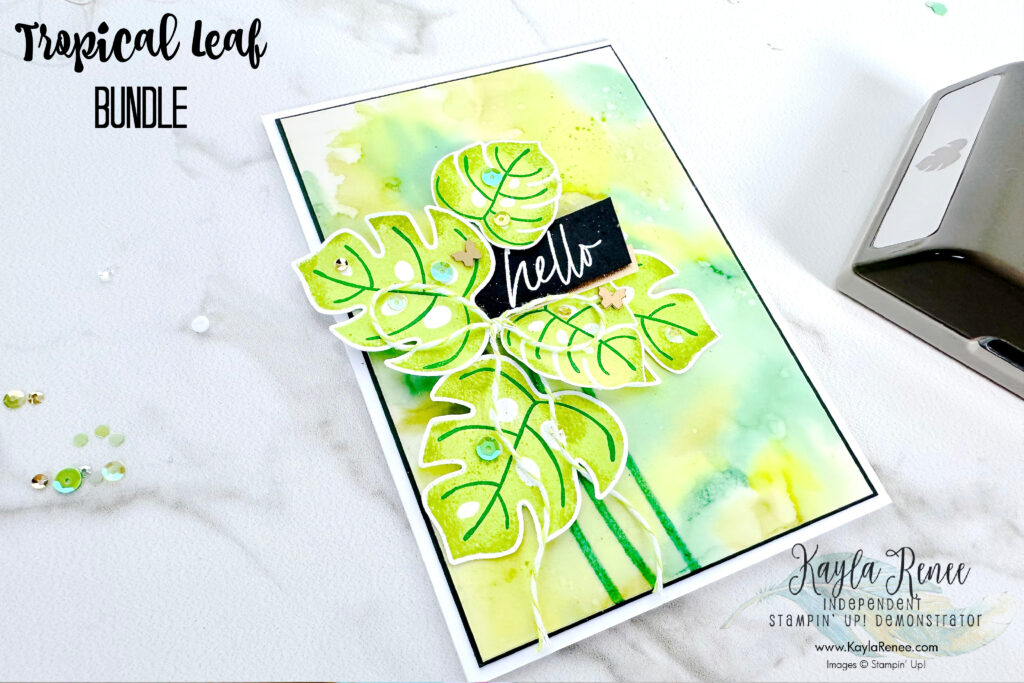
Here is a look up close at the finished card. Isn’t that alcohol ink technique background just beautiful? There are so many different ways you could use backgrounds like this. In fact creating a background like this and adding a beautiful sentiment could be a card on it’s own!
I chose to make my own little monsteria plant to feature on my card. I love that the Tropical Leaf bundle comes with a coordinating punch because it makes stamping and punching these so quick and easy. It doesn’t coordinate with the smaller leaf, but that one is super quick and easy to fussy cut around with scissors.
I have used an easy technique to get a multi toned look on my leaves by inking up my stamp in Parakeet Party and then with a Sponge Dauber I have gently sponged on some Granny Apple Green to my stamp before stamping. This gives the most beautiful multi toned stamped image. The card was finished off by adding the veins of the leaf in with some Shaded Spruce ink.
I have finished my card with some Parakeet Party Baker’s Twine and some sequins (please note: the ones I have shown here are retired, but I have listed some equally gorgeous ones below). I have also added some of the STUNNING Brushed Brass Butterflies – these are by far one of my favourite embellishments.
a little look at the decorated inside…
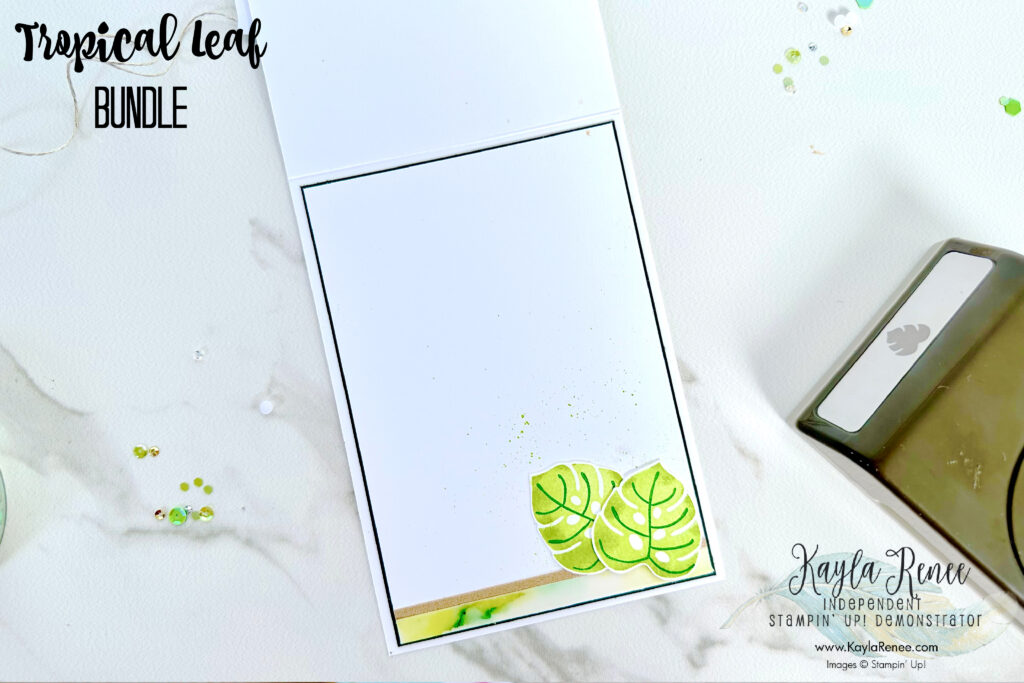
Here is a look at the inside of my card. If you take a close look you will notice that the tiny strip at the bottom is actually also the alcohol ink technique background! Once I have mounted my strip on some Basic White Cardstock, I trimmed it down and kept my off cuts. I do not throw these off cuts away, as you can see these are perfect for things like this!
I finished off the inside with some more monsteria leaves and some beautiful spritzing with some Parakeet Party ink from a Stampin’ Write Marker.
even more cards to share…
P.s. Here are two more cards I made (one I have shared before – another is from the leftovers and bits I had leftover from my alcohol ink technique rampage) – trust me when I tell you that it is addictive!
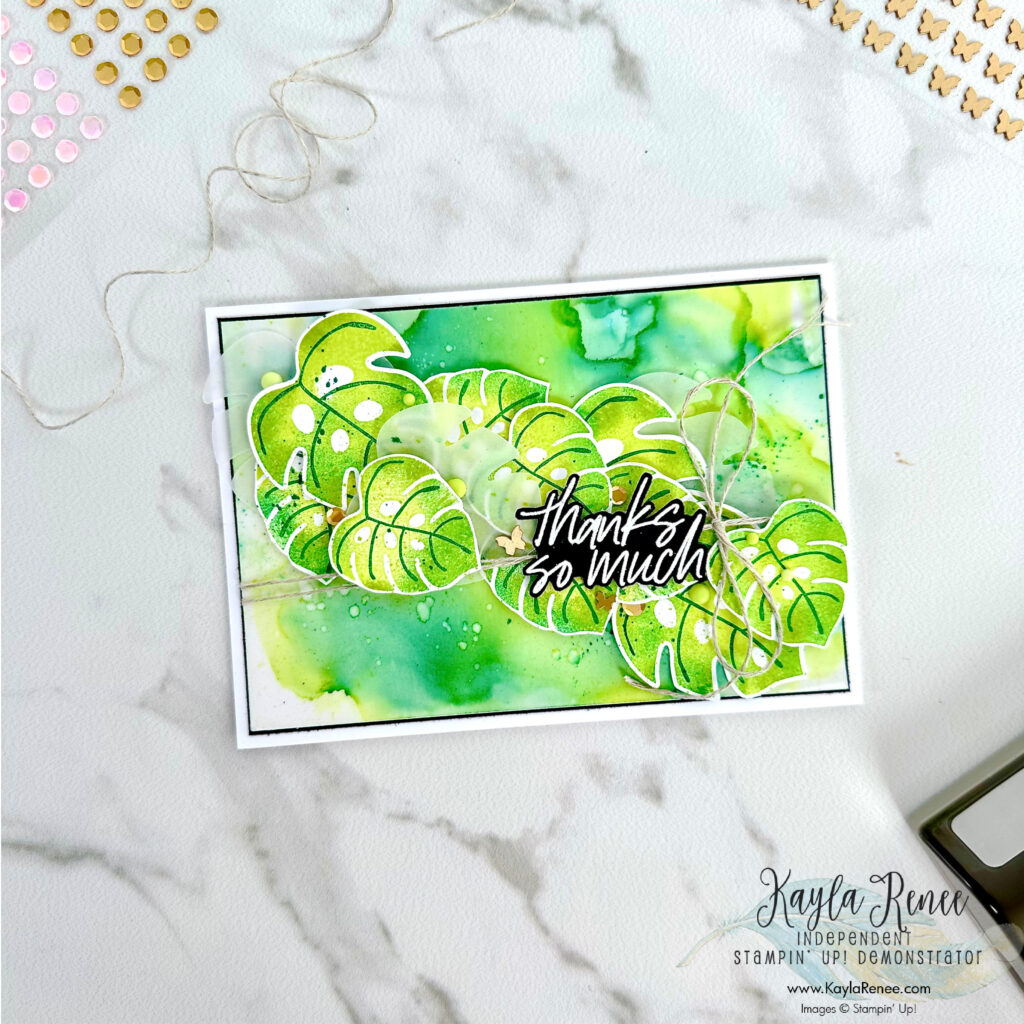
I hope that you got some inspiration from today’s crafty share. I had so much fun creating these fun cards and really having fun with my Stampin’ Blends and playing with the alcohol ink technique.
We have Stampin’ Blends available in most of the Stampin’ Up! colours – so just imagine all the different coloured backgrounds you can create!
I’d love to see what you make!
Be sure to check out all the supplies I have listed below which are all available in my online store.
& don’t forget to head here to check out the International Blog Highlights and vote for my card if you wish.
Until next time, crafty hugs. xx
SHOP WITH ME & GET A FREE GIFT & TUTORIAL
PLEASE NOTE: Regardless of when you are viewing this post, this is automatically updated so the information and links listed here are current.
Shop with me in February 2026 to receive a FREE gift, tutorial and handmade card from me to thank you for your order.


Don’t live in Australia but still want to purchase the tutorial? You can purchase it through my tutorial store for $22AUD for instant PDF download. CLICK HERE to purchase.
HAPPENING NOW
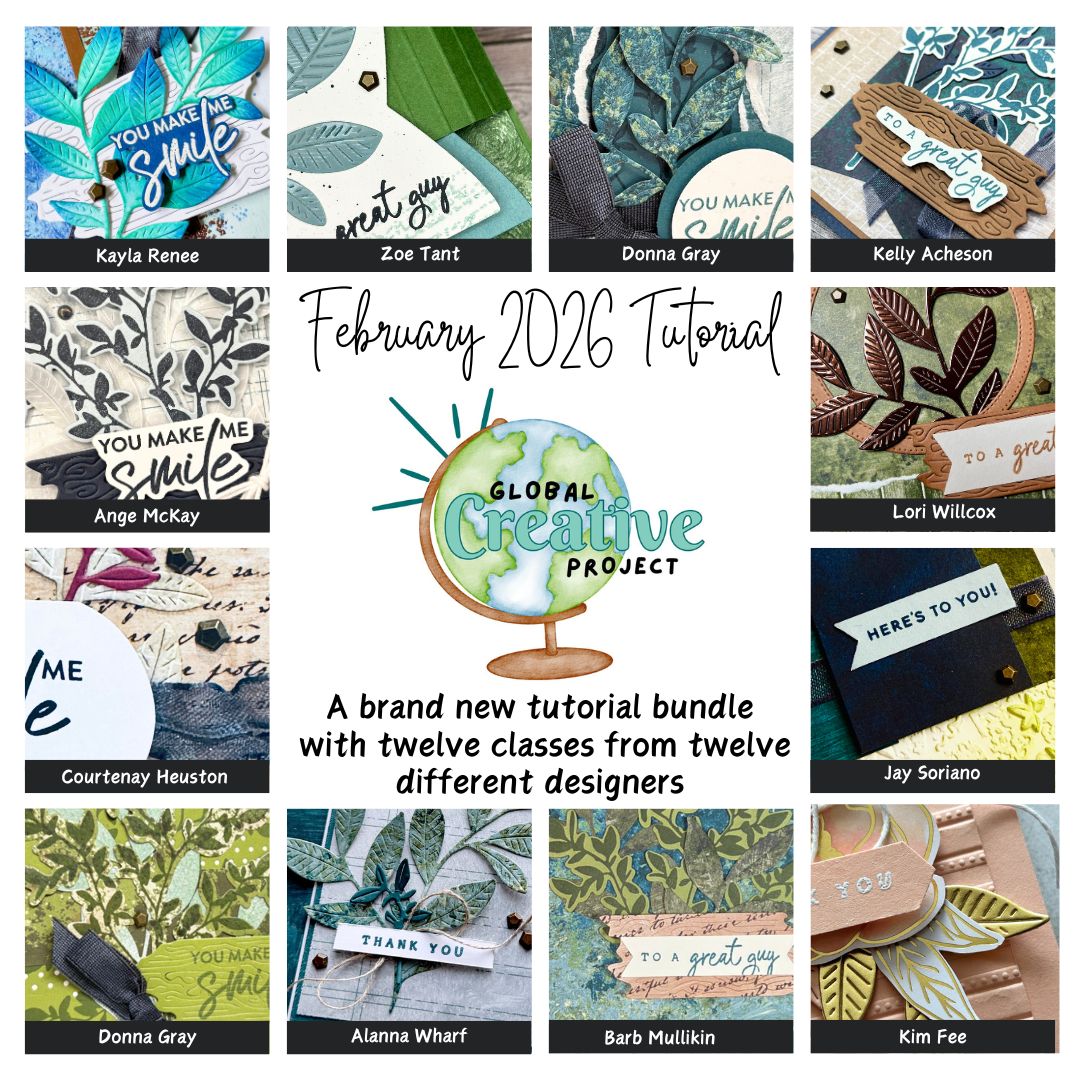

The brand new February Global Creative Project tutorial is now out. Earn for free from me for placing an order in my online store or head to my tutorial store and purchase the PDF tutorial.
New Creativity Kits have been released in my online store. Head here to check them out.
Our new Product of the Month promotion is now in full swing. Get an exclusive product for just $9 when you spend over $125 in my online store. Learn more about this new program here.
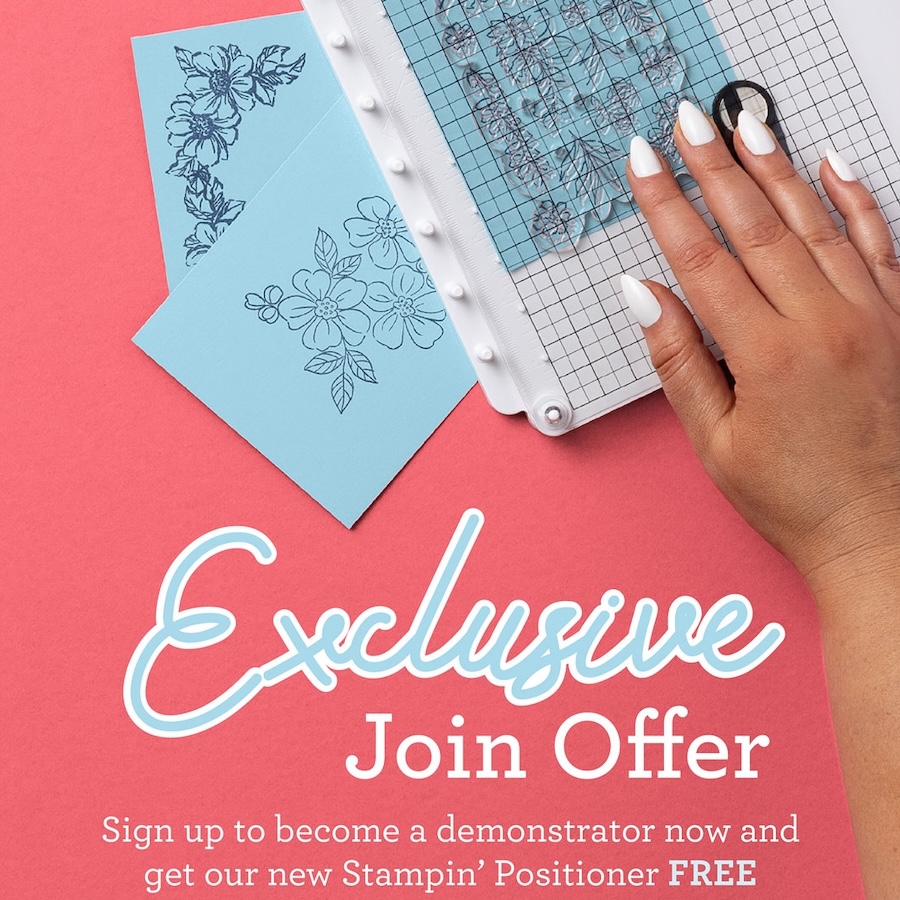
EXCLUSIVE JOIN OFFER – Join my Golden Scissor Craft Club team in February and get the BRAND NEW Stampin’ Positioner FREE! Want to learn more about this fabulous tool and why you will want one? Click here.
Last Chance SALE! – The last chance products list has been updated. See what’s leaving us and score a bargain. Click here.
Events coming soon
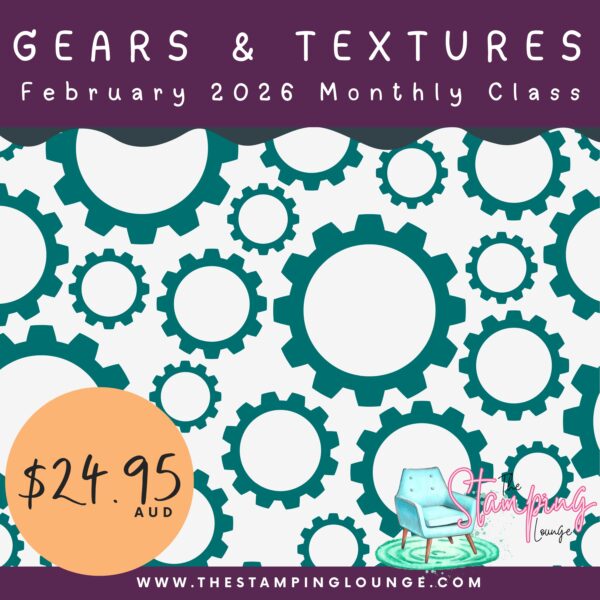
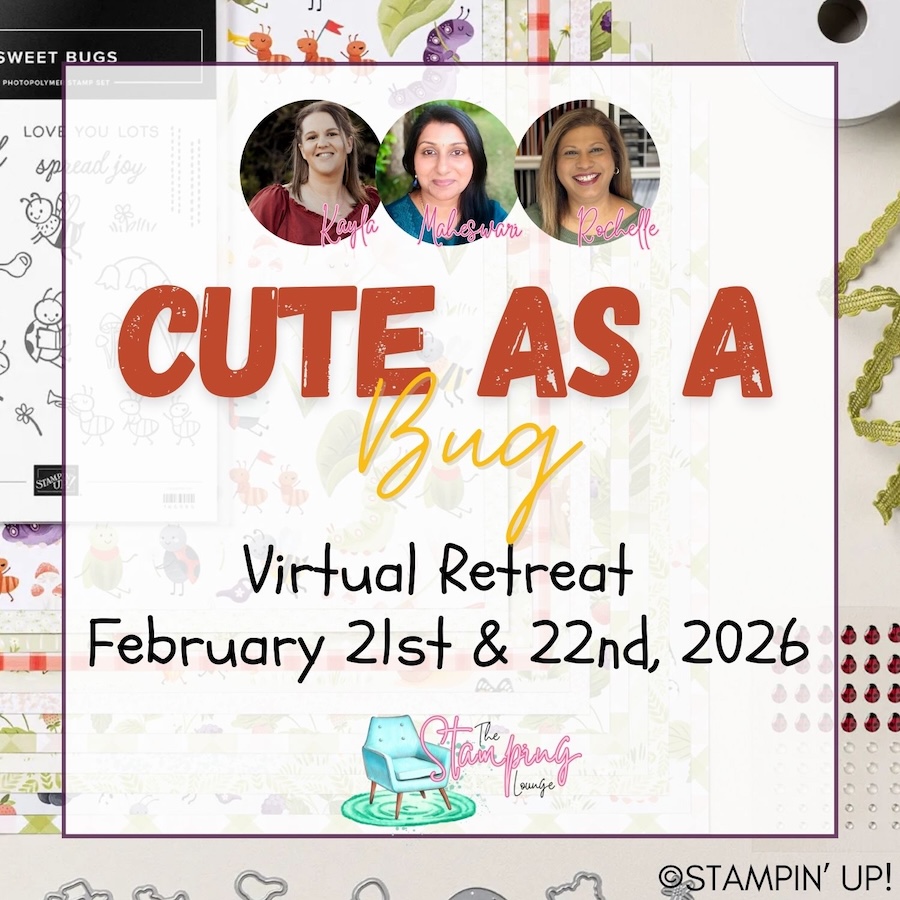
These are two upcoming amazing events with The Stamping Lounge run by myself, Maheswari Rajaguru and Rochelle Laird-Smith.
The Gears & Textures Monthly Class is coming up on the 14th of February,
We also have our upcoming Cute as a Bug Virtual retreat which is open no matter where you are in the world! Take part in eighteen classes using the Cute as a Bug suite and get lifetime access!
Click the images or links to find out more and enrol OR sign up to The Stamping Lounge membership to get access to monthly classes and more which are included in the membership (retreat sold separately)


Love the alcohol blended background. Looks great! Thanks Kayla for being part of my International Blog Highlights this month and all the best with voting!
Thanks so much Kylie. xx
This is a brilliant card, love all of the techniques used, very bright and beautiful.
Thanks so much Rebecca. xx
Beautiful card, Kayla! I love the colours!
Thank you so much for your lovely comment Kim. xx
Kayla, beautiful cards as usual. I am really loving your blog and all the visual instructions. Thanks for stepping it up. One of the best blogs!