It’s another #FabInstaHop and this month we are all featuring our Favourite Halloween movies and creating projects inspired by them. What a FUN hop! I can’t wait to see what the rest of the team have created! I have to say that I am loving these fun themes and where the challenges are taking my brain and the fun memories that they are sparking to be honest. Haha!
I don’t specifically celebrate Halloween and it isn’t a huge holiday here in Australia however a movie? Well…Hocus Pocus – Now that is the BEST! I loved this movie as a kid and the sequel that recently was released that was just the best! I did hear that there is a third movie on the cards. So exciting! I took my inspiration for my card from the main character, Winifred. The fun colours from her outfit and her bright orange hair are just the best.
I also couldn’t help but have fun creating a beautiful blended cloud background as the centrepiece for my ‘spooky’ halloween themed card. This was perfect to pair with the gorgeous Winter Owls bundle which is a new product from the latest Stampin’ Up! Mini Catalogue.
my favourite halloween movie & inspiration
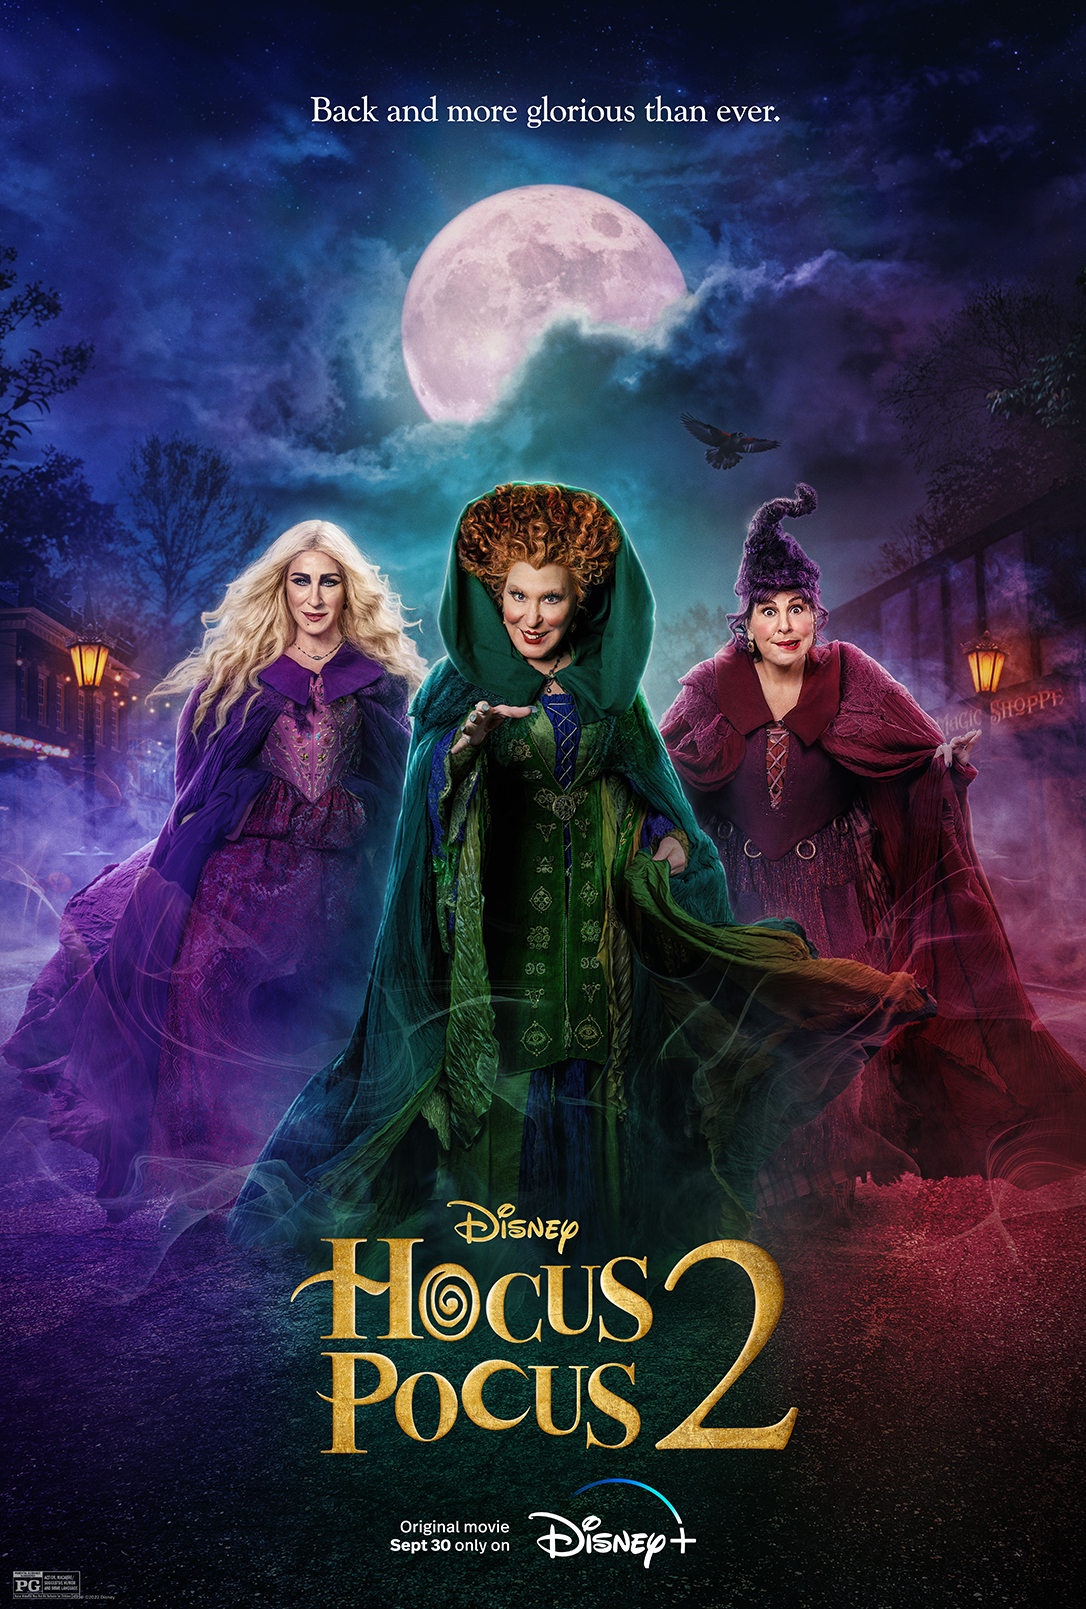
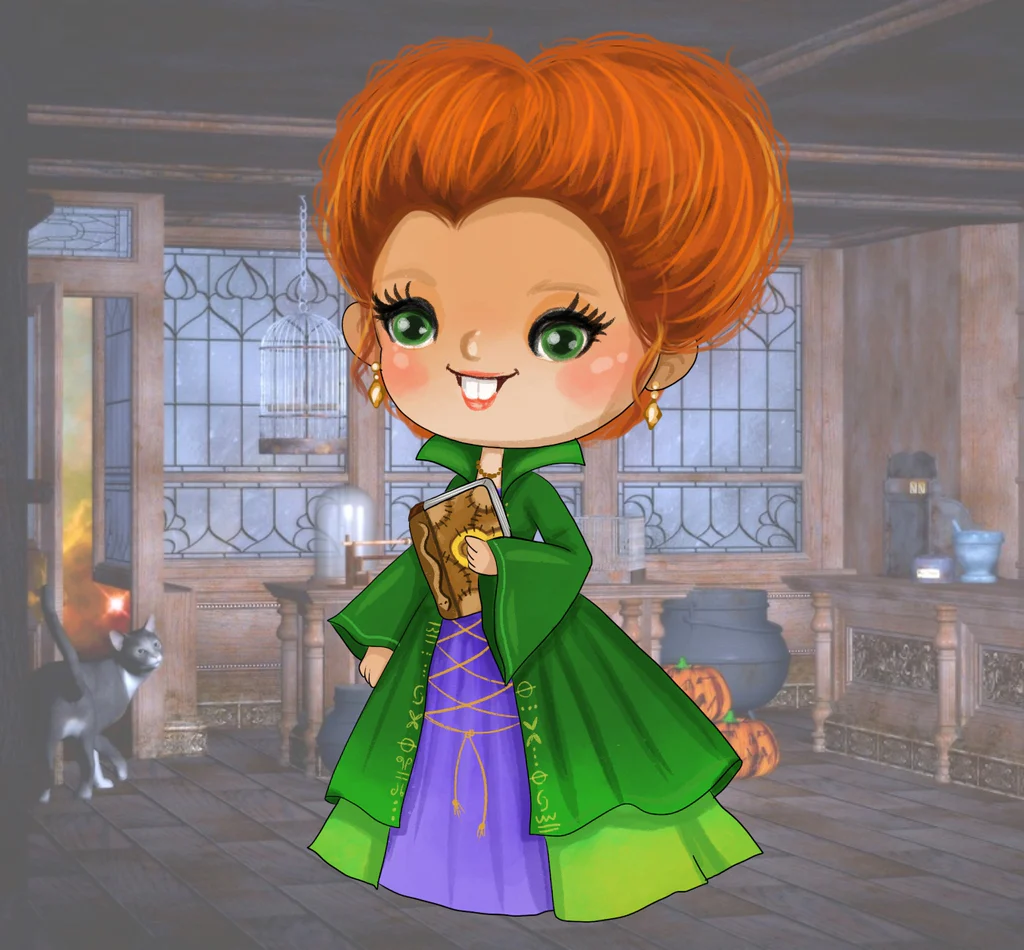
Here is a look at the inspiration for my card. Disney movies are just the best! The original Hocus Pocus came out in 1993, when I was just 3 years old! Classic 90’s movie! I have watched it so many times. We owned it on VHS and we almost wore the tape out. I always loved Bette Midler as an actress, my two favourite movies with her are Hocus Pocus and Beaches!
the finished card – with that wow! blended cloud background!
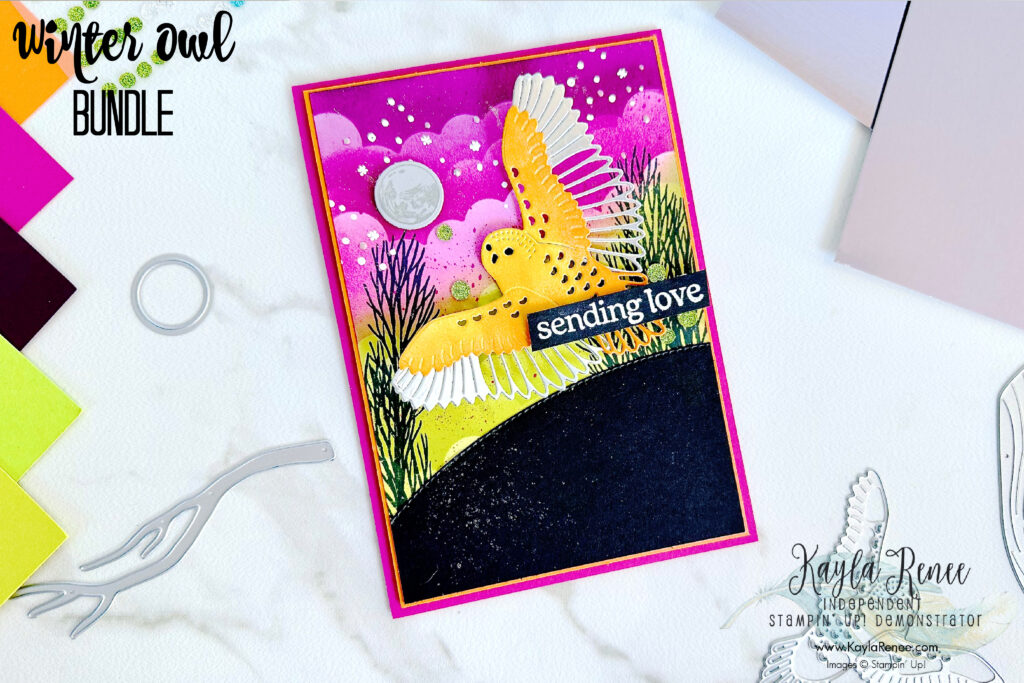
Check out that blended cloud background! When I knew that I wanted to use the colours from Winifred’s outfit I decided that the purple and green were going to be my sky! I knew that this would make a perfect mix for a more ‘spooky’ background and I love the look that this gives!
This is easier than it appears with the fabulous Basic Border dies! You simply cut a strip wider than the background piece you are wanting to blend and using a Blending Brush lightly blend over the top and repeat moving the piece each time! varying the strengths and colours of blending as your move down the card. Voila!
I used the Winter Owls Stamp set to also stamp the branches in Memento black to add the effect of some silhouette style stamping and then spritzed some Berry Burst Stampin’ Write Marker in my background.
I did also stamp some of the ‘stars’ from the stamp set and heat emboss in white in my sky and added some Silver Metallic Enamel Effects to my sky and let dry.
To finish I added a layer for my ‘ground’ cut in black with the curved Basic Borders Die.
the hocus pocus winifred colours that inspired my card…
Here is a look at the colours that inspired my card and were inspired by Winfred. I took the purples and greens from Winfreds clothing and the beautiful yellows and orange from Winfred’s hair.
I love the mix of these beautiful colours together. They are just stunning!
a look at the finished card up close
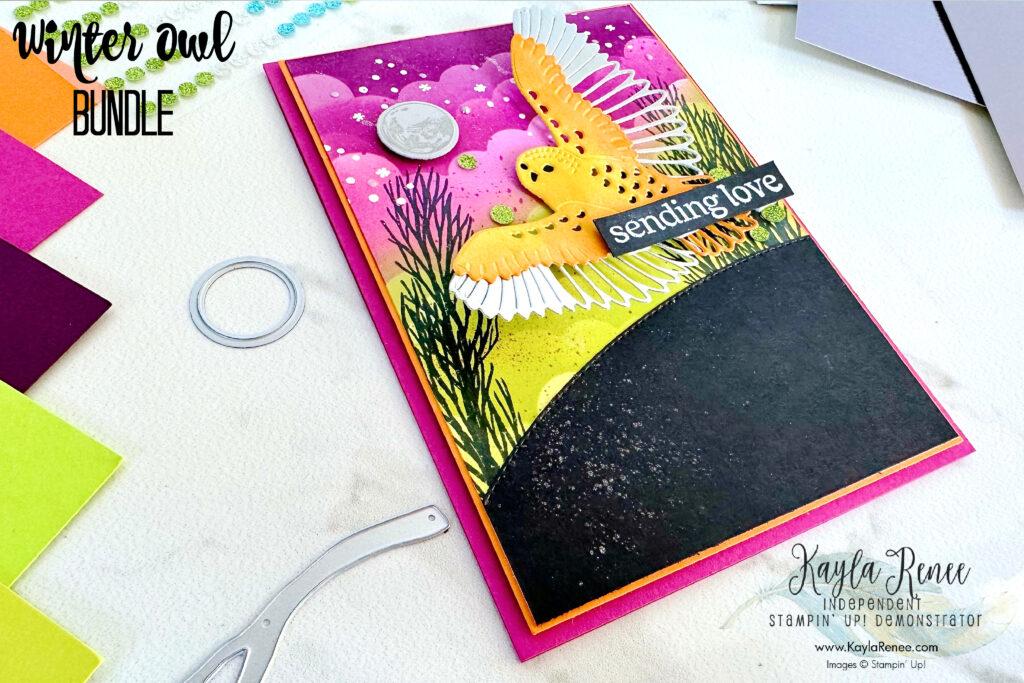
Here you can see how beautiful that blended cloud background looks and a little bit of a close up look at how I have varied the tones as I moved down the card. I didn’t switch colours as I moved down each time, I have just changed how much I have blended each colour, going softer and lighter as I moved my border piece.
Created a blended cloud background would look gorgeous in a variety of colours even creating and mixing in some of the oranges and blues!
I added the beautiful moon from the Winter Owls bundle which I have stamped in Smoky Slate on Smoky Slate Cardstock and added some Wink of Stella.
Lastly I couldn’t not add the owl – what a perfect fit for the Halloween/Hocus Pocus theme! I have die cut the owl from Basic White cardstock and using a Blending Brush coloured the owl with Sponge Daubers and Crushed Curry and Pumpkin Pie ink inspired by Winifred’s hair. The wings were die cut from the beautiful Silver Foil!
a peek at the inside…
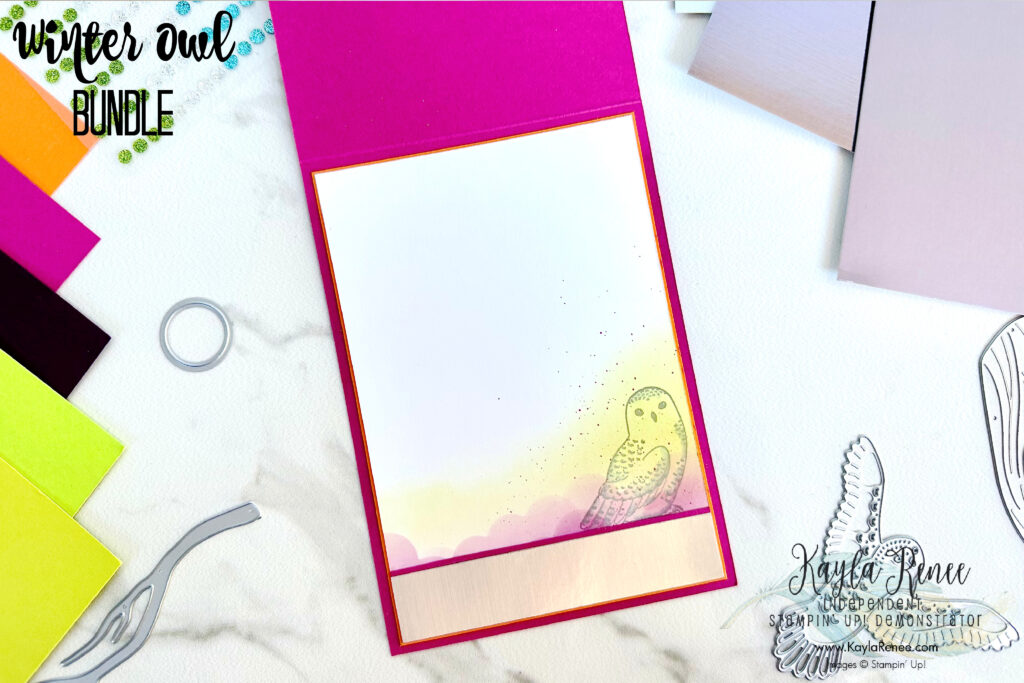
A little look at the inside.
I had to add some more of that blended cloud background on the inside – it’s a little addictive really. Haha!
I actually used the negative of the die cut piece to blend with to create this piece and blended background to create this little blended piece and added some Berry Burst blending and then a little blending with Parakeet Party over the top.
I stamped a little owl in Smoky Slate and then added some beautiful Silver Foil and a tiny strip of the gorgeous Berry Burst cardstock over the top.
Be sure to head over to my Instagram and check out the post to check out the rest of the #FabInstaHop posts and the amazing projects from the team & give them some love.
I hope that you got some inspiration from my project today and loved seeing a little bit of Winfred and Hocus Pocus – & love that movie as much as I do – who wouldn’t, I mean come on?
Until next time, crafty hugs! x

SHOP WITH ME & GET A FREE GIFT & TUTORIAL
PLEASE NOTE: Regardless of when you are viewing this post, this is automatically updated so the information and links listed here are current.
Shop with me in January 2026 to receive a FREE gift, tutorial and handmade card from me to thank you for your order.


Don’t live in Australia but still want to purchase the tutorial? You can purchase it through my tutorial store for $22AUD for instant PDF download. CLICK HERE to purchase.
HAPPENING NOW
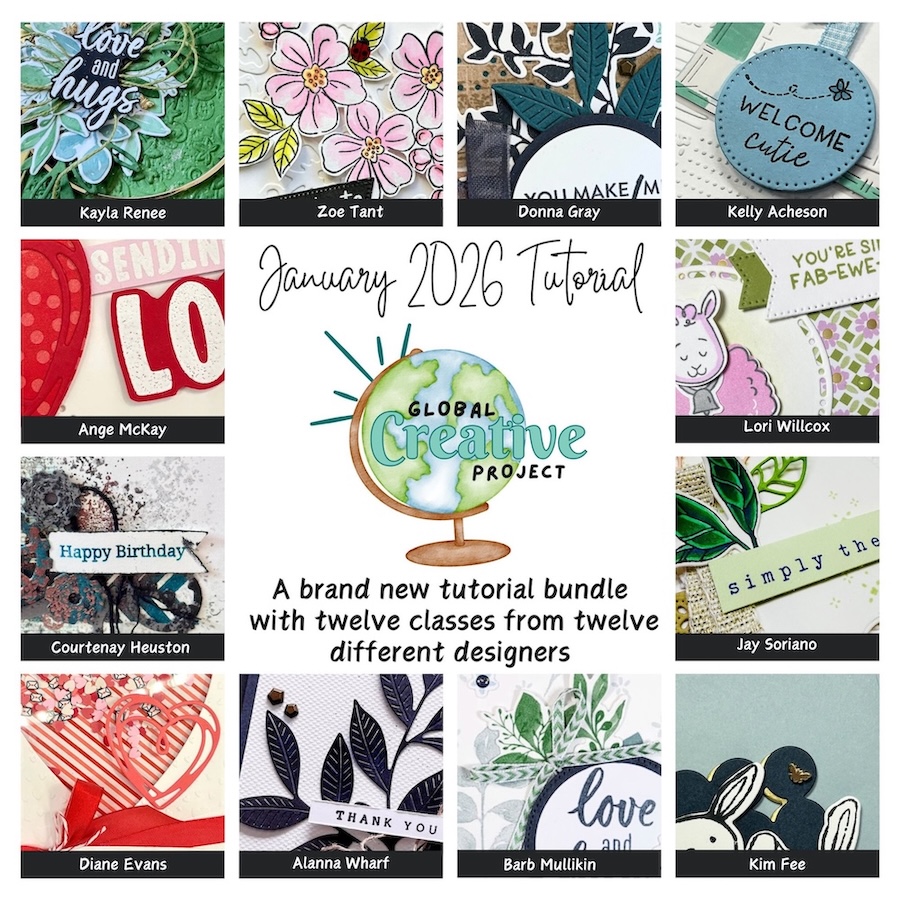


The brand new January Global Creative Project tutorial is now out. Earn for free from me for placing an order in my online store or head to my tutorial store and purchase the PDF tutorial.
New Creativity Kits have been released in my online store. Head here to check them out.
Our new Product of the Month promotion is now in full swing. Get an exclusive product for just $9 when you spend over $125 in my online store. Learn more about this new program here.
Events coming soon

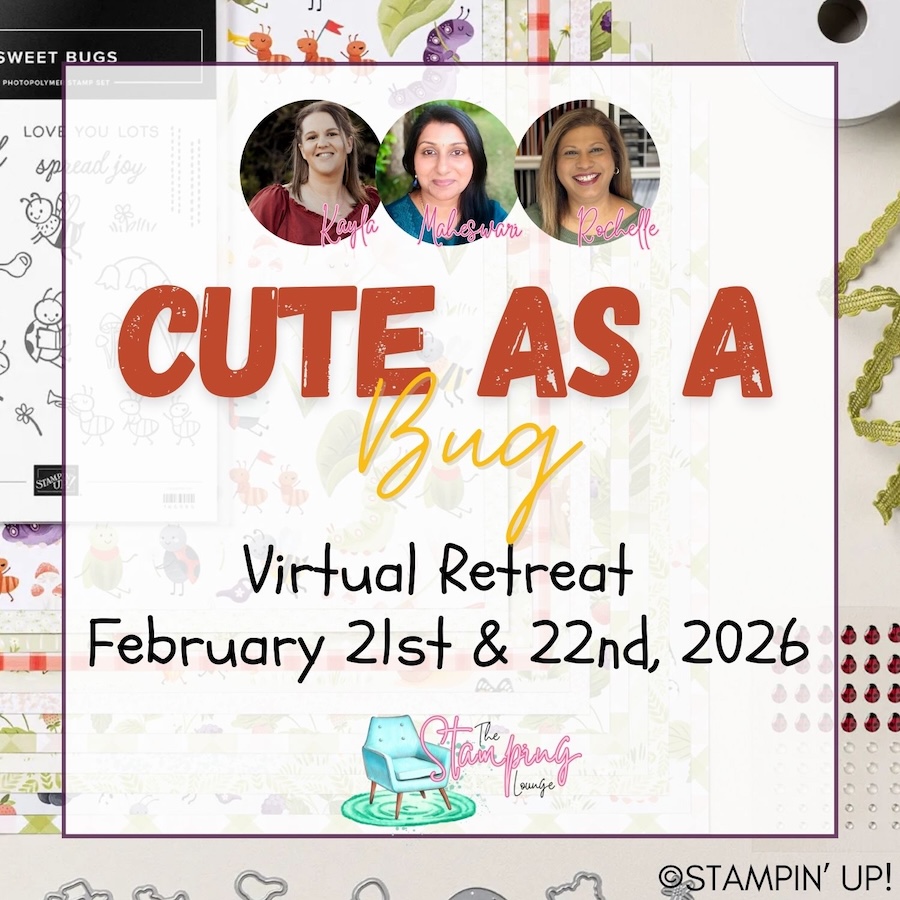
These are two upcoming amazing events with The Stamping Lounge run by myself, Maheswari Rajaguru and Rochelle Laird-Smith. Our Mini Catalogue Launch party is happening on the 11th of January – come and see all the new products, be part of the community, play games and take part in nine card classes!
We also have our upcoming Cute as a Bug Virtual retreat which is open no matter where you are in the world! Take part in eighteen classes using the Cute as a Bug suite and get lifetime access! Click the images or links to find out more and enrol OR sign up to The Stamping Lounge membership to get access to to the mini catalogue launch party and more which are included in the membership (retreat sold separately)
Product List


Leave a Reply