what is the emboss resist technique?
I remember the first time I saw heat embossing and the magic of the powder melting before my eyes! *magic* I was hooked! Well – that feeling is a bit the same when it comes to emboss resist. That beautiful embossing can be taken to the next level. It is literally designed to resist mediums placed on top of it like your water based inks and watercolours. You can blend inks and paint colours with a water brush right over the top and those embossed designs will ‘resist’ those mediums.
You can see this below with my ‘starry night’ where I have ink blended right over the top with various shades of blue Classic Ink Pads.
Use this technique in all kinds of colours of embossing powders! I have used it with the white and clear on my card to show two different looks but it would look magnificent in our metallics collection also! Read on for more tips & tricks!
global stampin’ video hop
My card today was actually made for the super fun Global Stampin’ Video hop where this month the feature was the emboss resist technique so if you are wanting to learn more about it or see loads more emboss resist samples, head to my video (click below) and you will see a link to the next video on the hop where you can hop along and see all the magnificent videos along the hop!
🎥 Also my video is a step by step tutorial of how I have created my card.

reach for the stars – the finished card
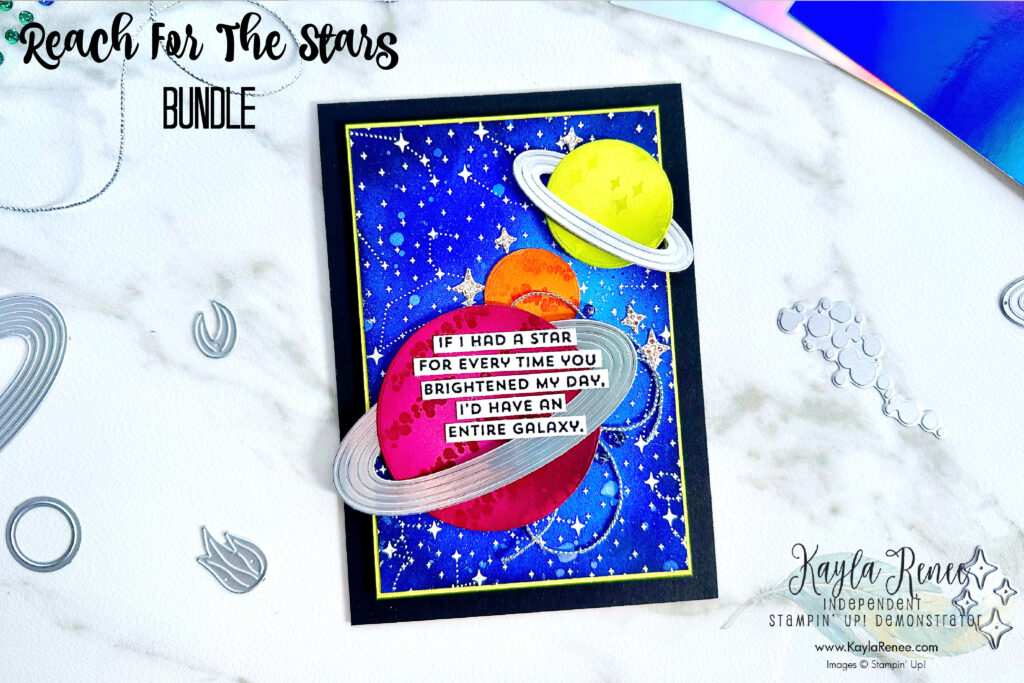
Here is a look at the finished card. I just love the deep blues of the sparkly starry sky! You can take a peek at the colour combination and the blues that I used down below (the only one I haven’t listed is Night of Navy which I have just used a little touch around the edges!).
I had so much fun using a mixture of the white heat embossing for my emboss resist on my background and adding some fun extra techniques in there like some water droplets with my Stampin’ Spritzer which ‘pulls’ the colour away and almost gives a bleached look.
I also spritzed my background with a Blueberry Bushel Stampin’ Write marker for some extra depth and interest.
My planets were a load of fun to make. You really should watch the video because I have shown how I put them together but here are a couple of tips;
- Add clear embossing over coloured cardstock for an emboss resist technique which will give a fun look, showing the colour through. This can be fun when you blend over the top showing varying shades of colour!
- When blending over the top of the planets to add definition, focus on one ‘side’ of the planet and around the very edges. This helps the planet to appear ‘3D’ and more sphere.
- When adding the planetary rings, for some extra dimension add a small dimensional to the front of the ring at the front which will pop it up just a little bit making it appear dimensional.
a look at the colour combination inspiration…
a close up look at the finished details and that emboss resist!
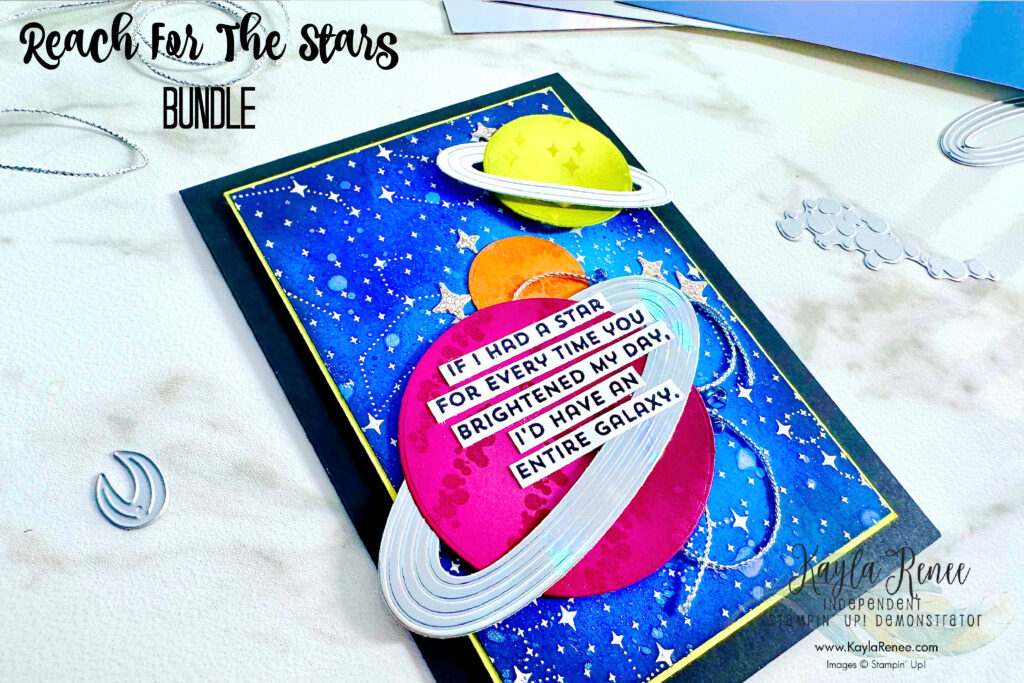
Doesn’t that holographic paper just look amazing? You can see a close up peek in the top right hand corner of the next picture of some of the Holographic Paper – you get three different types of Holographic Paper in the Specialty pack that coordinates with this collection and all I can say is that it is amazing! I actually recently made a card with it where I have stamped right on it! You can see that card here.
I did keep the embellishments to a minimum on this card – well for a Kayla card anyway!
The silver trim I added was quite thick and makes for an interesting texture but is very fun to work with.
I also added some of the gorgeous coordinating die cut diamond/stars using that beautiful More Dazzle/Disco Paper (P.s.See the video for a demonstration die cutting this live because I recently had a question about how well that paper die cuts – you can see that in the video linked above).
I promise – it’s well worth it!
You can also see I added my sentiment in black – it’s actually heat embossed in black! Yes, that’s the trifecta! White heat embossing for the background for the emboss resist technique, clear heat embossing on the adorable planets for the emboss resist technique shown in a slightly different way and I just couldn’t help but use the black!
Black heat embossing is fantastic if you want a really dark and true jet black!
a little peek into the inside…
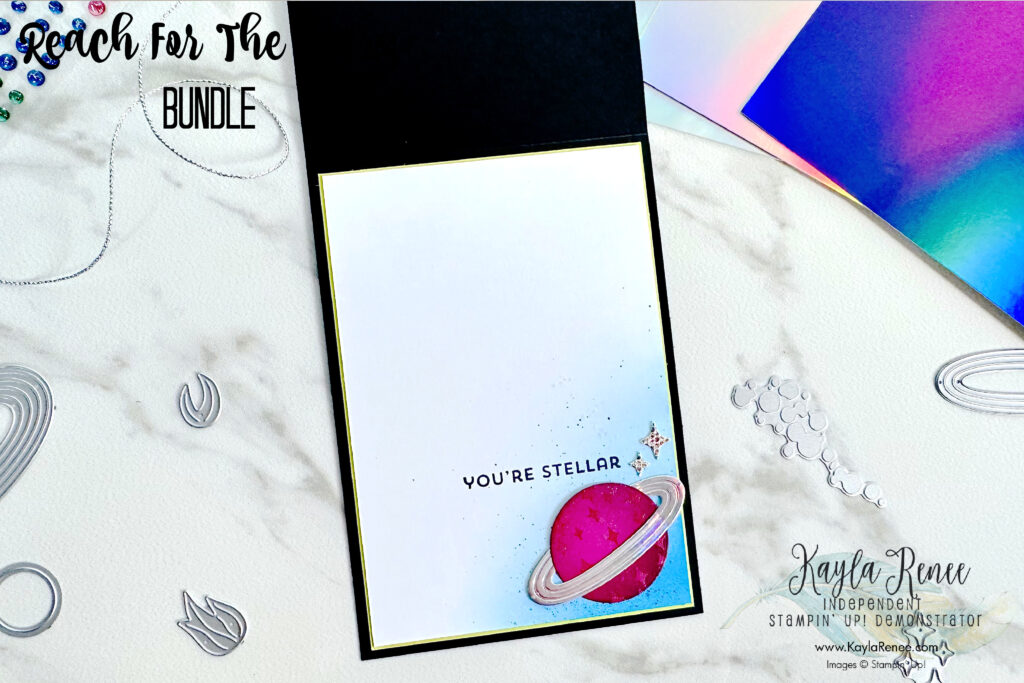
There just had to be a decorated inside – in the video I even shared the decorated envelope! Yep you heard it – there’s not even a naked envelope.
Truth be told, I usually decorate an envelope for every card as soon as I make it, it makes it feel complete.
I added an additional planet, some stars and some more of that gorgeous blending in Azure Afternoon.
This came together so well and I had so much fun playing with all the bright colours and taking a trip to space!
I hope that my post today gave you some inspiration for getting out your embossing powder, your heat tool and watching the magic of seeing that powder melt! Try some emboss resist techniques – there are lots you can try!
Check out my video linked above and hop along to check out all the different projects and different ideas shared. I would love to see what you get inspired to make. Be sure to come and share with me over on my Facebook page here.
Until next time. Crafty hugs. xx
SHOP WITH ME & GET A FREE GIFT & TUTORIAL
PLEASE NOTE: Regardless of when you are viewing this post, this is automatically updated so the information and links listed here are current.
Shop with me in February 2026 to receive a FREE gift, tutorial and handmade card from me to thank you for your order.


Don’t live in Australia but still want to purchase the tutorial? You can purchase it through my tutorial store for $22AUD for instant PDF download. CLICK HERE to purchase.
HAPPENING NOW
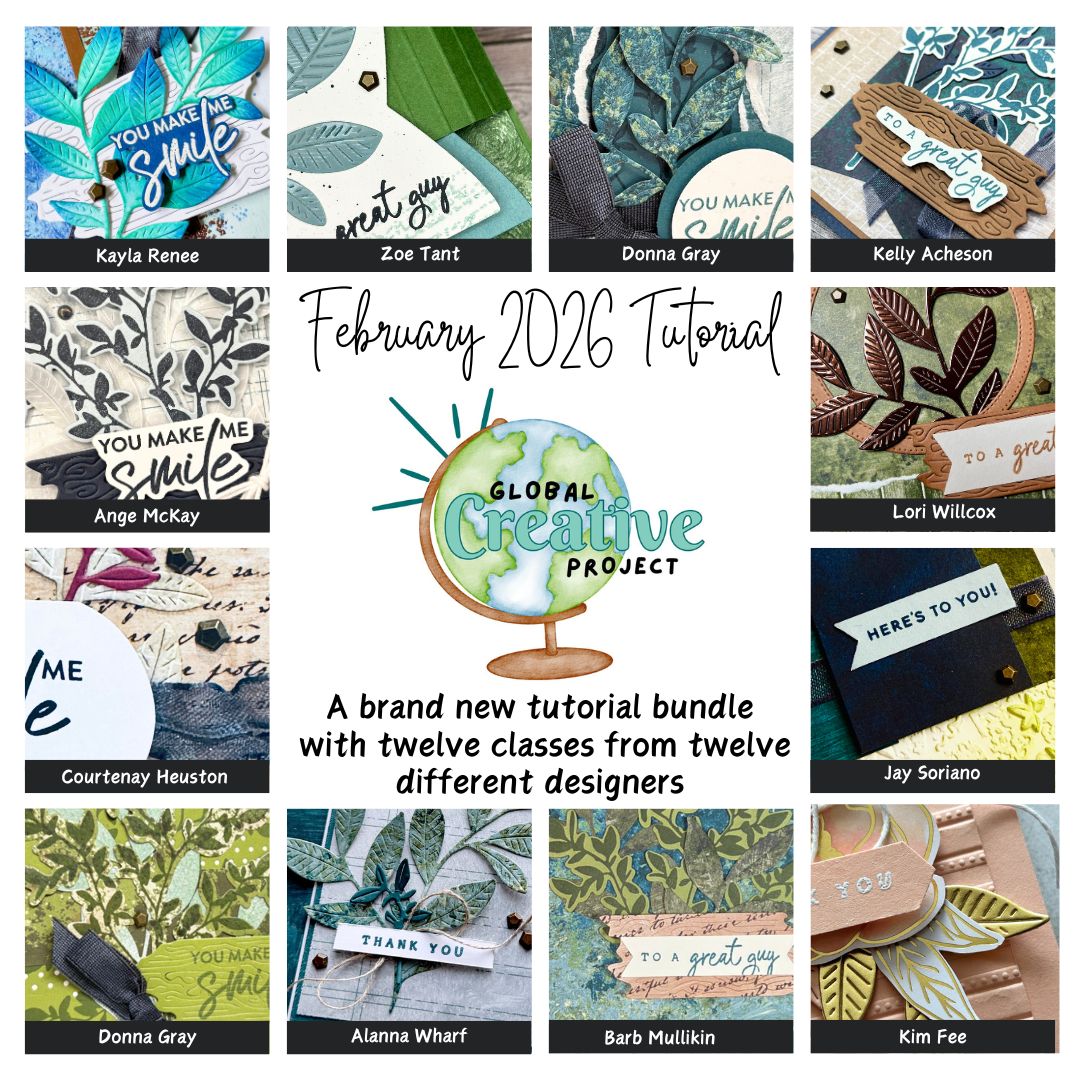


The brand new February Global Creative Project tutorial is now out. Earn for free from me for placing an order in my online store or head to my tutorial store and purchase the PDF tutorial.
New Creativity Kits have been released in my online store. Head here to check them out.
Our new Product of the Month promotion is now in full swing. Get an exclusive product for just $9 when you spend over $125 in my online store. Learn more about this new program here.
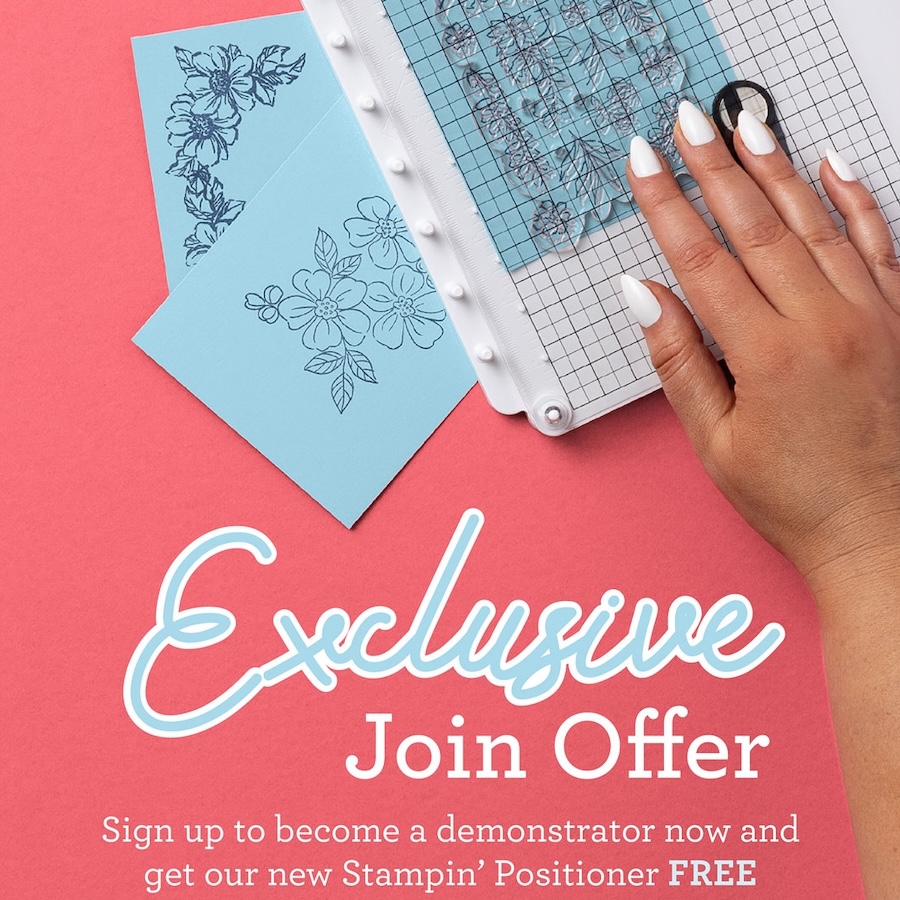
EXCLUSIVE JOIN OFFER – Join my Golden Scissor Craft Club team in February and get the BRAND NEW Stampin’ Positioner FREE! Want to learn more about this fabulous tool and why you will want one? Click here.
Last Chance SALE! – The last chance products list has been updated. See what’s leaving us and score a bargain. Click here.
Events coming soon
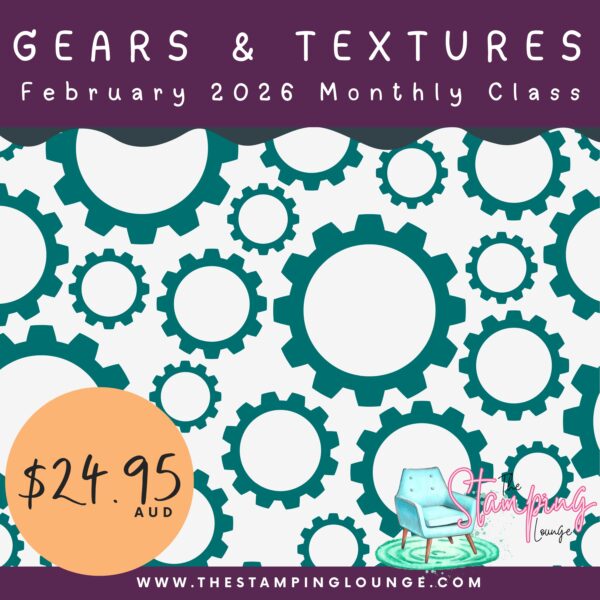
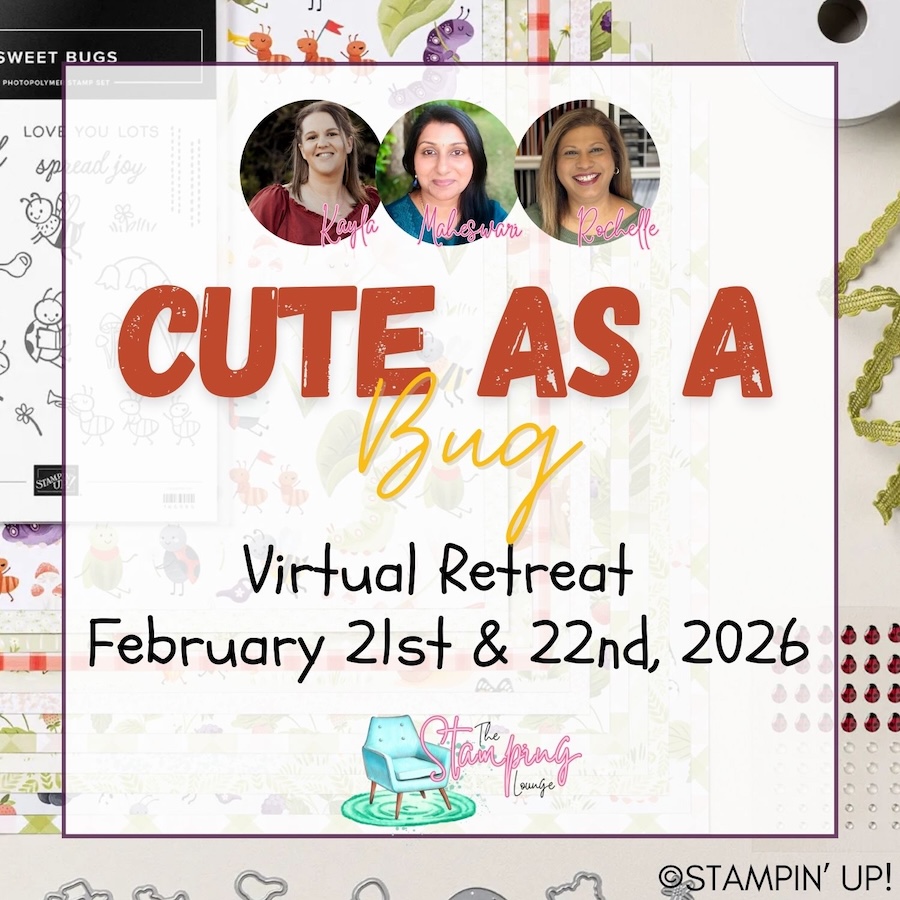
These are two upcoming amazing events with The Stamping Lounge run by myself, Maheswari Rajaguru and Rochelle Laird-Smith.
The Gears & Textures Monthly Class is coming up on the 14th of February,
We also have our upcoming Cute as a Bug Virtual retreat which is open no matter where you are in the world! Take part in eighteen classes using the Cute as a Bug suite and get lifetime access!
Click the images or links to find out more and enrol OR sign up to The Stamping Lounge membership to get access to monthly classes and more which are included in the membership (retreat sold separately)

Product List


Leave a Reply