Welcome to another fun Friday for a TGIF challenge. This week it’s a fun leaf themed challenge. I went a bit out there with this one because I had created so much with the other leaf themed bundles and stamps recently and so I went back to this bundle that hadn’t seen any love in a while. This is a gorgeous stamp/die bundle and features the most adorable wreath die. I love this wreath because it features lots of layered leaves which is essentially what the inspiration picture says and where the idea for using this bundle came from, I had also decided I wanted to choose something to practice some layering techniques with. I hope that you enjoy my project today and get some inspiration.
tgif challenge #tgifc444
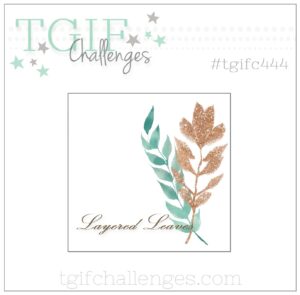
Here is a look at this week’s TGIF challenge and inspiration picture. I can’t wait to see what everyone comes up with.
Head on over and check out the blog post where you can see what the rest of the TGIF design team have come up with, there is some amazing projects to inspire you!
the finished card – let’s look at some layering techniques

Here is a look at my finished card. The wreath takes the show on my card and that was the plan. I really wanted that to be front and centre. Because of that I made the initial and main layer a little bit smaller so that the wreath would sit a little bit beyond the sides! P.s. My layering background is actually some Pretty Peacock Designer Series Paper taken from the Delightful Florals Designer Series Paper. Isn’t is rich and beautiful?
I actually started with the colour combination with this card. It’s funny how you start in different places sometimes. For some reason I just started with a colour combination in my head.
the colours that inspired my card…


I will admit that Wild Wheat was a colour I never thought I would like, but now it’s a colour that I cannot shake. The beautiful richness of that colour and gold undertones is addictive, it looks gorgeous here added to the regal Peacock and beautiful pretty pinks.
a close up of the finer details and let’s talk layering techniques

Ok here’s a look at the wreath. First of all I knew that I wanted to cut that wreath twice and layer. I decided to cut one from a specialty paper but I wanted something that wasn’t too think so I decided to go with the Distressed Gold Speciality Paper – this would layer in nicely. The next layer was cut simply out of Thick Basic White Cardstock – this allowed me a base to watercolour on – you do have to be wary as you cannot add the amount of water as the old Shimmery White. I grabbed a Water Painter and a mixture of the Wild Wheat and Berry Burst and went to town adding colour. When this layer was dry I finished with some Wink of Stella.
I also die cut some of the smaller layering dies which you can see in the photos, I have coloured these with some Pretty Peacock and Fresh Freesia Ink and layered these into the wreath. When exploring layering techniques one of the important things to remember is that it’s important to change up textures, sizes and colours! So you want to look at using small and big objects and lights and darks but also different textures.
Glue Dots were my friend adhering all this together! I finished it off with a die cut sentiment label, some beautiful frayed ribbon and some gorgeous sequins to embellish.
a look at the inside of my card

Here’s a look at the inside. I kept it simple, some strips of leftover cardstock and that specialty paper and some light blending with Wild Wheat. P.s. Another layering technique can be the stamping – here I have done just that but also to make sure I had incorporated my colours on the card inside. They look great being stamped over one another.
I hope that you got some inspiration from my project share today and were able to learn some more about some layering techniques and will consider joining in with your own leaf themed projects this week.
Click here to head to the blog and enter this week’s challenge.
Until next time, crafty hugs. xx

SHOP WITH ME & GET A FREE GIFT & TUTORIAL
PLEASE NOTE: Regardless of when you are viewing this post, this is automatically updated so the information and links listed here are current.
Shop with me in July 2026 to receive a FREE gift, tutorial and handmade card from me to thank you for your order.


Don’t live in Australia but still want to purchase the tutorial? You can purchase it through my tutorial store for $22AUD for instant PDF download. CLICK HERE to purchase.
HAPPENING NOW
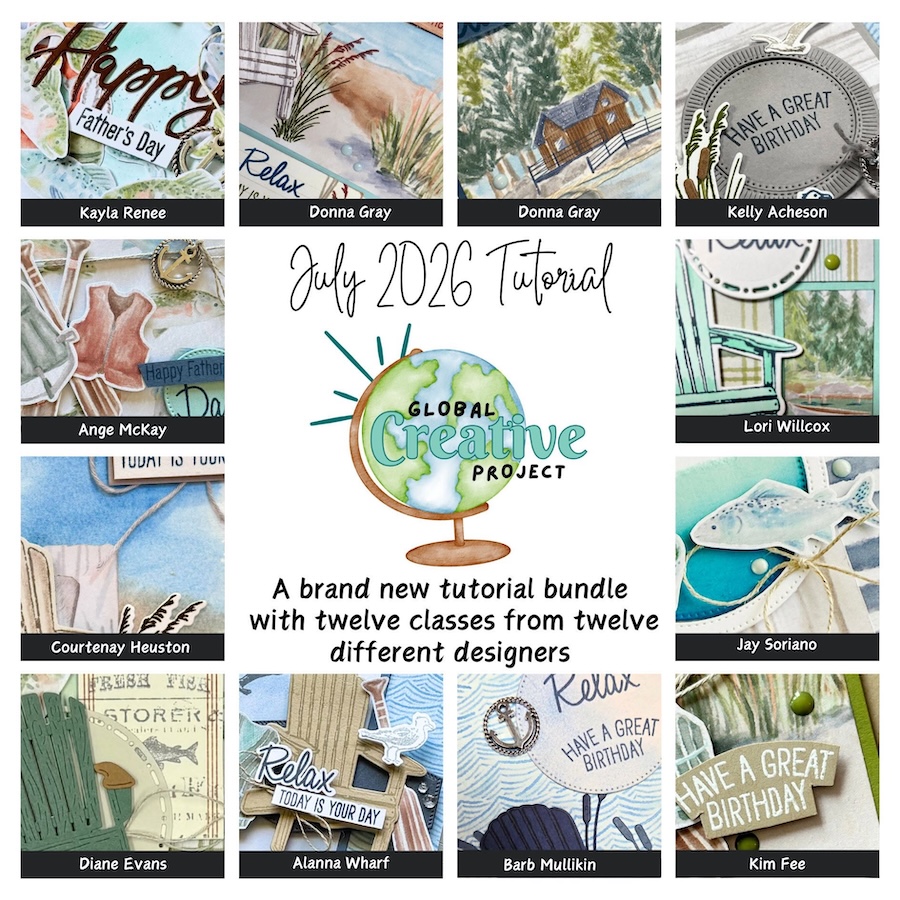
The brand new July Global Creative Project tutorial is now out. Earn for free from me for placing an order in my online store or head to my tutorial store and purchase the PDF tutorial.
New Creativity Kits have been released in my online store. Head here to check them out.
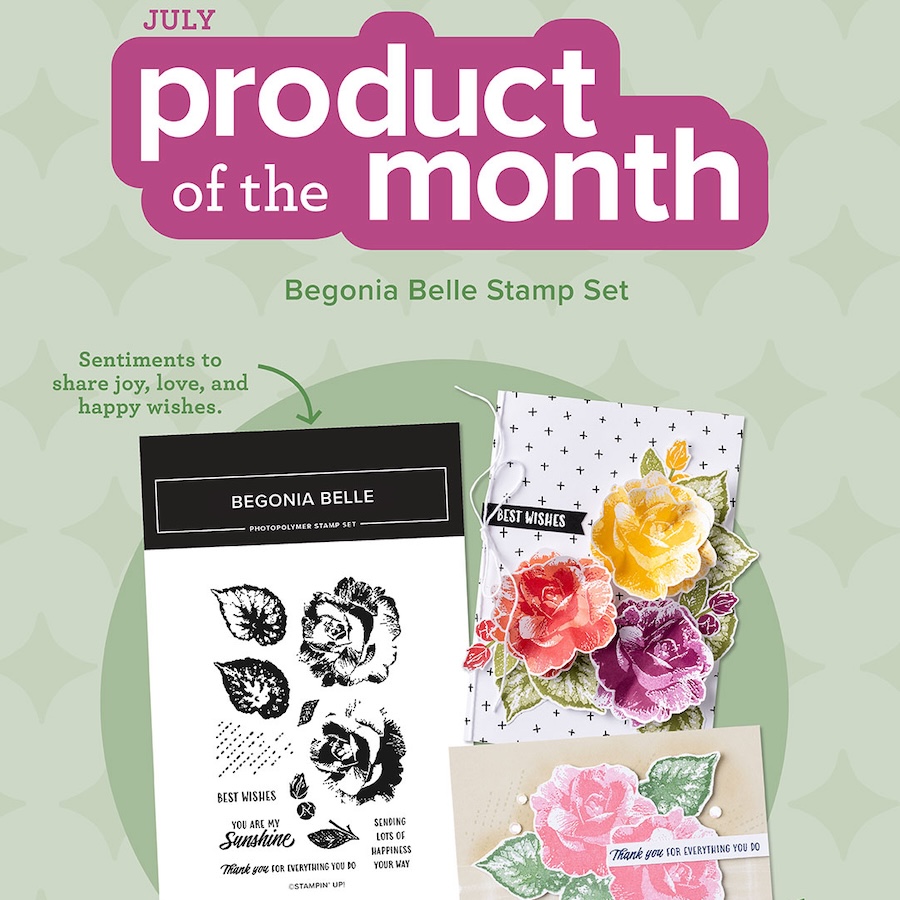
Our new Product of the Month promotion is now in full swing. Get an exclusive product for just $9 when you spend over $125 in my online store. Learn more about this new program here.
upcoming events + KITS

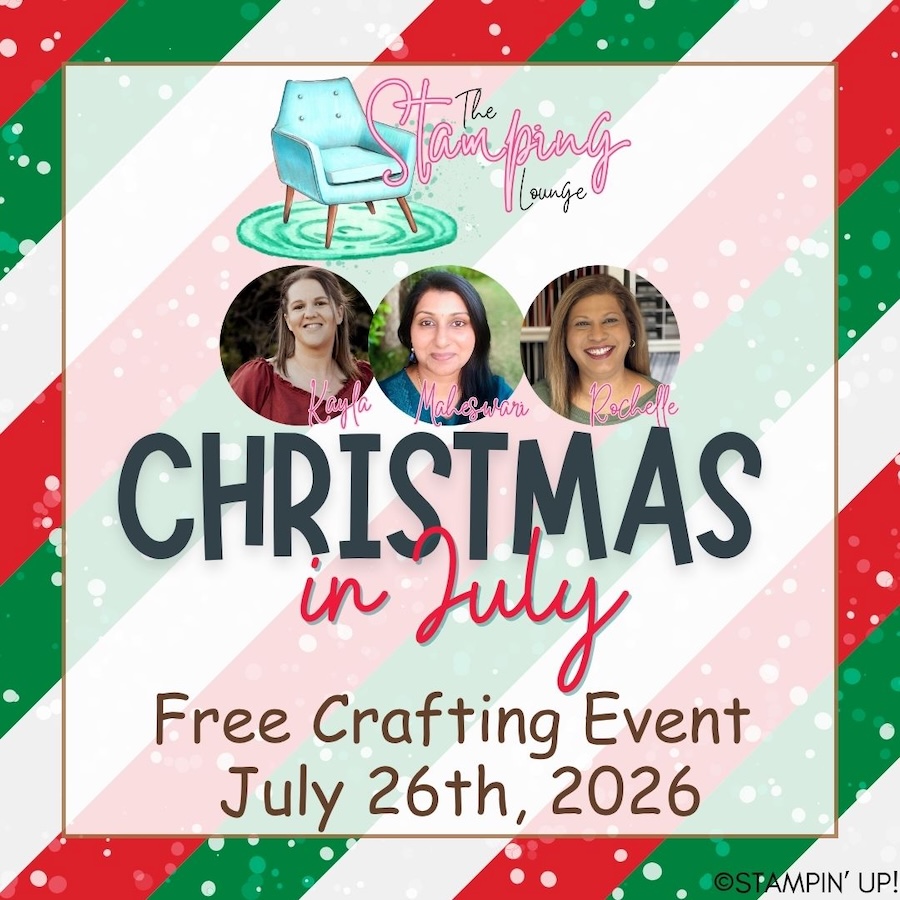
I have so much fun at The Stamping Lounge which is run by myself, Maheswari Rajaguru and Rochelle Laird-Smith.
We not only have a monthly membership full of amazing content but we also run regular classes.
The Scenic Coast Monthly Class is coming up on the 18th of July.
Also coming up in July and open for registration now is our annual FREE Christmas in July event. Find all the details here.
Click the images or links to find out more and enrol OR sign up to The Stamping Lounge membership to get access to monthly classes and more which are included in the membership (retreats are sold separately)
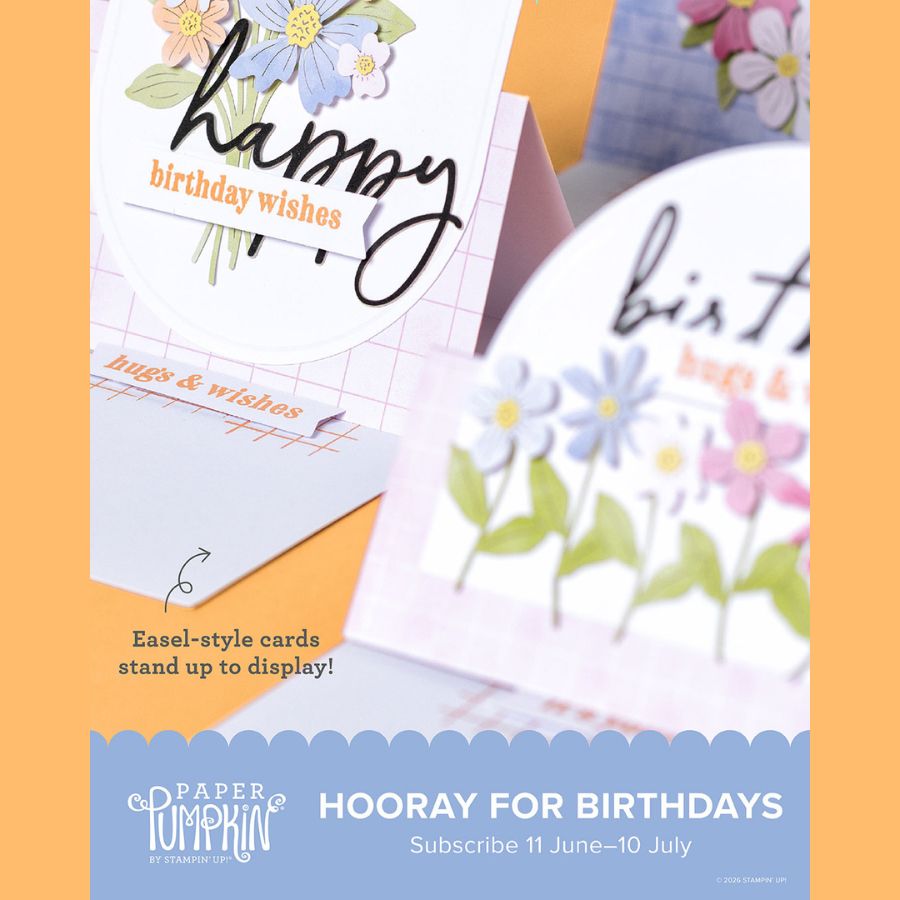
New Paper Pumpkin Kit coming in July – subscribe by the 10th of June to receive the Hooray for Birthdays Kit
PLUS – subscribe to Paper Pumpkin with me and get TWO alternative PDF tutorials with a total of 20 tutorials for projects using this kit. Click here to subscribe with me.
BRAND NEW SKETCH BOX
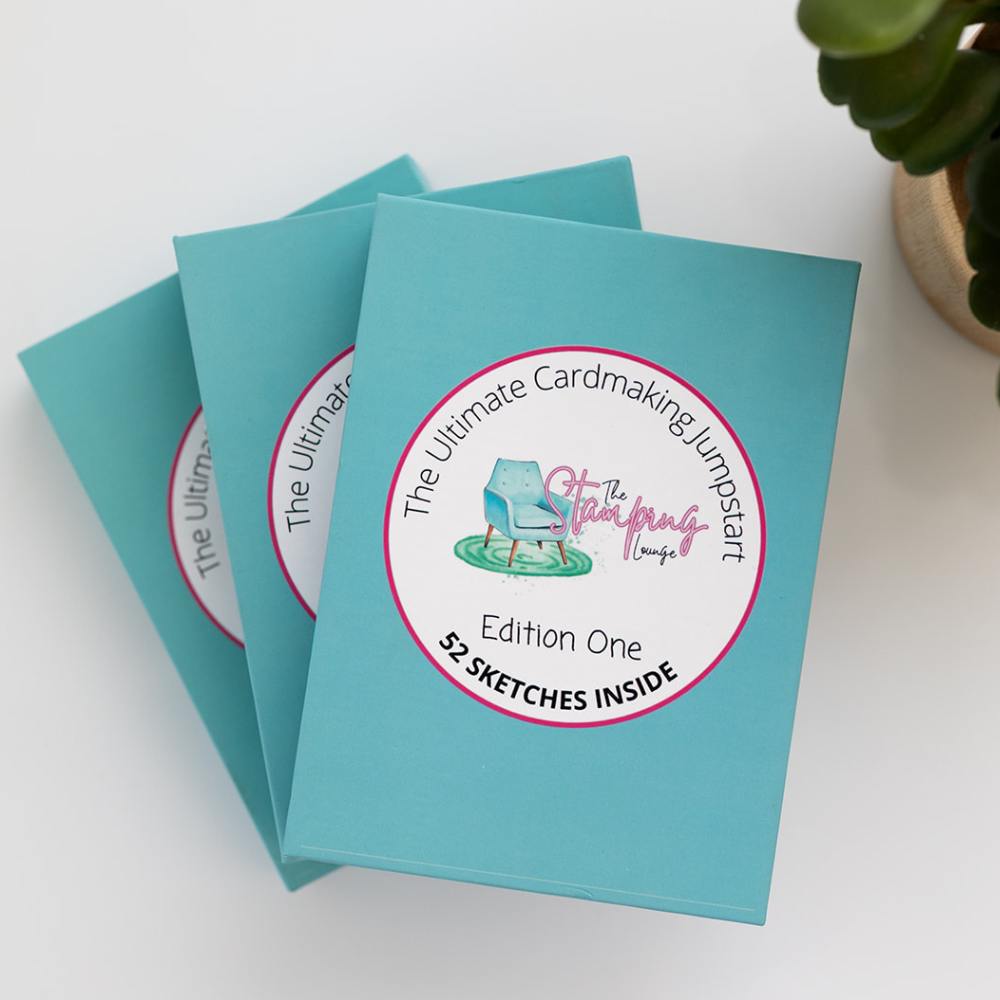
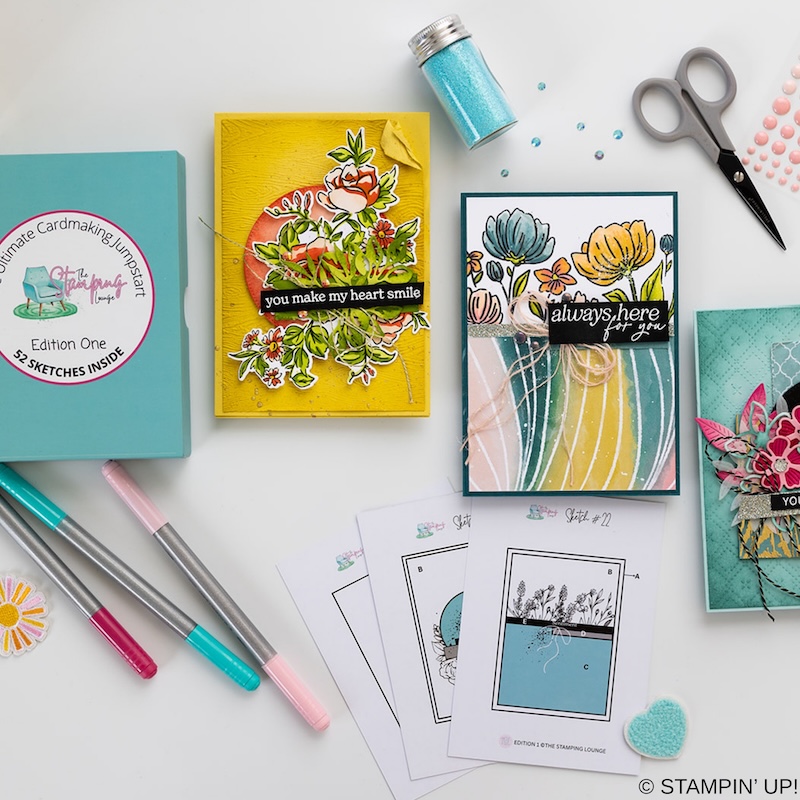
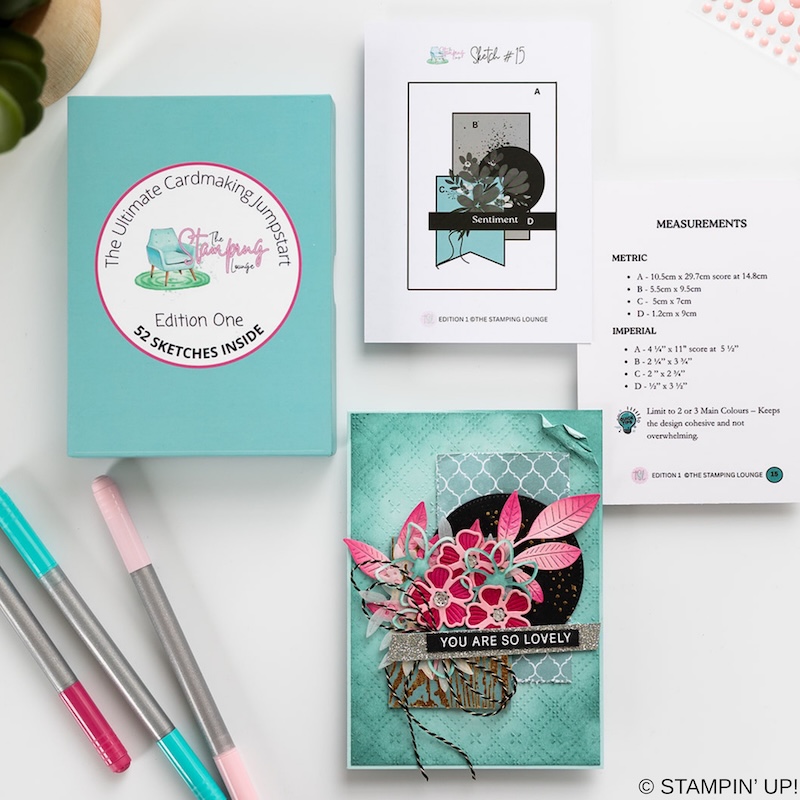
We have a brand new product at The Stamping Lounge and you won’t want to miss this one. Get your sketch box complete with 52 sketch cards that include measurements and crafting tips! This is a tool you need in your crafting tool box that you can use again and again. Available now and shipping internationally. Get yours here.
Product List
 |  | |||
 |  |  |  | |
 |  |  |  |  |
 |  |  |  |  |
 |  |  |  |  |
")
 Designer Series Paper")
 Specialty Paper")


Leave a Reply