I have been participating in a chain card swap for the past few months. It’s a fun activity where you make a card and send it along a chain of participants. Each person copies and edits the card before passing it on until it returns to the original sender, often looking quite different.
For round seven of this blog hop series, I created a Christmas card using the Seasons of Green and Gold Suite inspired by Tracy’s card chain and the version of Tracy’s card created by Monique. I must admit that I have always struggled with Christmas cards but this year I have been feeling a bit more inspired to get the festive spirit on. This suite from the Online Exclusives is gorgeous and can be used for so much more than Christmas cards! See the end of this post to see everyone’s version of this card.
finished seasons of green AND gold fun fold card

I really enjoyed this round of the chain card series with the simple and easy fun fold design that involves simply cutting about 2.5cm (or 1″) from the right hand side of a standard sized card. This allows the inside to show through which is great for adding an additional pattern. I took advantage of this to show off some more of the Seasons of Green and Gold Specialty Paper.
I had fun really layering lots of elements on this card design and playing with lots of texture! The Seasons of Green and Gold Designer Series Paper coordinates with lots of the dies in the suite which is great for those that might not like to fussy cut. With gold foiling detail, this paper also adds a touch of elegance to a Christmas Card. I have mixed it up and also added a touch of Glimmer to the design with some gold foil.
a close up of the texture and detail on the finished card
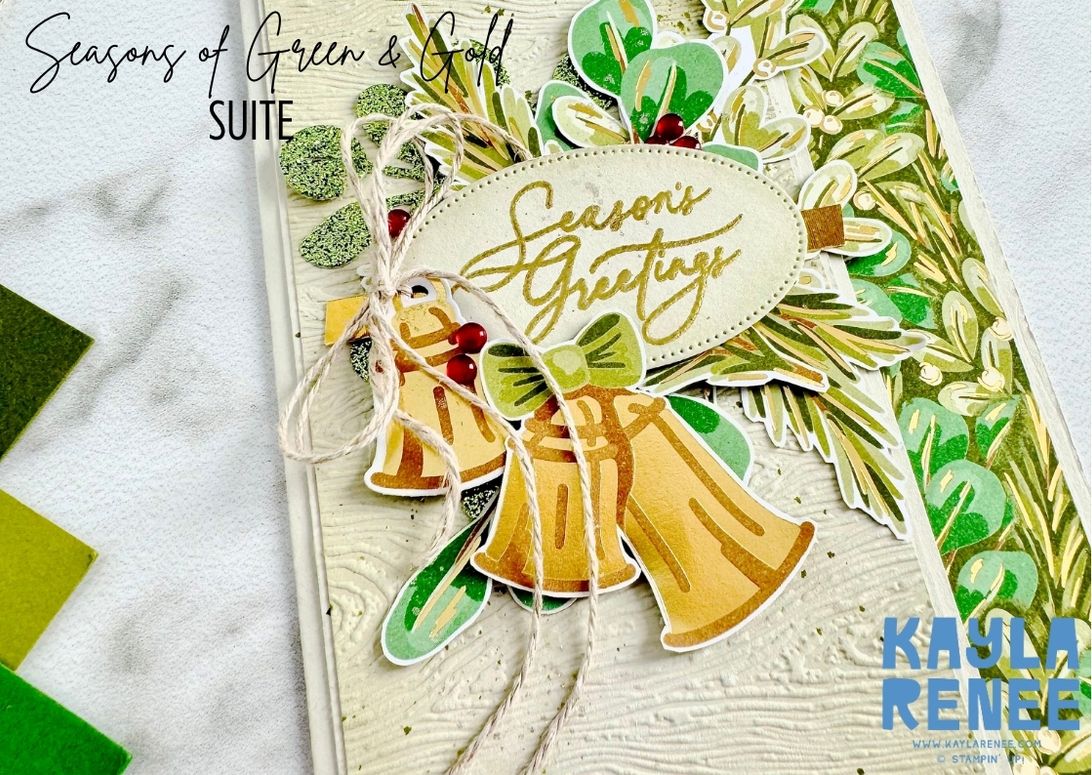
The woodgrain texture was a fun addition to this design to add a bit of a rustic feel amongst the green and gold. I used the Timber 3D Embossing Folder to achieve this textured embossed design, using a tone on tone look with the Basic Beige.
To embellish I finished the card with some Linen Thread and some of the Cherry Cobbler Berries.
a look at the inside of the card
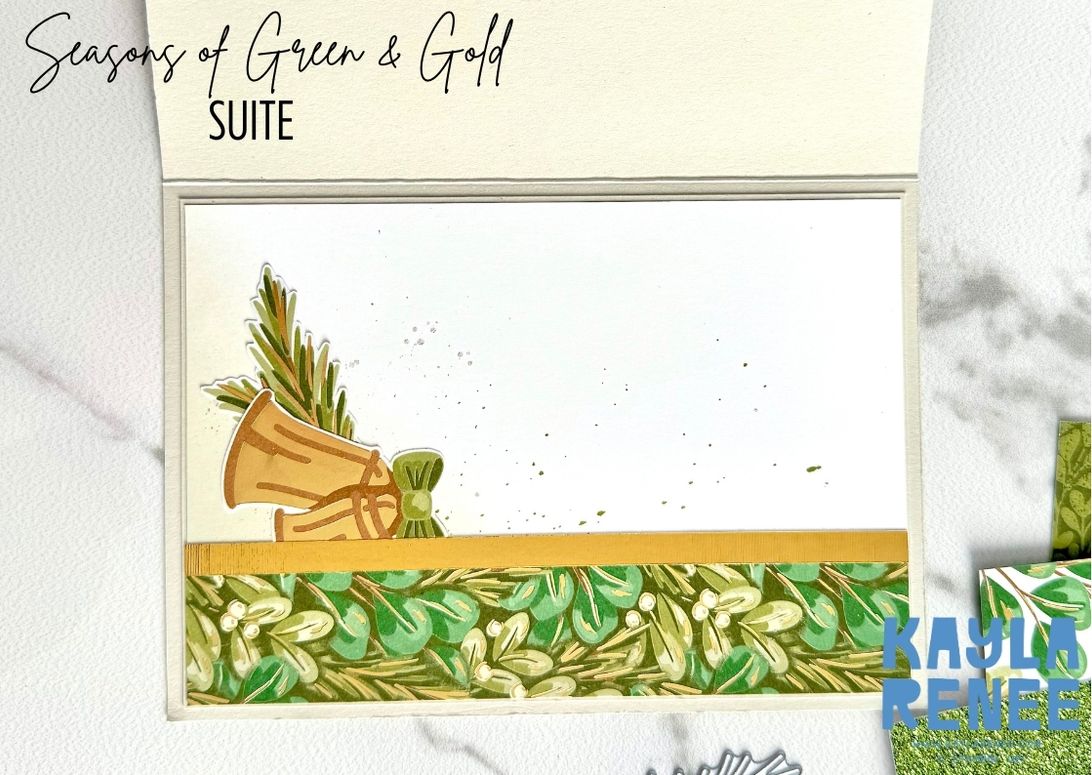
To add some decoration on the inside, I added some strips of the Designer Series Paper and some Gold Foil with a couple of left over elements from the card front.
This was a fun card to make and I really enjoyed seeing the progression of the card throughout the chain.
You can see the whole ‘chain’ of card in the series and how the card has evolved below.
I suggest following it in order from number one onwards to see the true progression of the card.
Until next time, crafty hugs. xx

SHOP WITH ME & GET A FREE GIFT & TUTORIAL
PLEASE NOTE: Regardless of when you are viewing this post, this is automatically updated so the information and links listed here are current.
Shop with me in July 2026 to receive a FREE gift, tutorial and handmade card from me to thank you for your order.


Don’t live in Australia but still want to purchase the tutorial? You can purchase it through my tutorial store for $22AUD for instant PDF download. CLICK HERE to purchase.
HAPPENING NOW
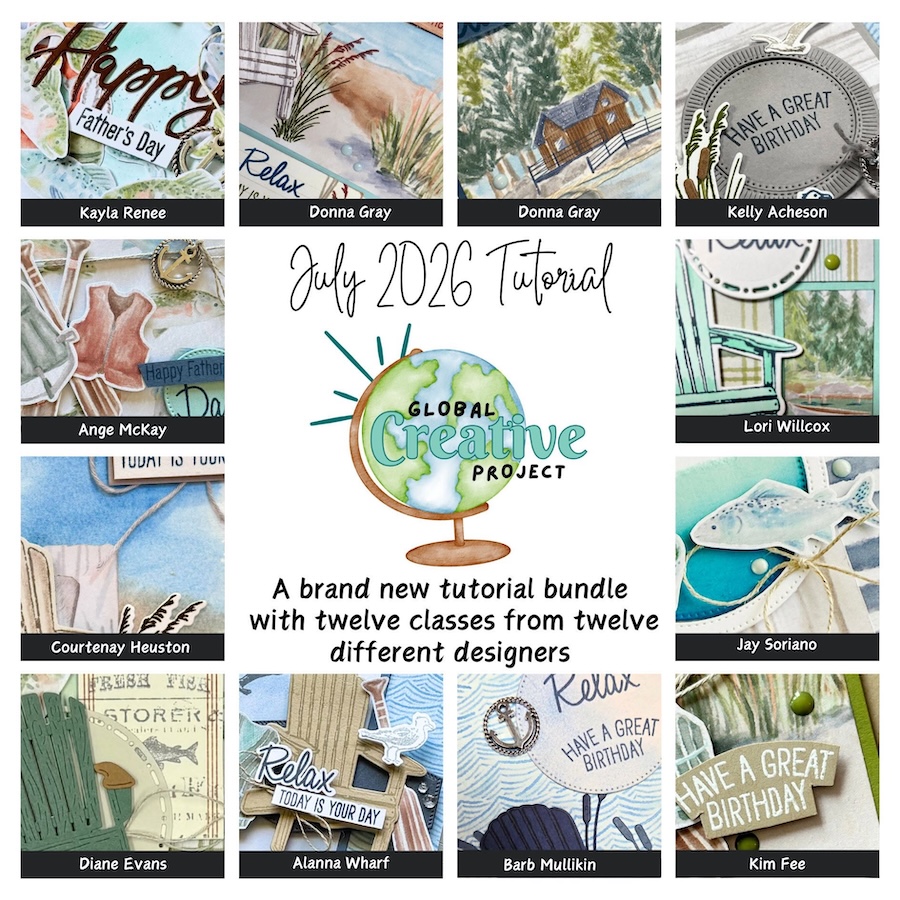
The brand new July Global Creative Project tutorial is now out. Earn for free from me for placing an order in my online store or head to my tutorial store and purchase the PDF tutorial.
New Creativity Kits have been released in my online store. Head here to check them out.
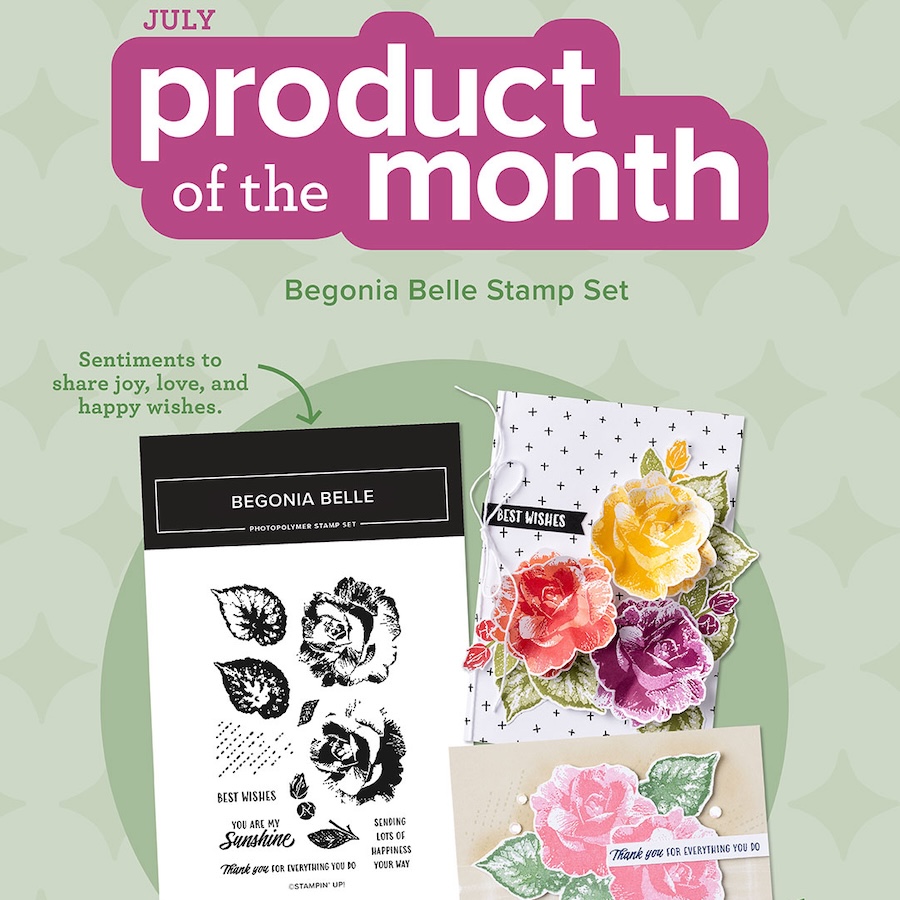
Our new Product of the Month promotion is now in full swing. Get an exclusive product for just $9 when you spend over $125 in my online store. Learn more about this new program here.
upcoming events + KITS

I have so much fun at The Stamping Lounge which is run by myself, Maheswari Rajaguru and Rochelle Laird-Smith.
We not only have a monthly membership full of amazing content but we also run regular classes.
The Scenic Coast Monthly Class is coming up on the 18th of July.
Also coming up in July and open for registration now is our annual FREE Christmas in July event. Find all the details here.
Click the images or links to find out more and enrol OR sign up to The Stamping Lounge membership to get access to monthly classes and more which are included in the membership (retreats are sold separately)
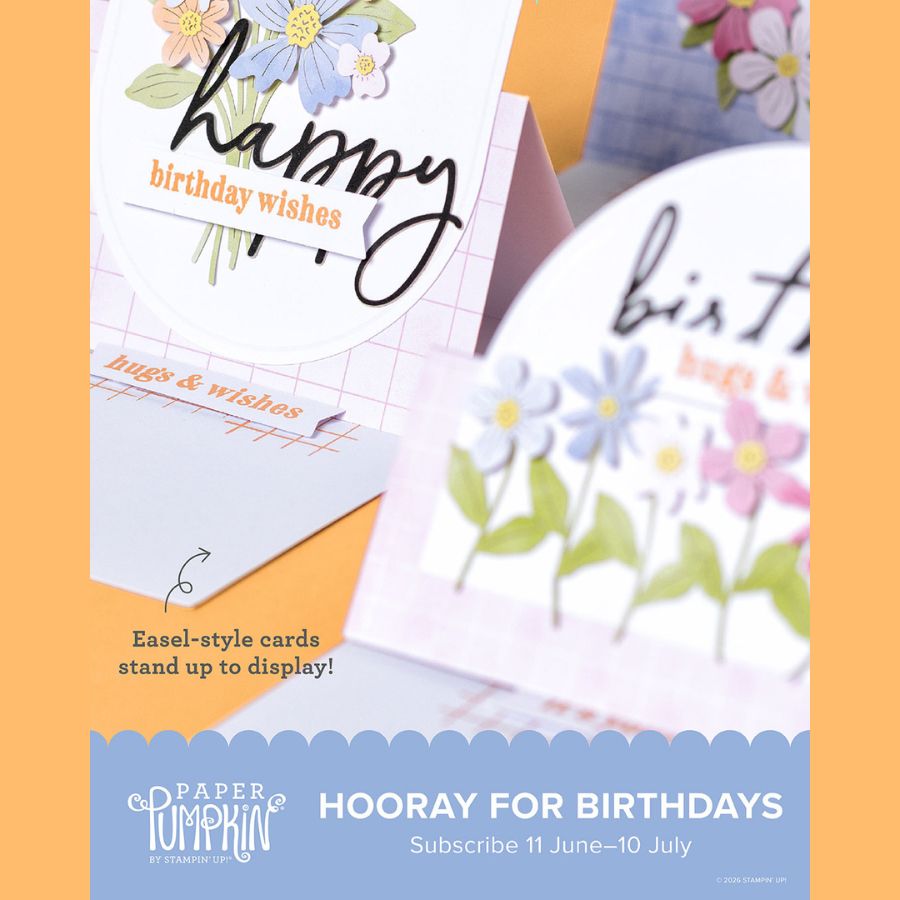
New Paper Pumpkin Kit coming in July – subscribe by the 10th of June to receive the Hooray for Birthdays Kit
PLUS – subscribe to Paper Pumpkin with me and get TWO alternative PDF tutorials with a total of 20 tutorials for projects using this kit. Click here to subscribe with me.
BRAND NEW SKETCH BOX
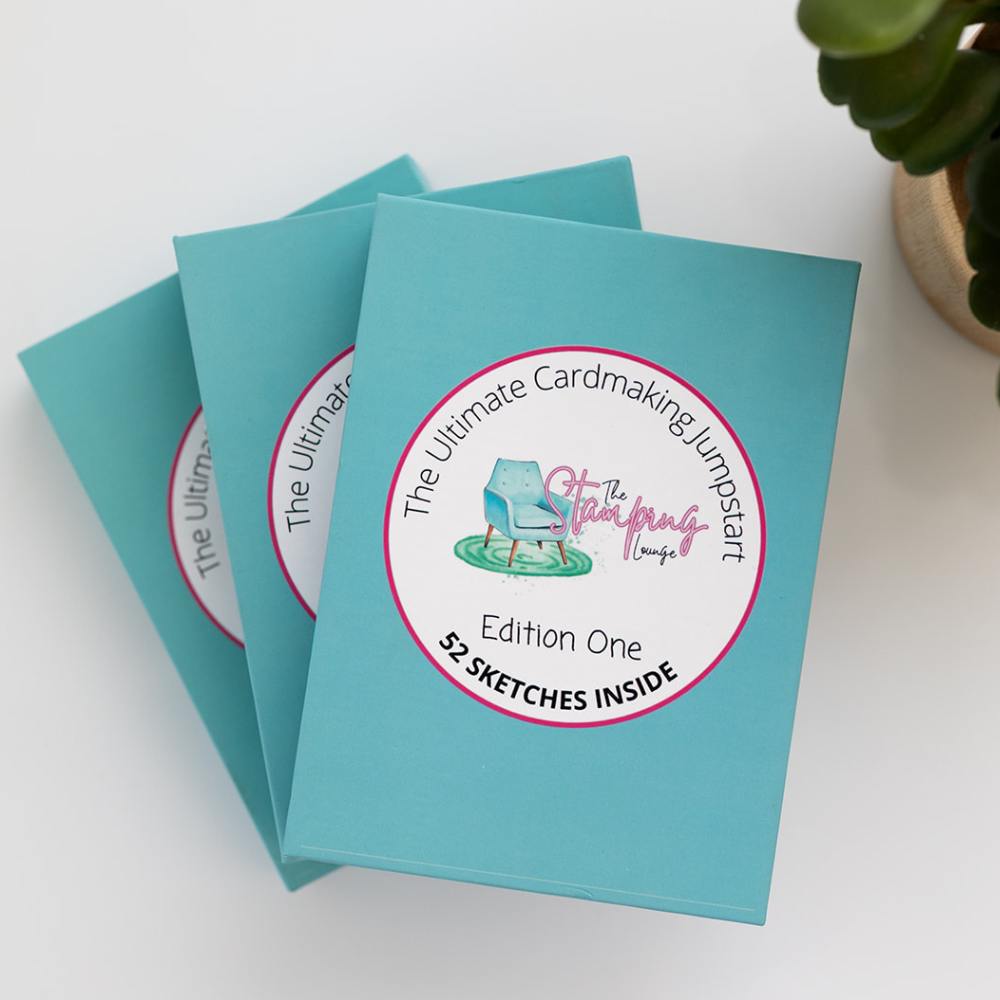
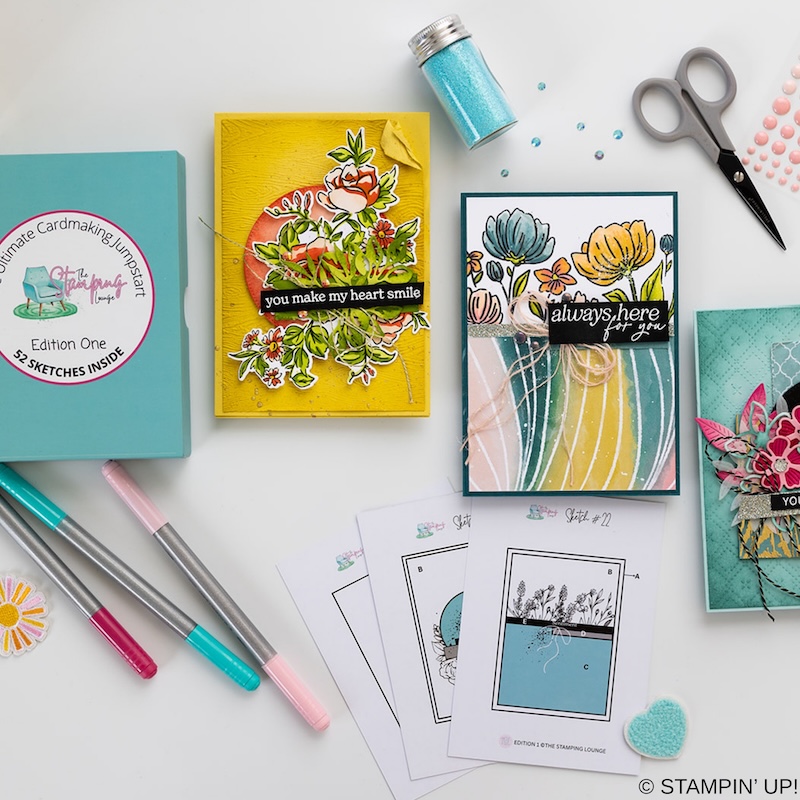
We have a brand new product at The Stamping Lounge and you won’t want to miss this one. Get your sketch box complete with 52 sketch cards that include measurements and crafting tips! This is a tool you need in your crafting tool box that you can use again and again. Available now and shipping internationally. Get yours here.
supply list
Product List  | ||||
 |  |  |  | |
 |  |  |  |  |
 Specialty Designer Series Paper")
")
 Glimmer Specialty Paper")

 Specialty Paper")


I received this card. It is amazing! A slight variation on the layout and lots of elements, particularly rich with the gold accents.
Beautiful work, as always, Kayla. I like how you shifted the design.
Wow! I love how you can incorporate so many layers and elements and still keep it so cohesive and beautiful.
The layers and all the details are alwyas my favourite part to look at!