Do you want some die cutting tips? Read on…
Are you like me and see these fun builder die sets come out and just have to add them to your stash? They build the most adorable flowers, then you get them – see all these pieces and wonder – how do I put together all these pansies/flowers?
Yes – that’s me! That’s where I have learnt to put together cheat sheets!
I wanted to share some great die cutting tips with you that have helped me along the way, especially with these builder style dies that really help to take the guess work out of what goes where!
Global Design project challenge #GDP402
First of all before I share more, I have created today’s project for this week’s amazing Global Design Project challenge. This week is a fabulous sketch…
This is what inspired using the gorgeous pansies that required all the die cutting and brought me to today’s post topic!

See this week’s Global Design Project Challenge on the blog here

A LITTLE BIT ABOUT COLOUR…
Here is a look at the finished card. Aren’t those colours amazing? Blue and green are my absolute favourites…it’s my go to any day! I am loving the new throw ins of the Tahitian Tide, Starry Sky and Lemon Lime Twist. Such a mixture of bright, bold and soft.
Here is a look at the colour combo that inspired this project…


great die cutting tips – cheat sheets!
Here’s a look at these cheat sheets that I now make when I get a new set of dies.
I take the whole set of dies and I cut out every single piece! You want to know what cuts what and how they go together. In cases of builder sets I also put together one of each flower or item that it ‘builds’ and make a bit of an ‘algorithm’ so that I have a ‘cheat sheet’ to sit on my craft desk. This way when I am crafting I can pull this out in front of me and have it at the ready. I don’t have to work it all out each time I bring the dies out to use.
This saves time, frustration and leaves more time for more crafting.

It takes eight die cuts to make one of these pansies without the leaves – you can imagine you want that process to be streamlined – you don’t want to be thinking too much about just what dies you need!
In the case of the stamp/die sets I also stamp out the stamps that have a corresponding die and die cut these out to include these on my cheat sheet to show which of the stamps has a corresponding die.
This may sound time consuming, but really does make for ease of user experience when stamping in long term – I promise!
Do you have left over die cuts?
I store these right in my stamp set case! Provided you don’t have too many of course. Haha!
I have found this to work for me. If I have a few left over and I pop them in a little sealed bag on the inside of the case then next time I work with this bundle I have more to work with and they are right there as surprise extras!

Here is a close up look at the finished card.
Do you recognise the background? I actually picked it up off my desk from a recent card where I featured the direct to paper ink pad colouring technique. YOU CAN SEE THE BLOG POST WHERE I FEATURED THIS HERE.
I love when a card comes together and you can use something you have already created!
I have added the gorgeous Brushed Brass Butterflies and Iridescent Pastel Gems to embellish. Those Brushed Brass Butterflies are another favourite of mine and have been going on a lot of my projects lately.
HINT: The cool thing about those Iridescent Pastel Gems is they actually change colour and pick up the colours of the papers you place them on – don’t be fooled by what they look like here. They are a must have!


Here is a look at the inside of the card which I have added some left overs from the card front, including some of that beautiful inked cardstock! I added a bit of a blending with Pool Party which I have added softly with a Blending Brush and added some Spritzing with my Starry Sky Stampin’ Write Marker.
I also added the tiniest strip of the Soft Shimmer Speciality Paper. I am pretty sure this is Pretty Peacock but it matches so well with the colours I have used here!
I added one of the left over die cut pieces from my card front to bring some continuity from the card design to the inside.
I hope that you were able to get some inspiration from my project share today both with the Pansy Patch bundle but also some die cutting tips. I definitely recommend getting those dies (not just the builder dies) and making yourself little cheat sheets. It’s definitely helped me.
Don’t forget to go and check out this week’s GDP challenge!
See this week’s Global Design Project Challenge on the blog here
Until next time,
Crafty hugs. xx
SHOP WITH ME & GET A FREE GIFT & TUTORIAL
PLEASE NOTE: Regardless of when you are viewing this post, this is automatically updated so the information and links listed here are current.
Shop with me in July 2026 to receive a FREE gift, tutorial and handmade card from me to thank you for your order.


Don’t live in Australia but still want to purchase the tutorial? You can purchase it through my tutorial store for $22AUD for instant PDF download. CLICK HERE to purchase.
HAPPENING NOW
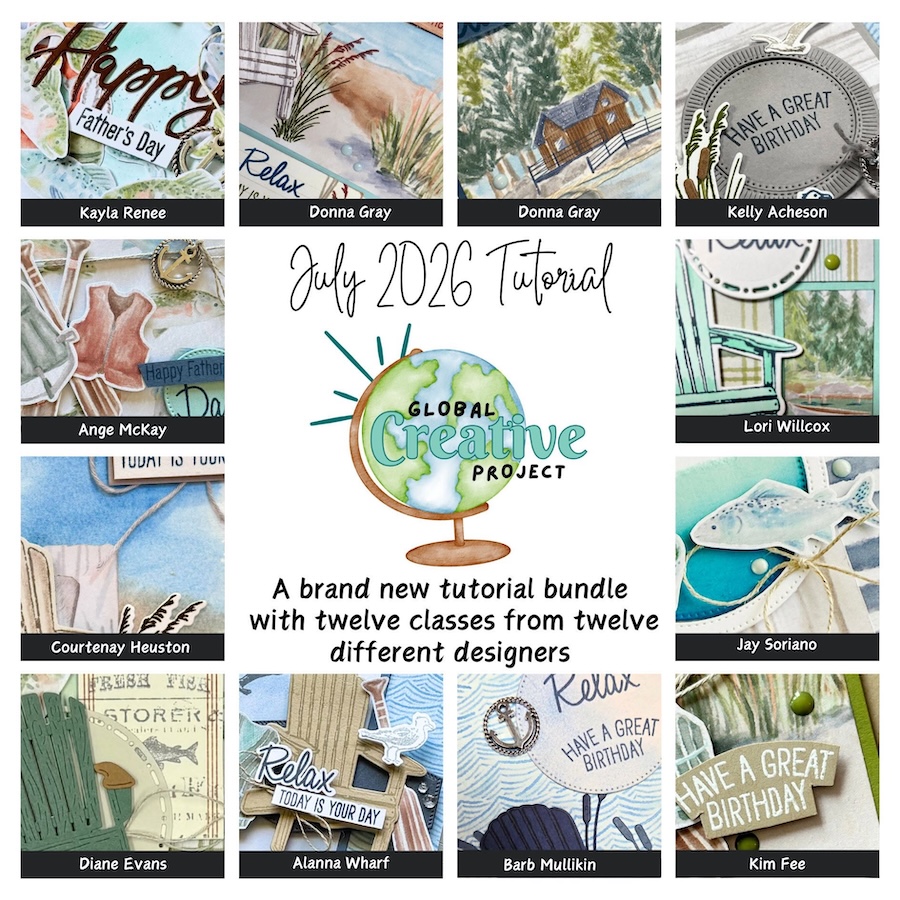
The brand new July Global Creative Project tutorial is now out. Earn for free from me for placing an order in my online store or head to my tutorial store and purchase the PDF tutorial.
New Creativity Kits have been released in my online store. Head here to check them out.
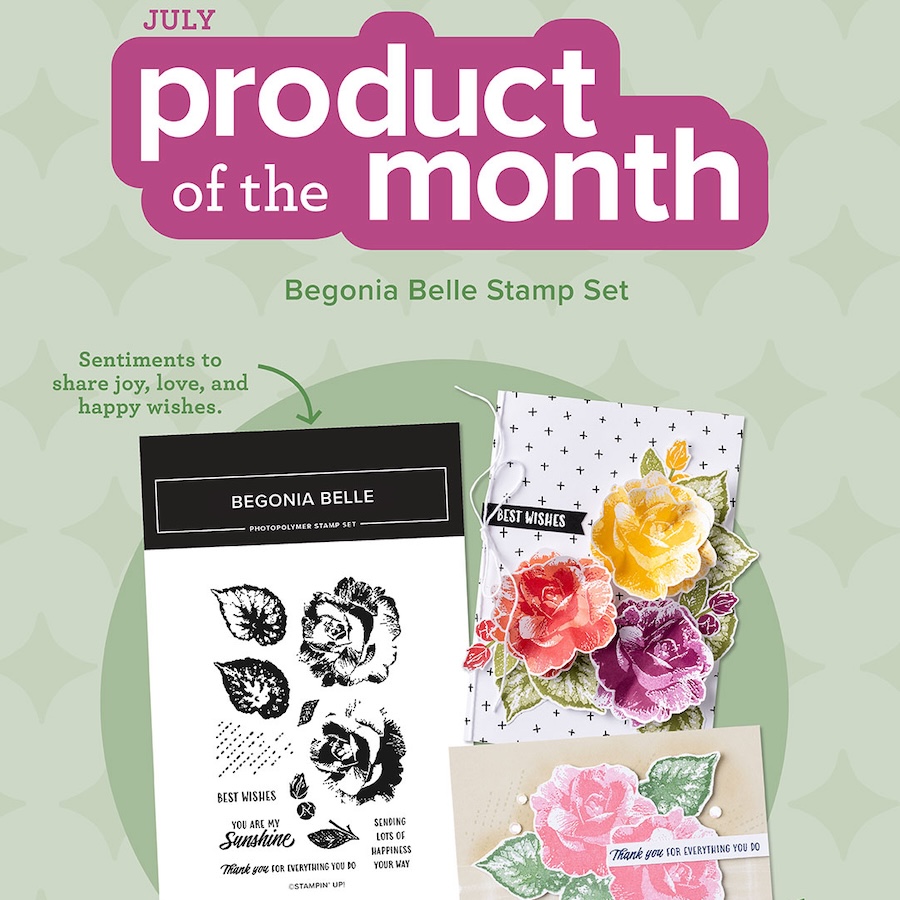
Our new Product of the Month promotion is now in full swing. Get an exclusive product for just $9 when you spend over $125 in my online store. Learn more about this new program here.
upcoming events + KITS

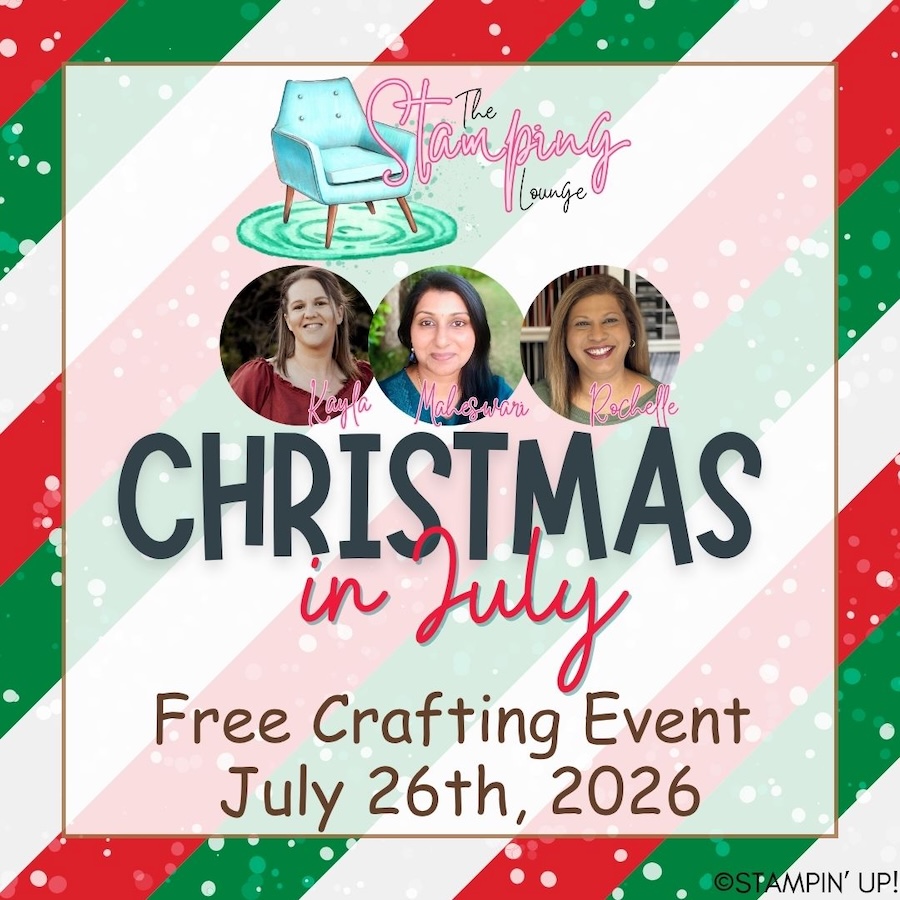
I have so much fun at The Stamping Lounge which is run by myself, Maheswari Rajaguru and Rochelle Laird-Smith.
We not only have a monthly membership full of amazing content but we also run regular classes.
The Scenic Coast Monthly Class is coming up on the 18th of July.
Also coming up in July and open for registration now is our annual FREE Christmas in July event. Find all the details here.
Click the images or links to find out more and enrol OR sign up to The Stamping Lounge membership to get access to monthly classes and more which are included in the membership (retreats are sold separately)
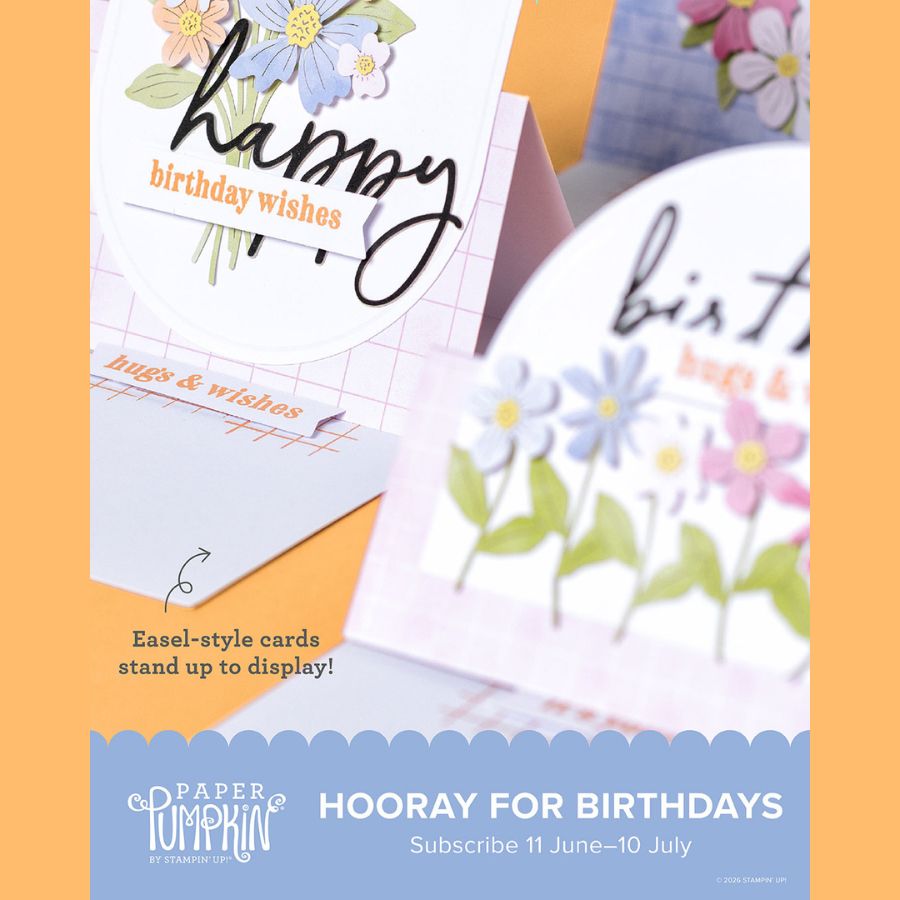
New Paper Pumpkin Kit coming in July – subscribe by the 10th of June to receive the Hooray for Birthdays Kit
PLUS – subscribe to Paper Pumpkin with me and get TWO alternative PDF tutorials with a total of 20 tutorials for projects using this kit. Click here to subscribe with me.
BRAND NEW SKETCH BOX
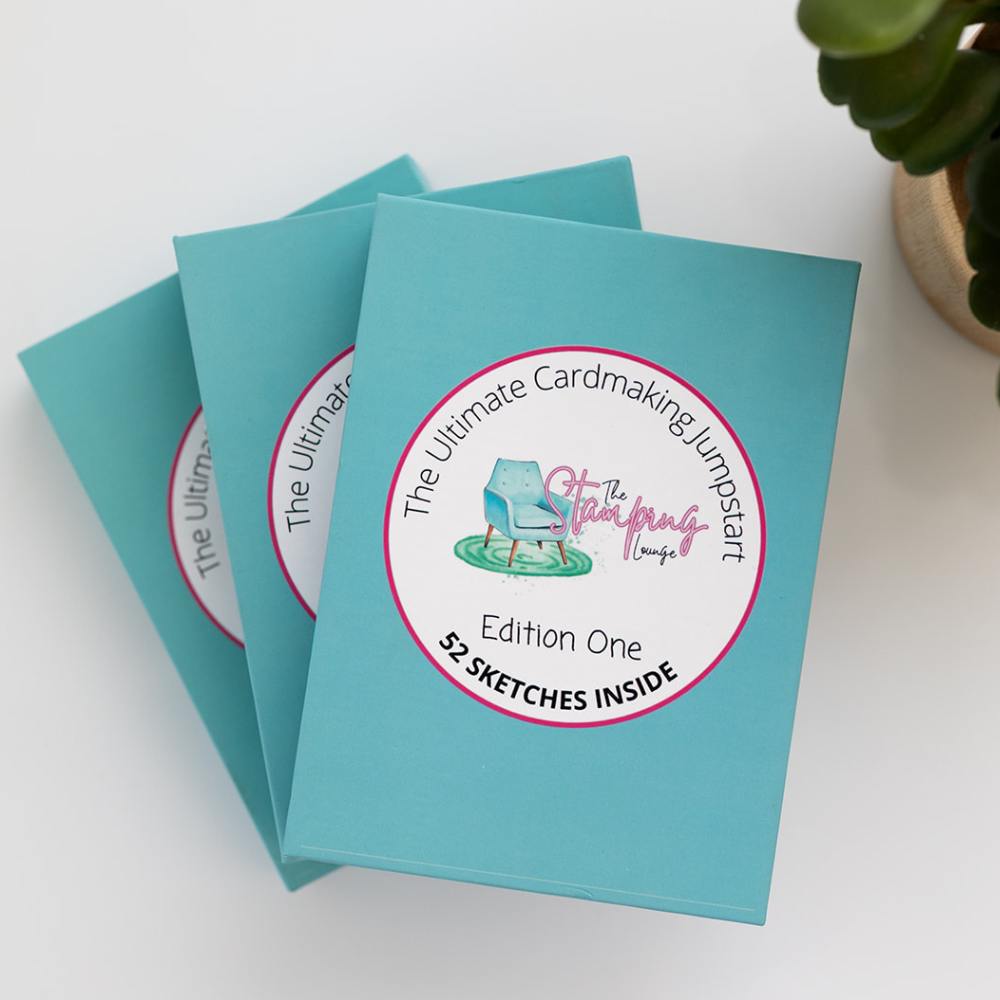
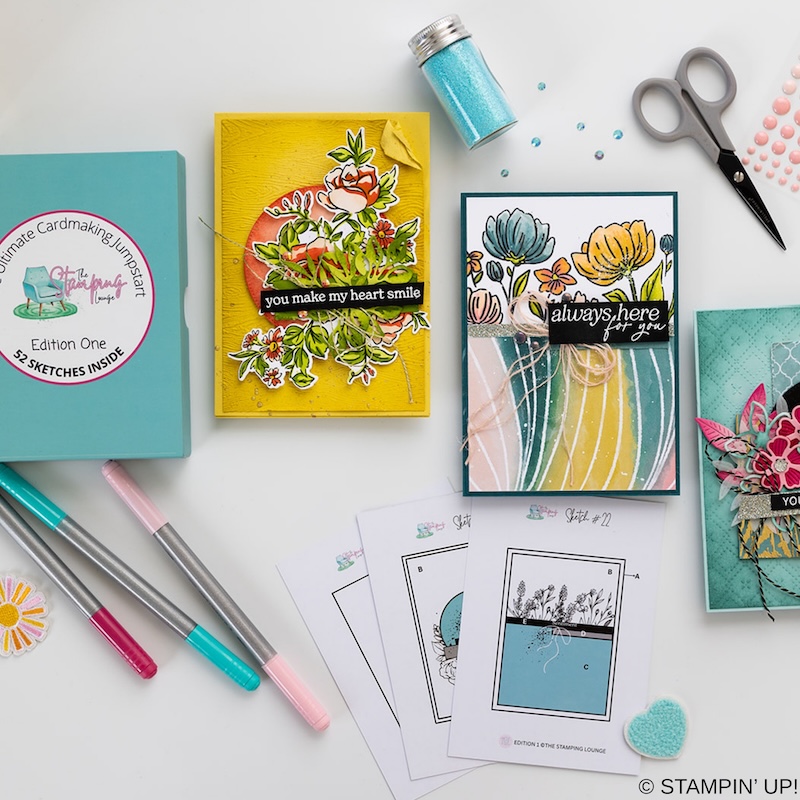
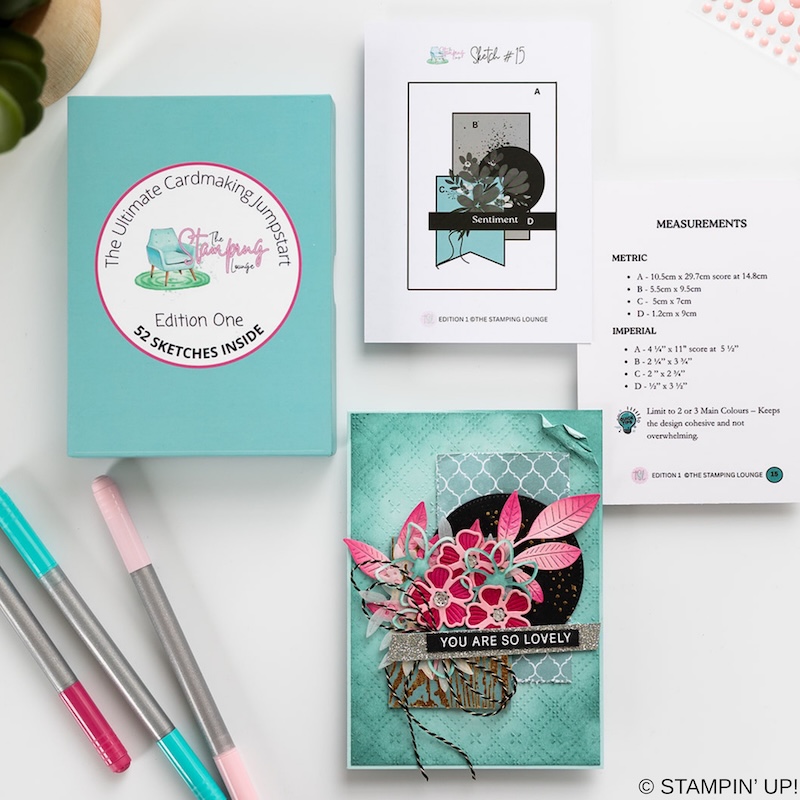
We have a brand new product at The Stamping Lounge and you won’t want to miss this one. Get your sketch box complete with 52 sketch cards that include measurements and crafting tips! This is a tool you need in your crafting tool box that you can use again and again. Available now and shipping internationally. Get yours here.

 |  |  | ||
 |  |  | ||
 |  |  | ||
 |  |  |  |  |
 |  |  |  |  |
")
")

 Specialty Paper")


Leave a Reply